Back in 2021 a collaboration between B.15 and the V&A’s research institute aimed to recreate a long lost stage of Royal Albert Hall architectural history.
Dr. Simona Valeriani’s research into the history of the hall had paid particular attention to the role of models which led to the involvement of B.15 model making workshop.
The workshop made a significant unique contribution to the project that has helped researchers better understand the design process behind one of the UK’s most iconic buildings. Records of planning meetings that took place during the Hall’s development made mention of a model being used to inform design decisions. It was assumed this model was lost until 2019 when it was rediscovered in a heavily damaged state in a room at the Hall itself. Efforts were made to restore the piece and subsequently, a replica of the fragment was produced including it’s missing pieces to illustrate part of what might have been
B.15 team interpret the surviving material
B.15 staff took on the task of analysing the fragment in order to replicate the model in a more complete form as it might have appeared in the mid-1800s. This involved the comparison of reference images and original plans. The initial goal was to complete the replica in time for feature in the 2021 Building Centre Exhibition; Shaping Space – Architectural Models Revealed’ which was in part sponsored by the workshop.
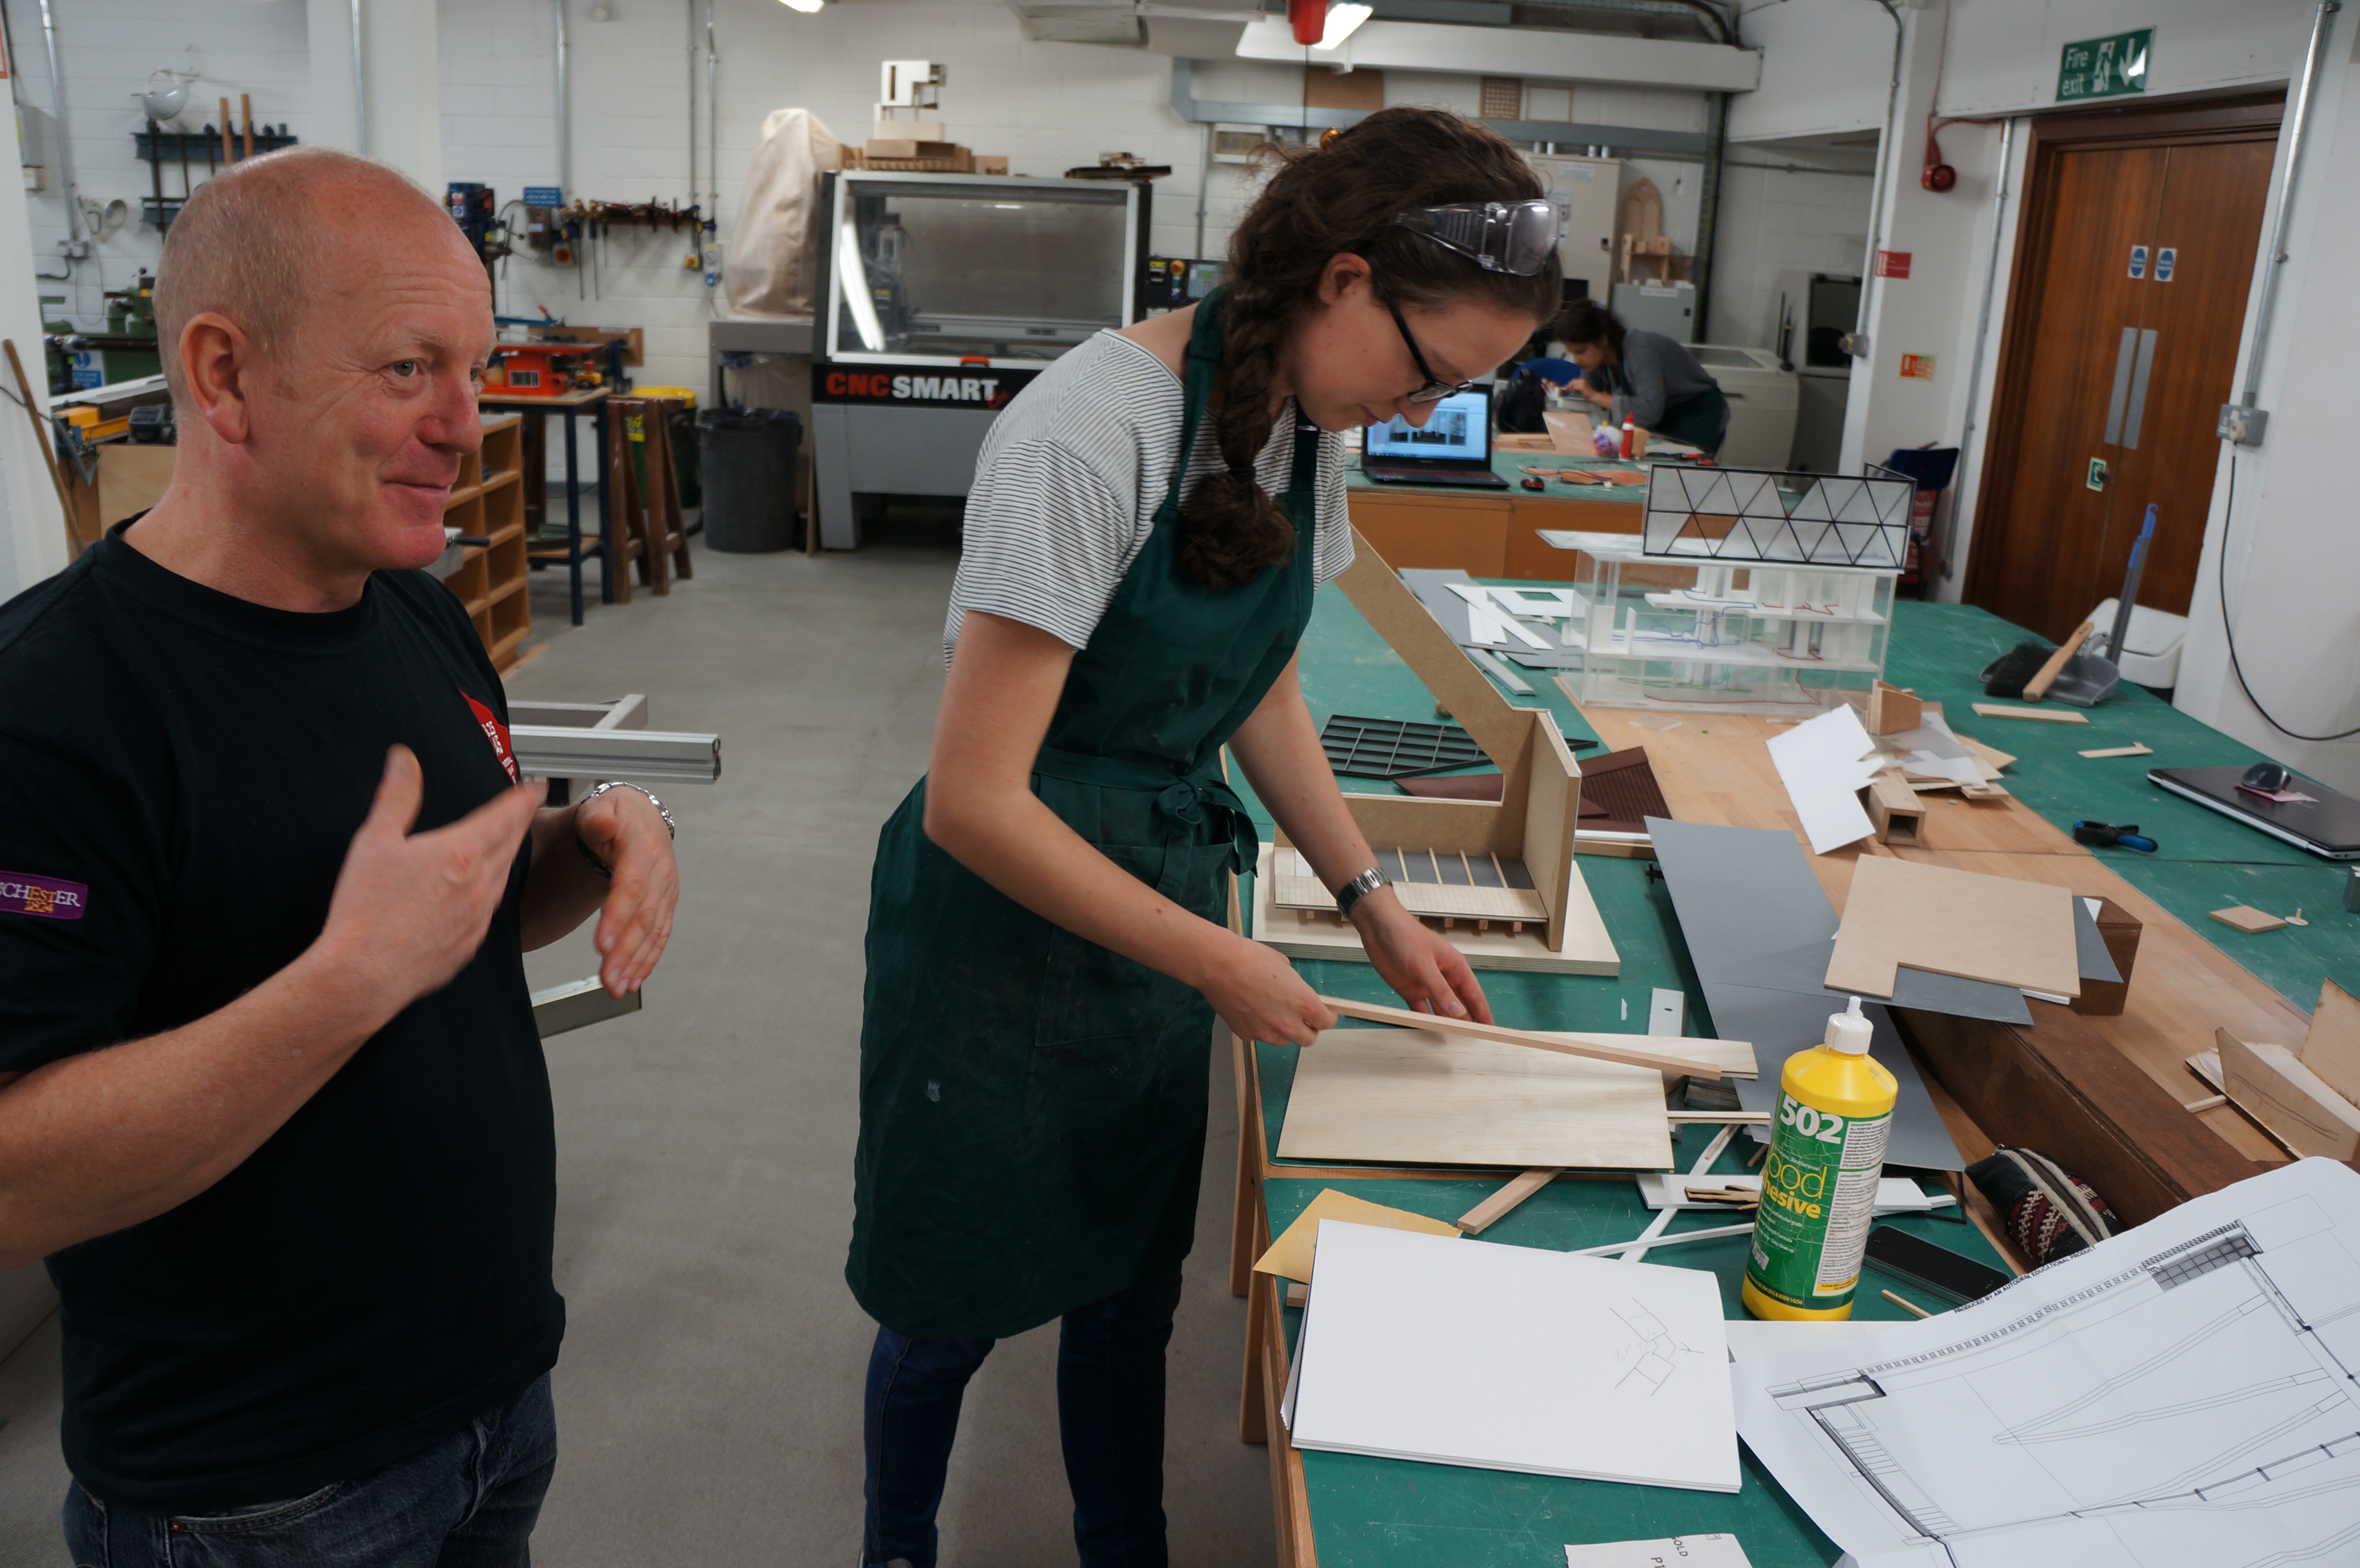
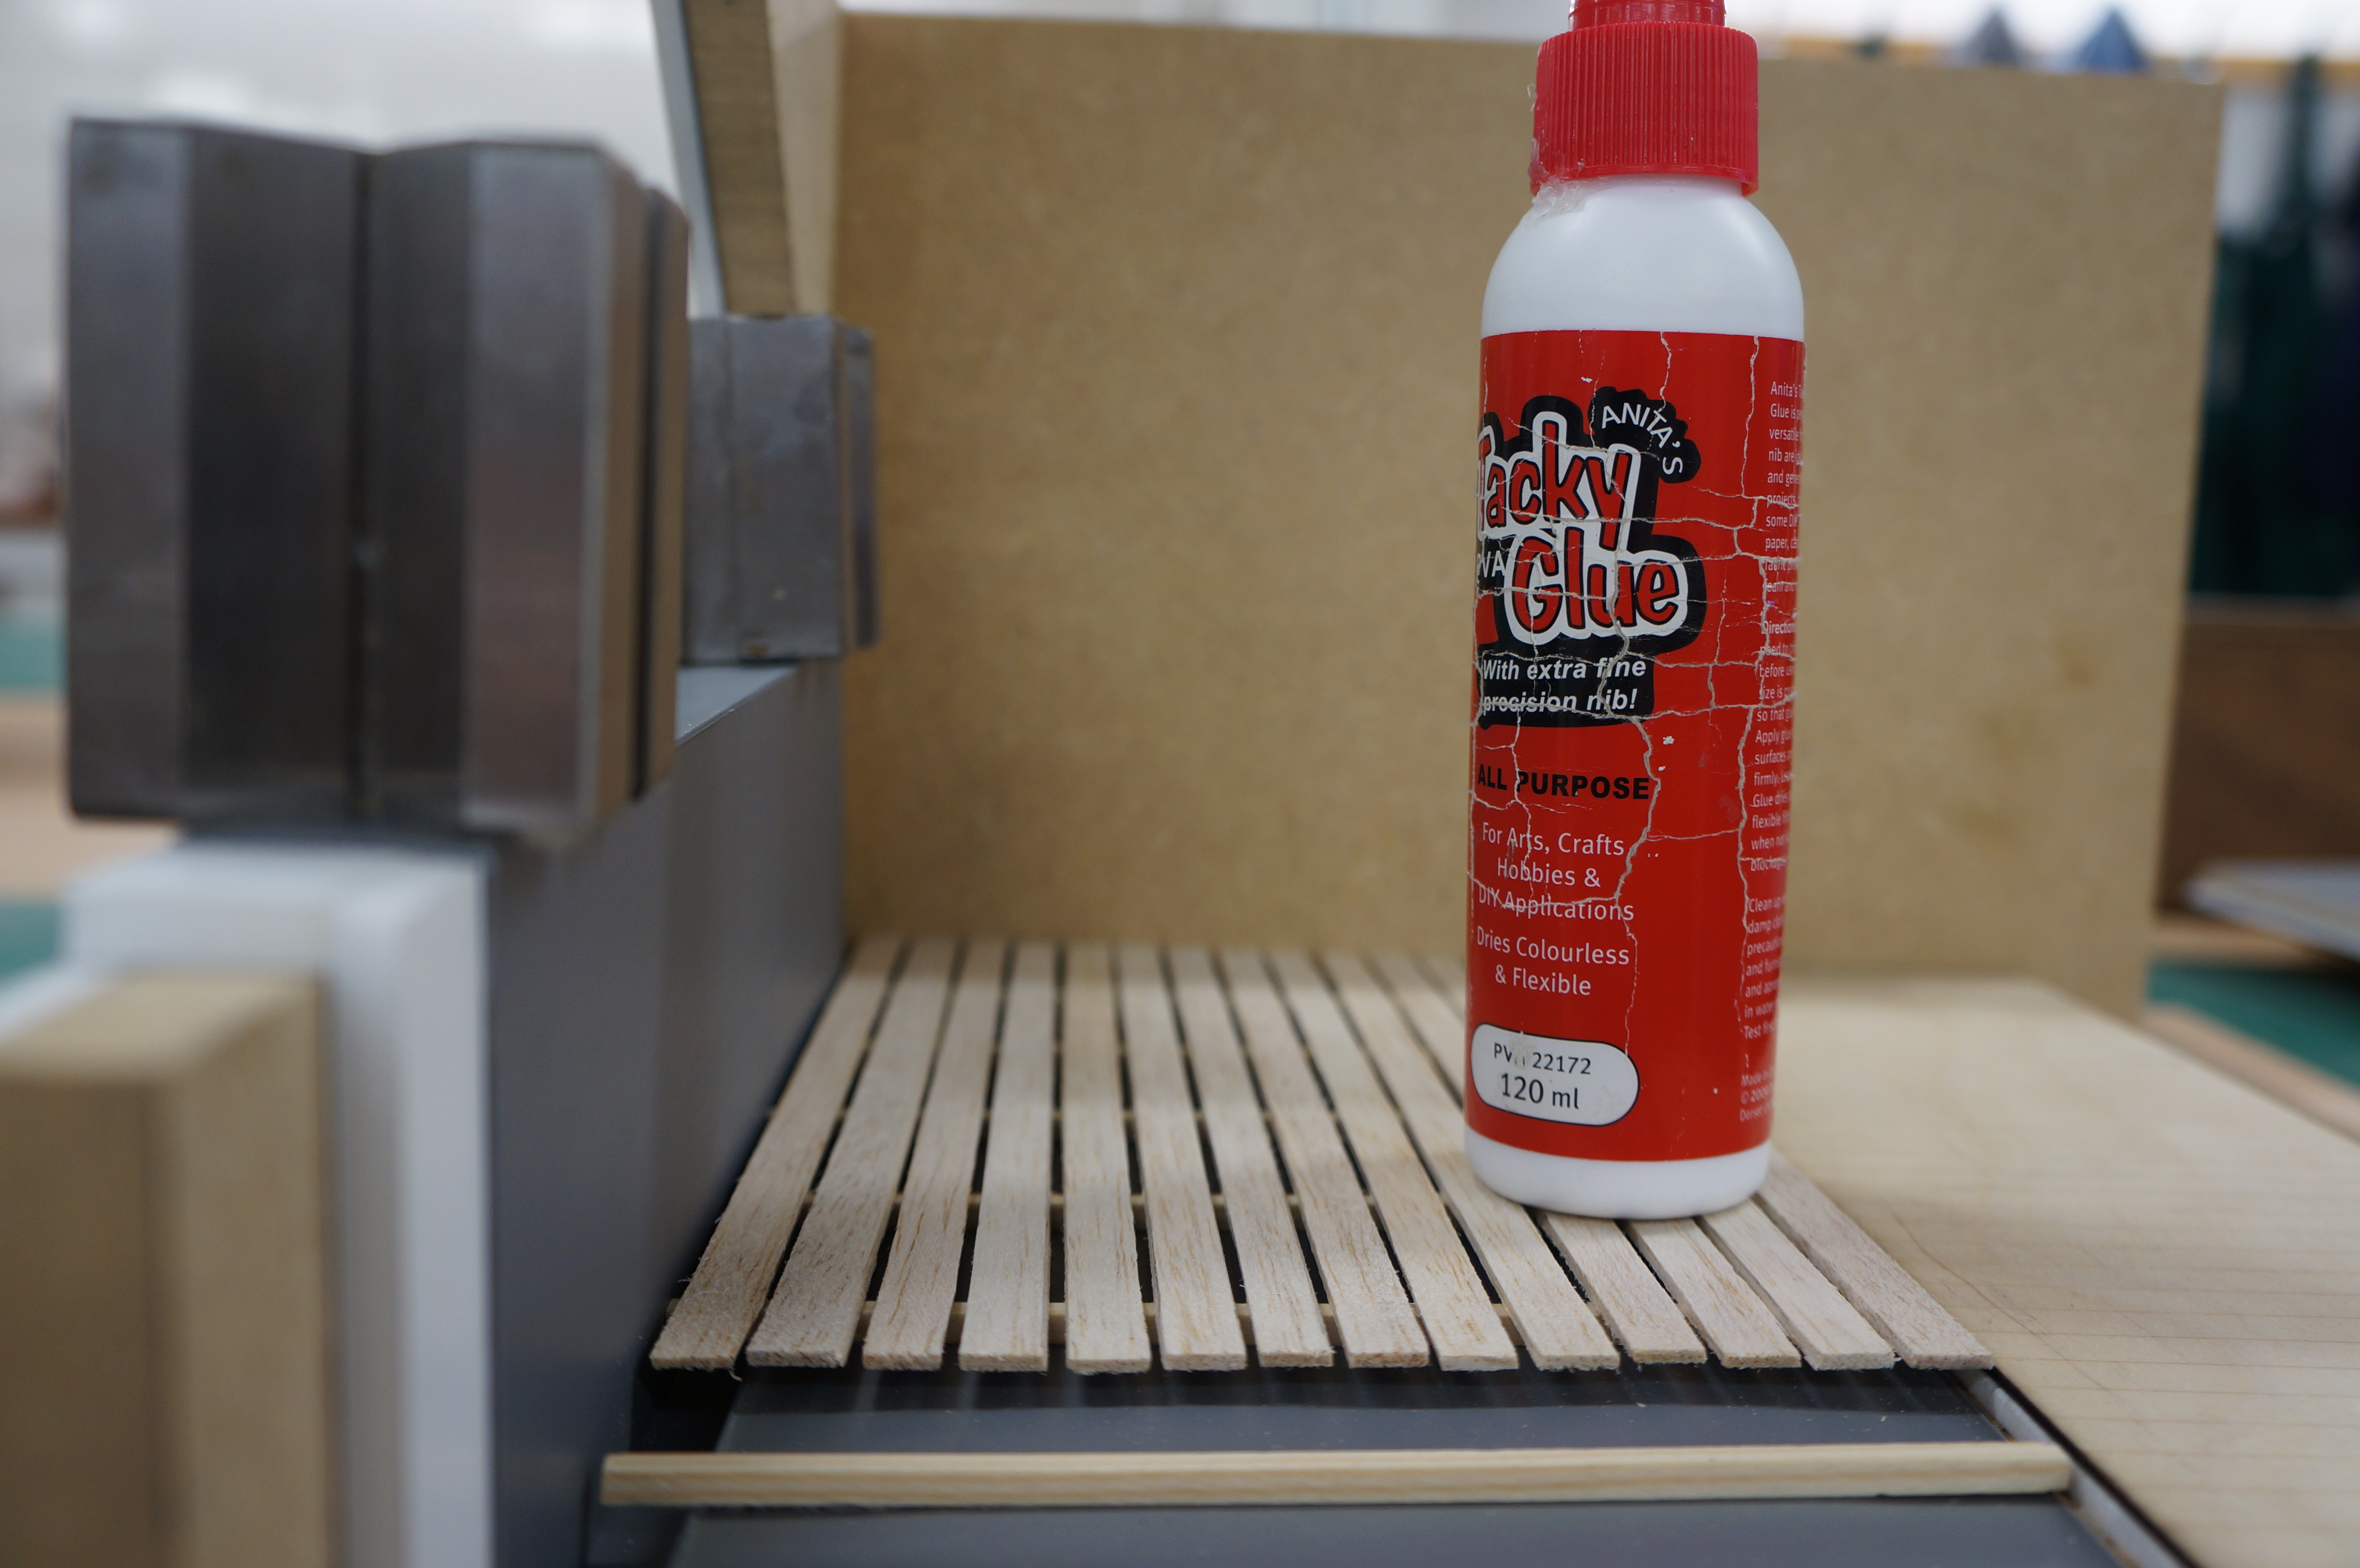
-

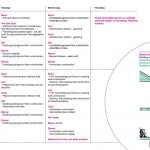
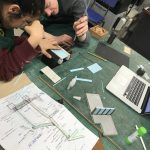
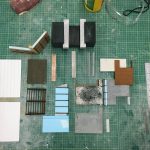
- Planning and testing early on in the project
-

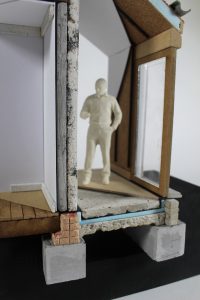
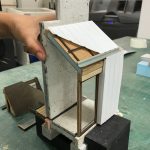
- The main auditorium being assembled
-

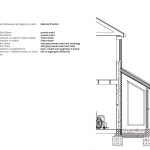
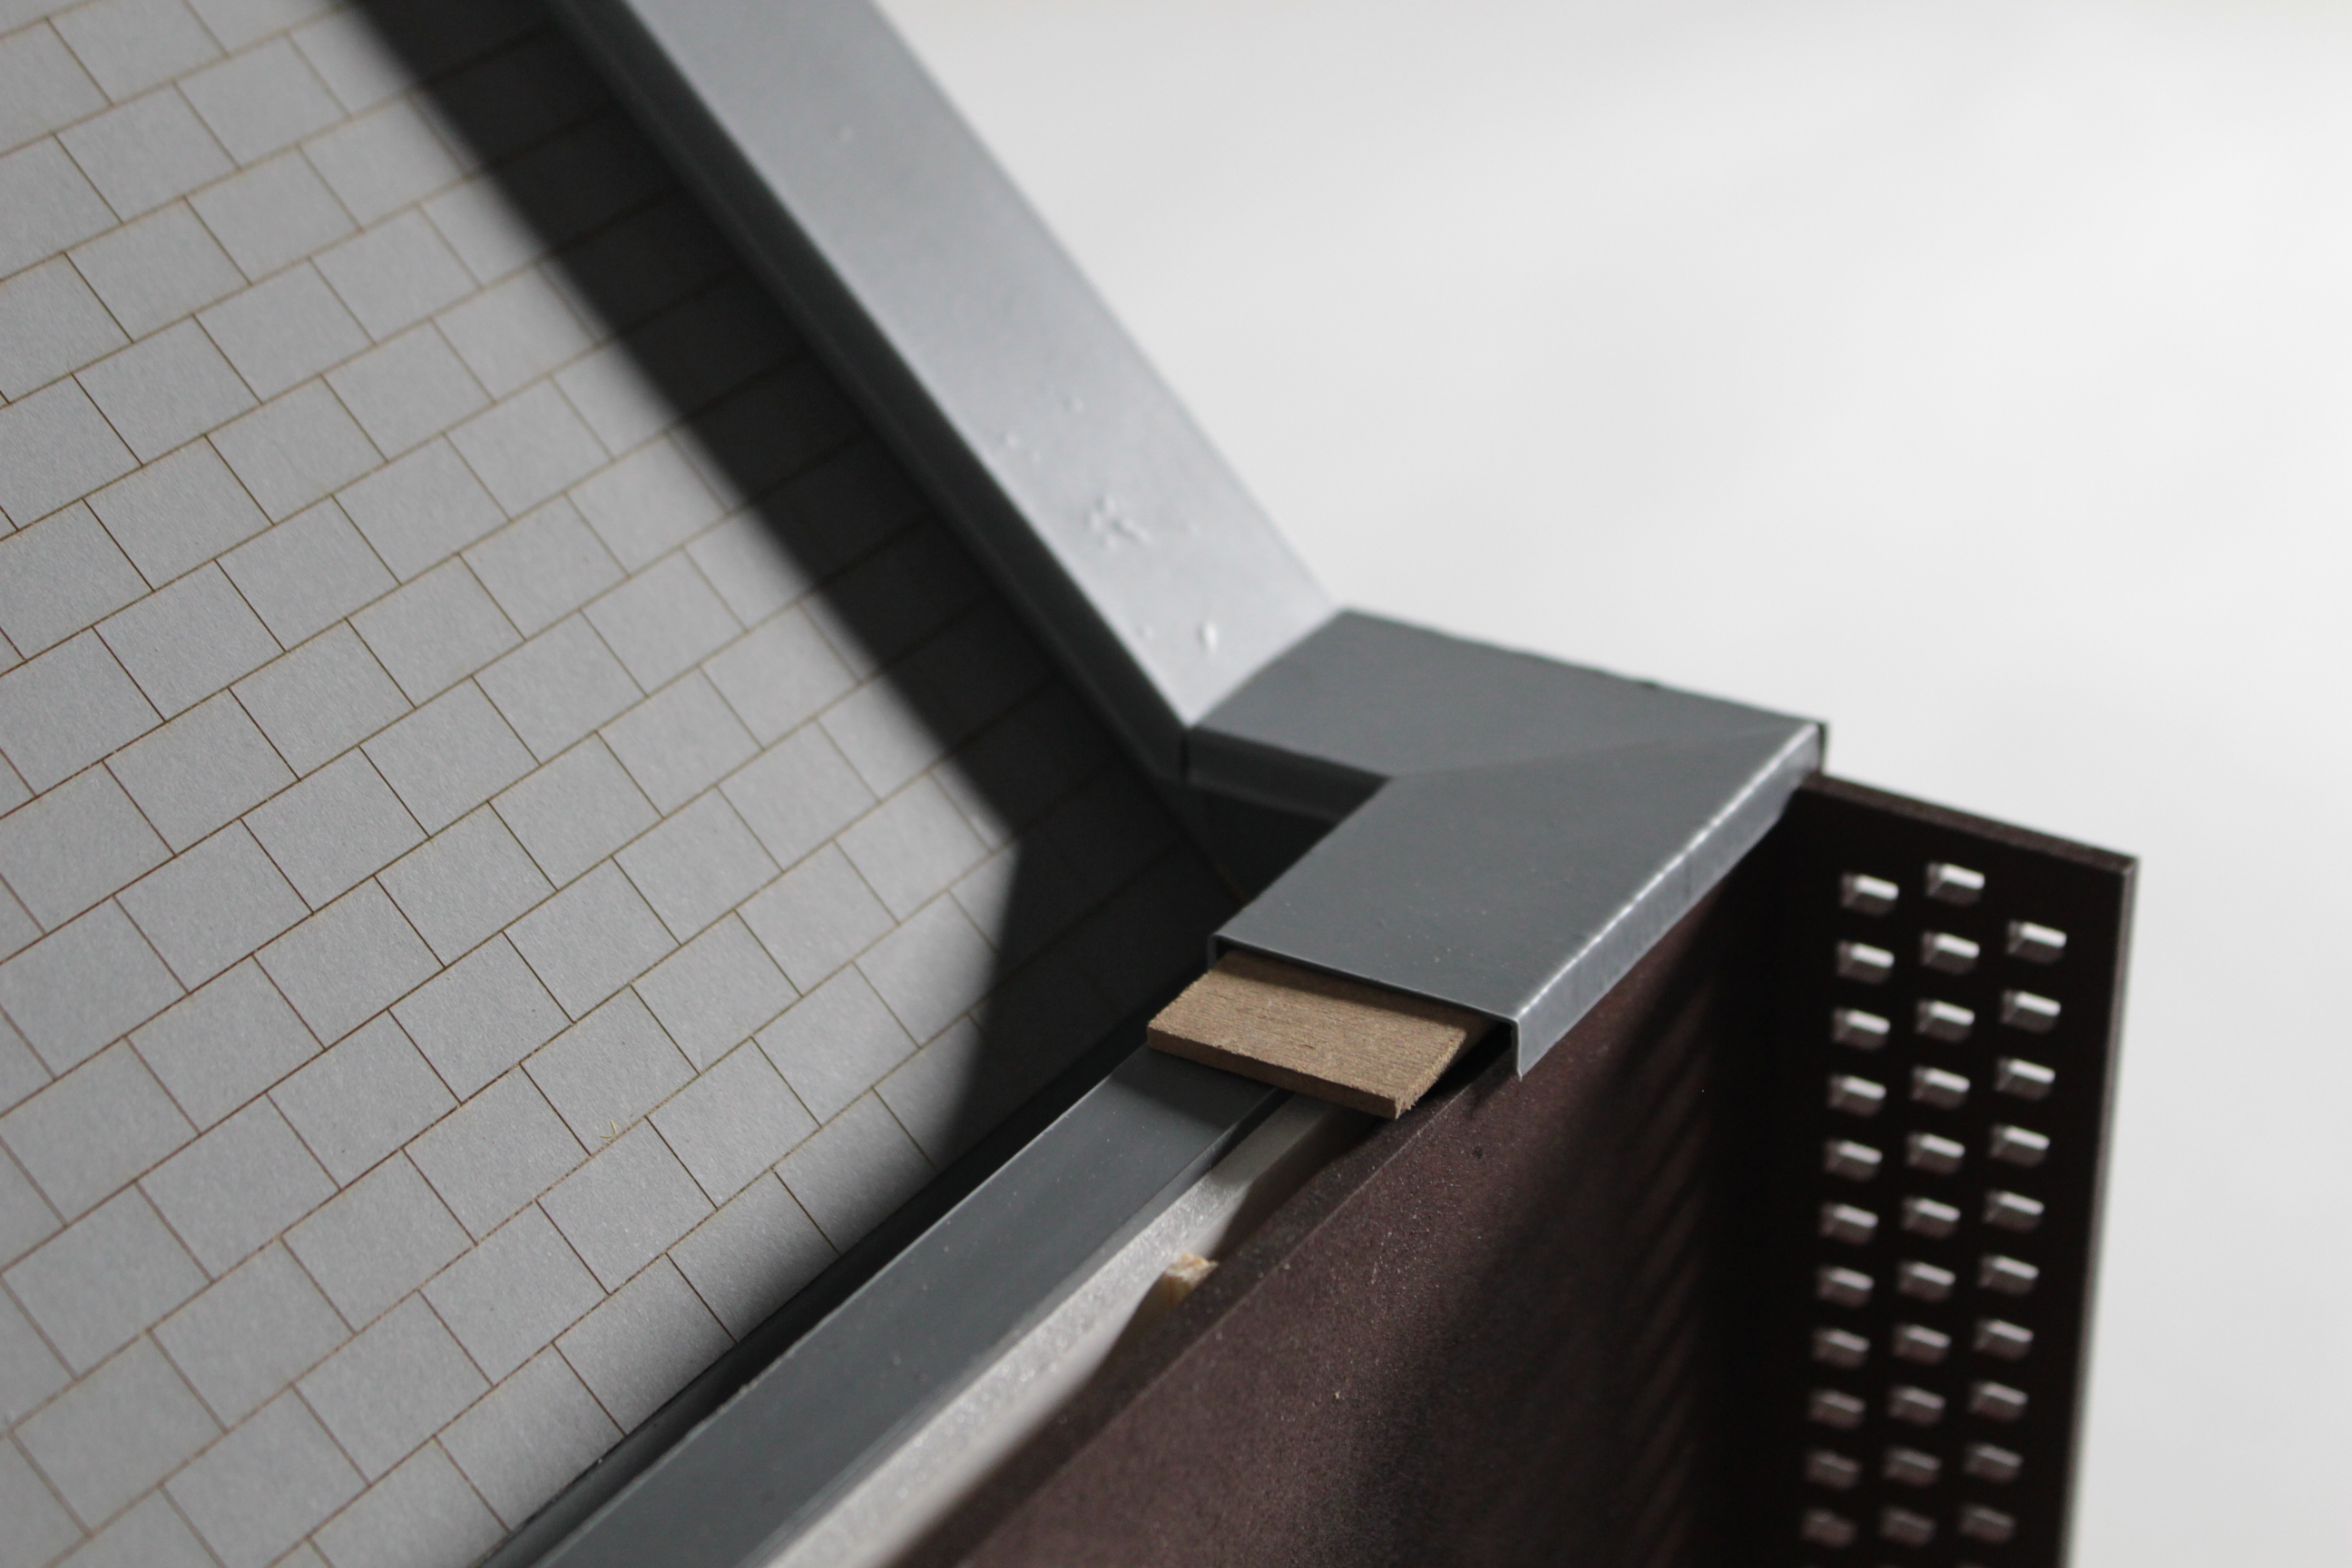
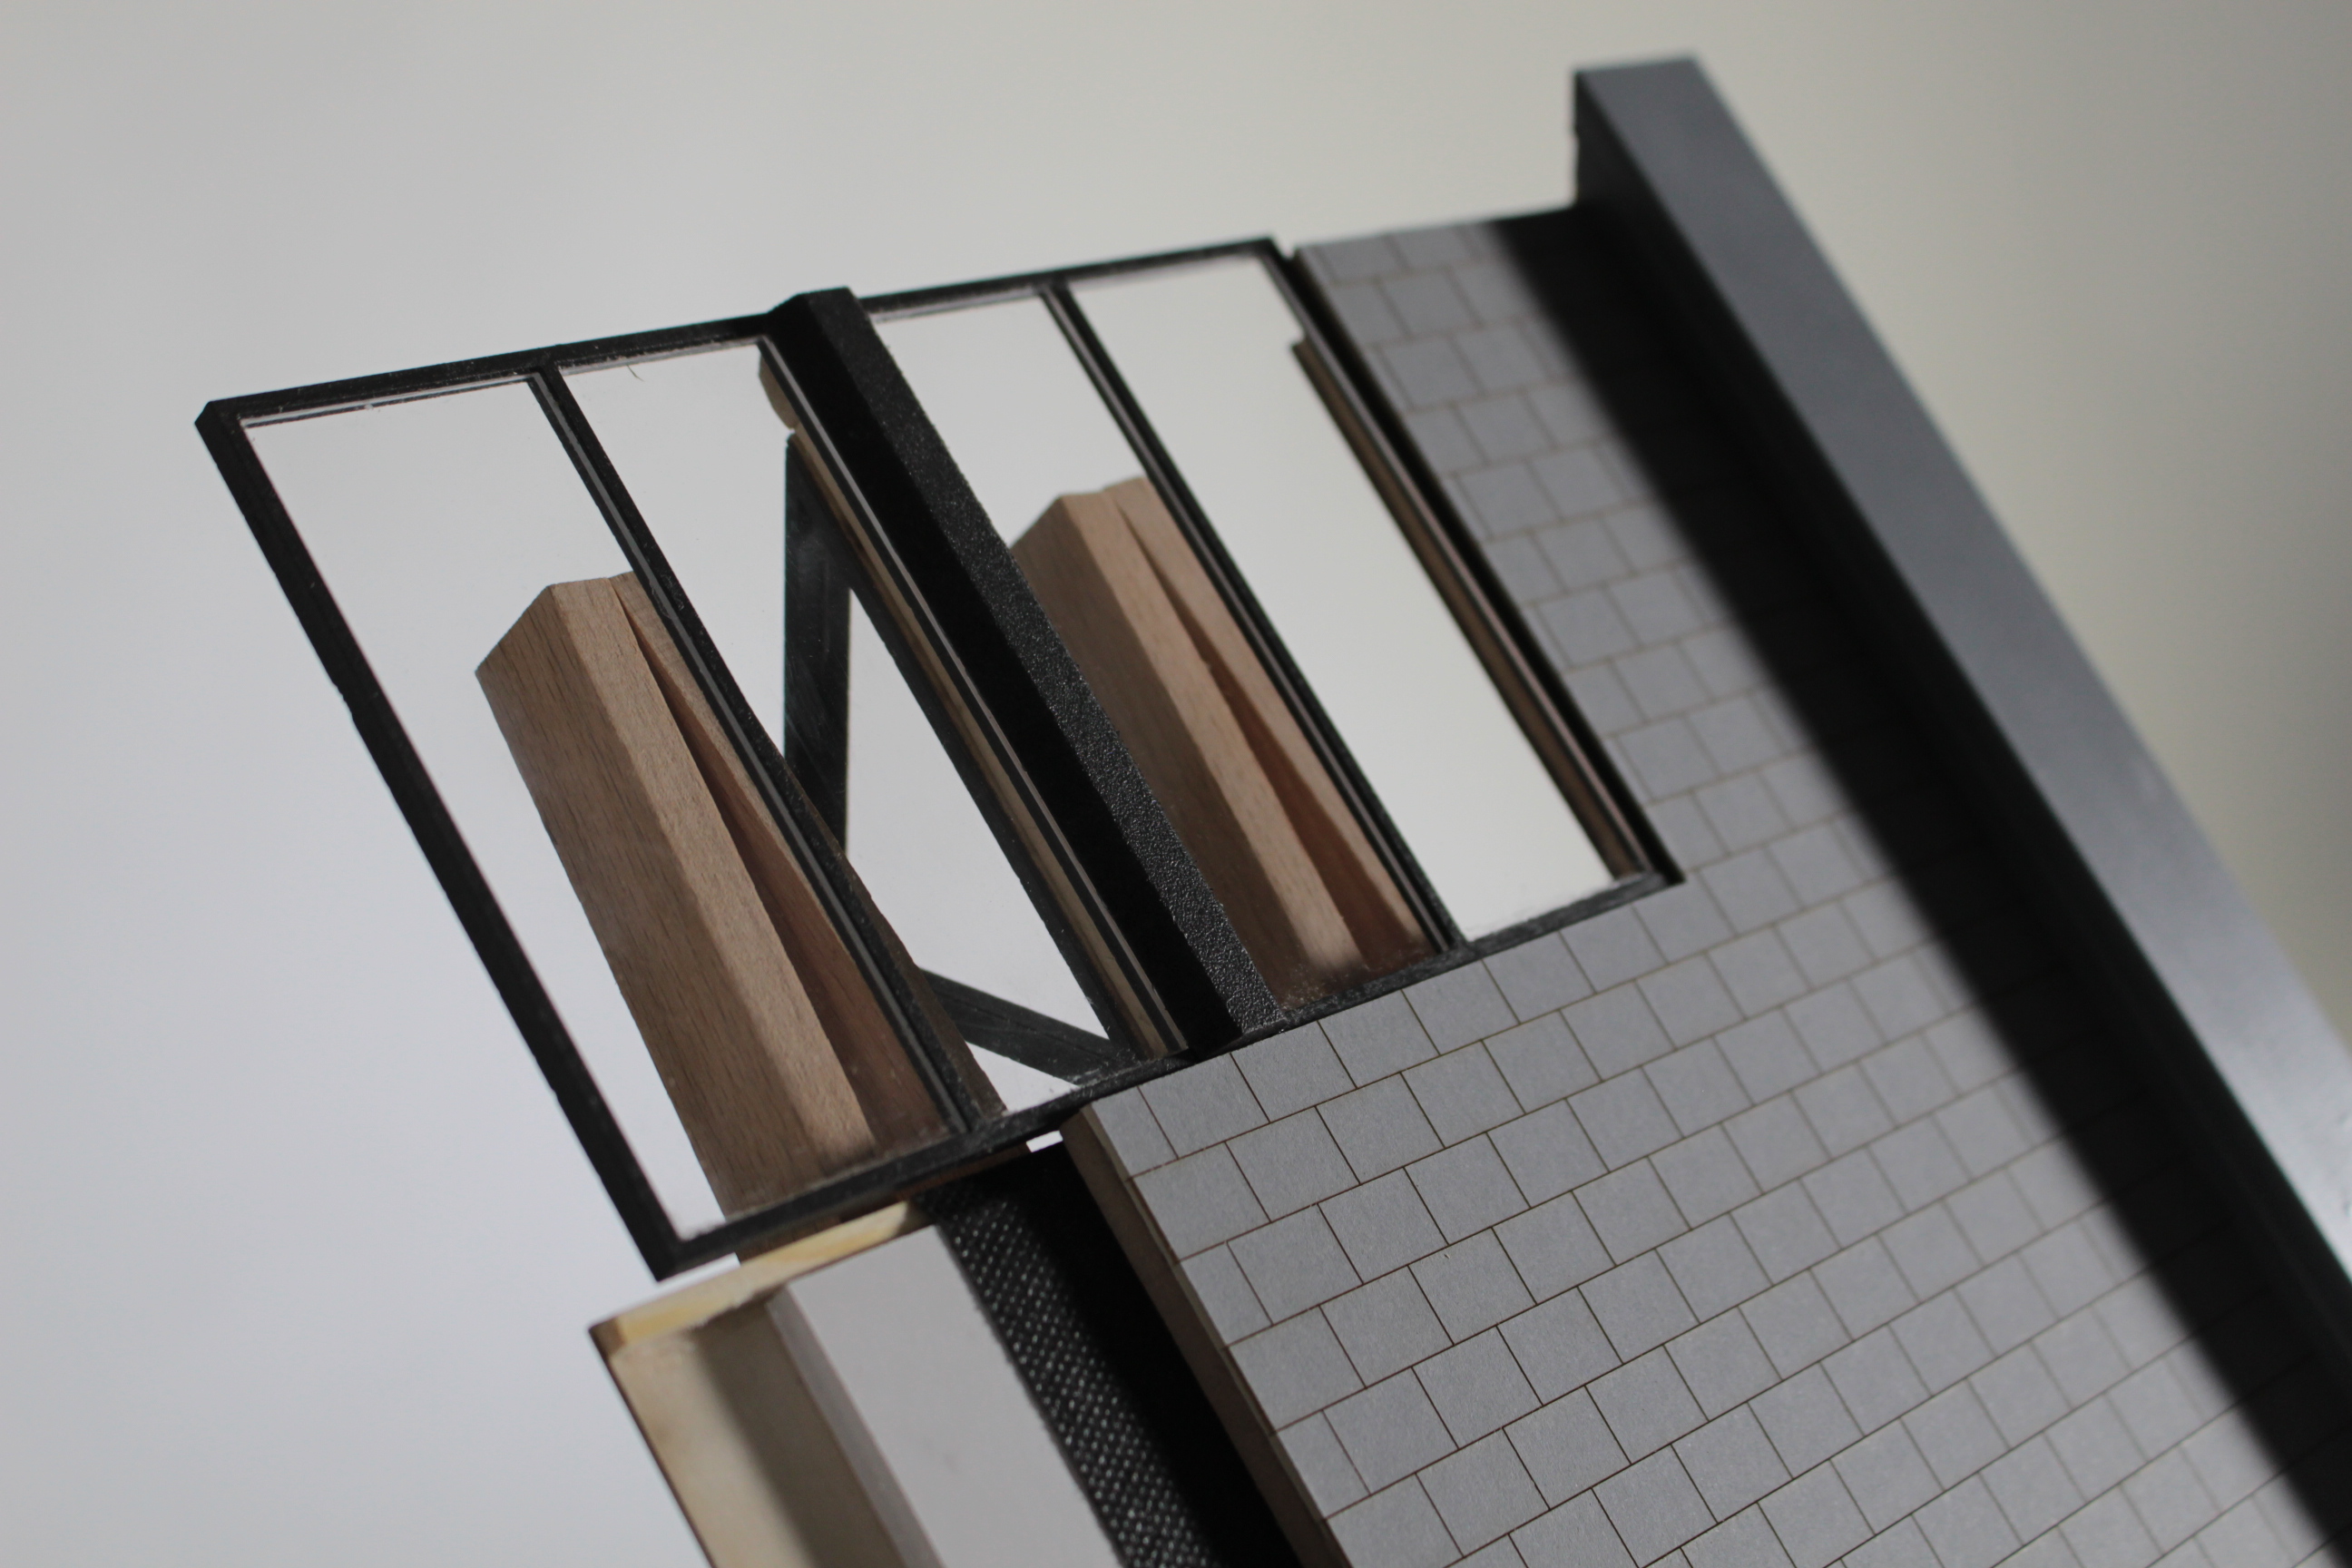
- Roof construction process
-

- Shaping Space Exhibition
Workshop Technical Manager Scott Miller and assistant Saul Parker-Backhouse began the task alongside Manchester School of Architecture students Ruben Greyson and Cezara Mișca to produce a faithful interpretation of the original in time for the exhibition opening.
Workshop Technician Scott Miller said: “It was a pleasure to collaborate on such a prestigious project and a truly insightful experience for me, Saul and our student assistants.
After the conclusion of the exhibition an agreement between the collaborators led to the models being accepted into the newly established Royal Albert Hall archive.
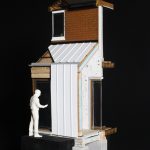
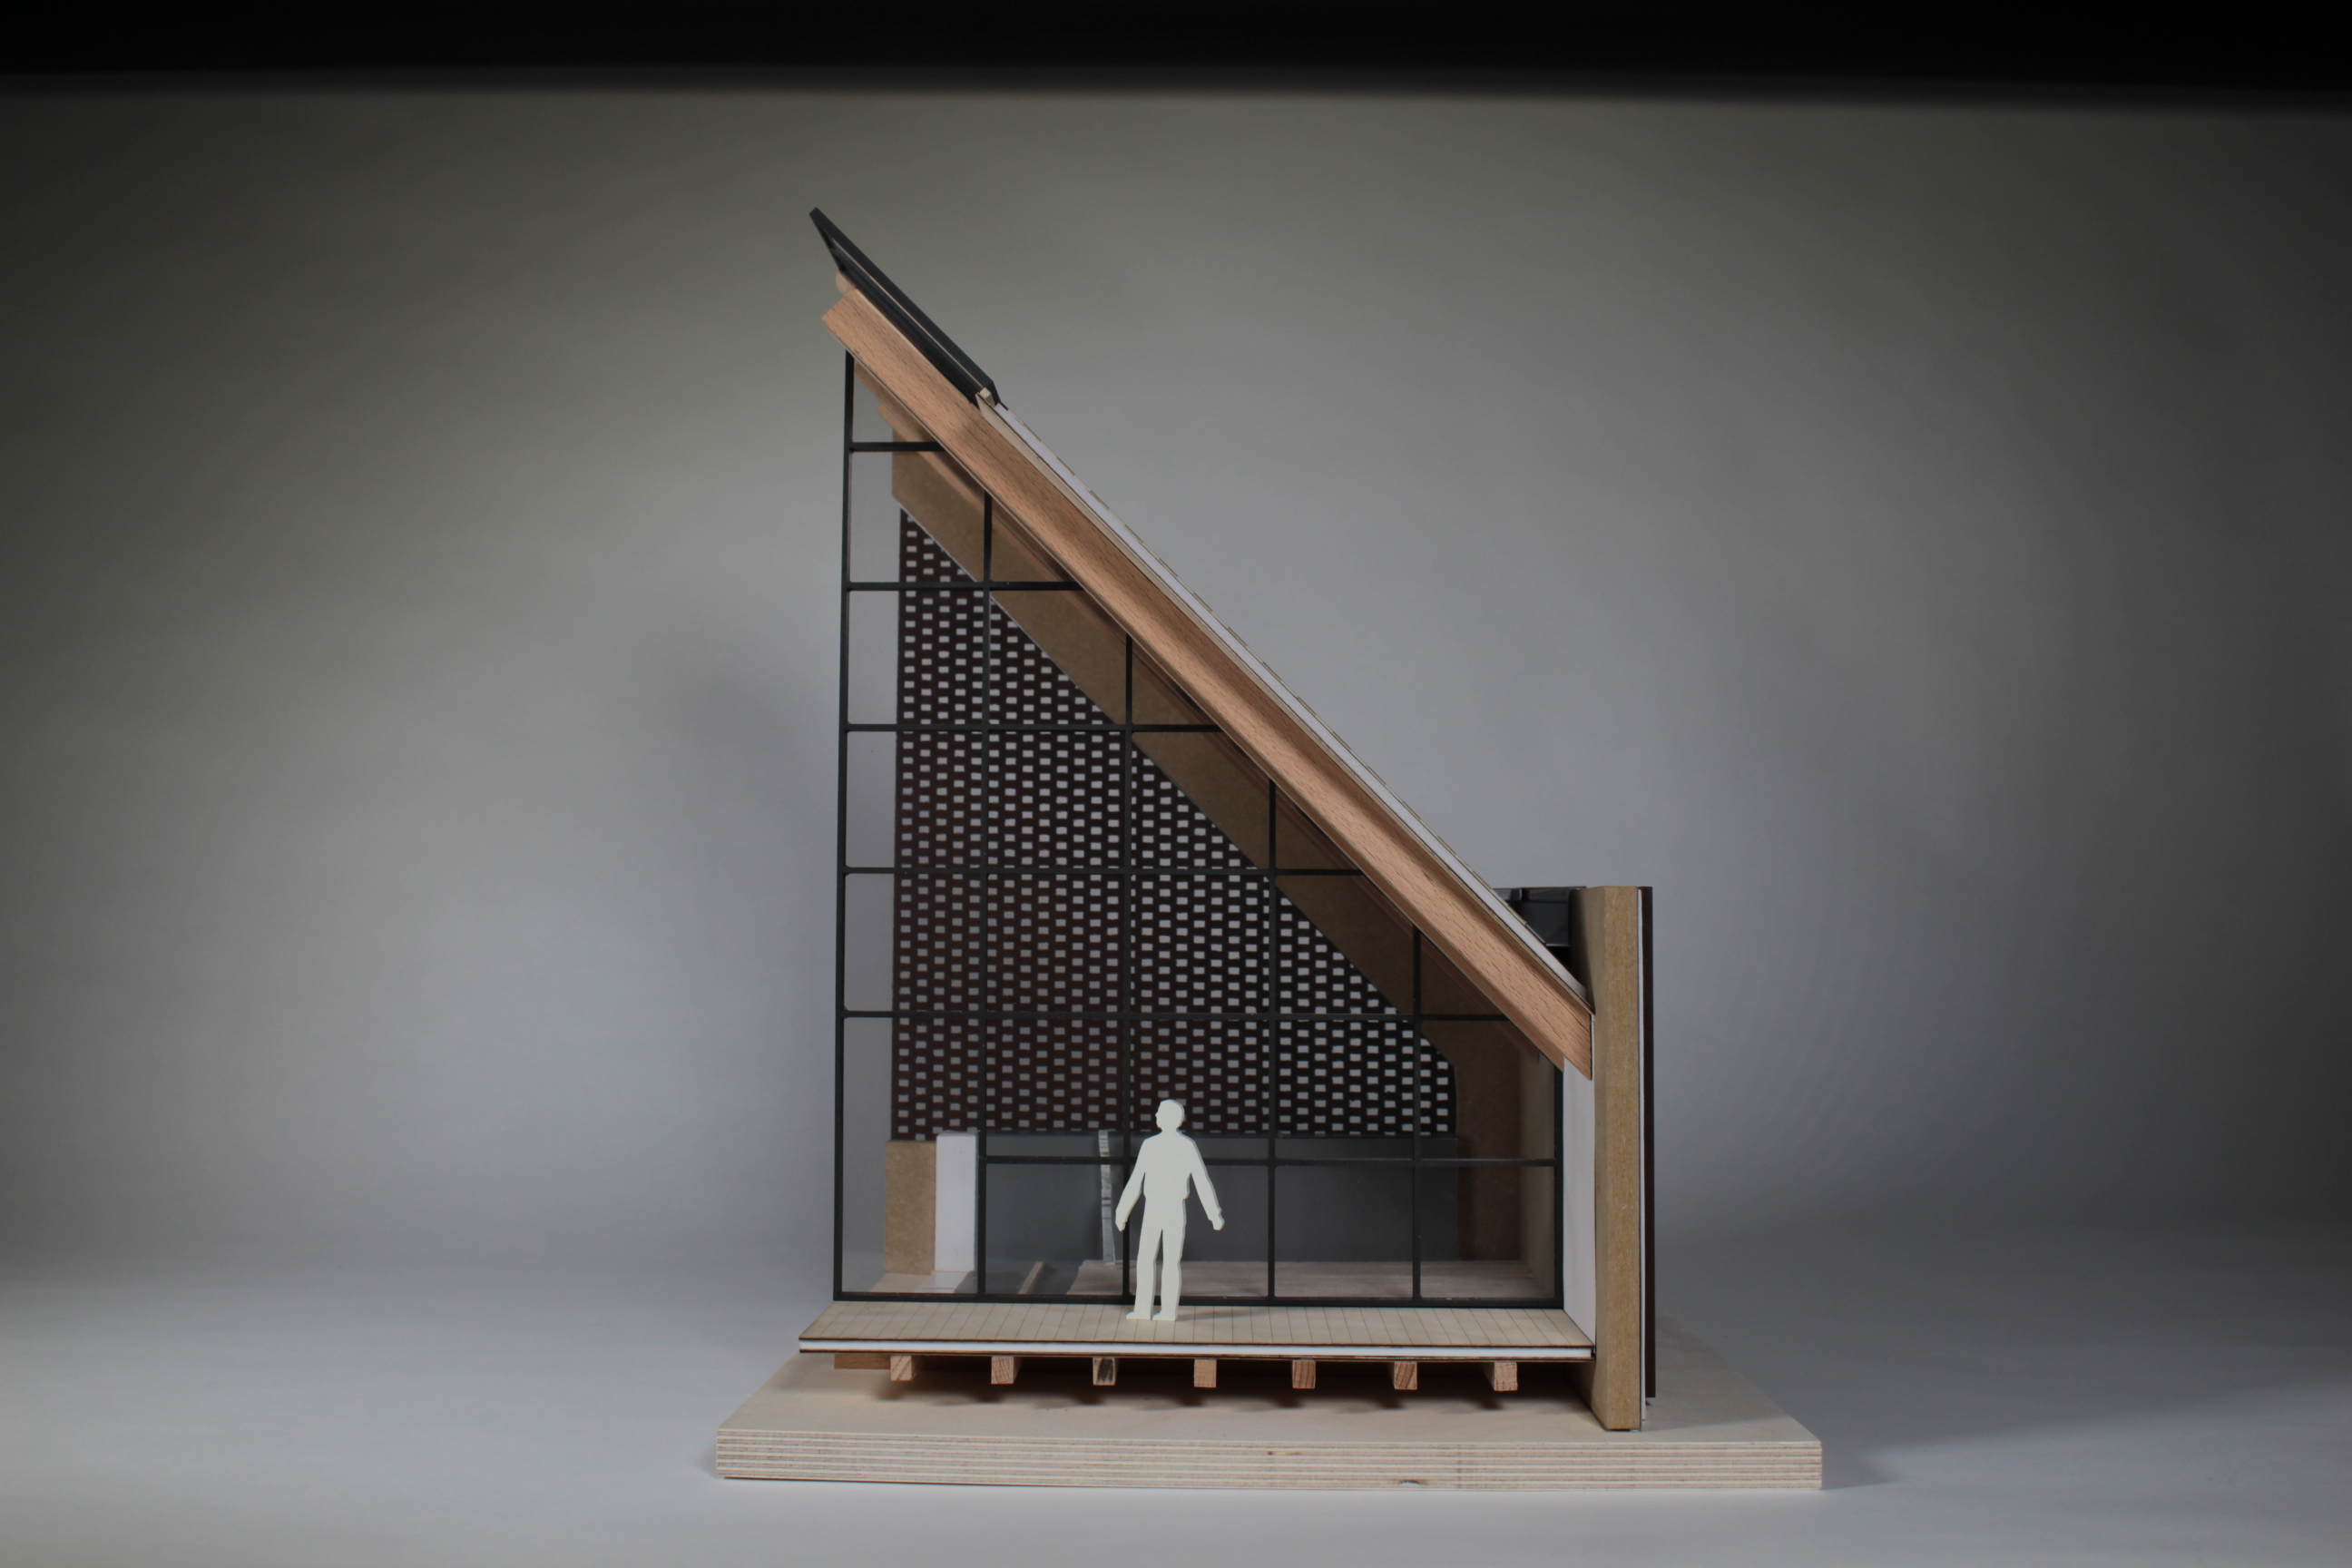
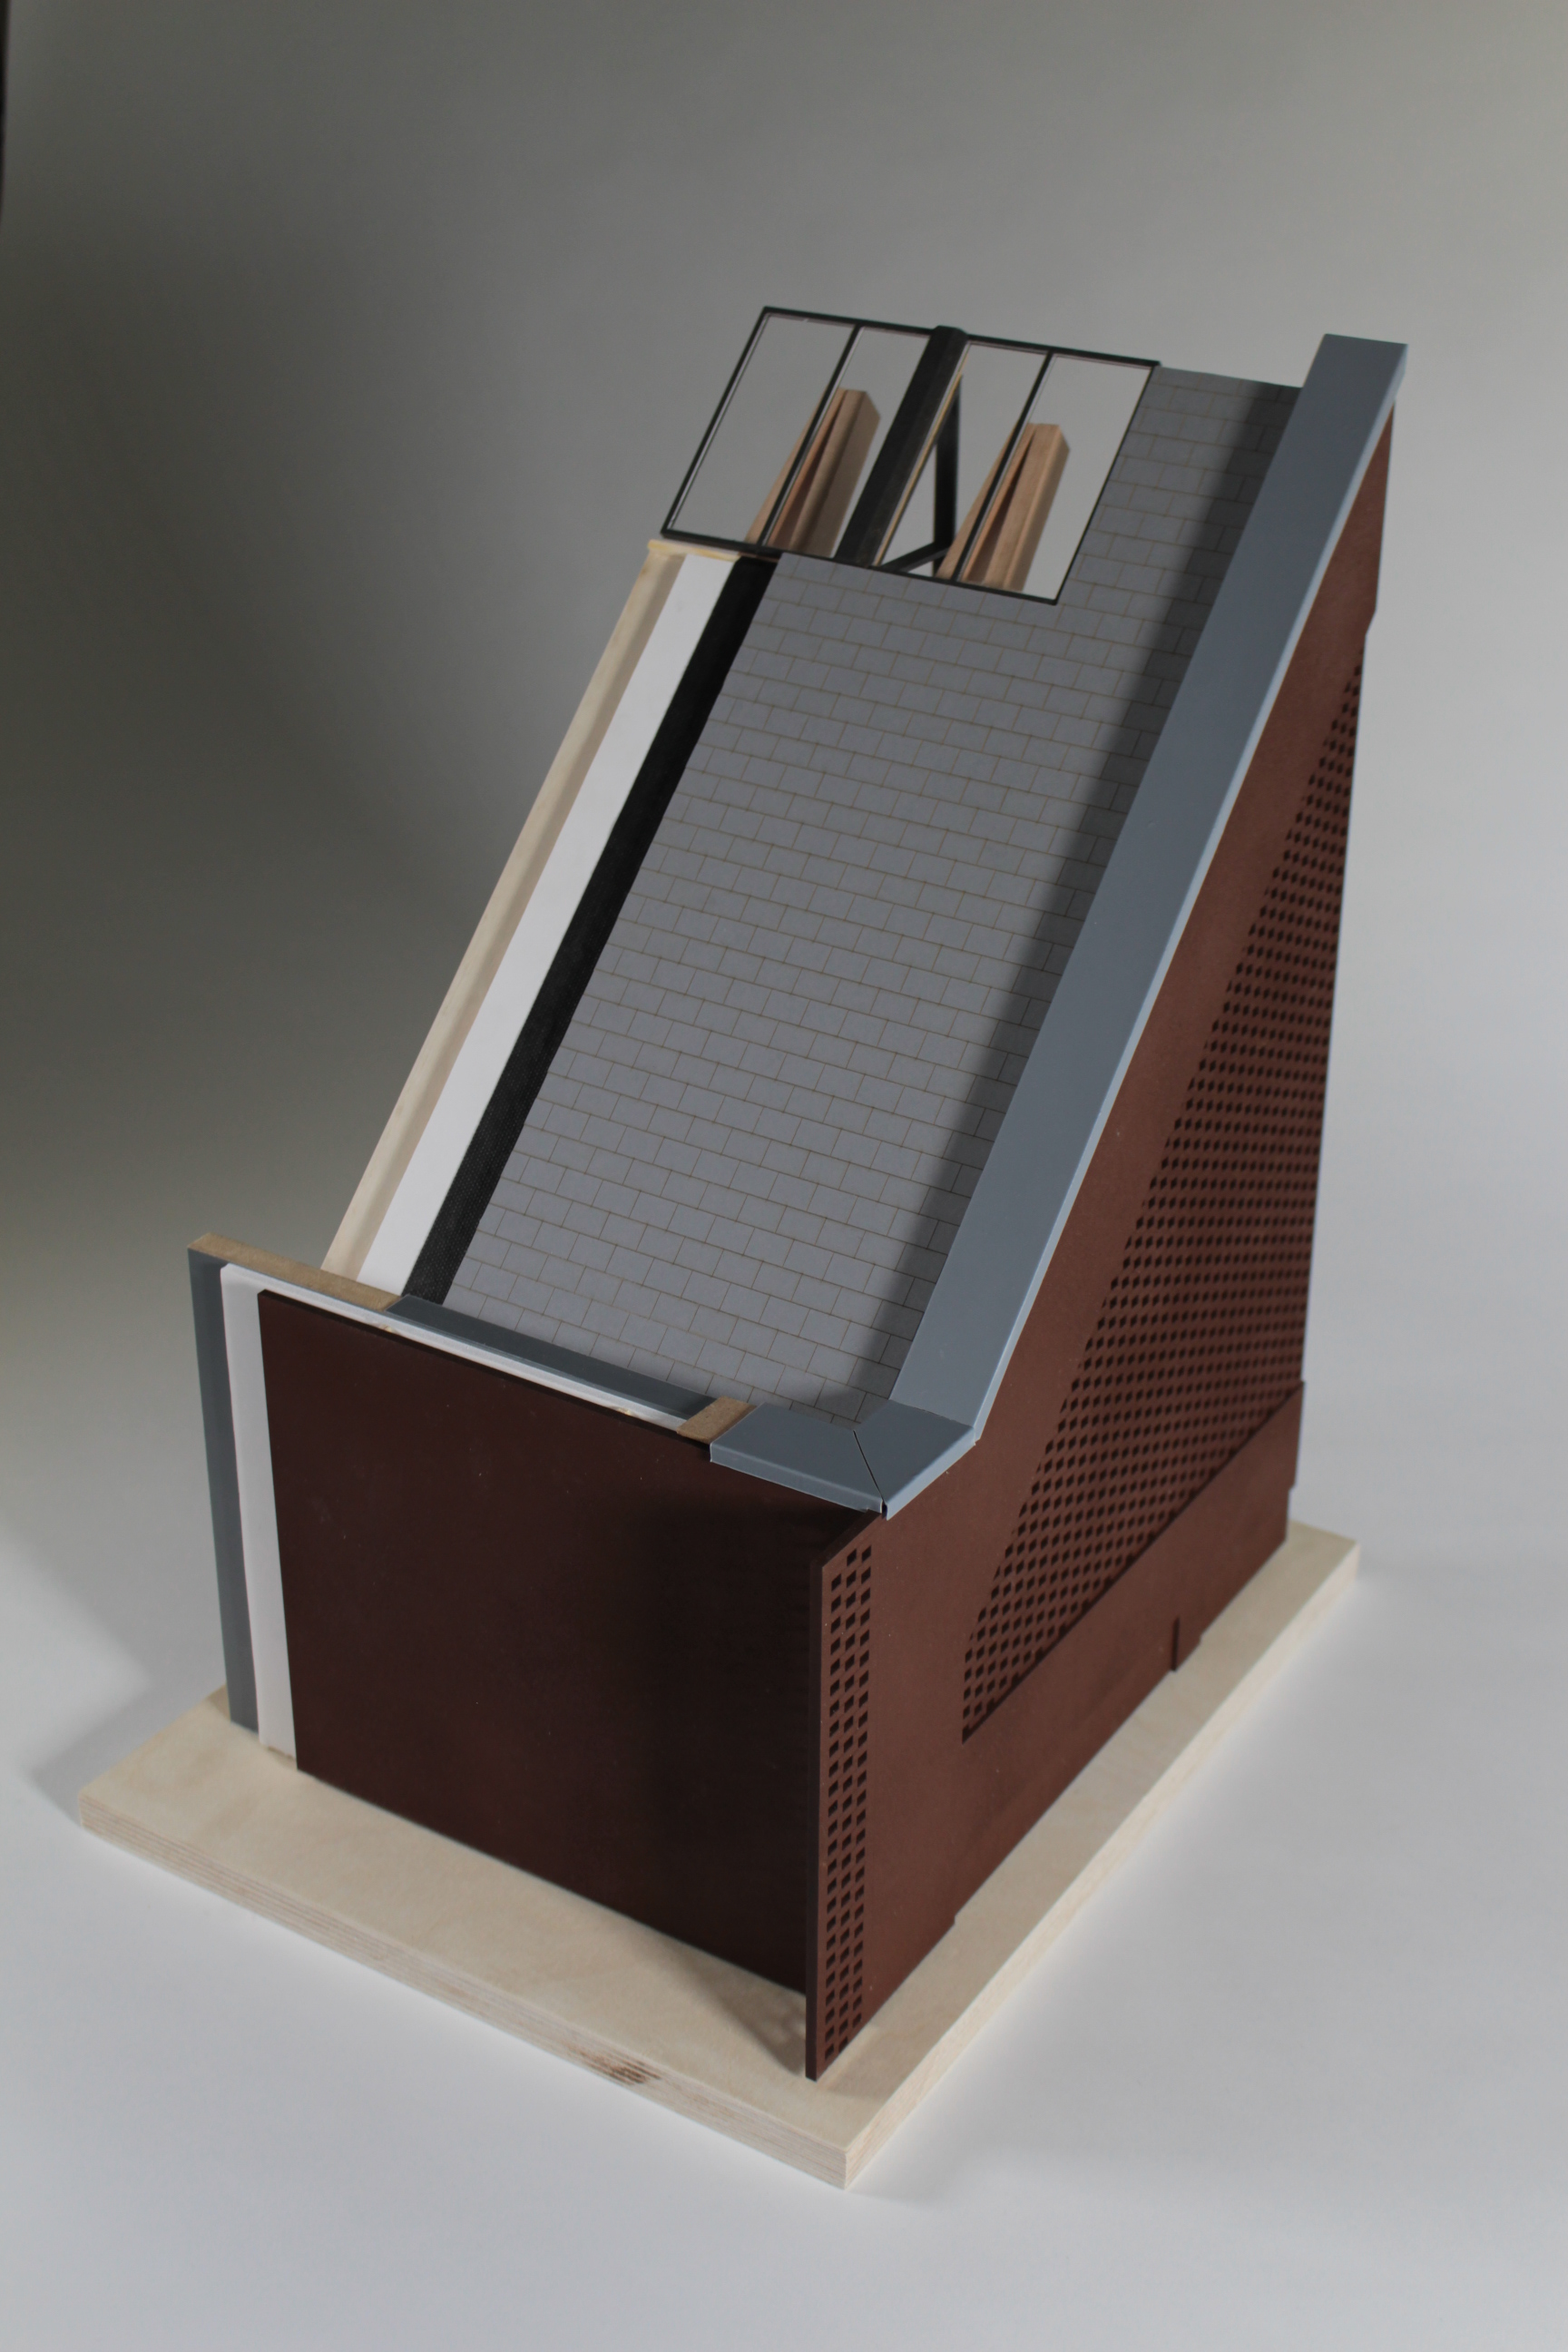
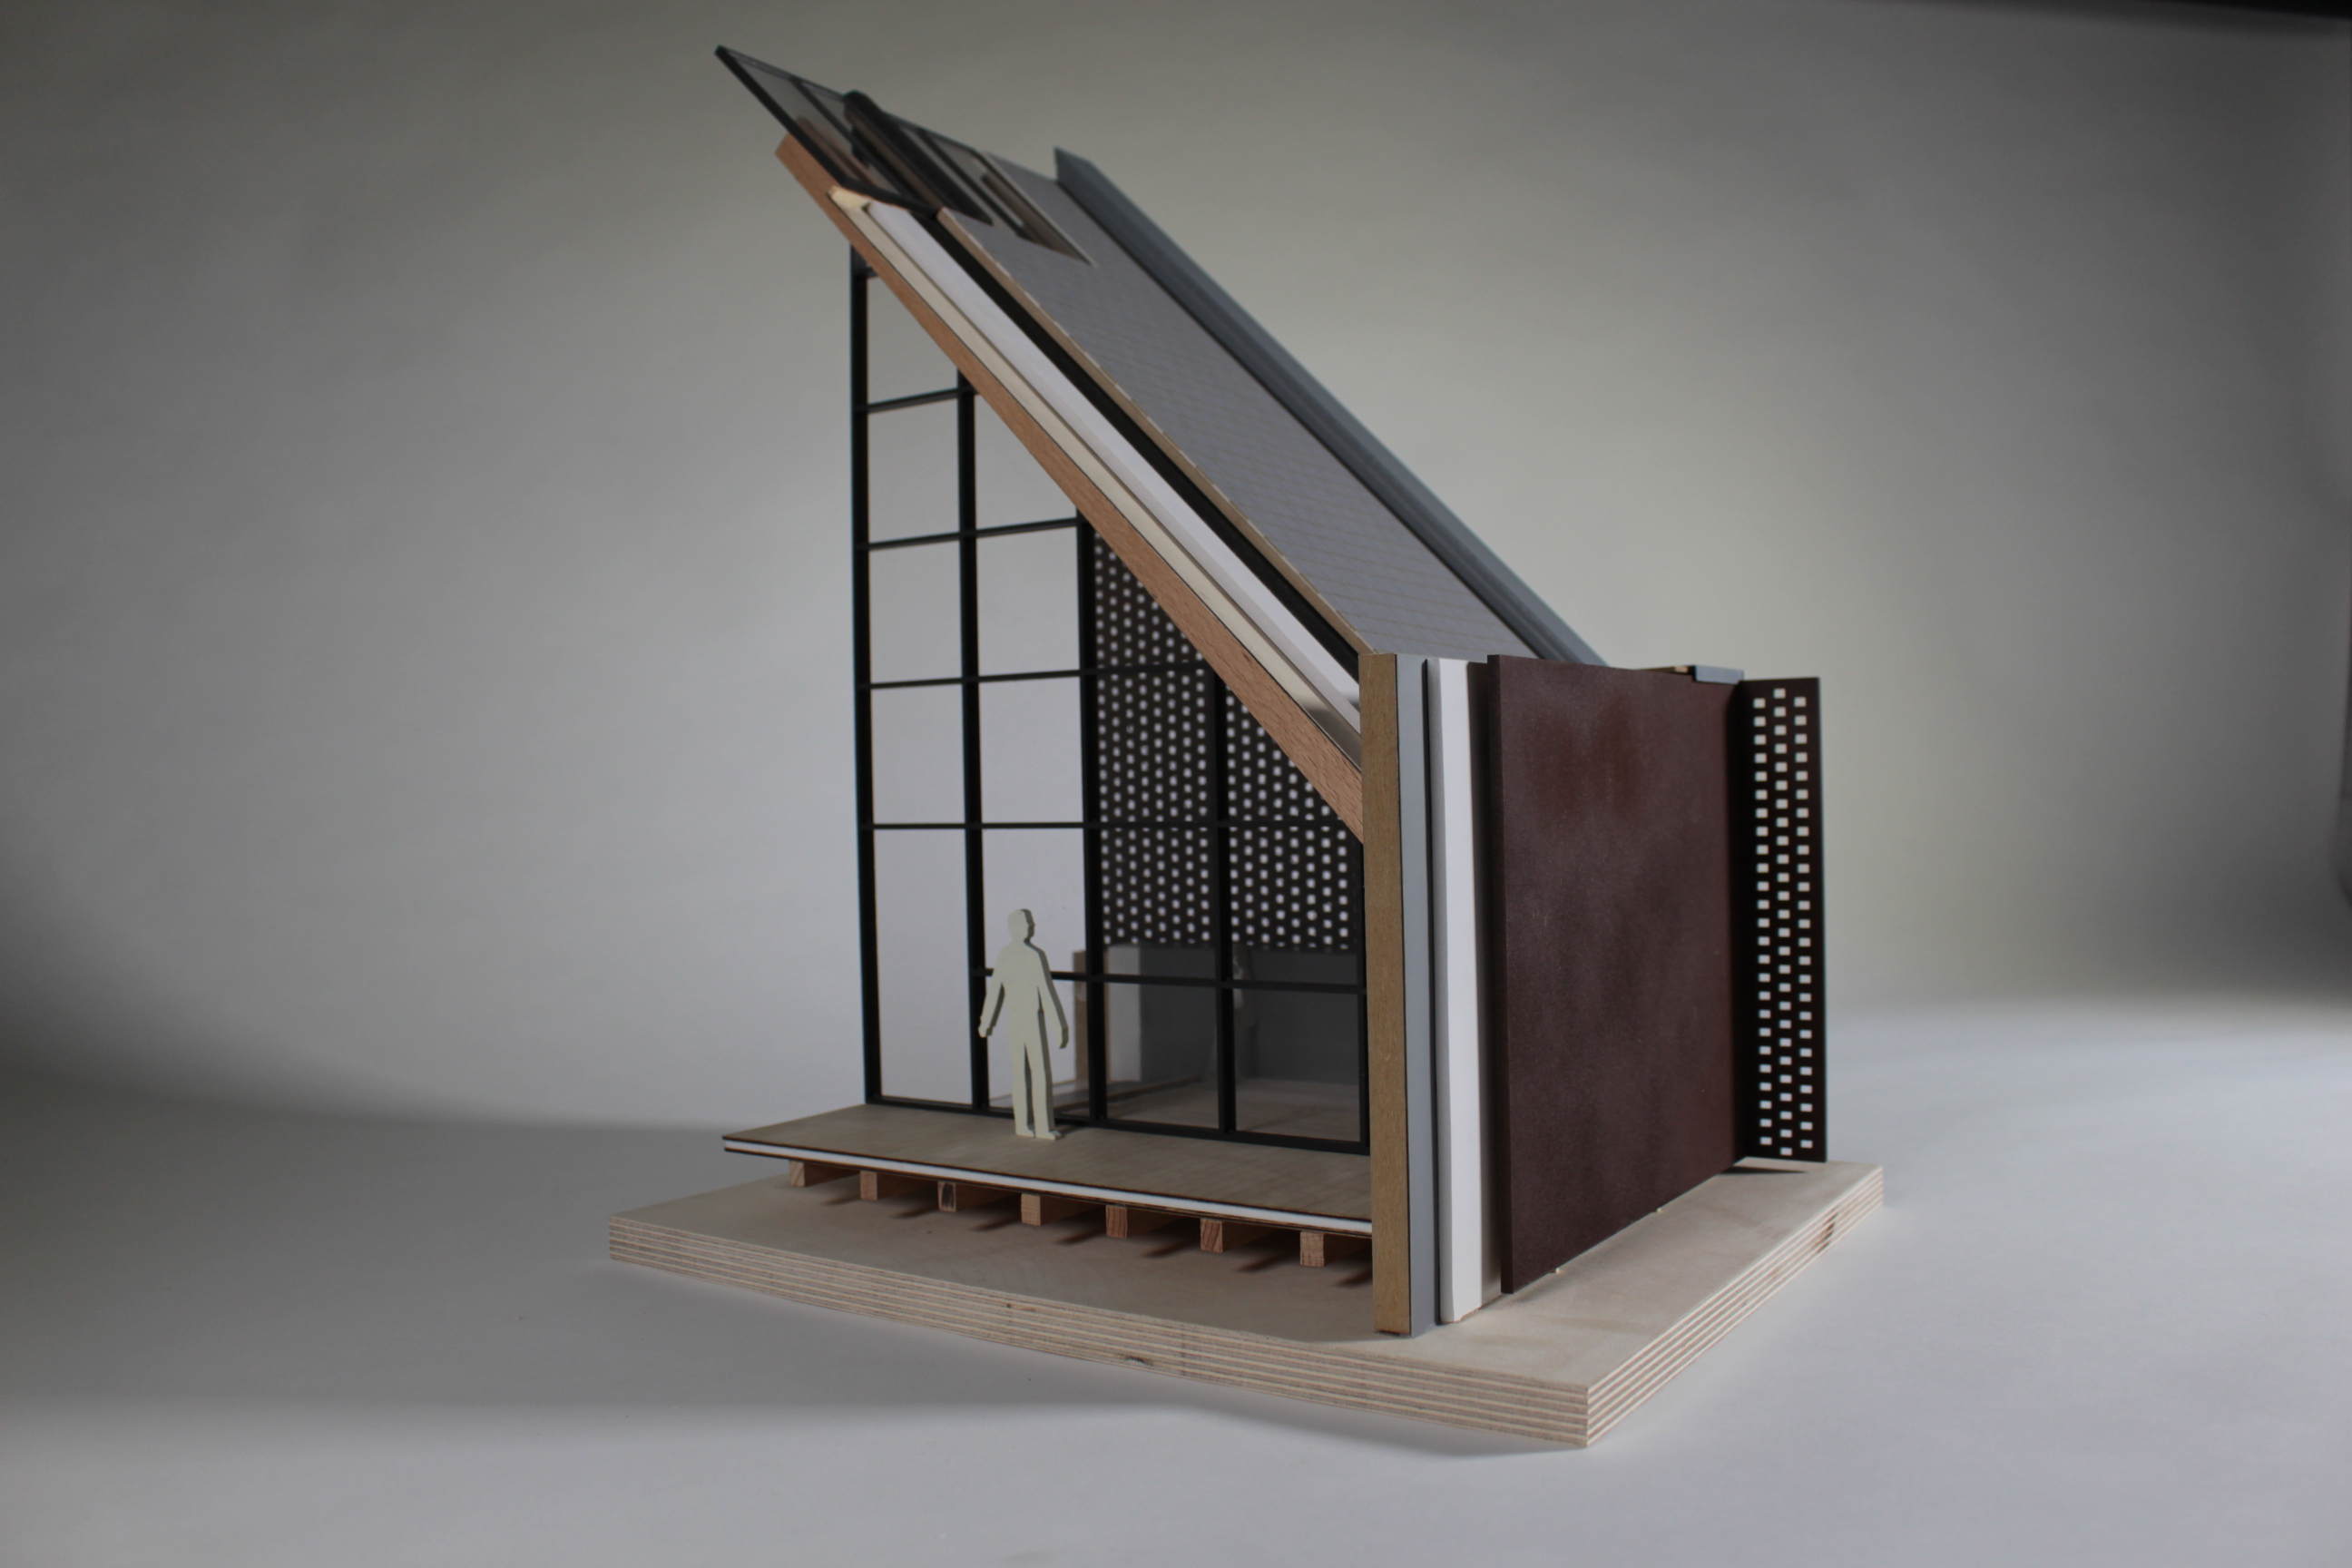
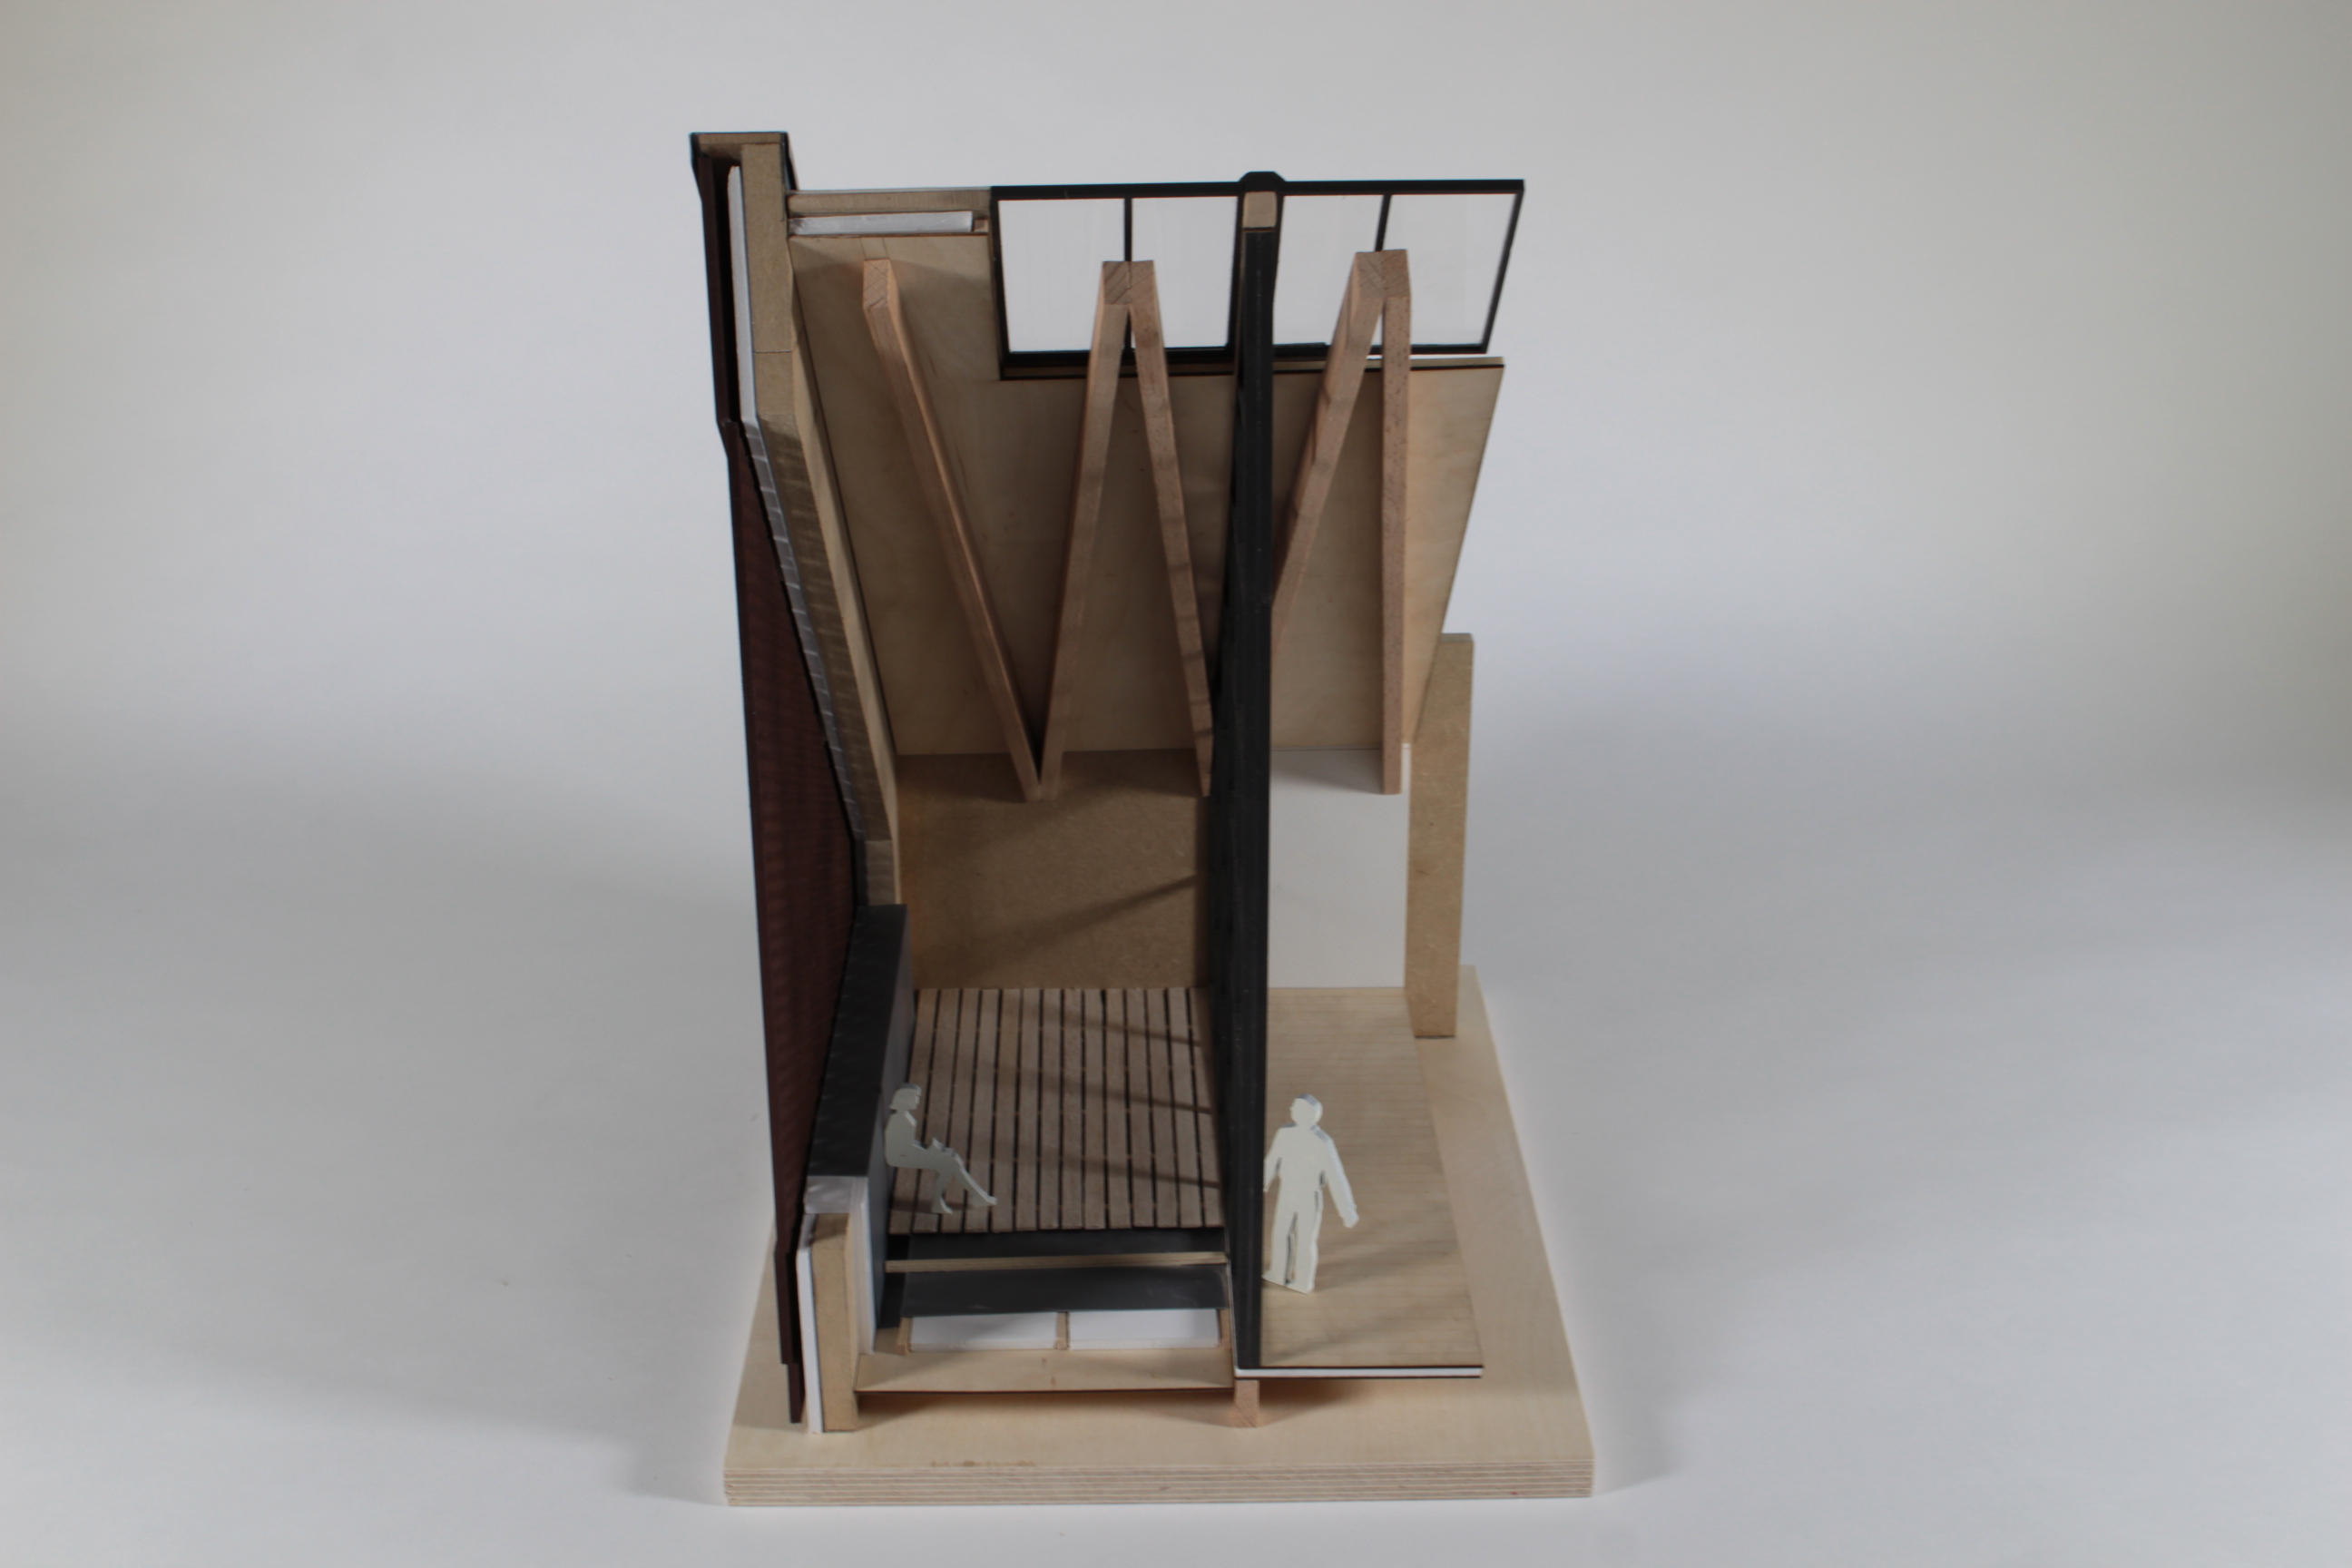
-

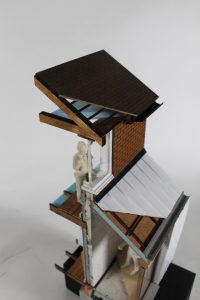
- The three quarter section with roof lifted
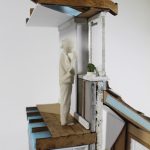
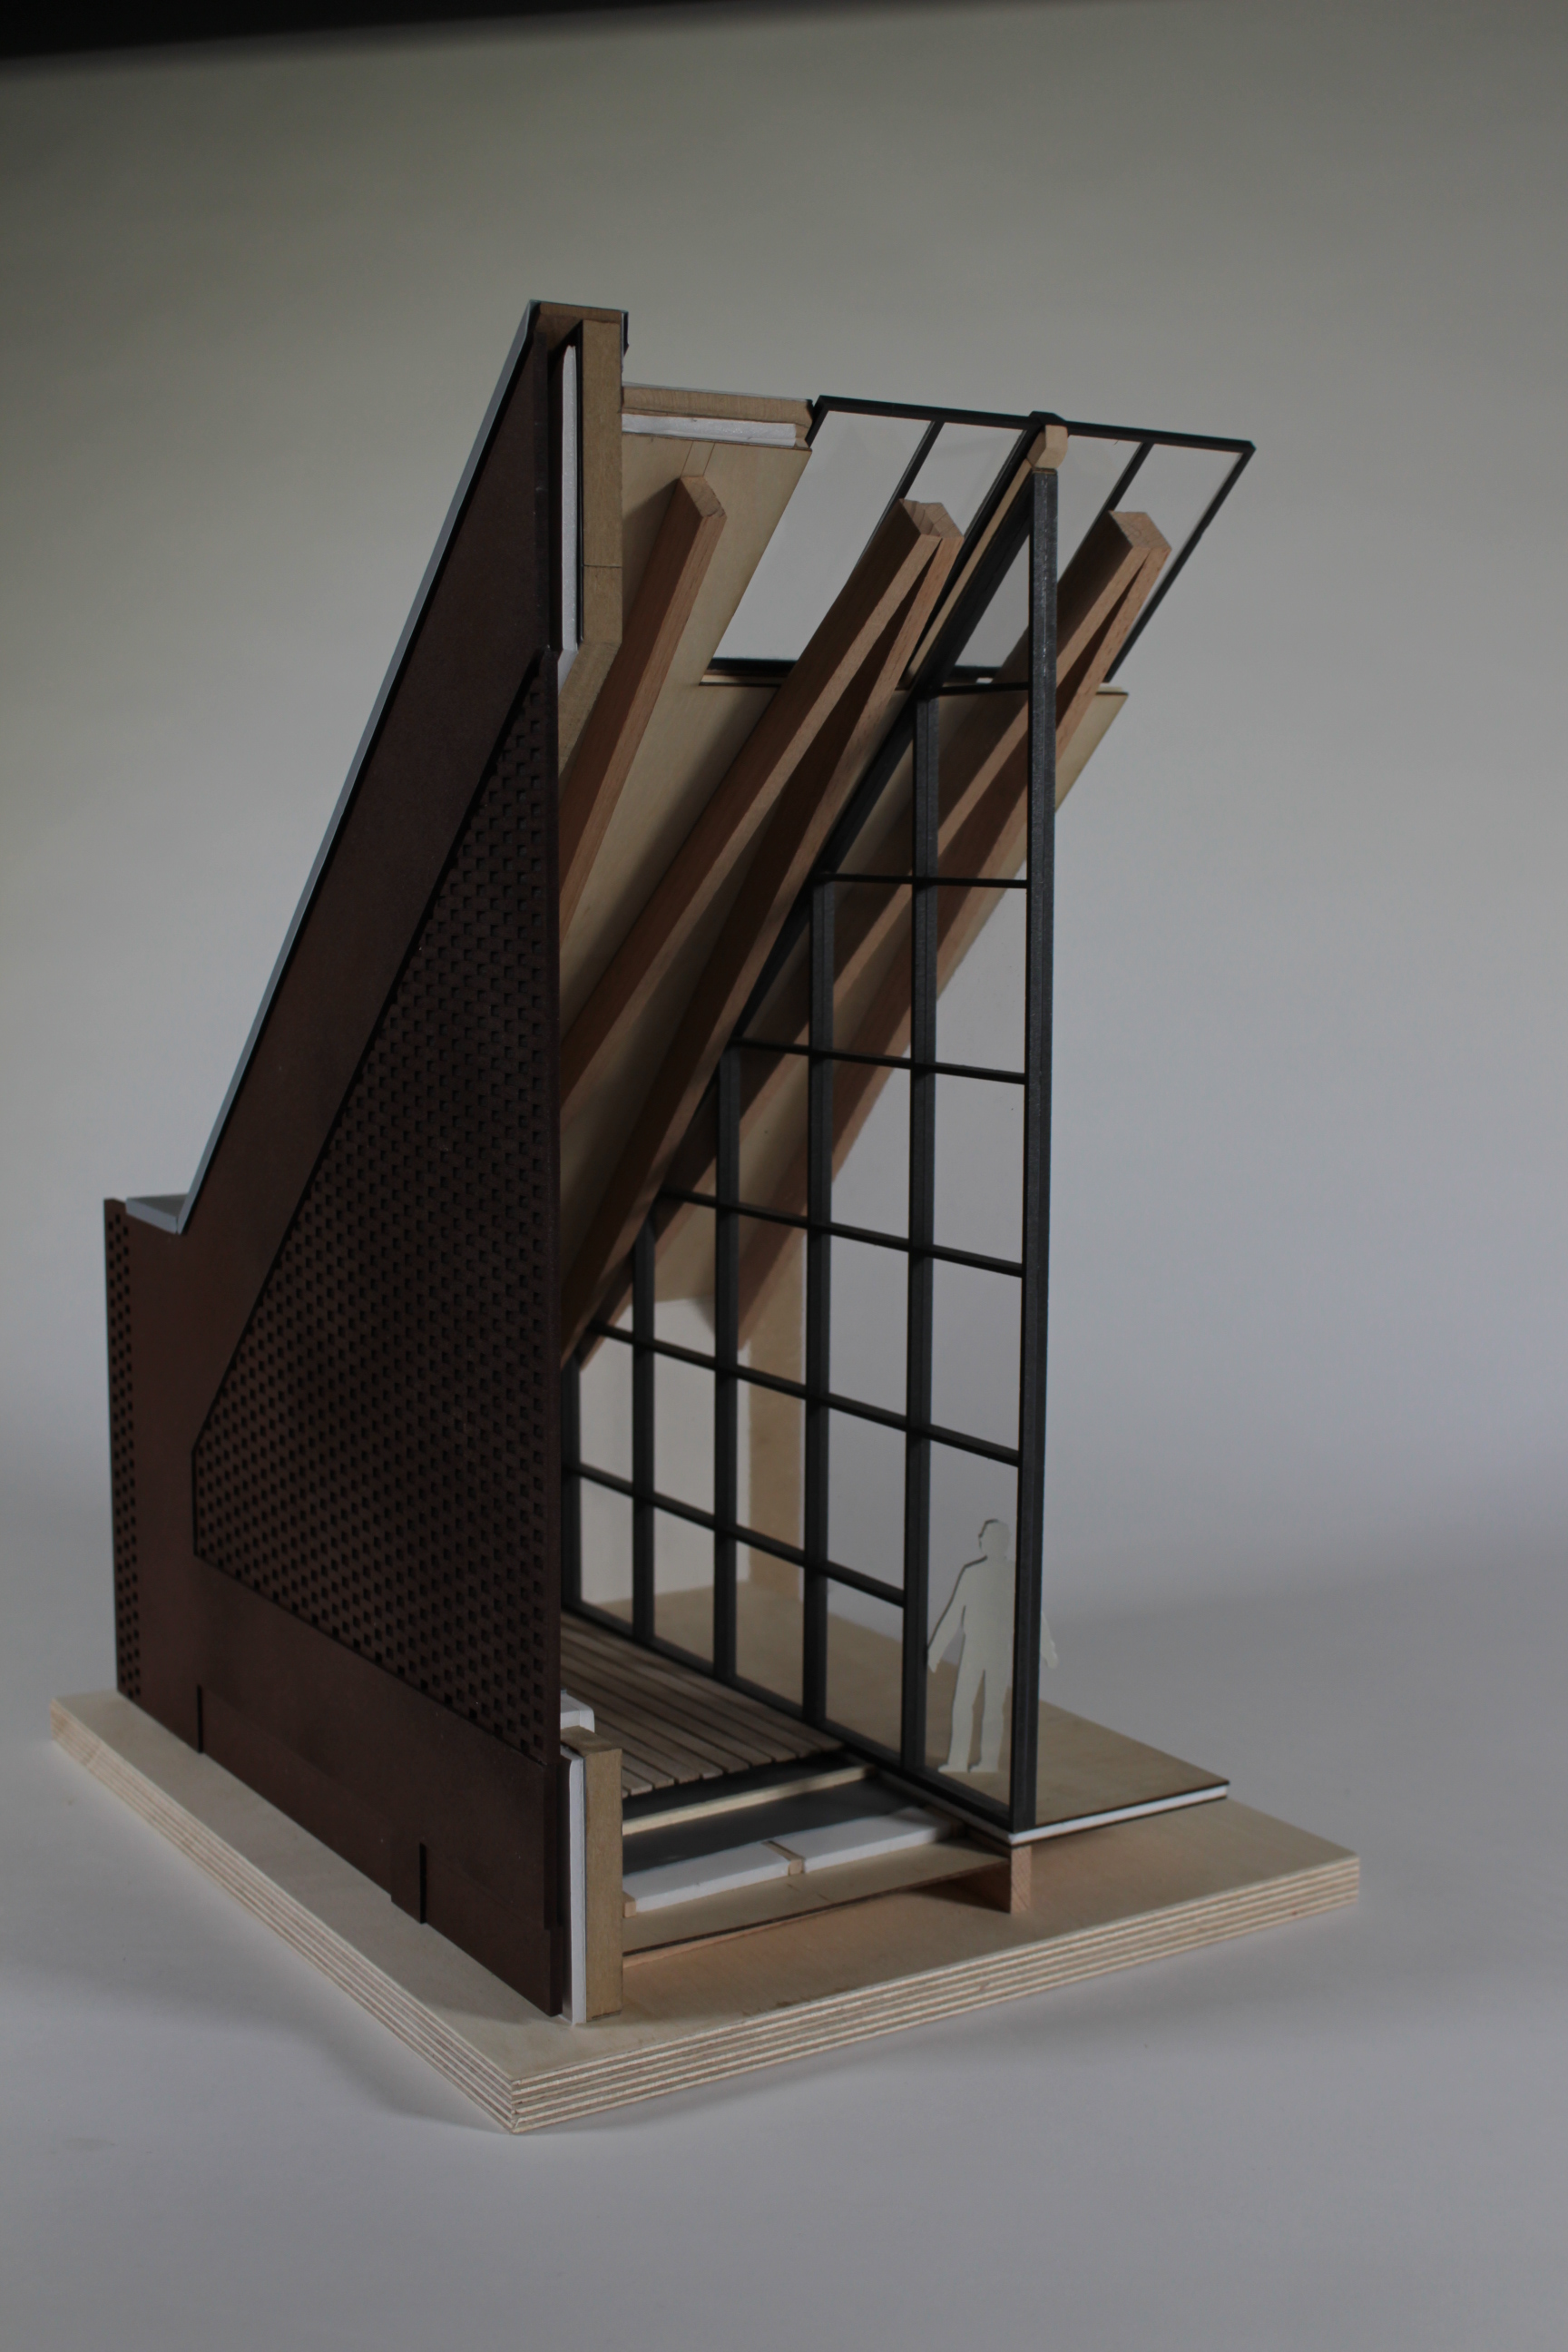
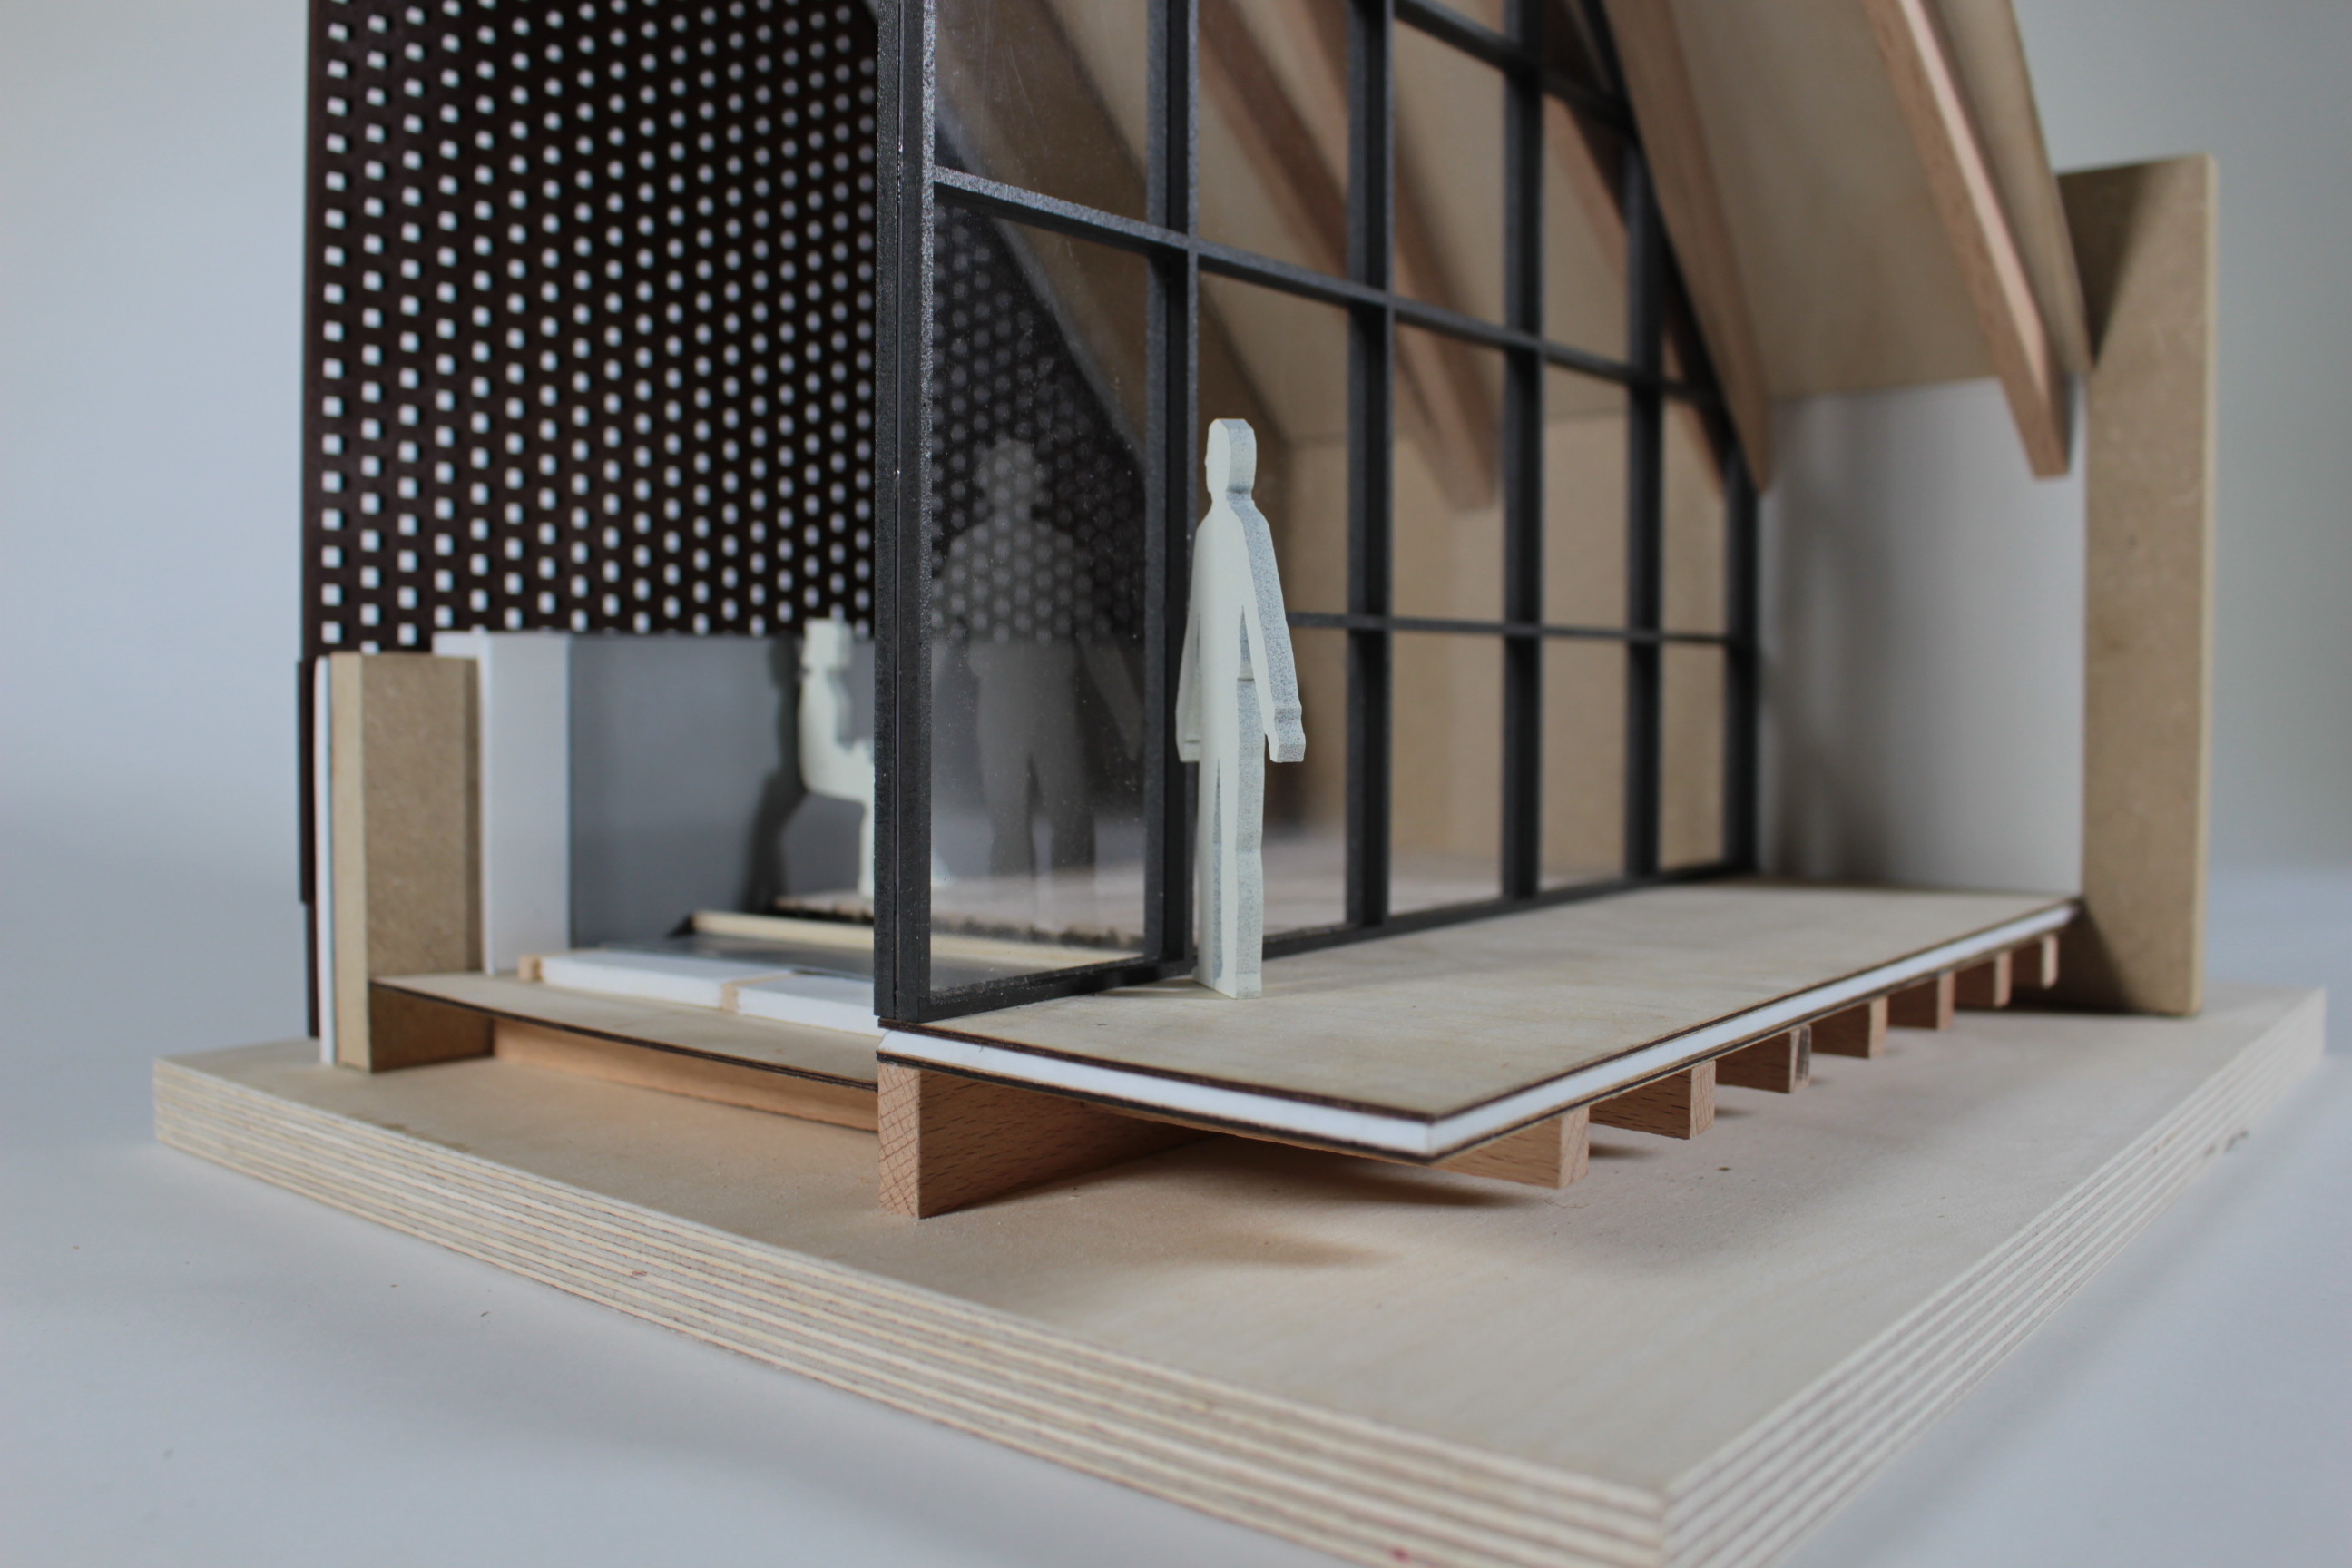
-

- Quarter section showing the surviving area of the original model in white.
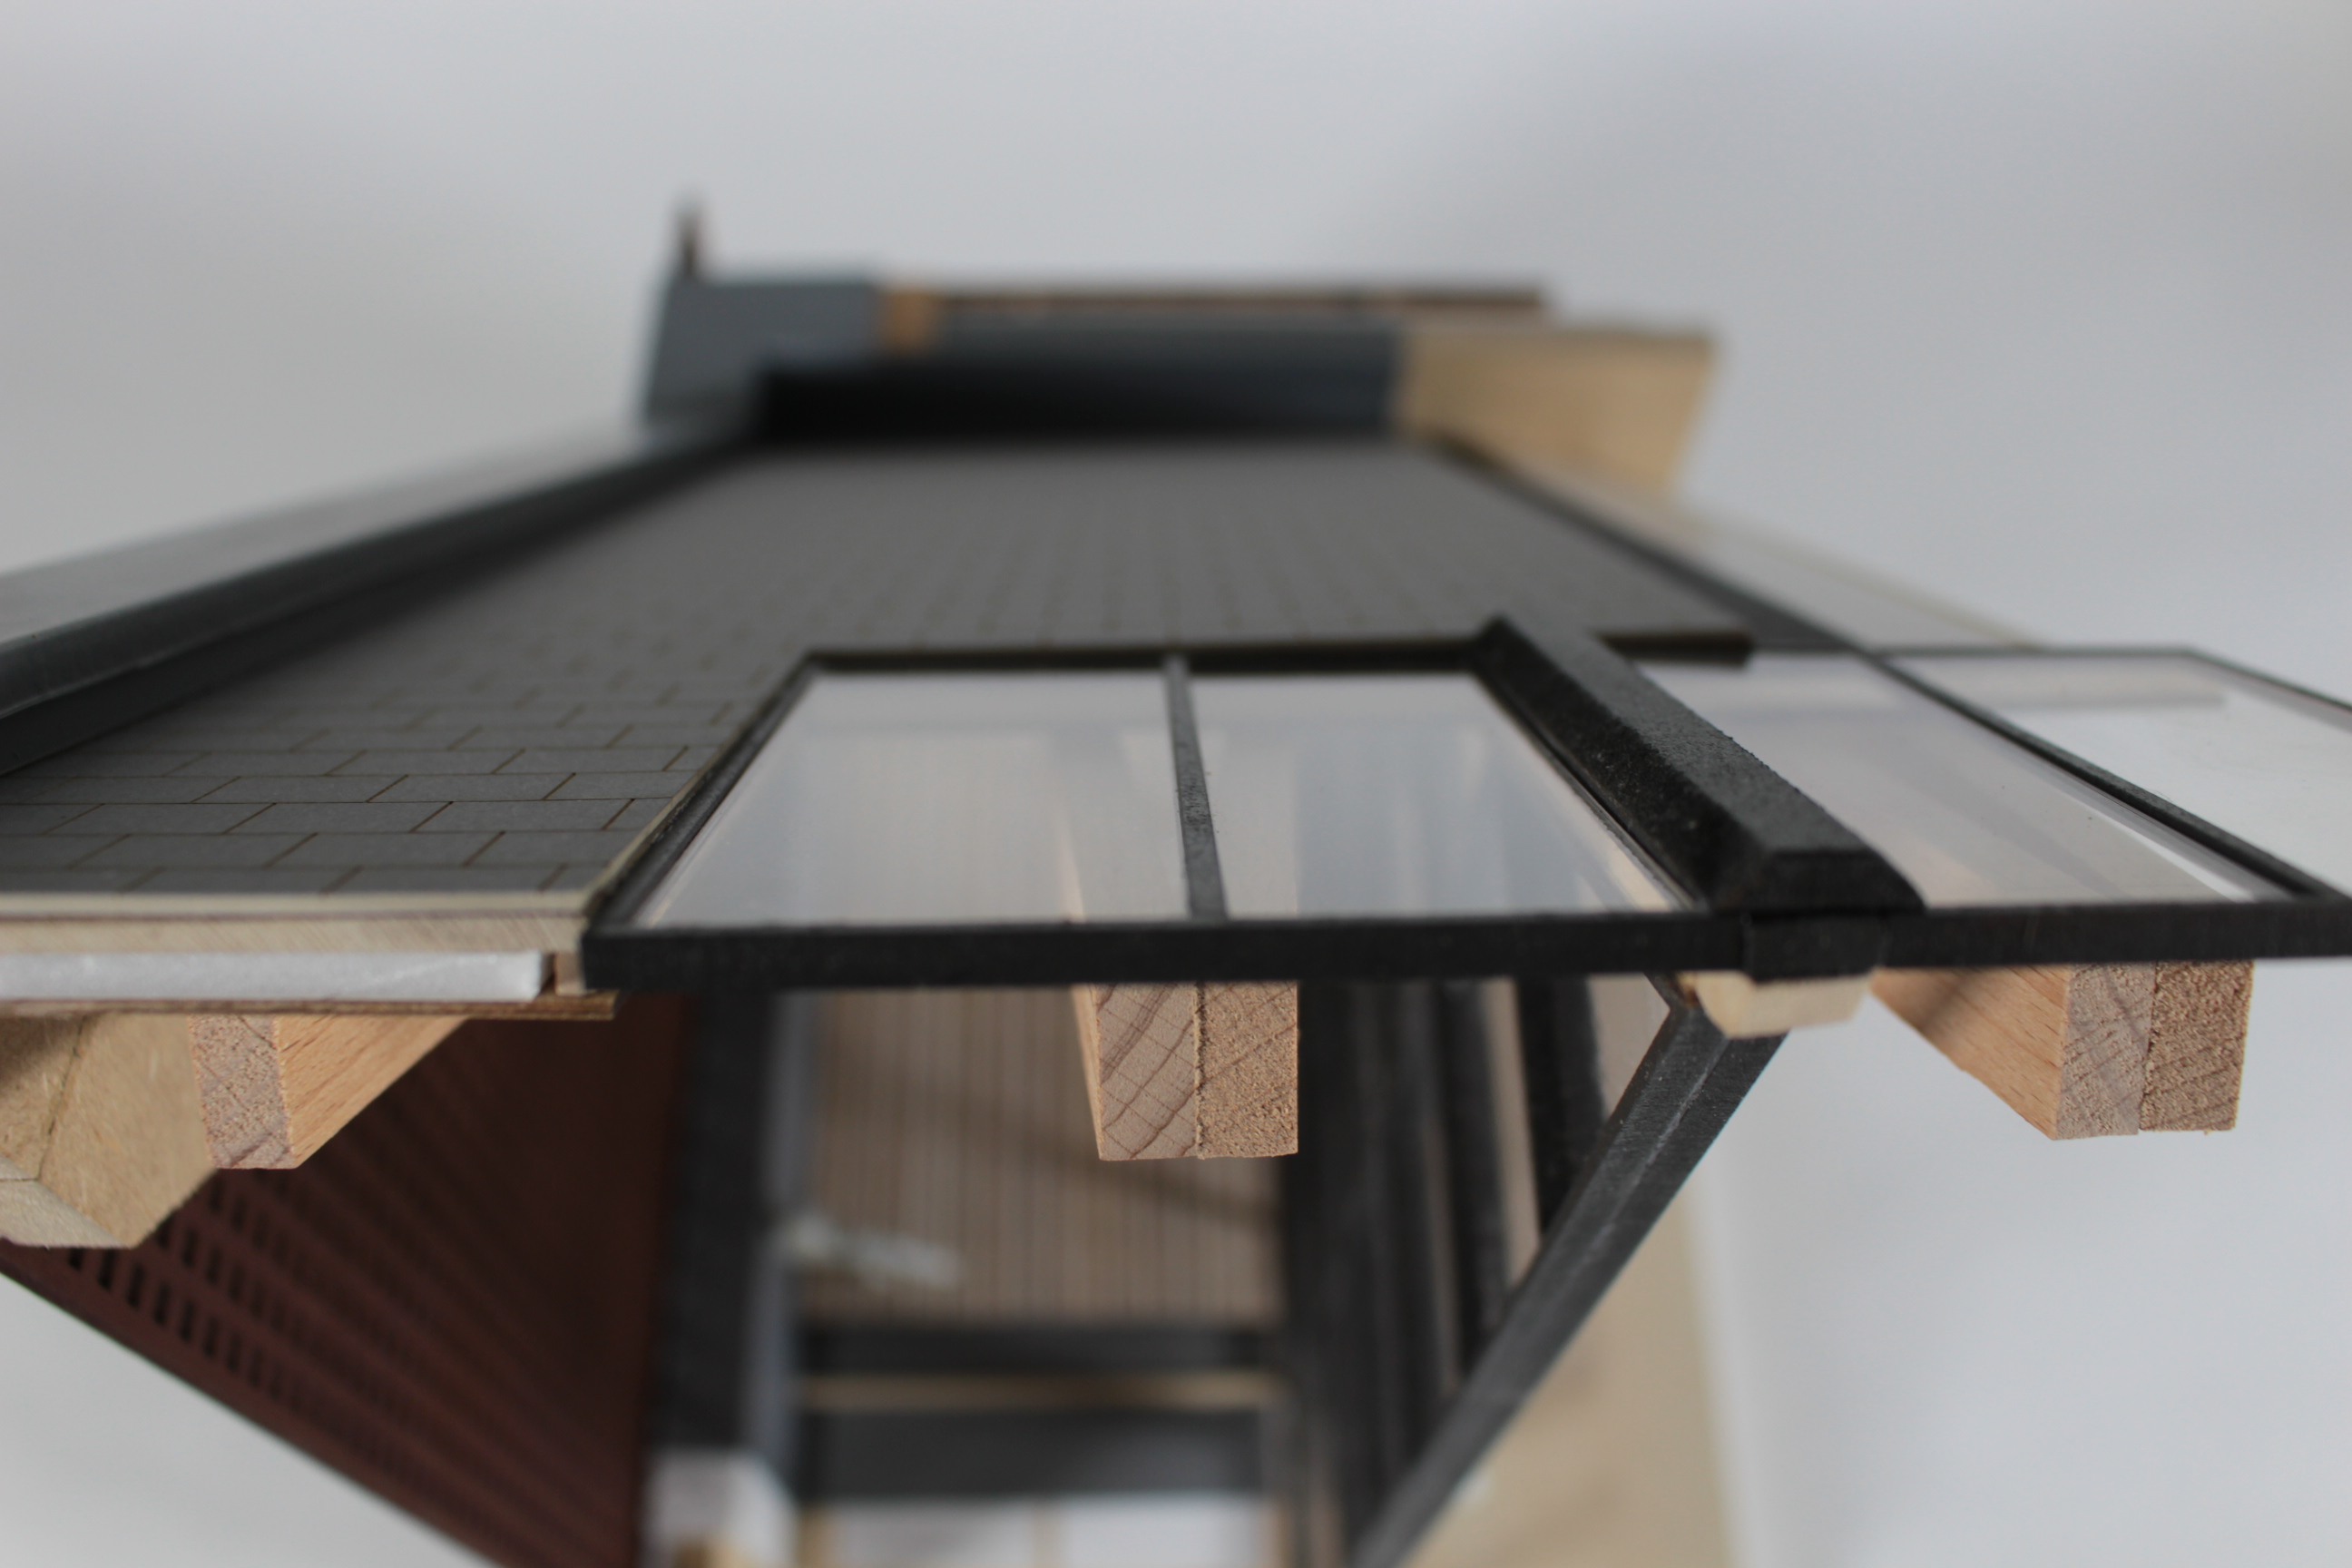
-

- The removable dome section
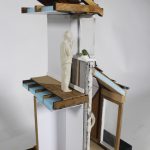
-

- Both sections of the model
A new home in the hall’s first ever archive space
After years of development by archivist Liz Harper, the first dedicated archive to the hall’s 150 year history was officially opened on Thursday October 12th 2023. We were honoured to be invited to the opening event where the model was presented alongside the original and other items from the hall’s collection. Future plans for the model will see it displayed to the public in one of the hall’s main entrances.
-

- The entrance to the halls first ever archive space.
-

- The surviving fragment of the original 1800’s design model.
-

- Our replica model fresh out of it’s transit case at the archive opening event.
-

- The accompanying archive text for the B.15 model.
-

- Scale and Perspective – The replica in the hall
-

- Quarter section set in place against the full scale hall.
-

- Chris Jackson setting up camera shots of the models in the Royal Box.
-

- The only elevated space suitable to view all three models together was the Royal box.
The Making of the Royal Albert Hall Model – Documentary short
To coincide with the opening of the archive we’re pleased to share this documentary short which was produced alongside the project. Featuring narration from Dr Simona Valeriani and B.15 Technical Manager Scott Miller, the film was shot and edited by videographer Chris Jackson in 2022.
The RAH archive can be searched online and contacts to arrange to visit in person can be found here: https://catalogue.royalalberthall.com/ More information about the Architectural Models Network here: https://archmodelsnetwork.com
More information about Dr. Simona Valeriani: https://www.rca.ac.uk/more/staff/dr-simona-valeriani/ and the V&A Research Institute: https://www.vam.ac.uk/info/the-va-research-institute-vari
Thank you to Dr. Simona Valeriani for inviting B.15 to take part in this project and to Liz Harper for ensuring the model found a permanent home in the RAH collections.