The workshop will be closed tomorrow morning re-opening at 14.00. Apologies for any inconvenience caused.
Jim and Scott

The workshop will be closed tomorrow morning re-opening at 14.00. Apologies for any inconvenience caused.
Jim and Scott
After the recent onslaught of master plan models our stockroom was left somewhat depleted! Master plan models more often than not will require large pieces of wood to create multi-storey buildings in block form.
Whilst using laminated MDF sheets may seem like a cheaper option it is worth considering the huge amount of waste and resulting impact to the environment as a whole and the immediate surroundings. Cutting masses of MDF sheeting produces a lot of dust that when inhaled excessively can be very bad for your health (Wear Dust Masks!).


Laminating sheets together can also be time consuming and the finished aesthetics are less desirable. Jelutong block may seem expensive (Prices ranging between £15 to £40 per block) but the time saved in laminating and finishing may be comparable as the majority of master plans produced here can be achieved using a single £15 block when used economically.

Be sure to check with us about costings and the best approach for your model before rushing into anything. We use these materials almost everyday and can offer sound advice that will help you make the best of your projects in the most cost effective way.
Jim and Scott
Designing a building requires attention to every detail. This attention must take into account the limits of construction materials and how they can be managed an assembled in reality.
The only way to do this well is to have a good understanding of construction and material mechanics. Structural detail study models allow us to focus on specific junctions of framework and often bring potential problems with assembly to our attention.

 Whilst it is very important that you, as an architect in training, have a thorough understanding of building materials. These models should not focus too much on the 1:1 ‘real world’ materials. Your area of study is in understanding how components interact or don’t interact with each other in terms of their physical shape. Testing material strengths, weaknesses and compatibility for a particular role requires much more in depth study and often more space than our workshop can provide.
The models shown on this post are made to mimic real materials to reduce weight and construction restrictions whilst still conveying their assembly effectively.


Over the last few weeks we have been trying to clear our extremely cluttered model store to record and archive all of our historic models. This has proved a huge success and brought to light some great pieces we didn’t know we had! The collection is fascinating and gives a broad range of styles and techniques used over the last 30 or so years.


 In ordering our store we have created some new space in which we hope to set up a photographic space to document your future work. This facility, providing we get funding, should be available sometime in early 2014. With this in place you will be in a better position to record your work before it leaves the building with high quality photos. This will also allow us to create a complete record of our produce and add to the already thriving Blog we have here.

Keep checking back here for more! Scott
The development of the Dunham Massey Pavilions has been slowly progressing over the last two months with many different problems to overcome. Many of the original concepts have changed in scale and style whilst others have remained largely unchanged.
For Alexander Valakh and Lorena Chan the main problems have come from various material tolerances effect on their designs.
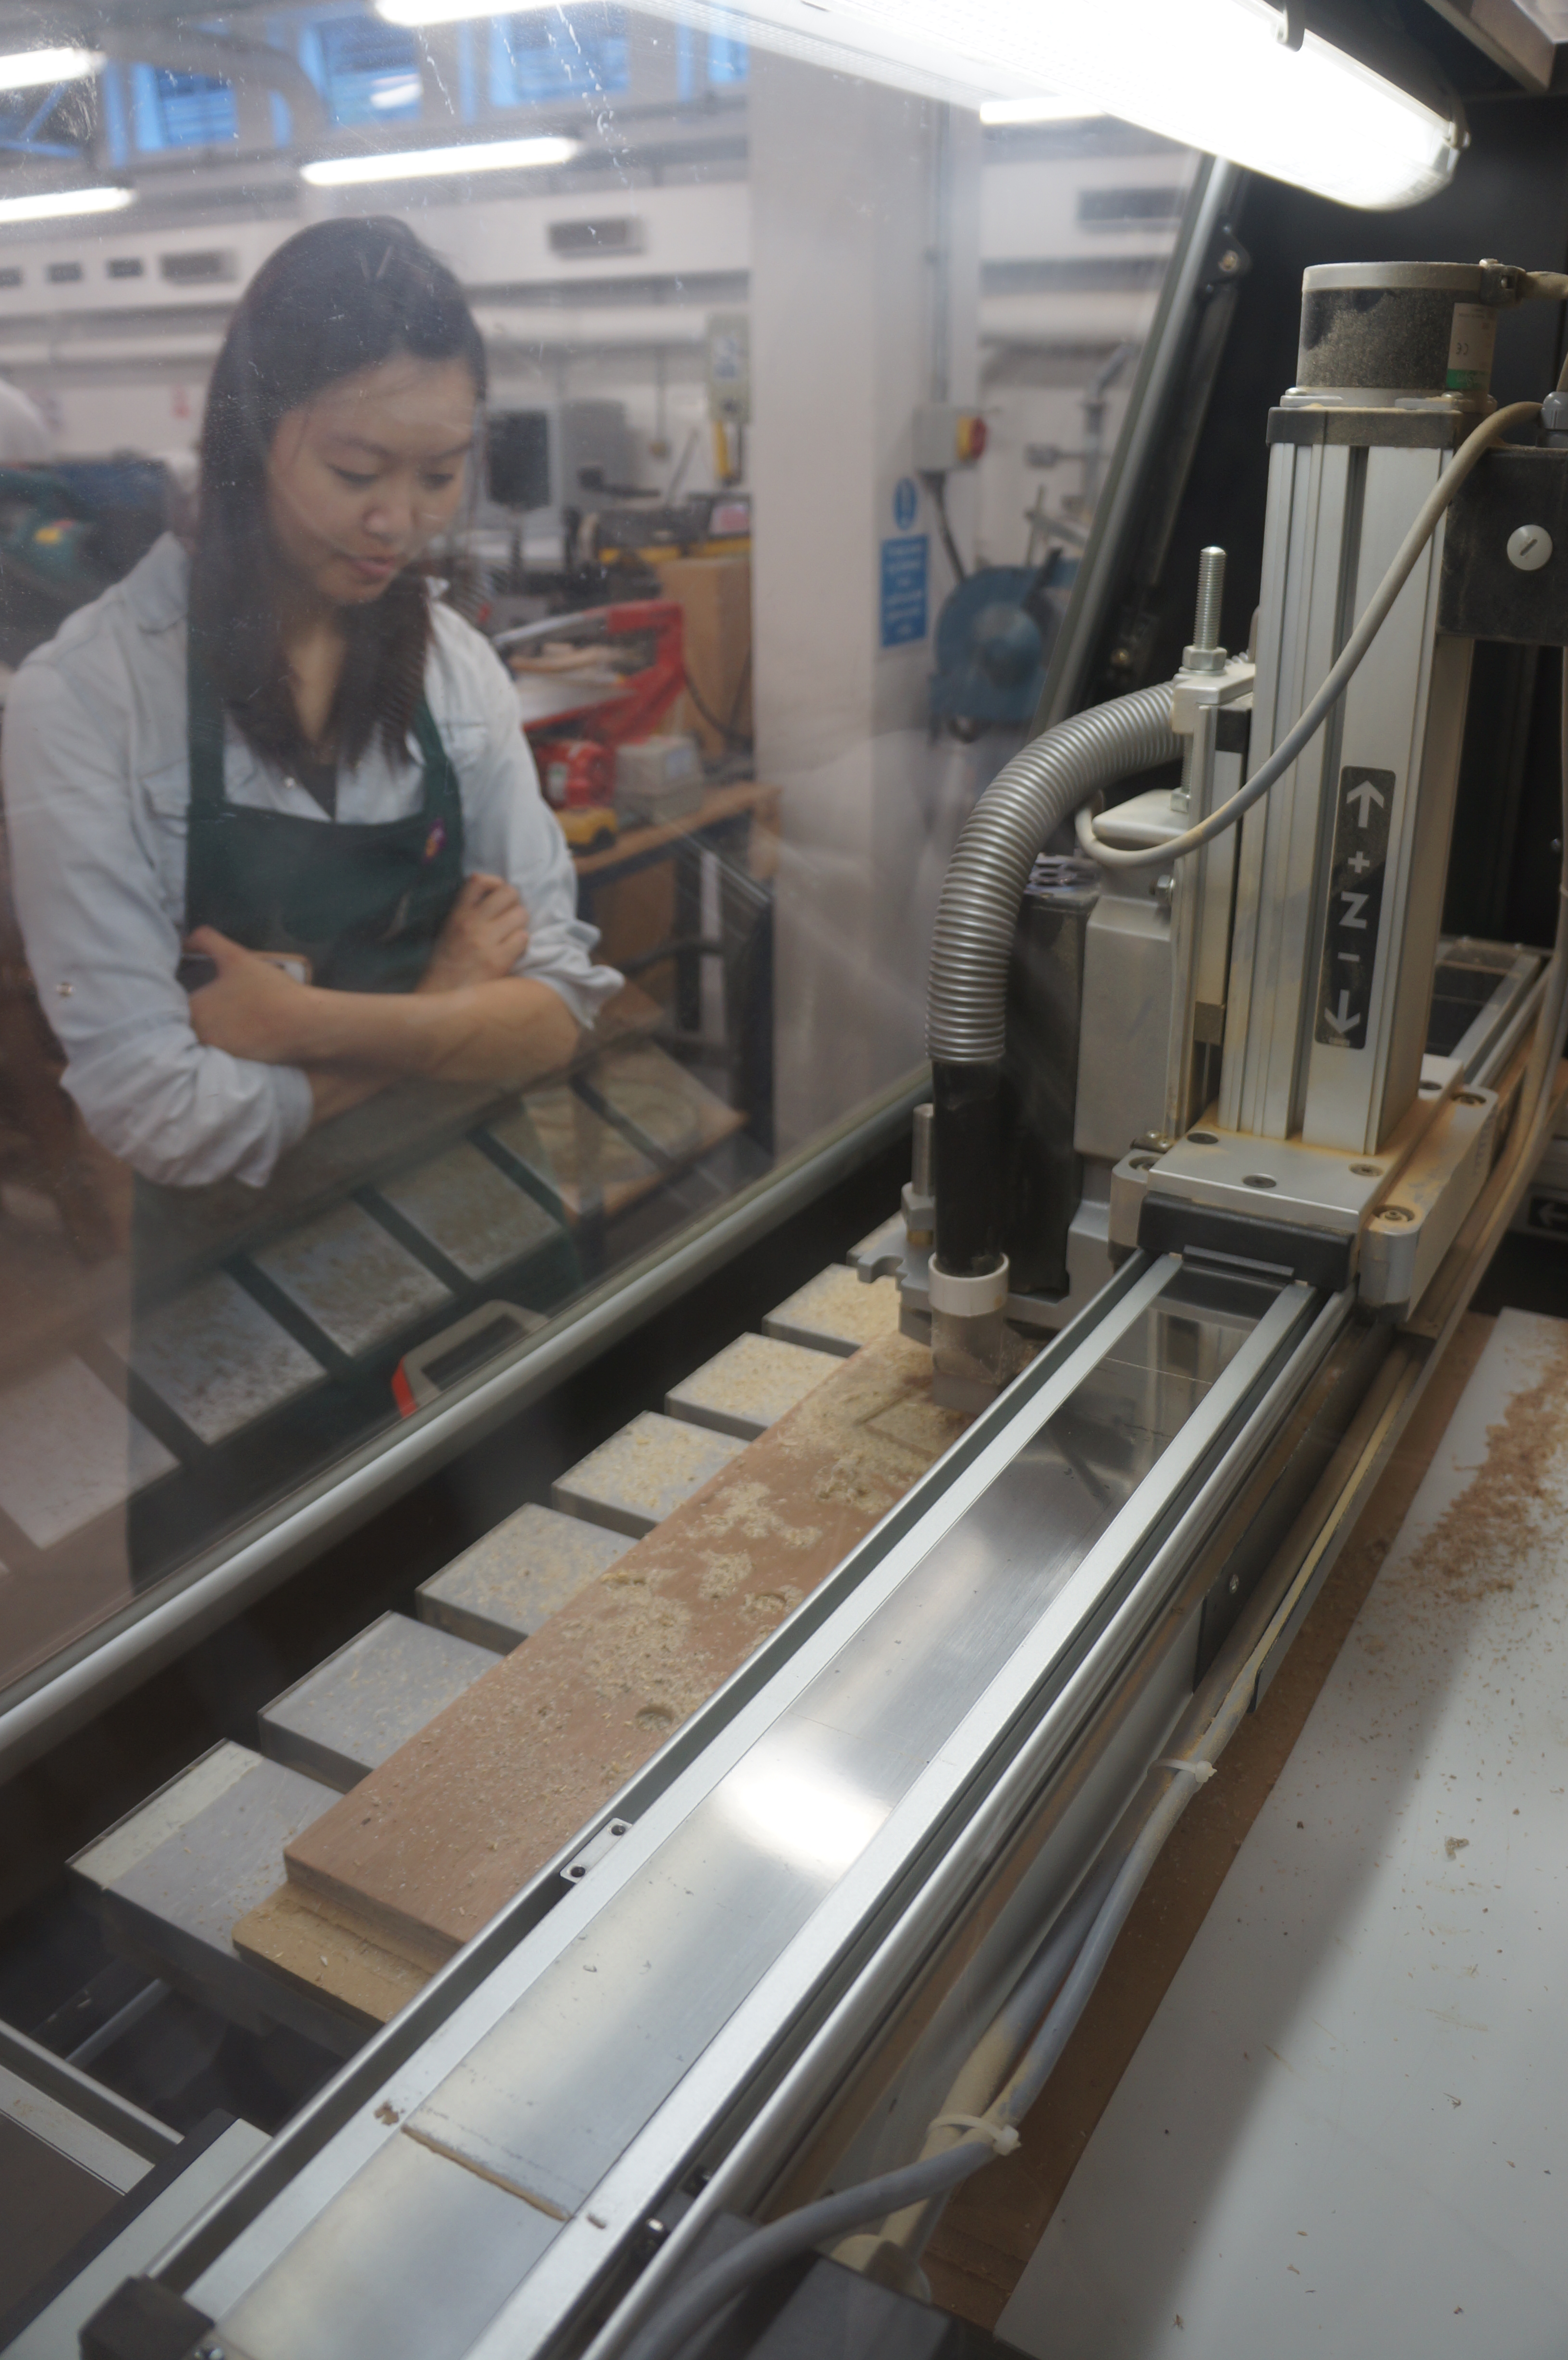
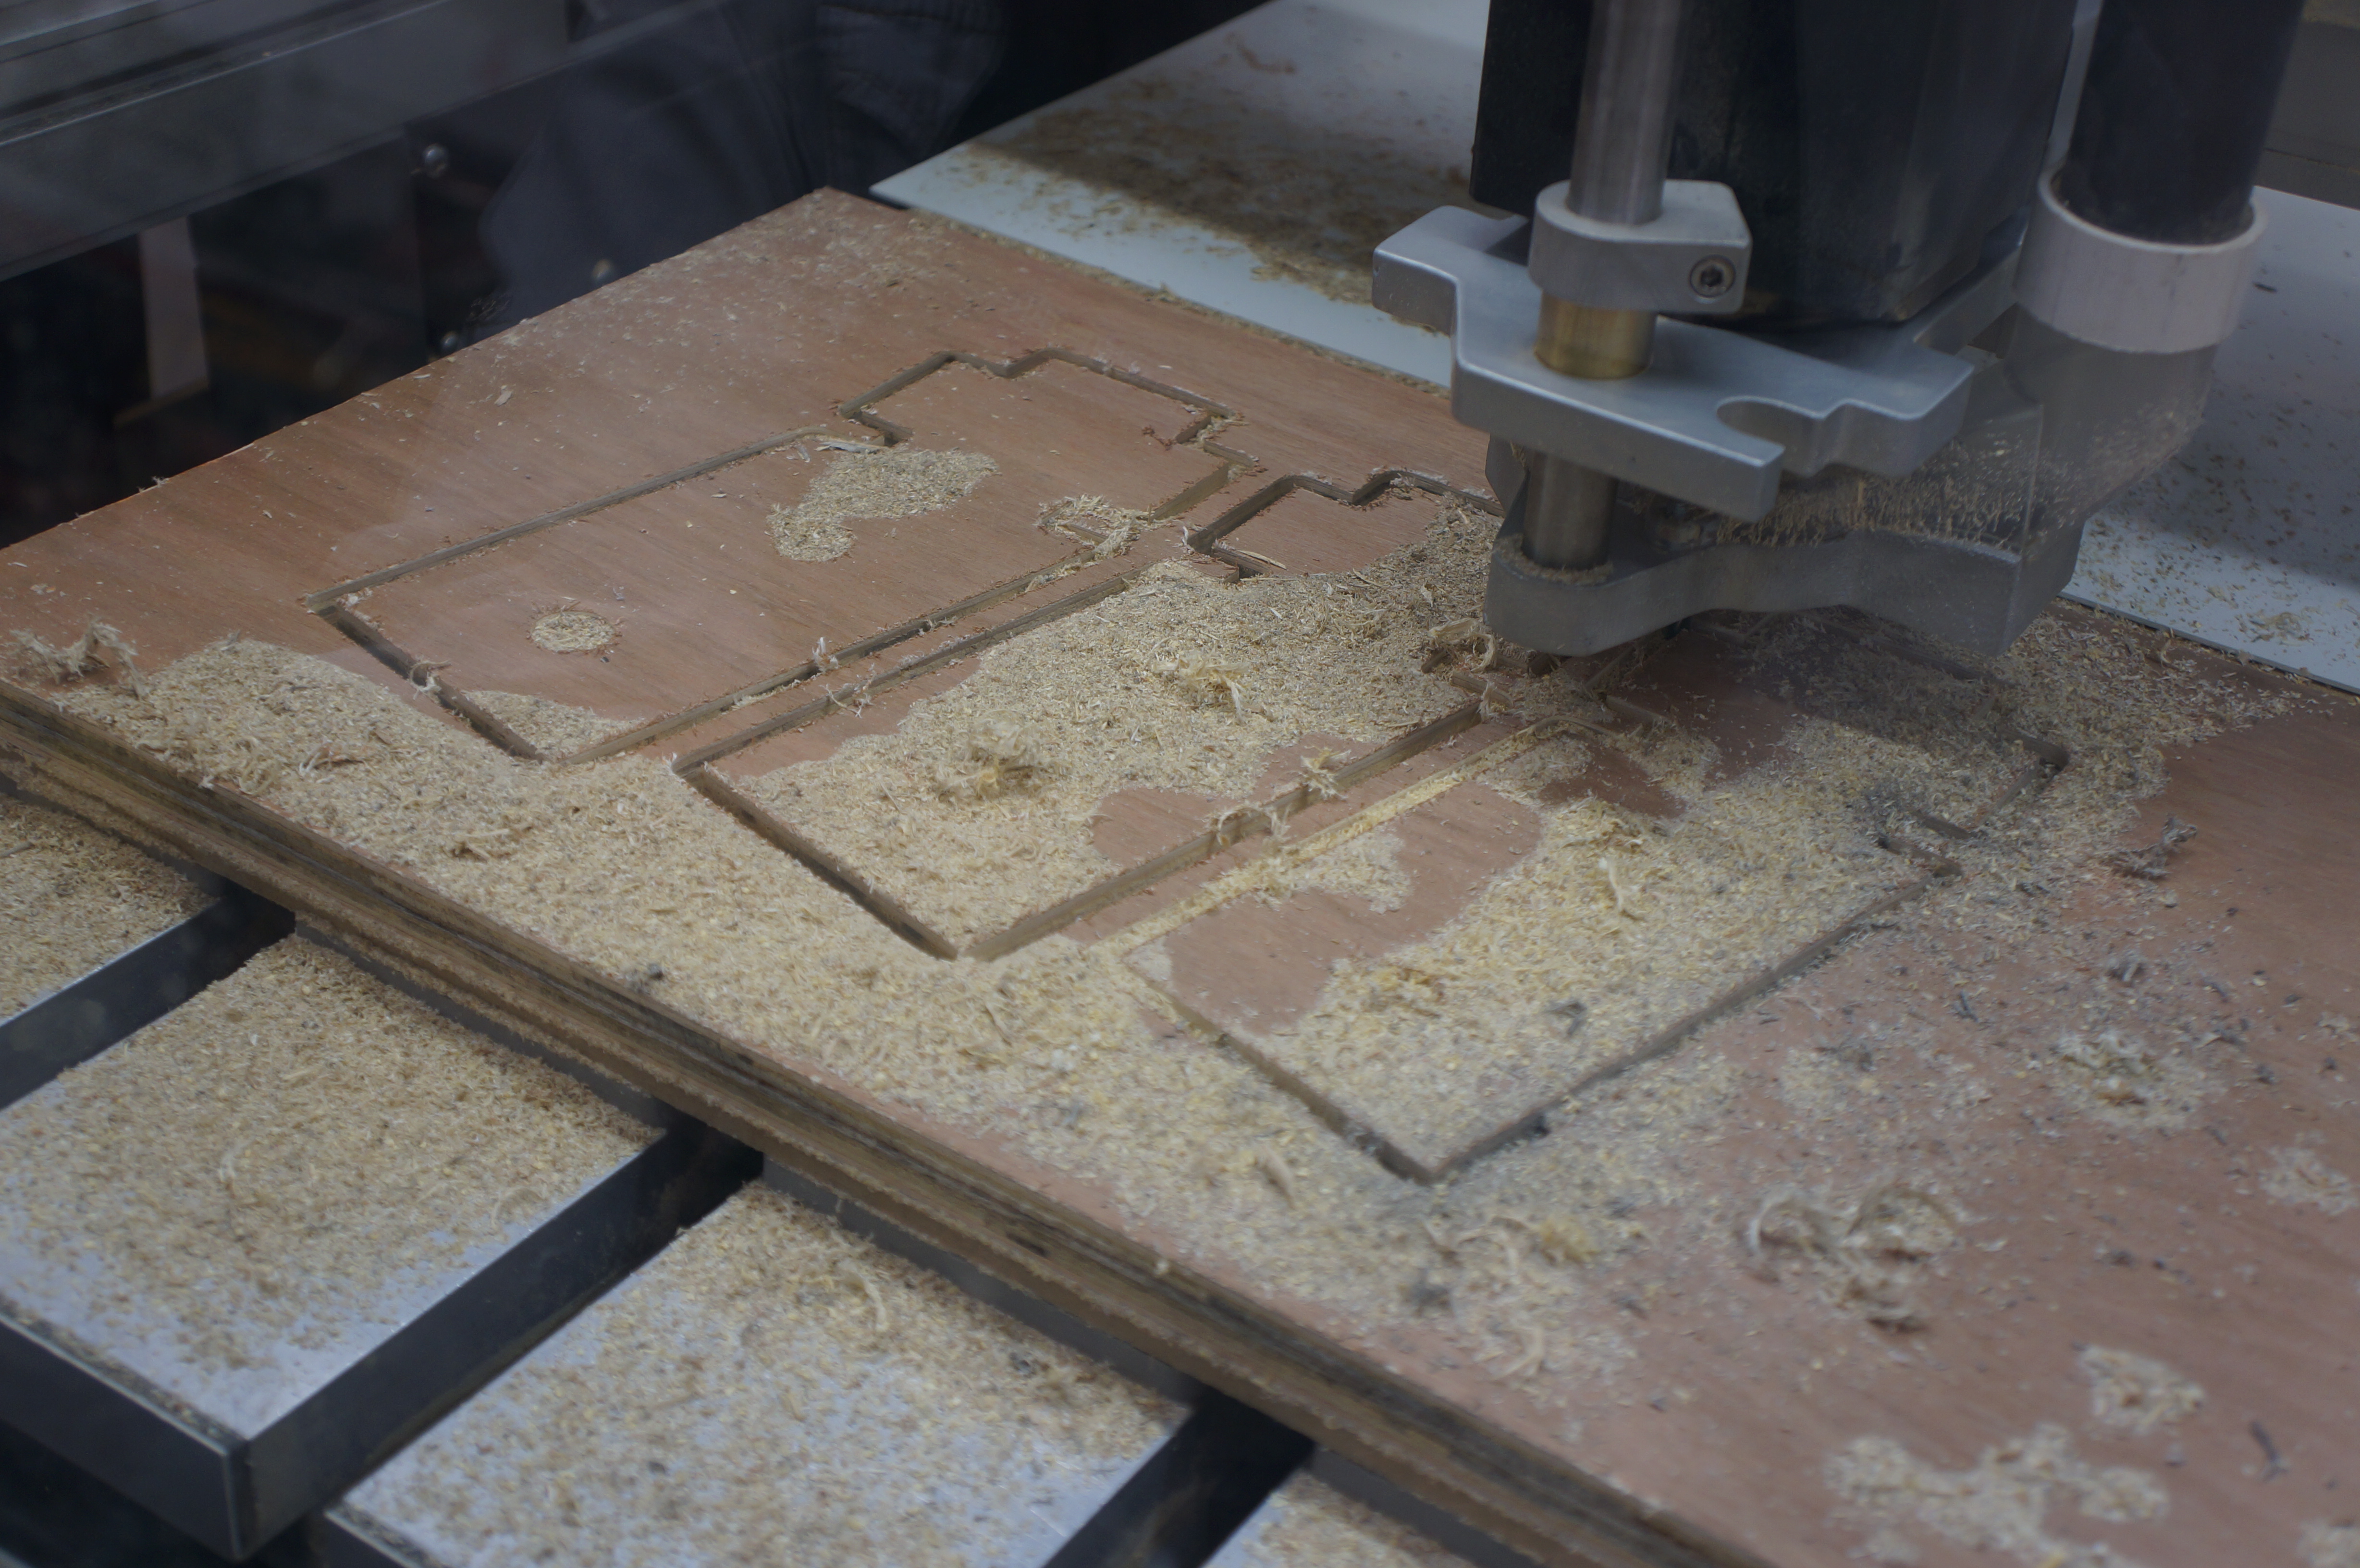
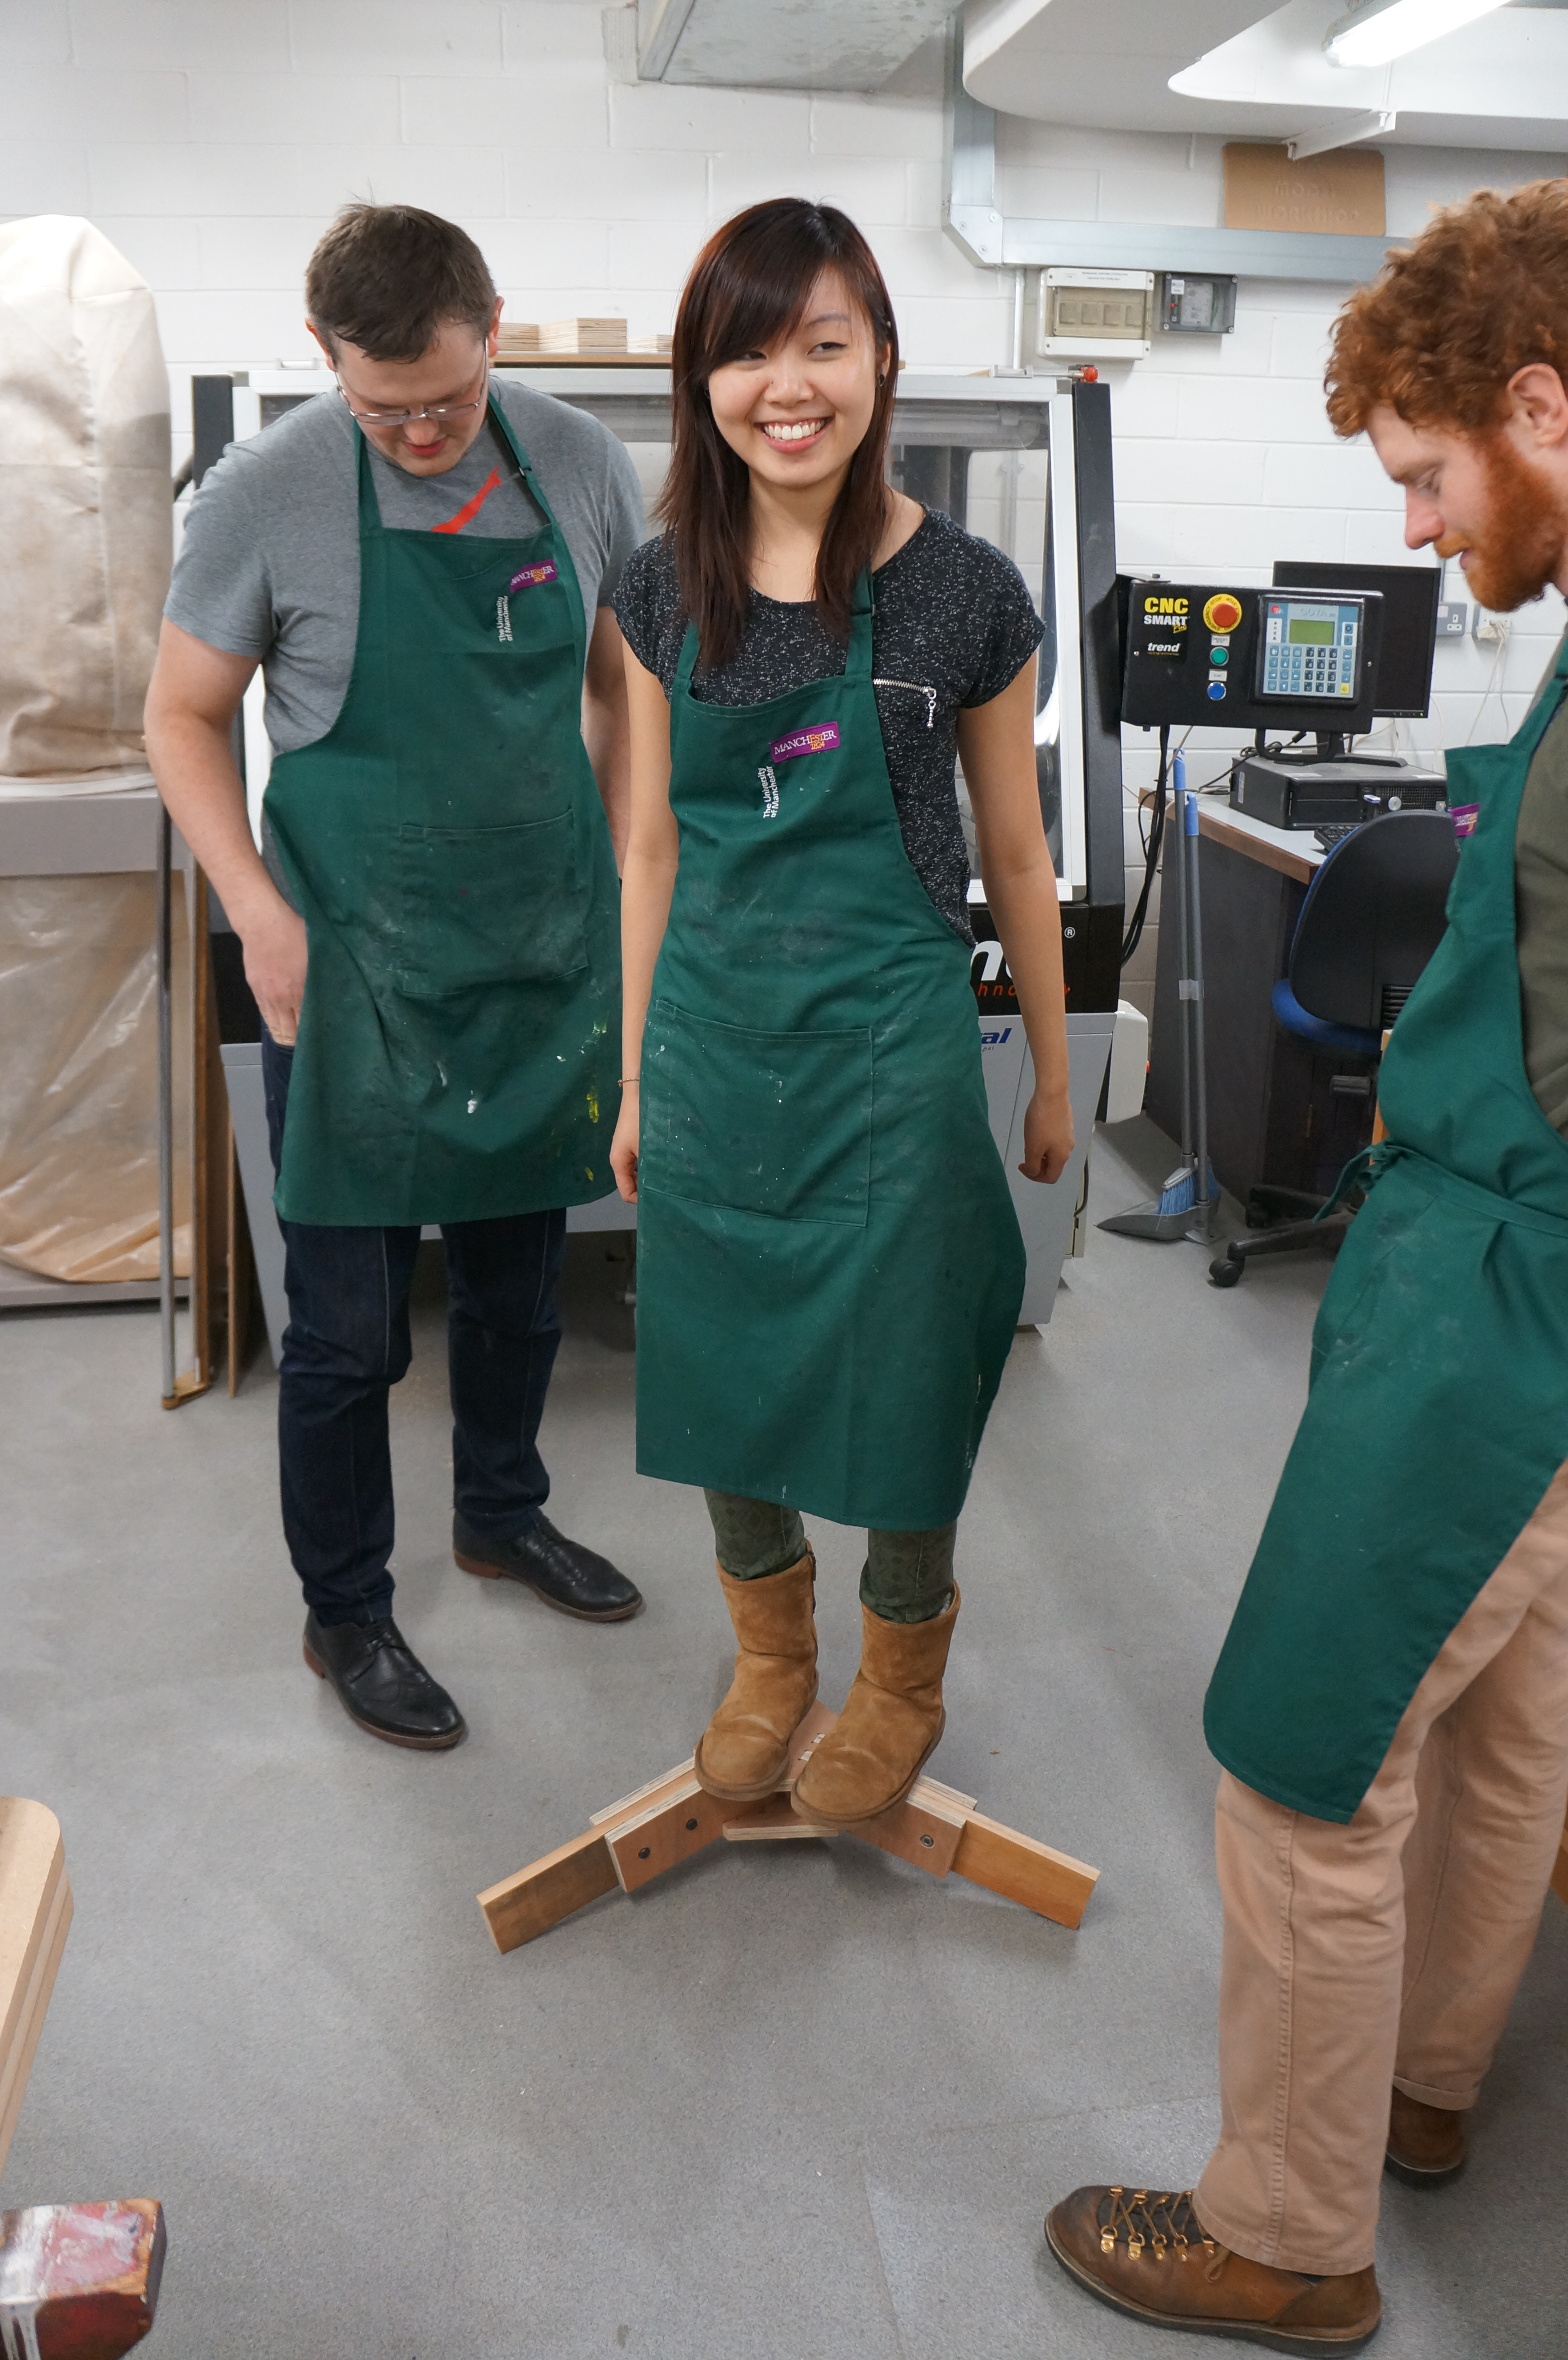
 The group used the CNC router to cut plywood components for this phase of their design development. The original poppy concept that was made from cardboard and the riveted elements allowed a lot of flex. When applying the same ideas to a more durable and weather resistant material the same shapes could not be achieved. This is where 1:1 design development models come into use.
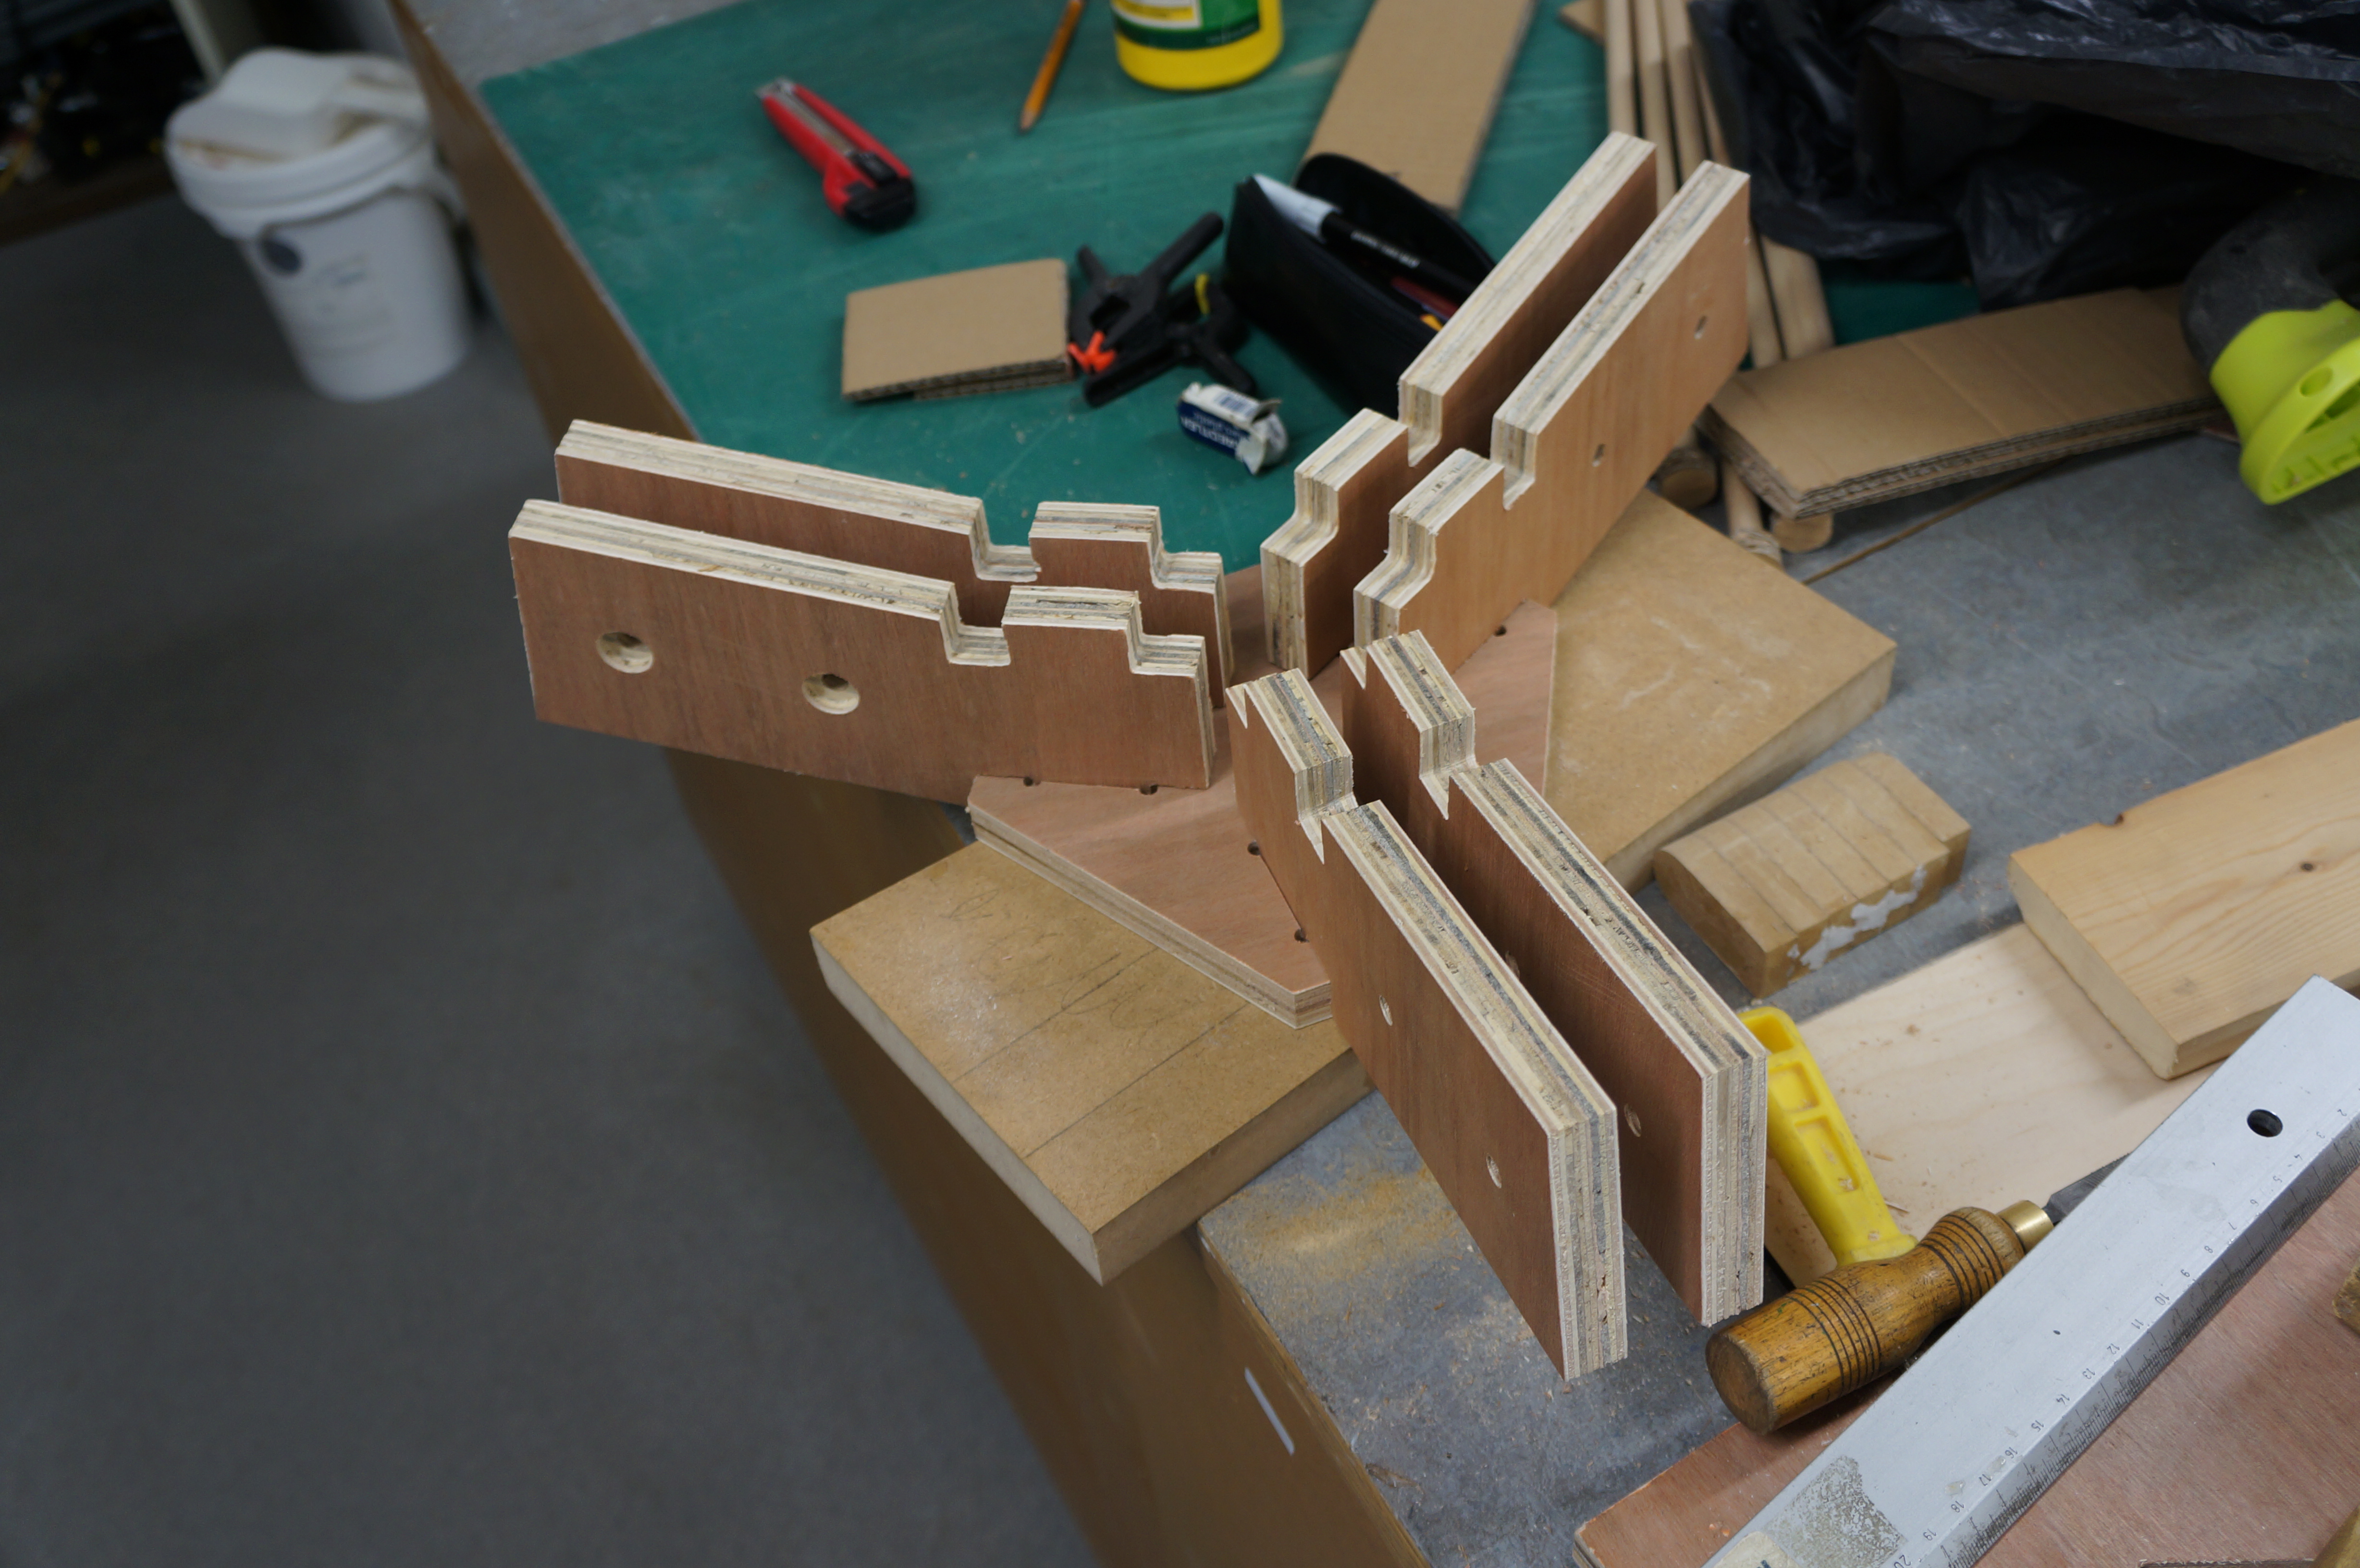
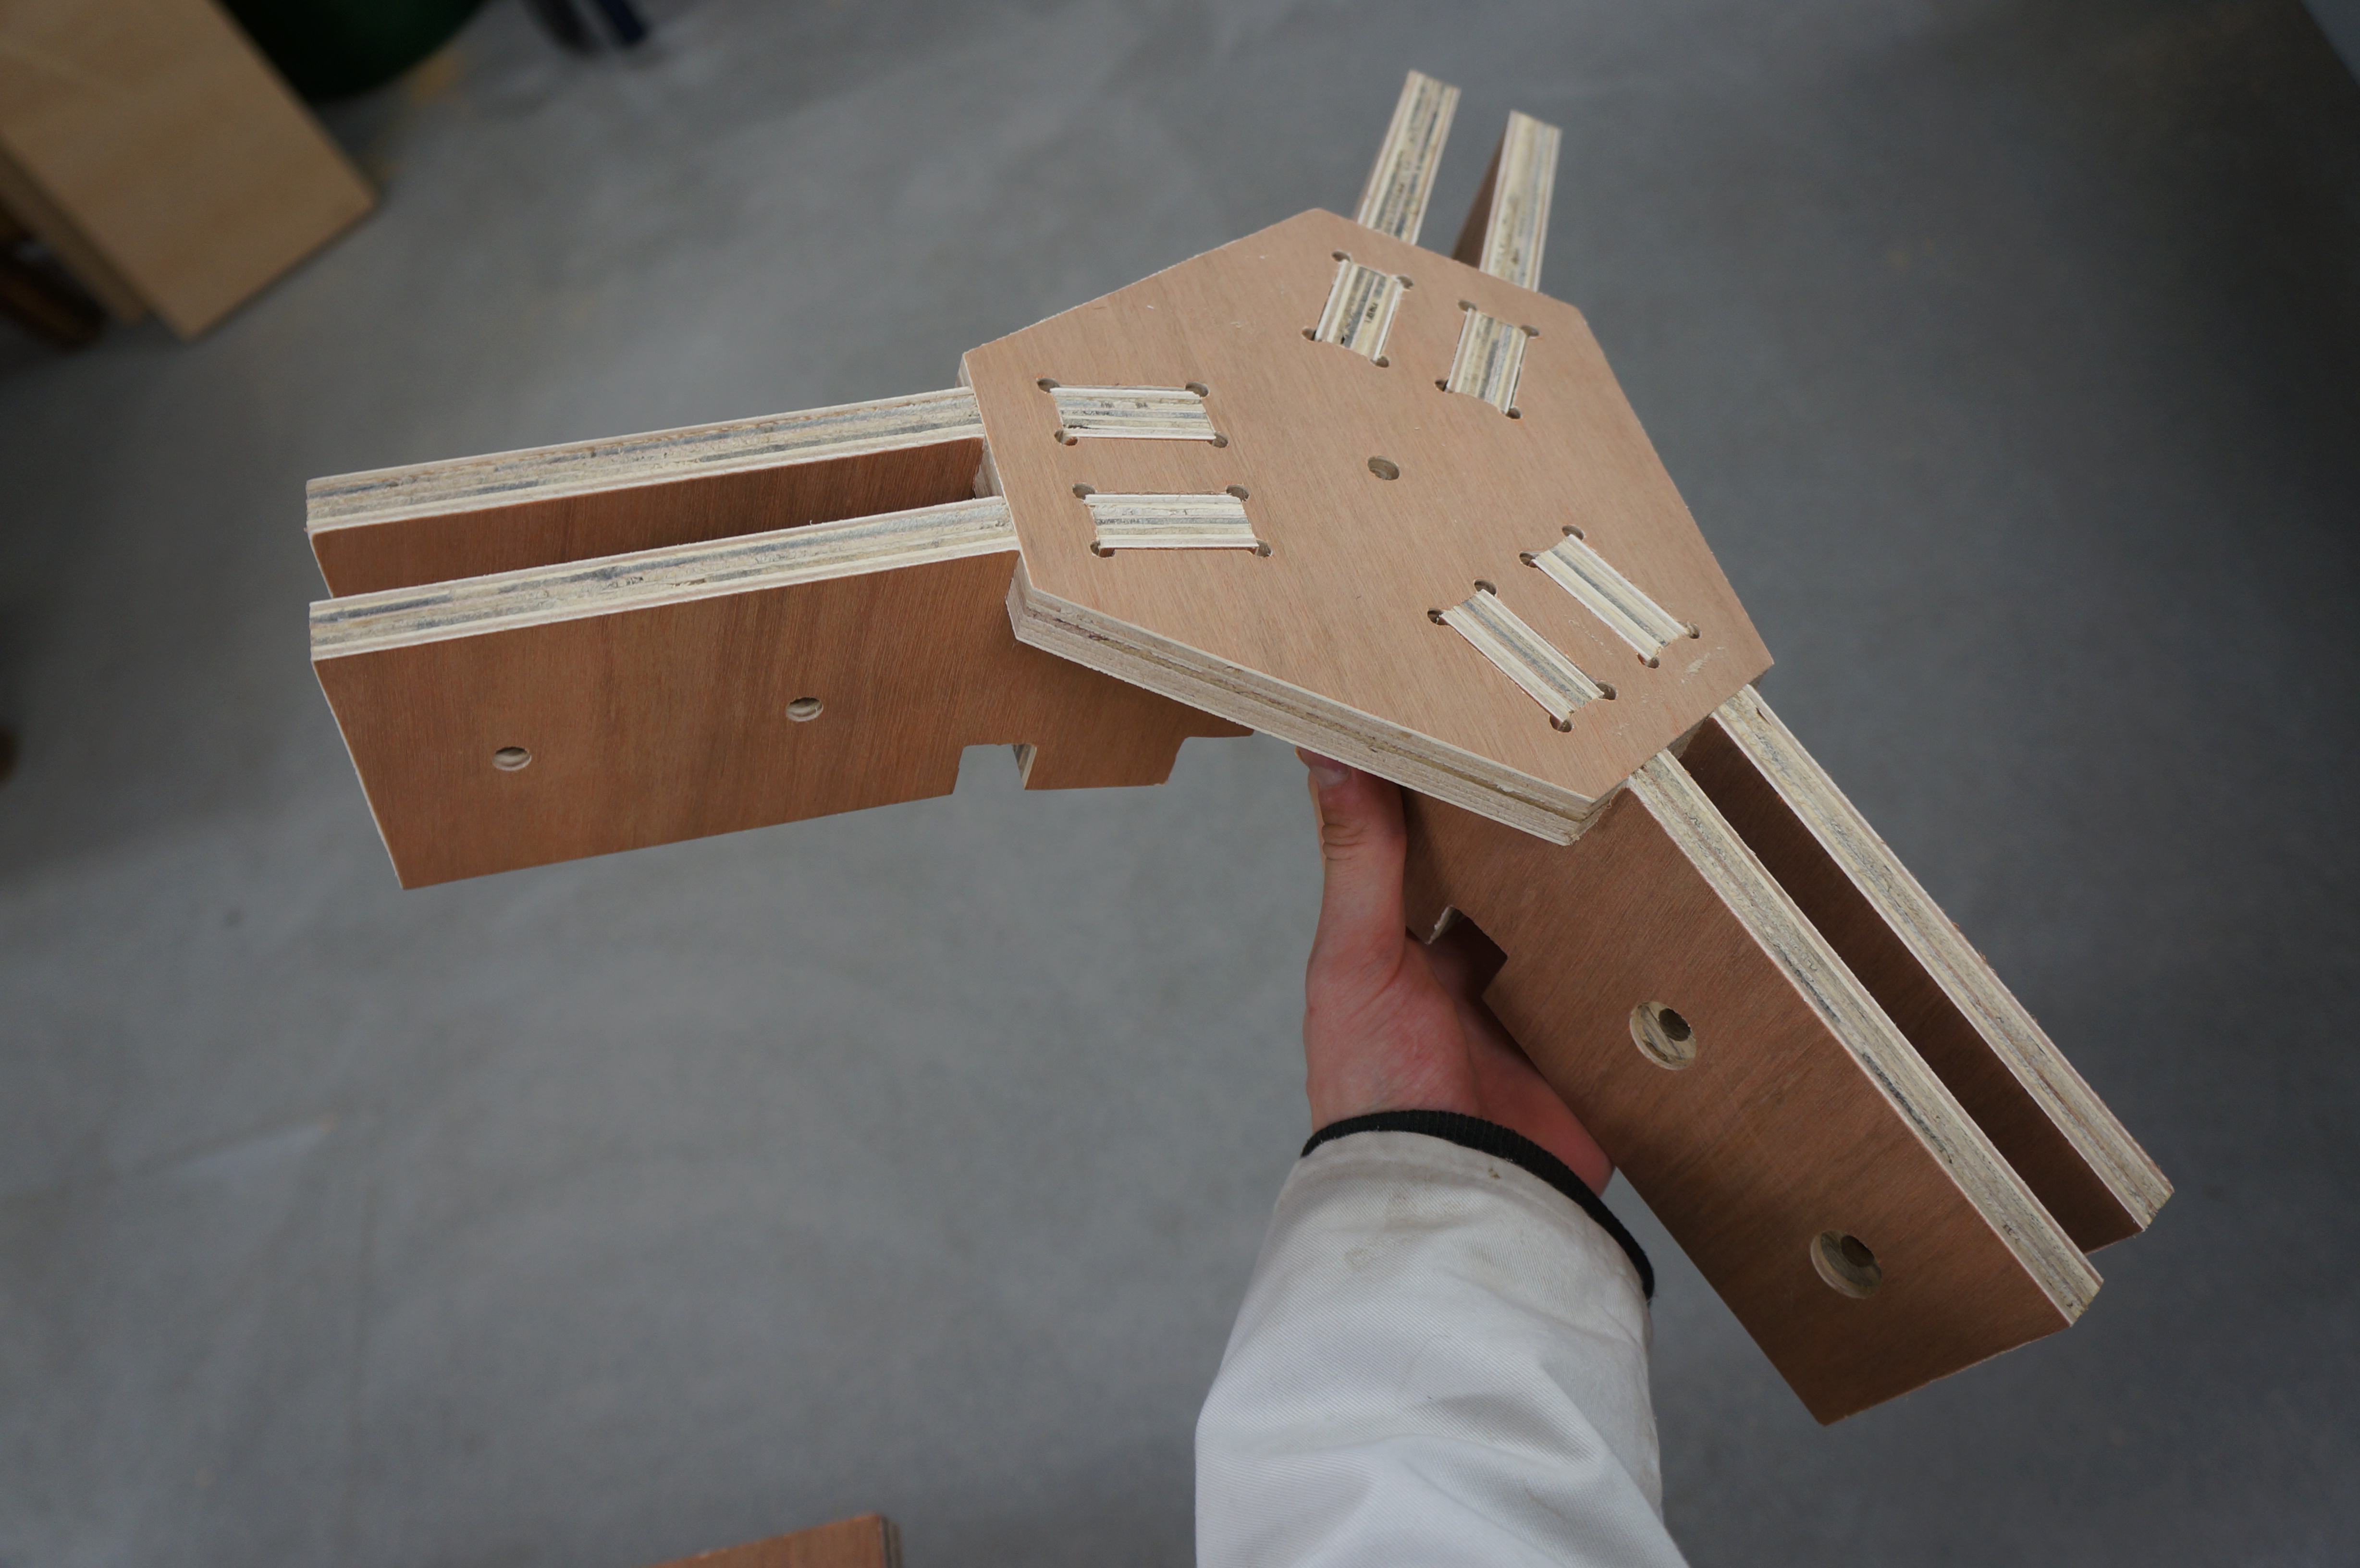 To test the strength of each joint for their revised design the group decided to risk lorenas life lorena to the task. Luckily their design proved successful and despite a few oversights in fixing elements which can easily be rectified, the group can move on.
 After the experimental first test in concrete casting, it was nesissary for this group to solve the issues of casting their numbers into each block. For their second attempt they tried using laser cut rubber components with a much smaller block to prevent material waste and save on weight.Â
After the experimental first test in concrete casting, it was nesissary for this group to solve the issues of casting their numbers into each block. For their second attempt they tried using laser cut rubber components with a much smaller block to prevent material waste and save on weight. 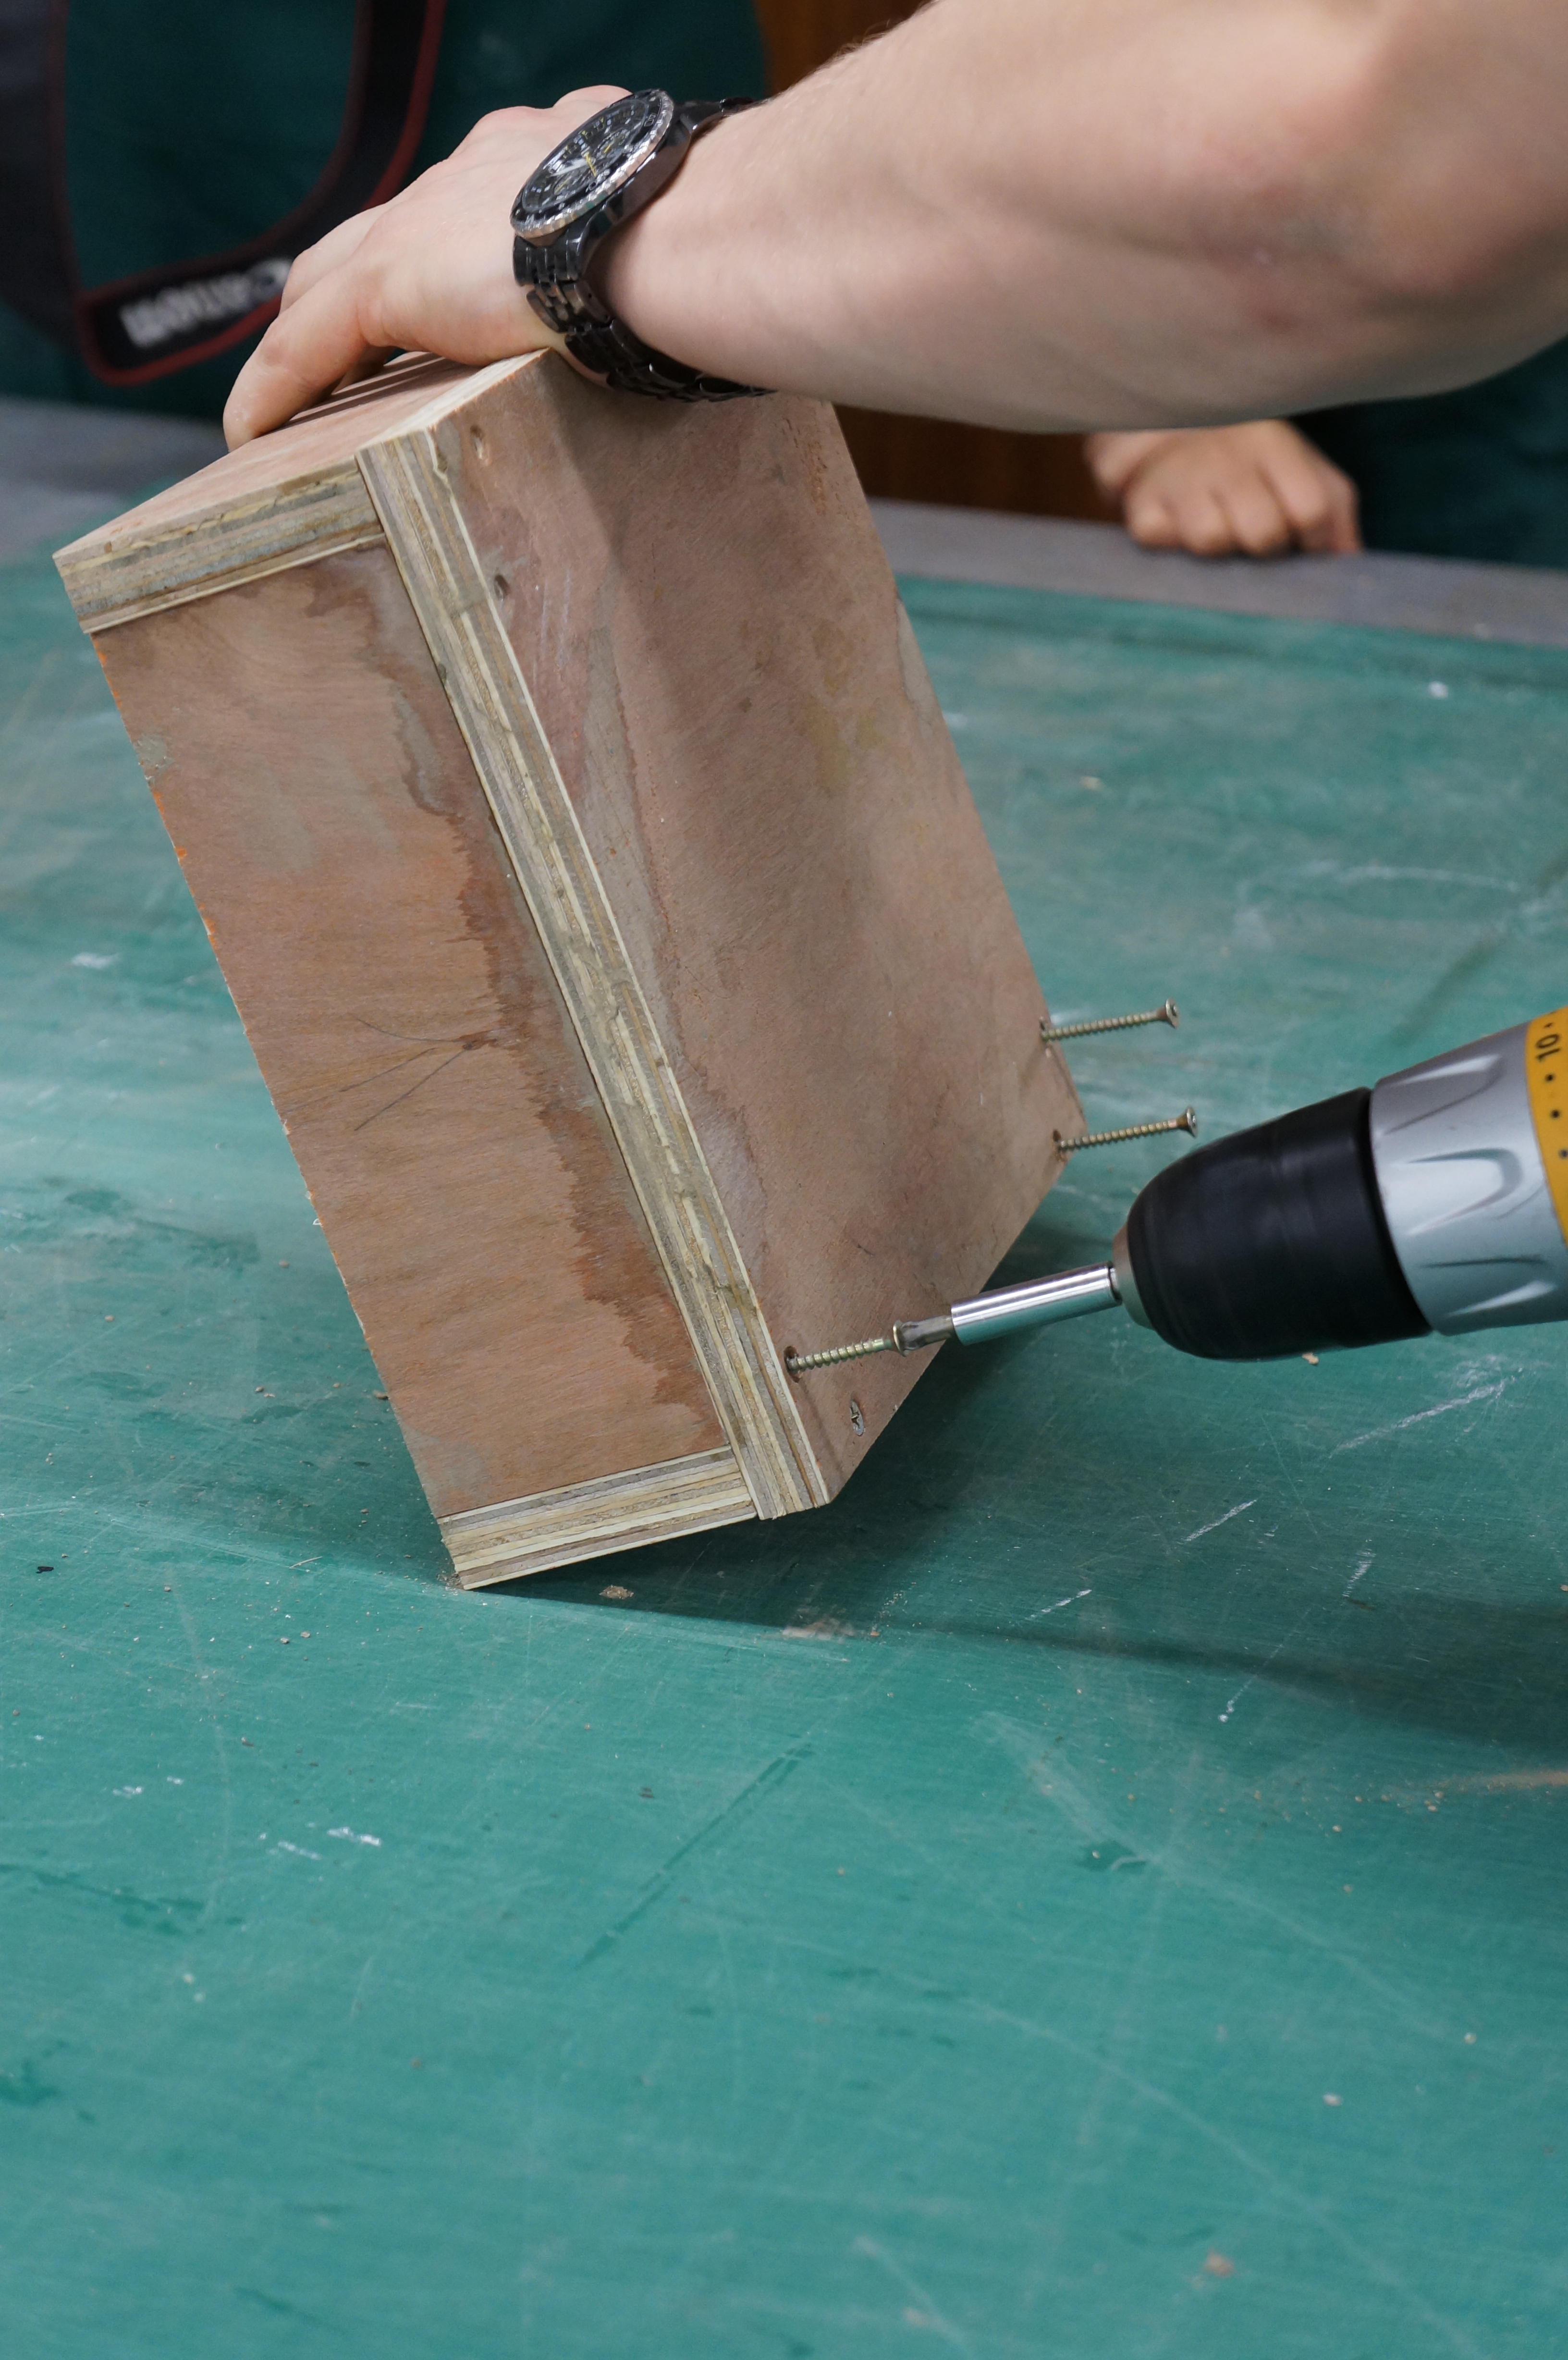 Any mould is always worth considering in depth as a badly designed one will cause you a world of problems when you come to remove your cast. This box was simple but constructed well to allow easy disassembly once the cast has cured.Â
Any mould is always worth considering in depth as a badly designed one will cause you a world of problems when you come to remove your cast. This box was simple but constructed well to allow easy disassembly once the cast has cured. 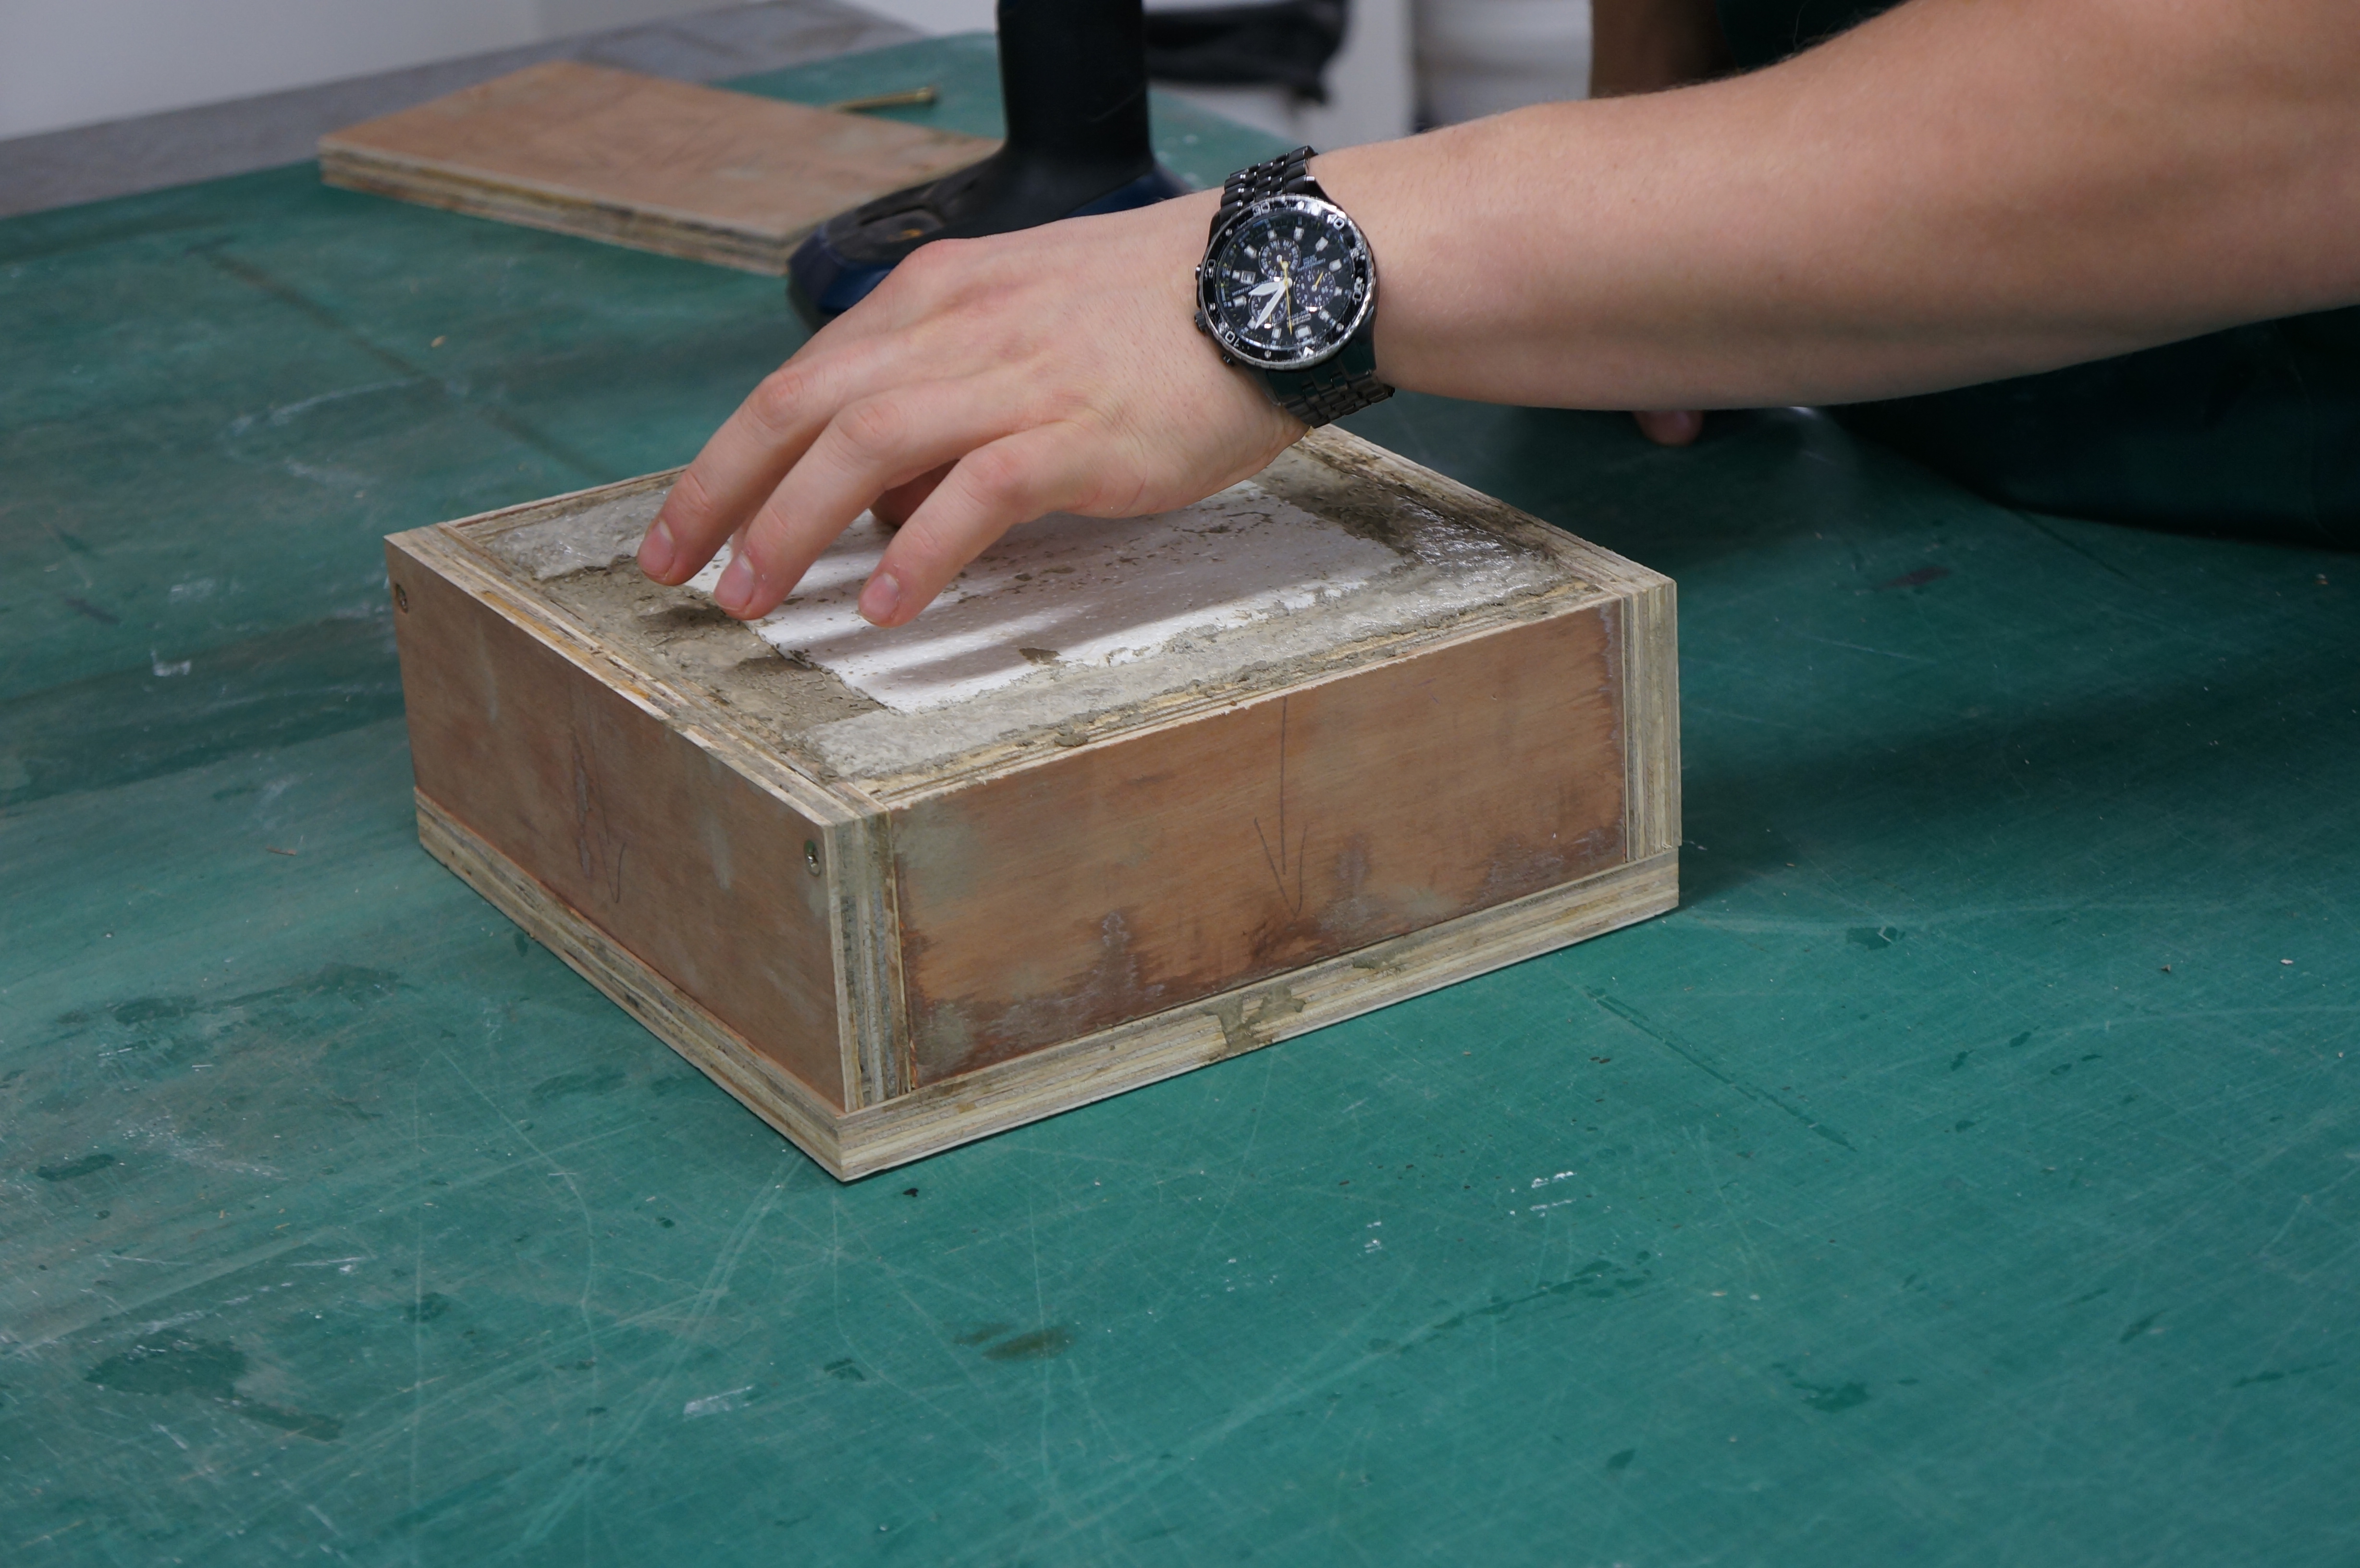
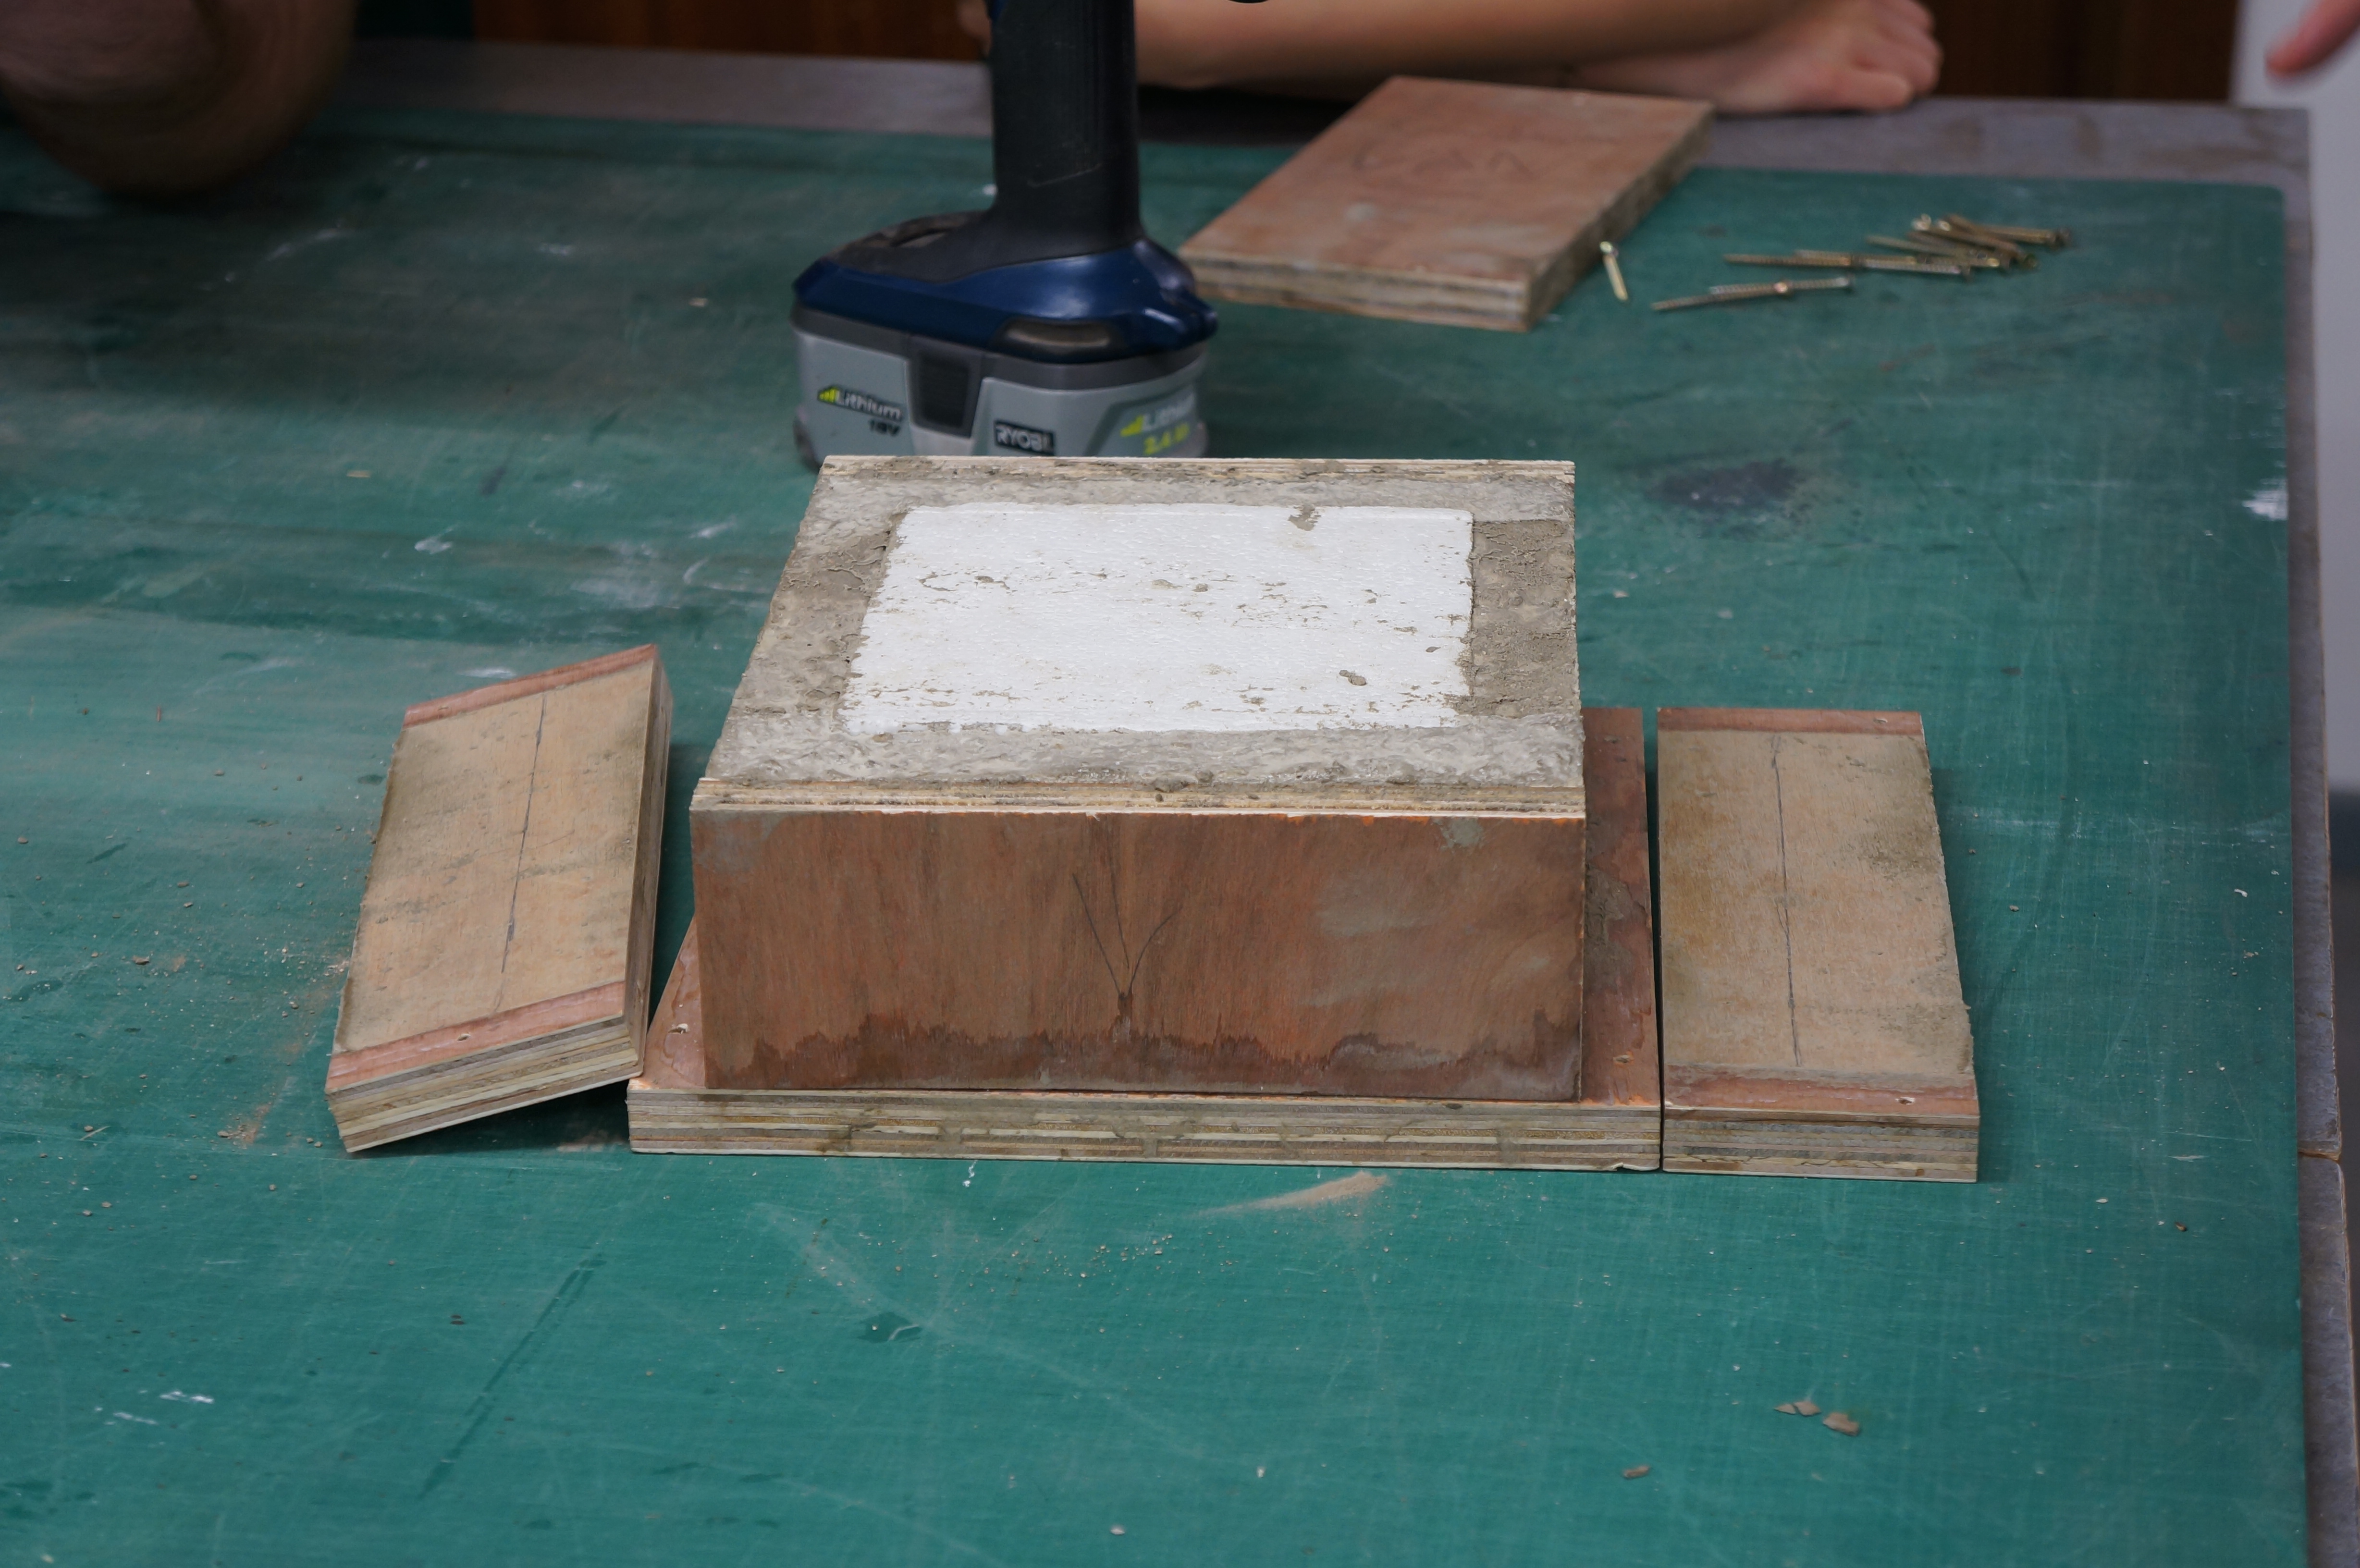 The finished block turned out well with the flex in the rubber numbers allowing for the expansion of the concrete as it sets. Laser cutting this material can prove time consuming and the number required may need to be outsourced due to demand on our machines from all Architecture Students. It is always worth considering outsourcing elements that need to be mass produced as if you are involved in a ‘real world’ project. Costs can often be lower and experienced companies will be able to offer you more specific advice on what you are trying to achieve at 1:1. We’ll be posting more on these project in the near future!Â
The finished block turned out well with the flex in the rubber numbers allowing for the expansion of the concrete as it sets. Laser cutting this material can prove time consuming and the number required may need to be outsourced due to demand on our machines from all Architecture Students. It is always worth considering outsourcing elements that need to be mass produced as if you are involved in a ‘real world’ project. Costs can often be lower and experienced companies will be able to offer you more specific advice on what you are trying to achieve at 1:1. We’ll be posting more on these project in the near future! 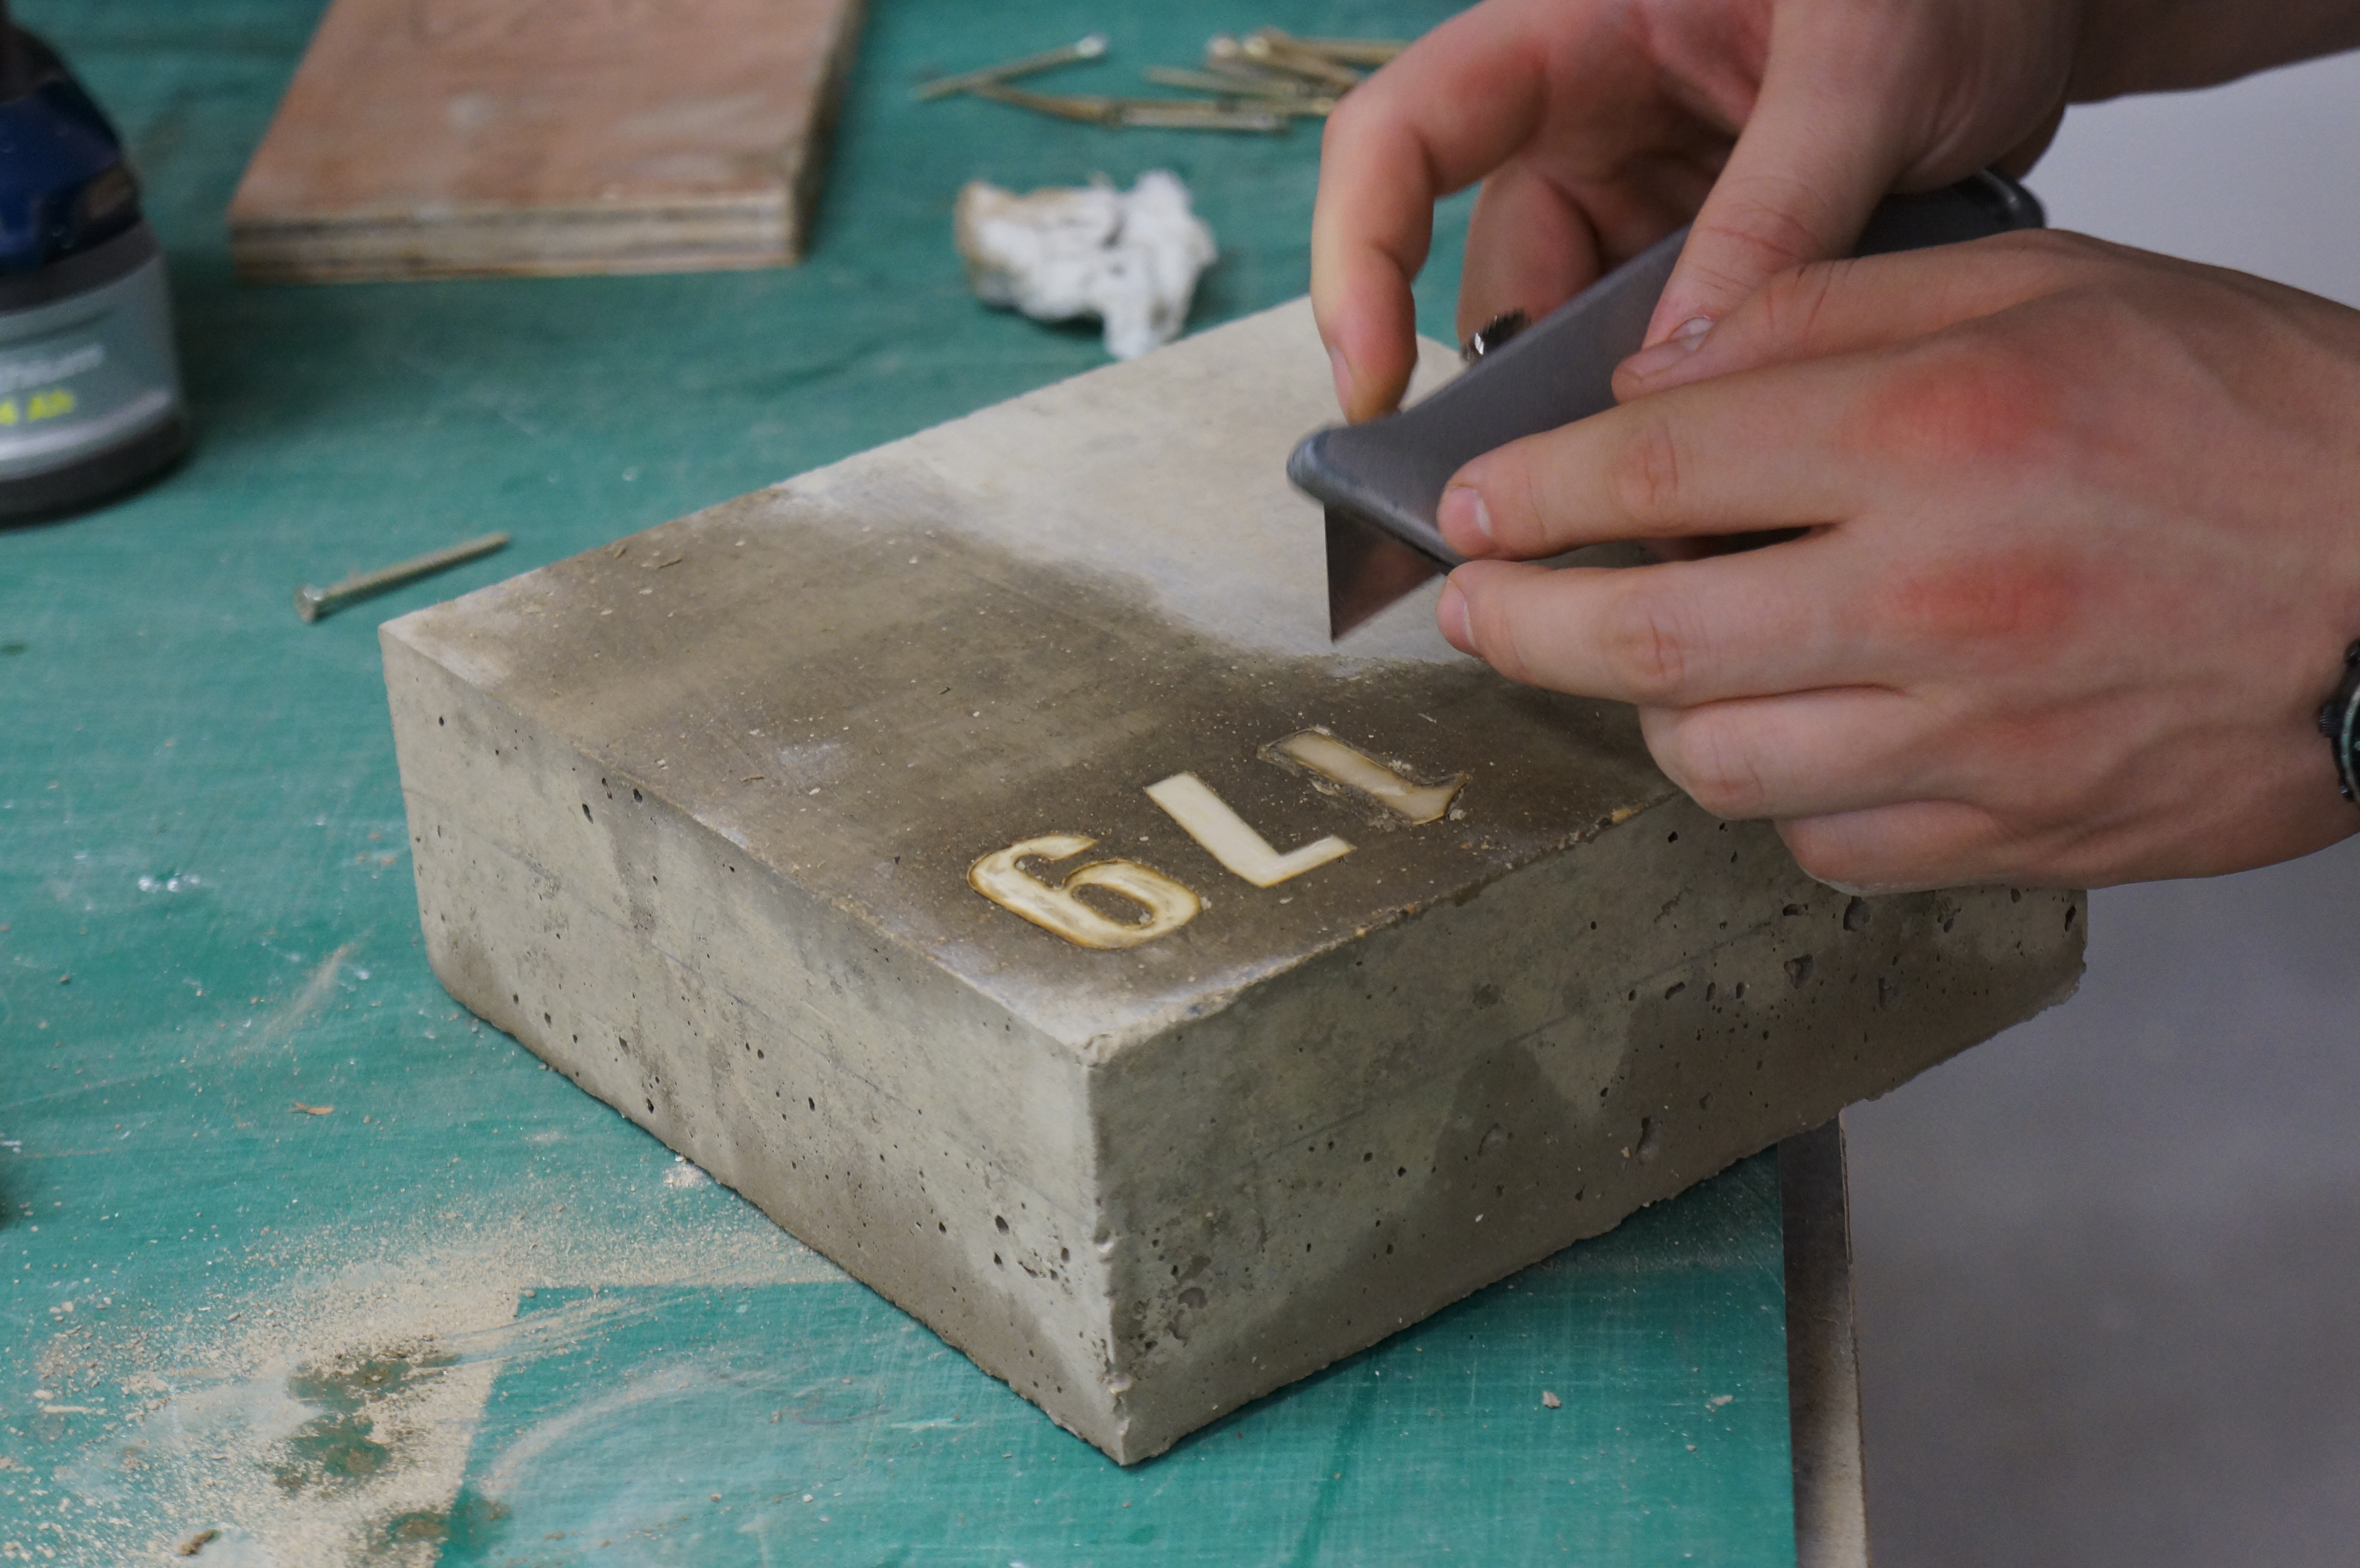
MSA Student Sophie Samuels is collecting toward the recovery following the recent typhoon in the Philippines. Please help MSA to do their bit by clicking here. Just £1720 can build a new house!
 Moving on from the first stage of this assignment the second year students have been refining their designs and fitting them to context. Scaled down models (above) were made to fit into bigger site plan showing them in context to surrounding buildings and landmasses.Â
Moving on from the first stage of this assignment the second year students have been refining their designs and fitting them to context. Scaled down models (above) were made to fit into bigger site plan showing them in context to surrounding buildings and landmasses.  As was discovered in this case, fixing components or rather the design of the fixings on the components requires in depth thought. Whilst this structure was made to hold its form using adhesive, in reality a strong proven junction would be required and therefore this design requires more refinement.Â
As was discovered in this case, fixing components or rather the design of the fixings on the components requires in depth thought. Whilst this structure was made to hold its form using adhesive, in reality a strong proven junction would be required and therefore this design requires more refinement.  This site plan block model featured a removable contoured section made from cardboard where the various sample structures could be placed to demonstrate their relationship with the site.


 Lauren and Becky decided to create their site master plan using 3D powder printed components on a laser cut plywood base. The completed model looks great and shows in detail all the shapes that make up the exiting structures their chosen site.
 For those eager to try 3D printing it may be worth noting that this is a fairly unorthodox approach to making a site model due to the cost implications. This batch of printing came to a total cost of £116. When combined with other material and machine use time the total cost of the model came to around £150. This is minimal compared to commercial model costs but cheaper approaches can be carried out if cost is a concern.
 Despite these cost implications, the outcome is very successful and clearly conveys the level of detail sought for the project. The use of timber against black acrylic to represent waterways is a style often used by David Chipperfield Architects Models.
The workshop will be closed on Friday 22nd November and will re-open as normal at 9.30 on Monday 25th November.
Jim and Scott
Our main laser cutter has now been repaired and is back online.
If you had a booking last Friday or today that was moved please call or email in to re-book a time.
Thanks, Scott and Jim