City Master Plan Models

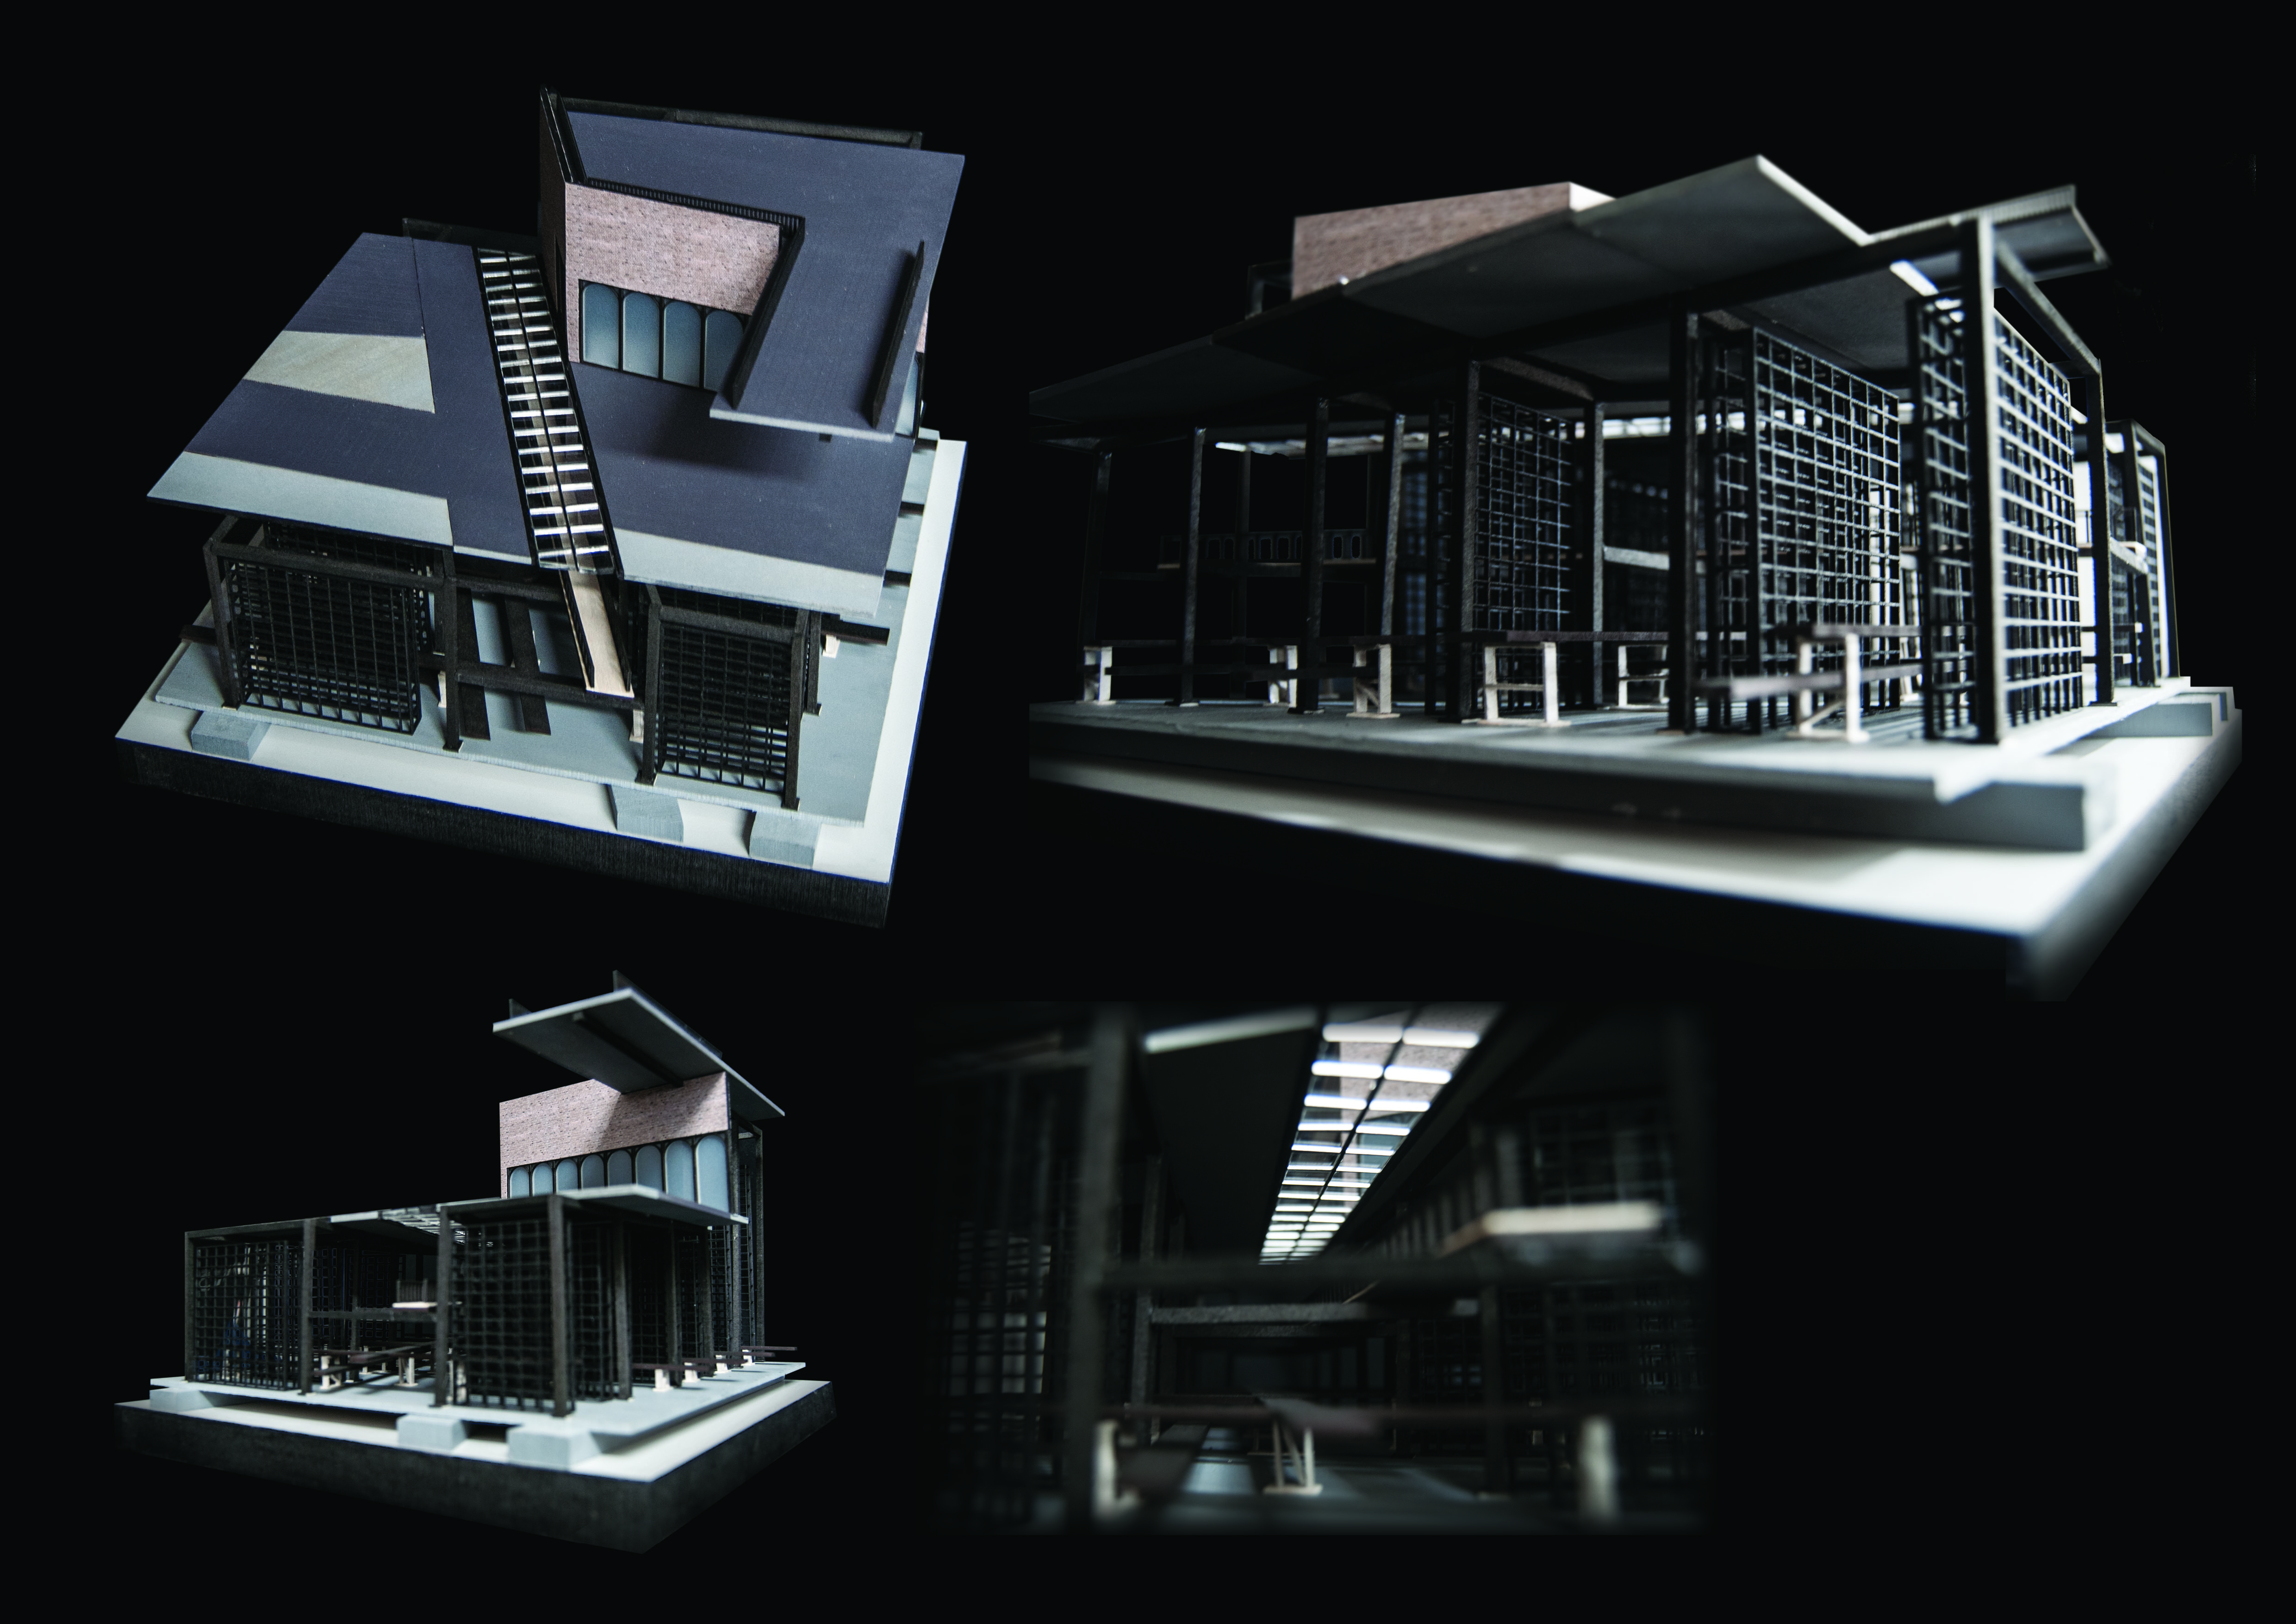
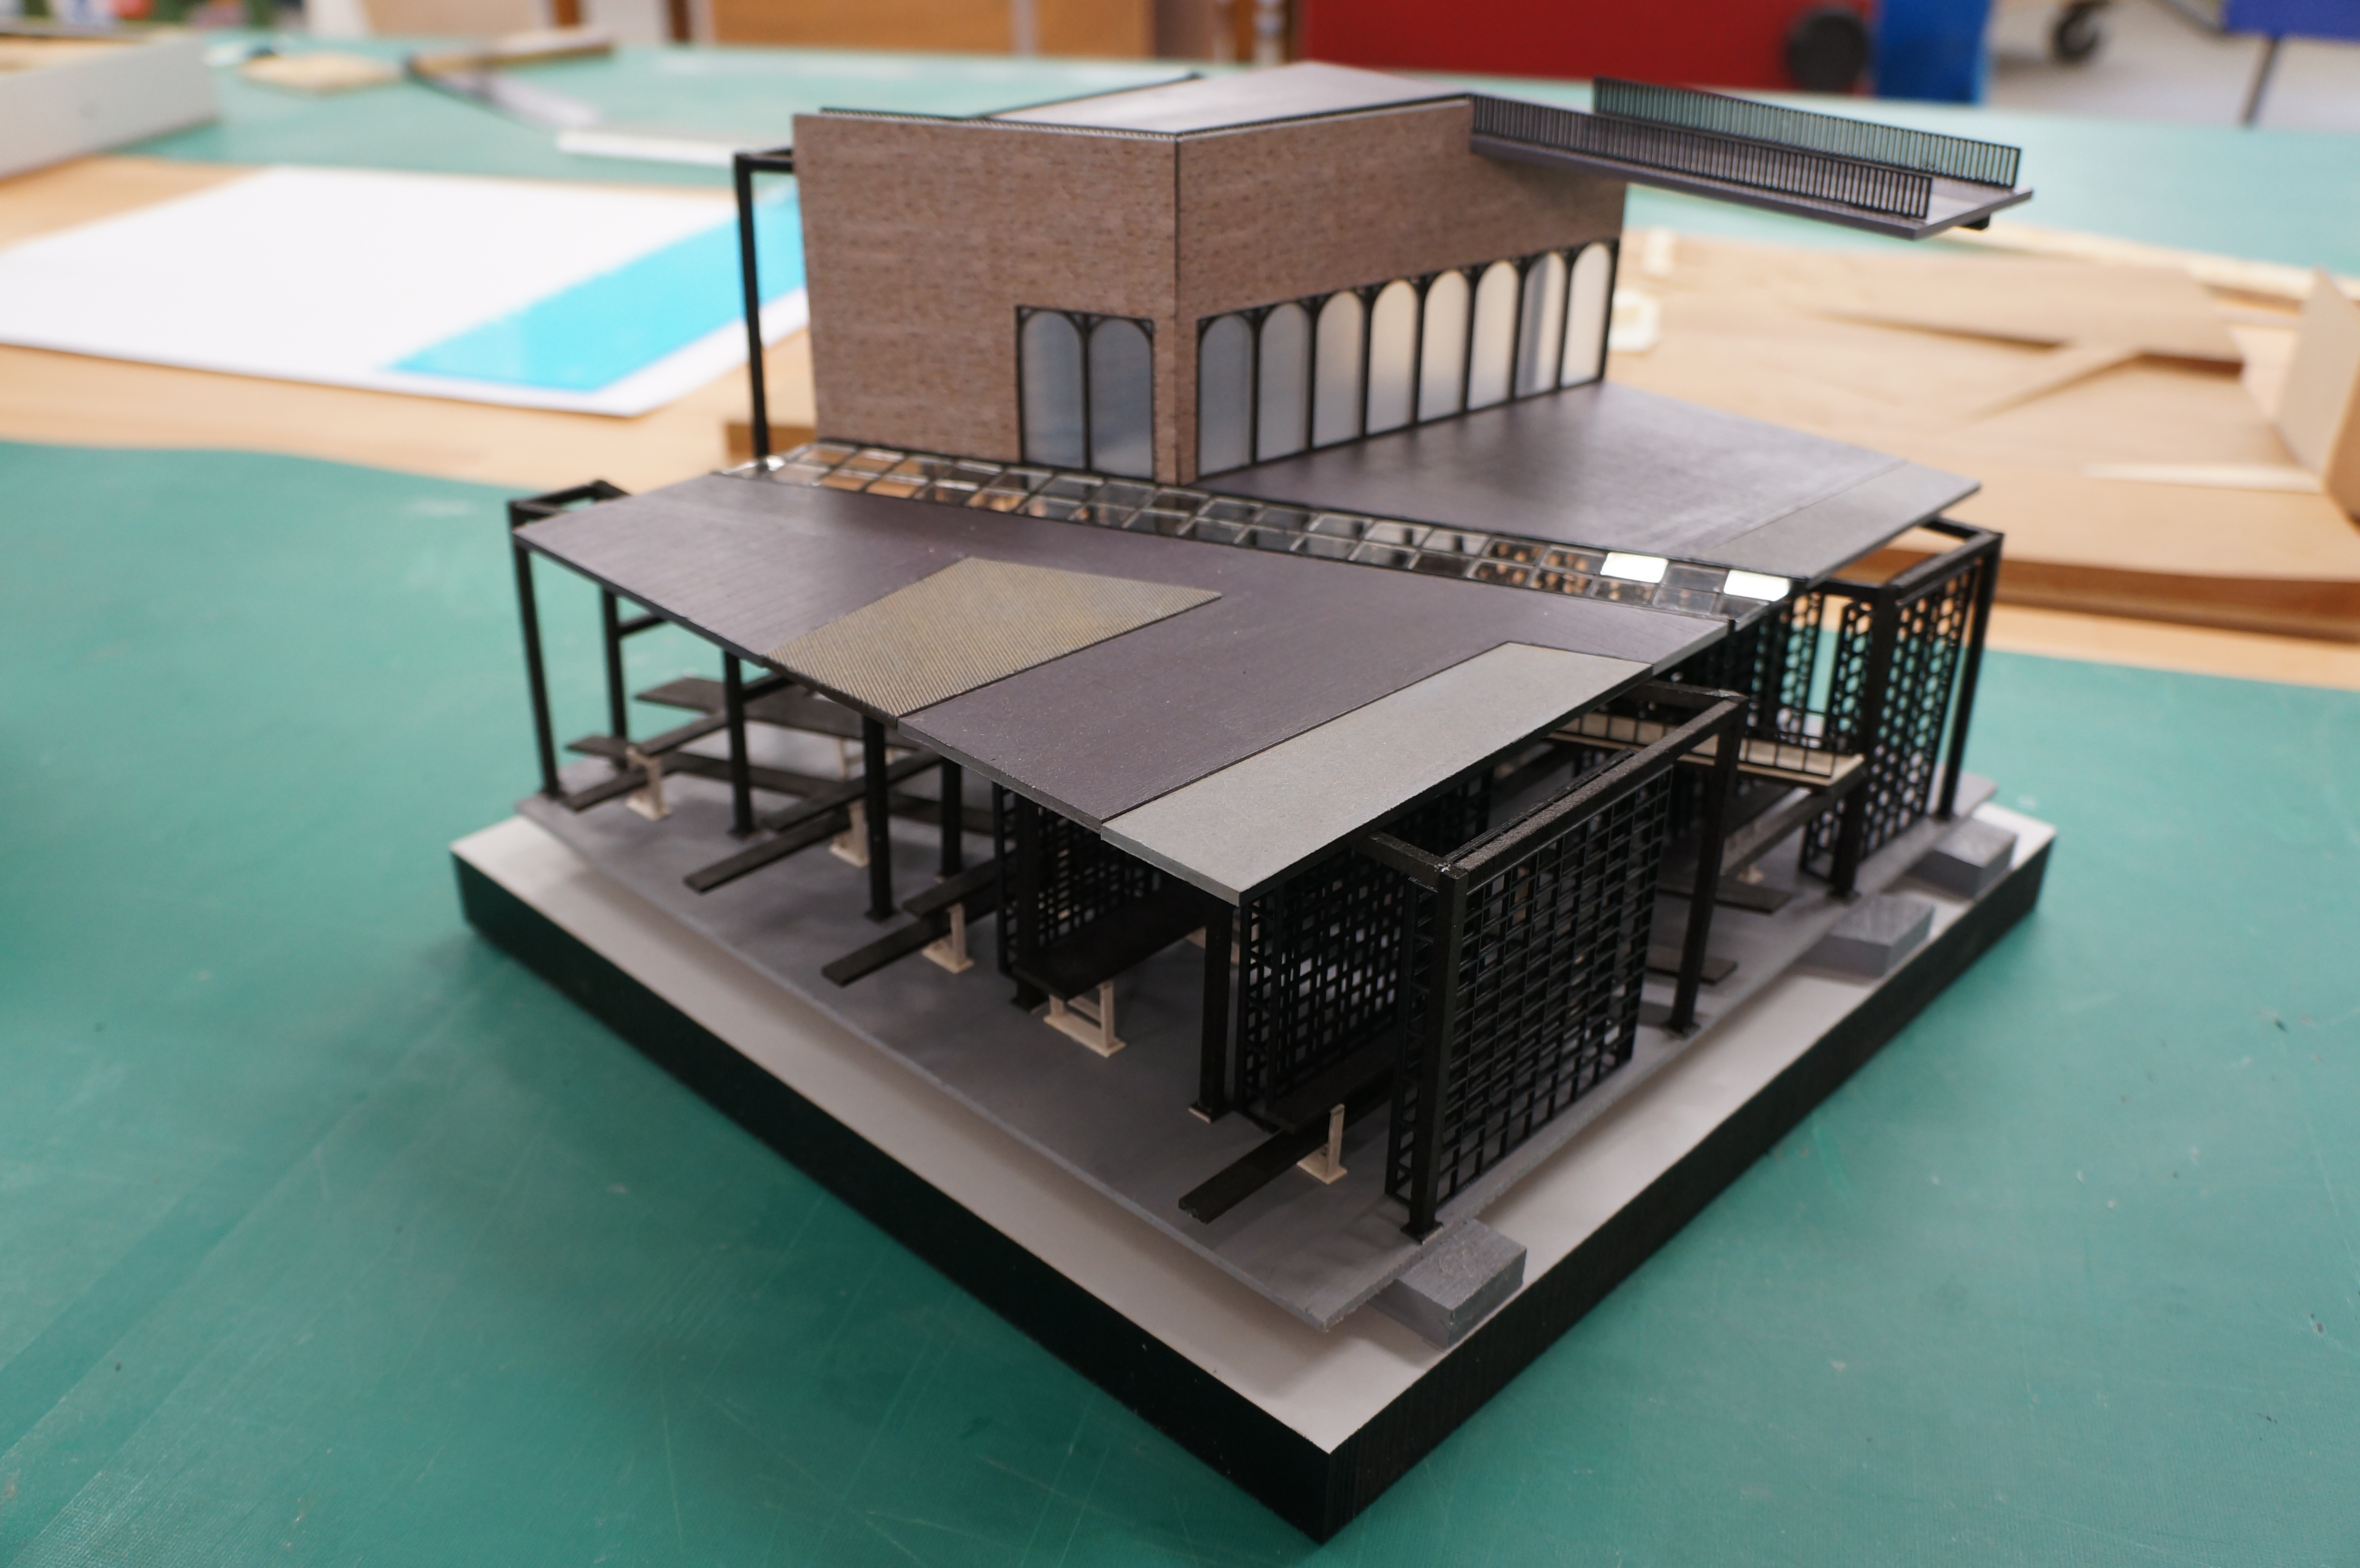
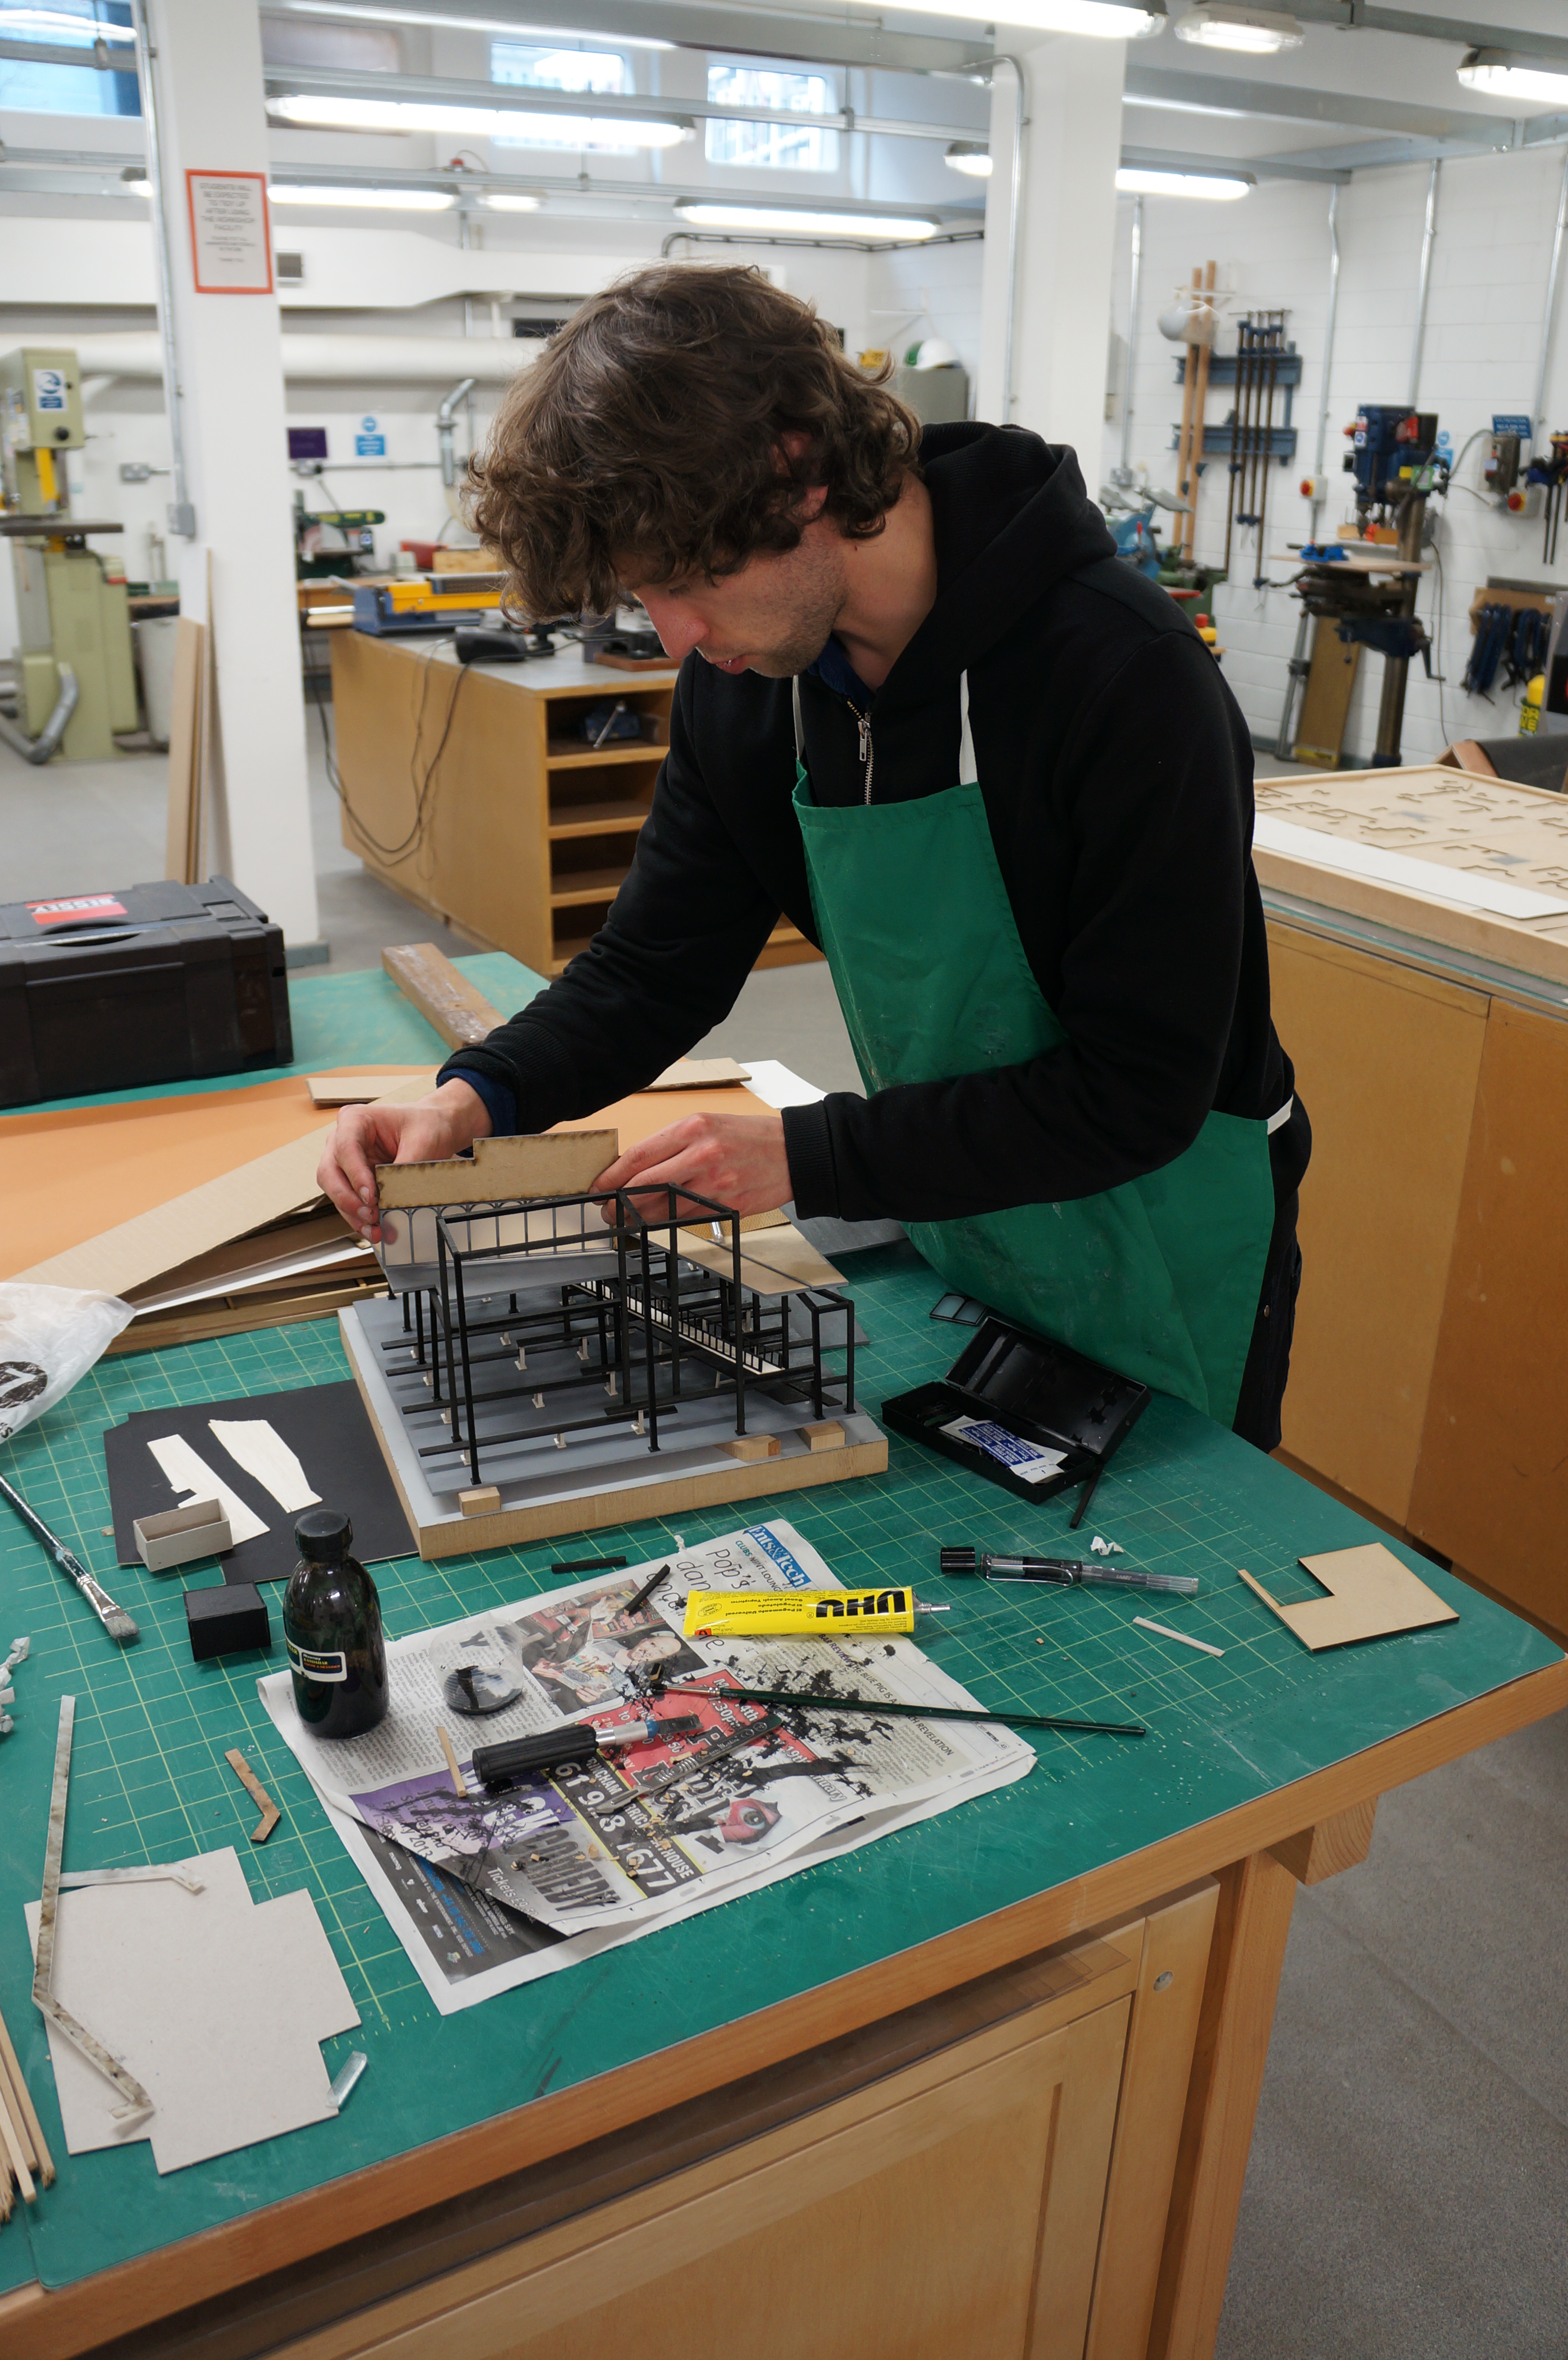
Making continues this week in the workshop with most students focussed on creating city master plan models.
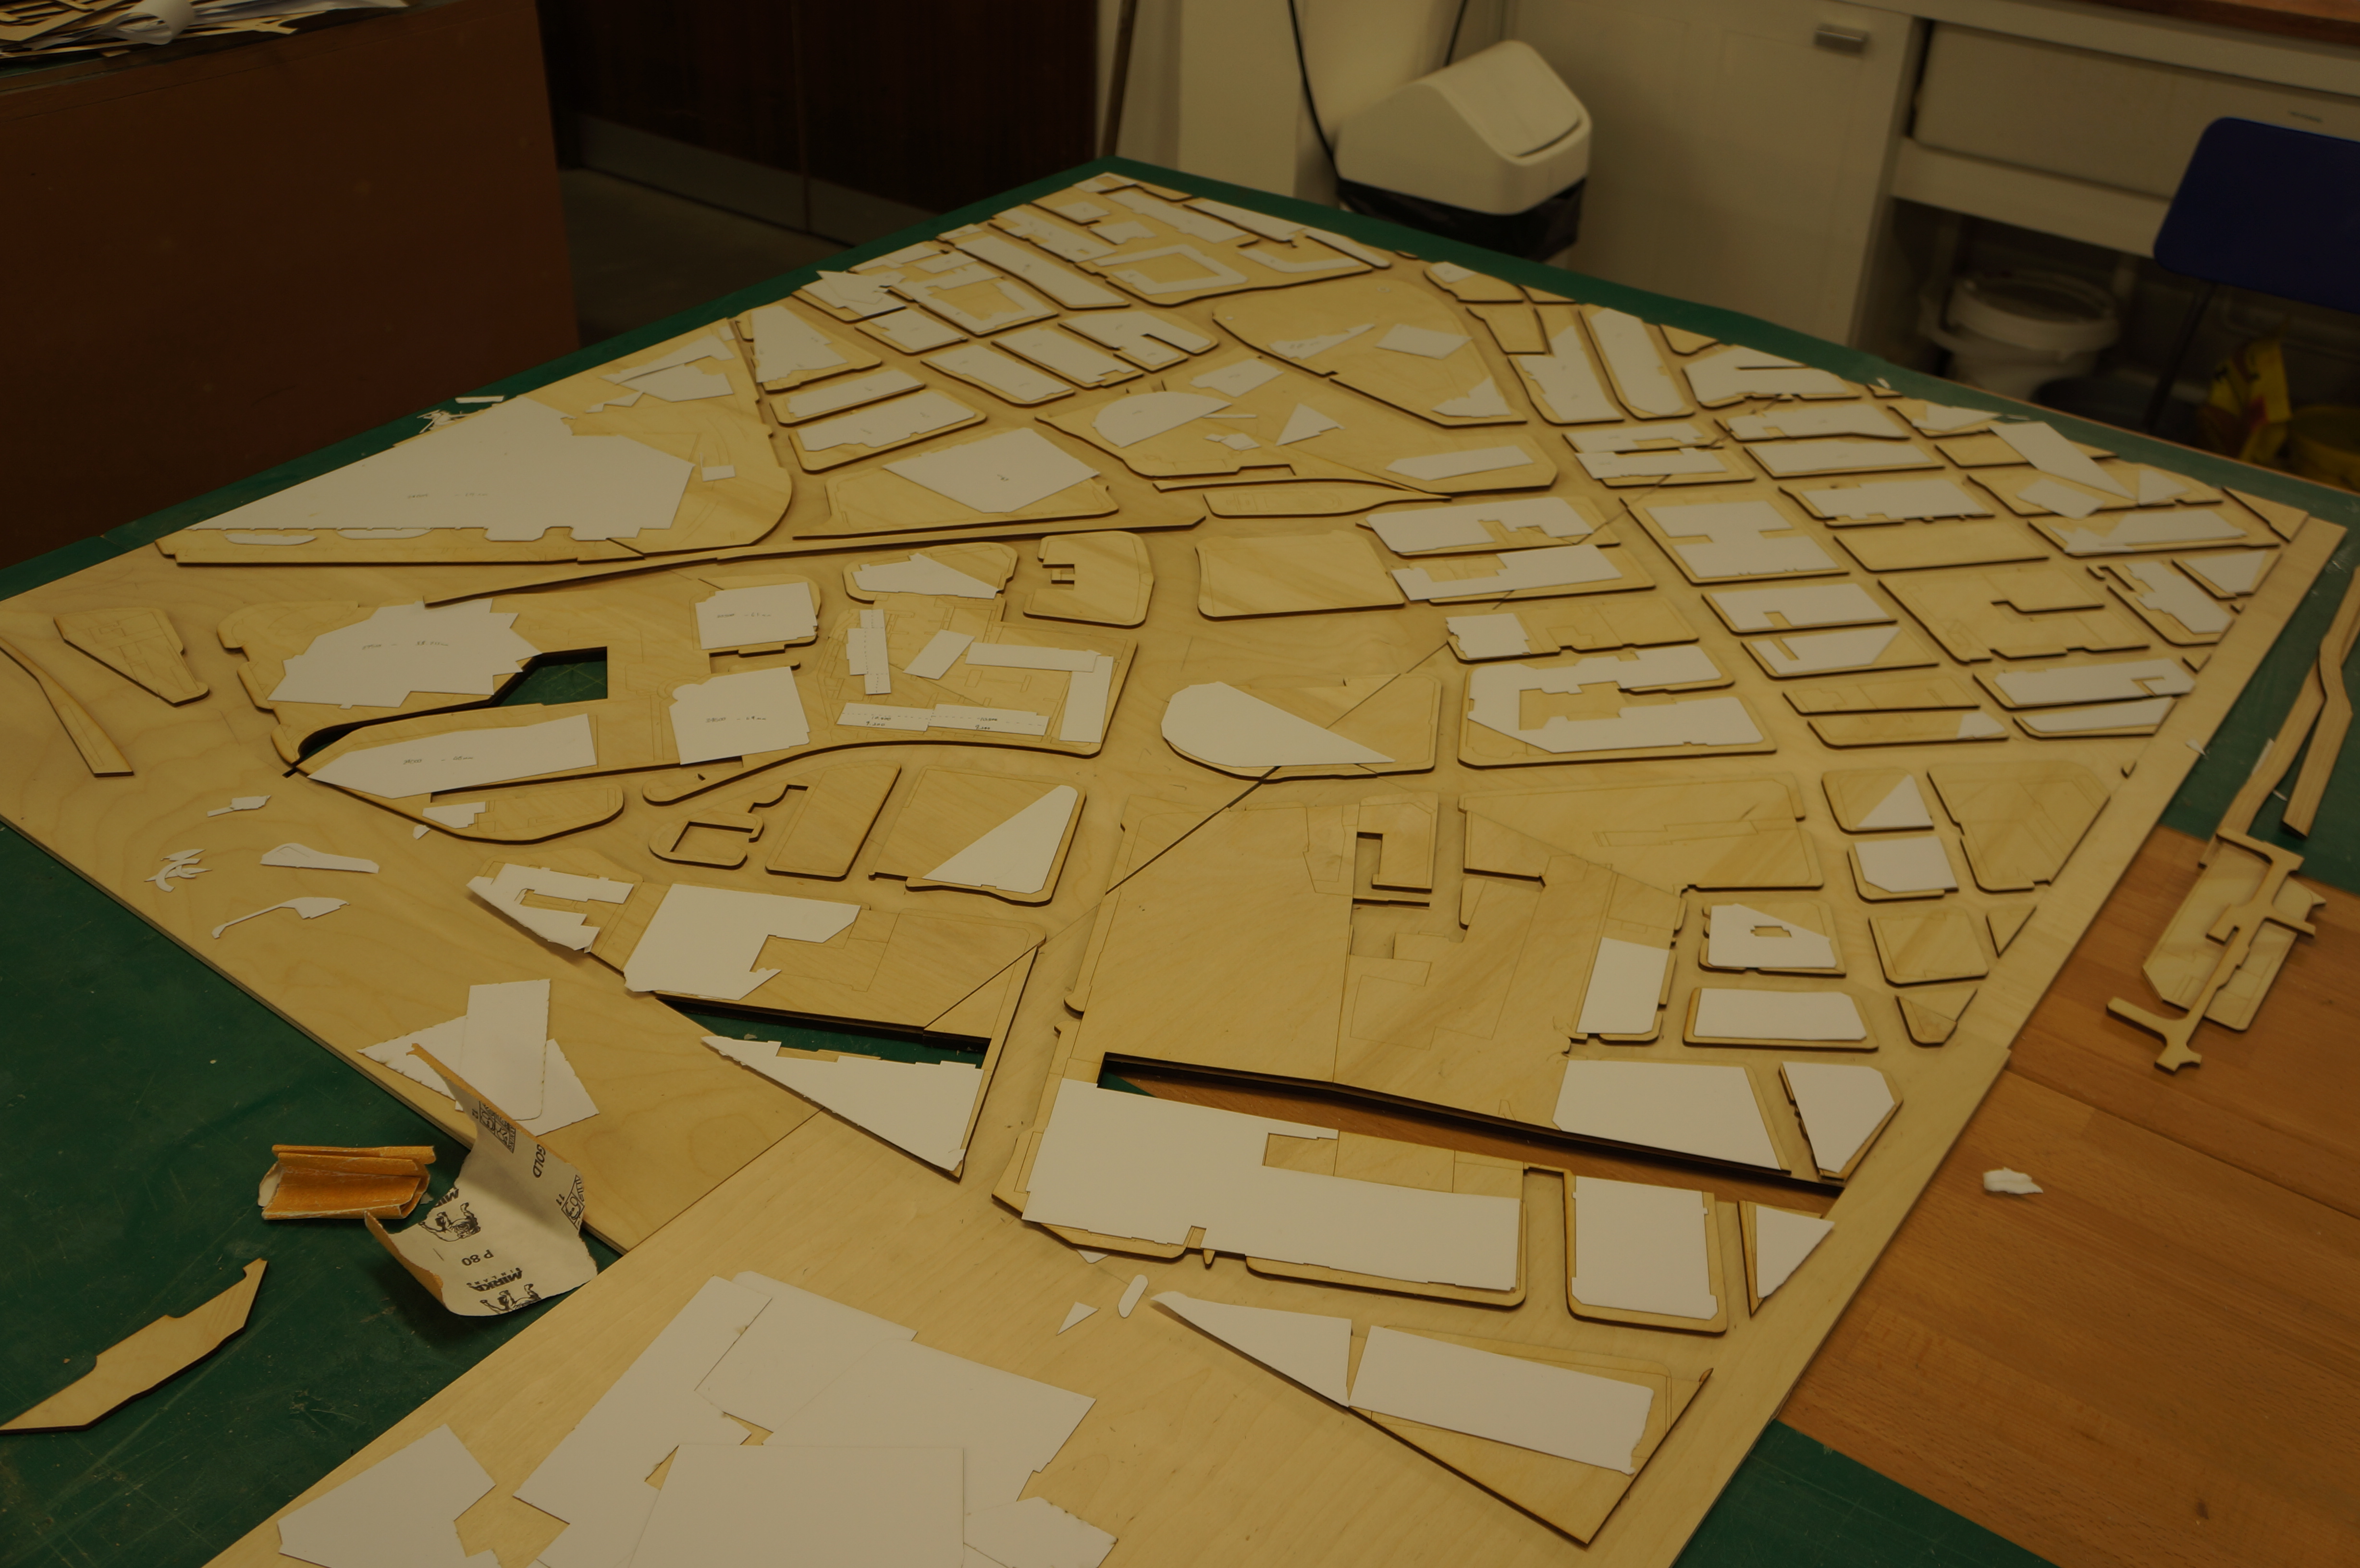
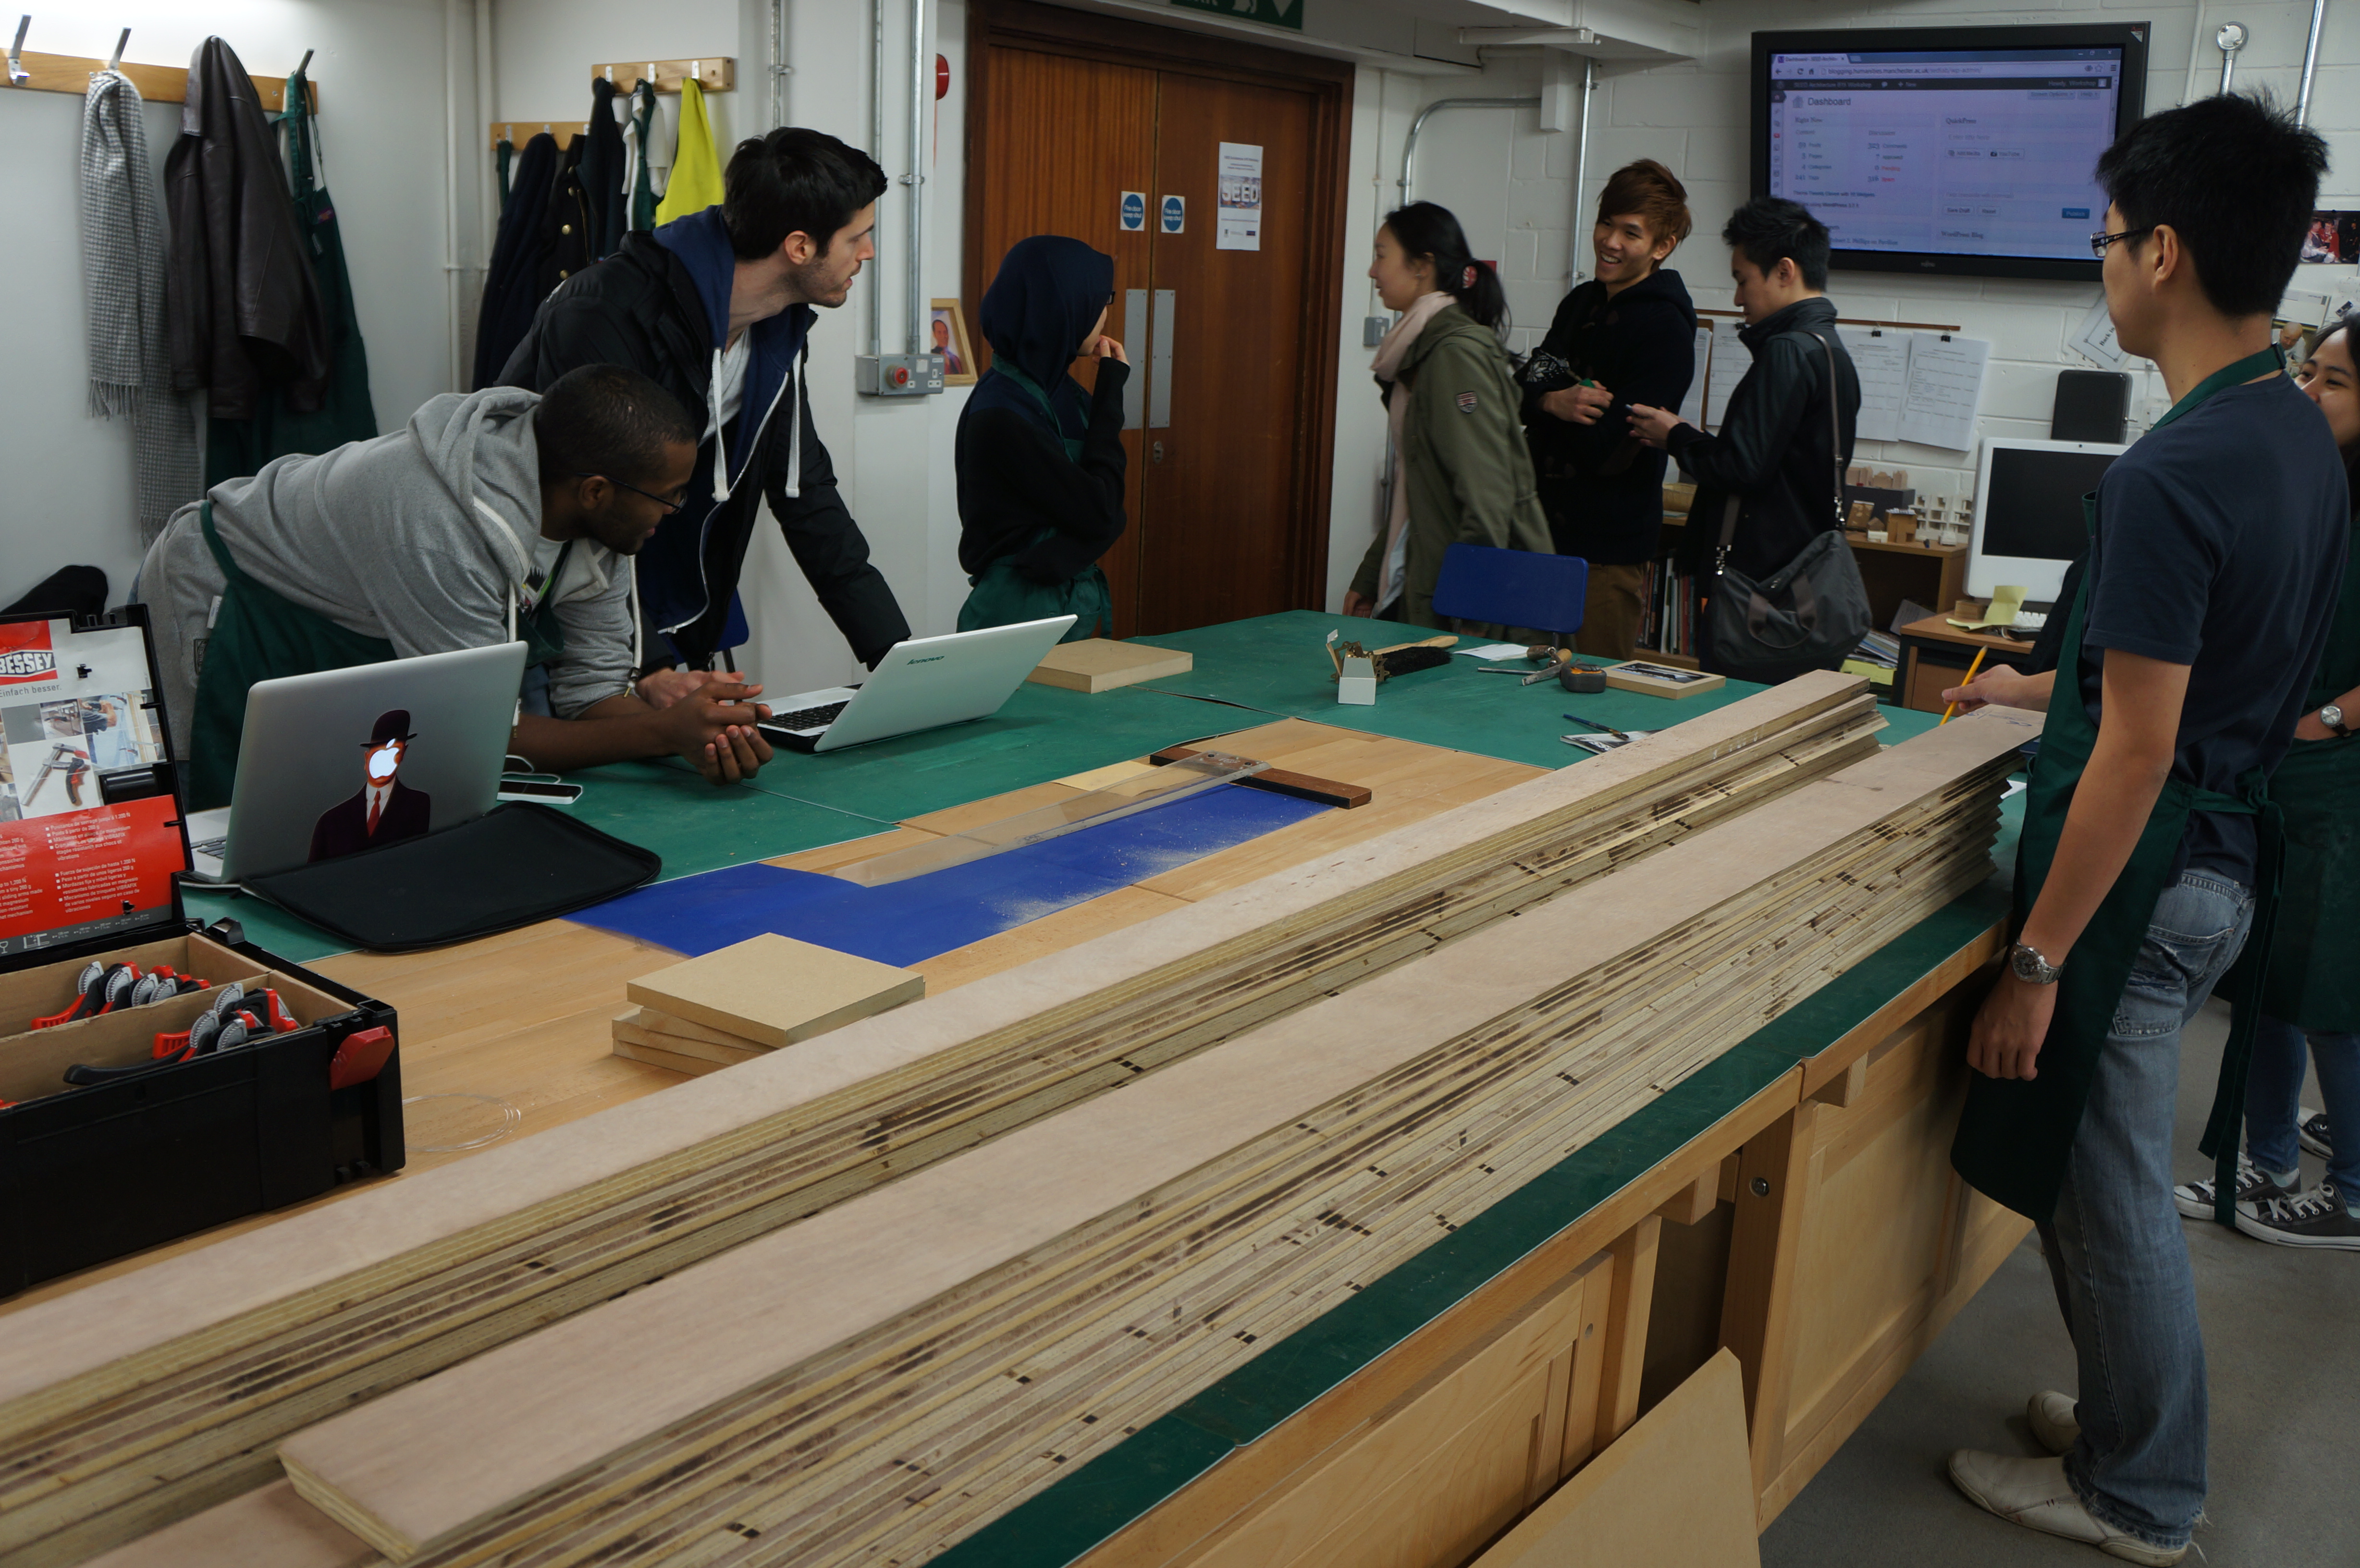
It can be helpful when making master plans to lay out scaled plans to place components in place and ensure everything has been cut. If you want accuracy it is essential to have well scaled plans printed to understand the size of your project on a bench in front of you.
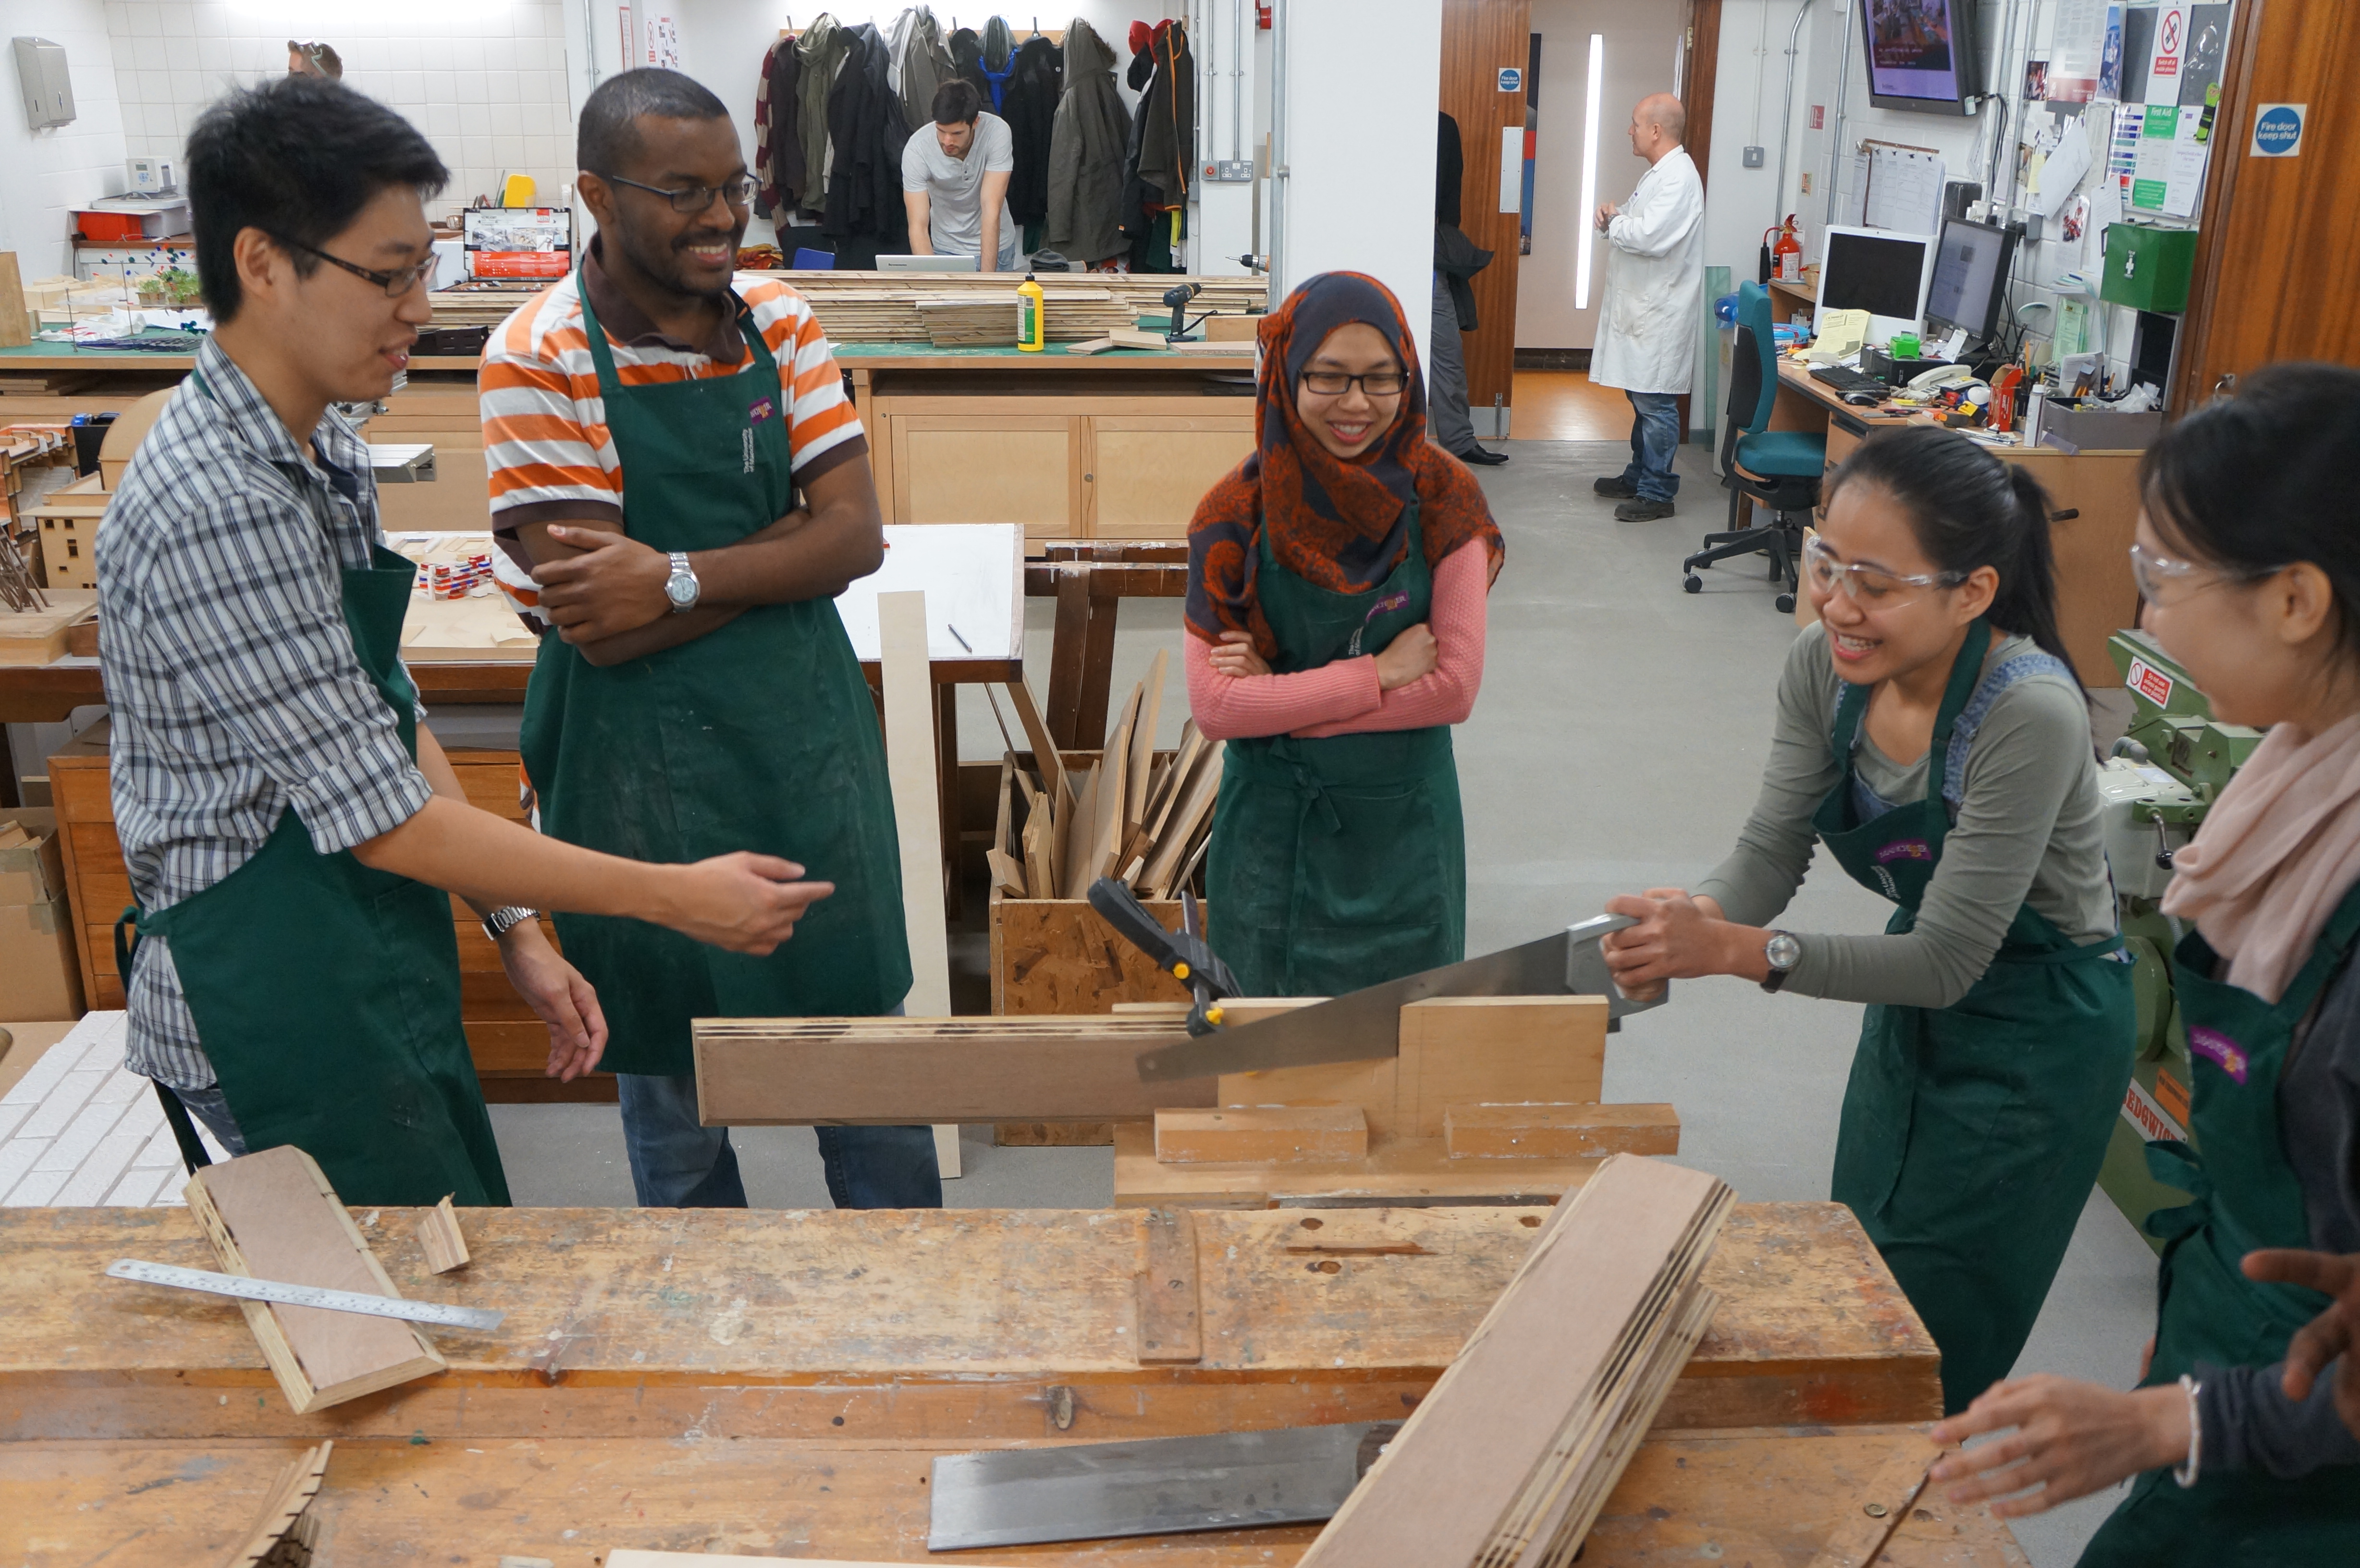
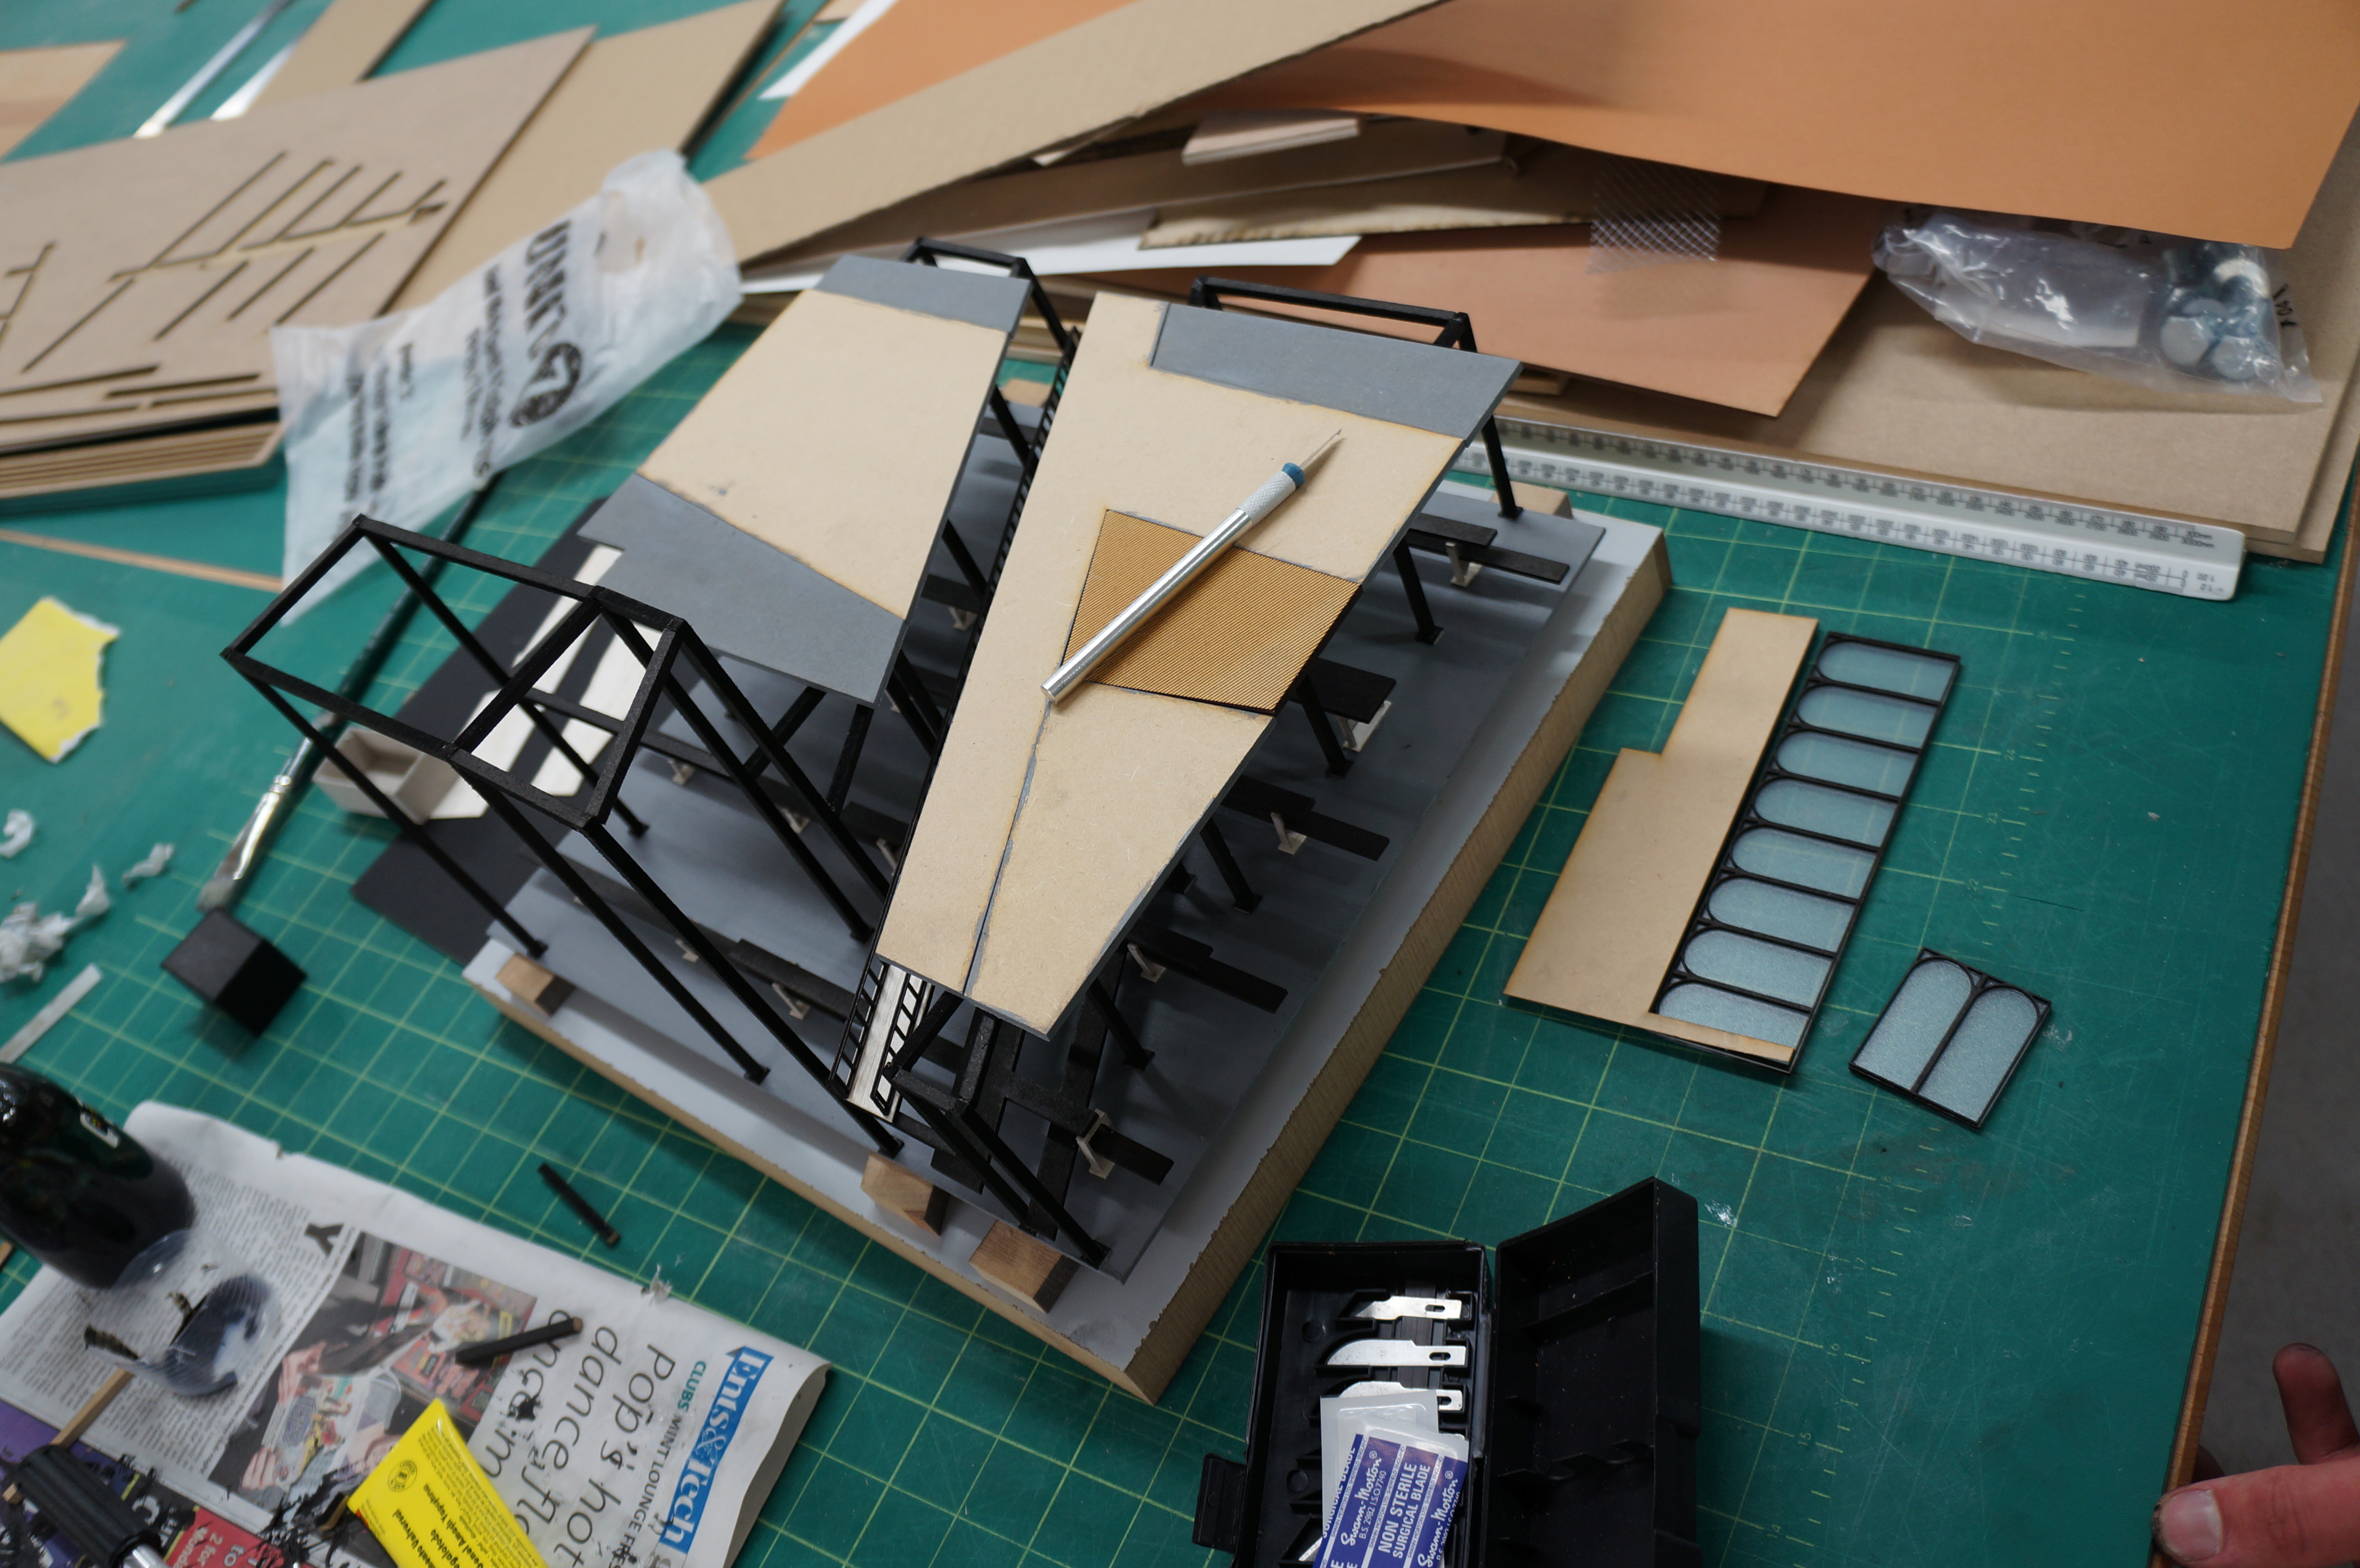
When dealing with master plan models more often than not you will find an abundance of components littering your desk space. The best was to keep track of these to is to order them and separate them into districts. This may suit a group project as individuals can be given responsibility over separate areas of the model. This group used plastic bags to distribute components as they were cut to avoid mixing them up.

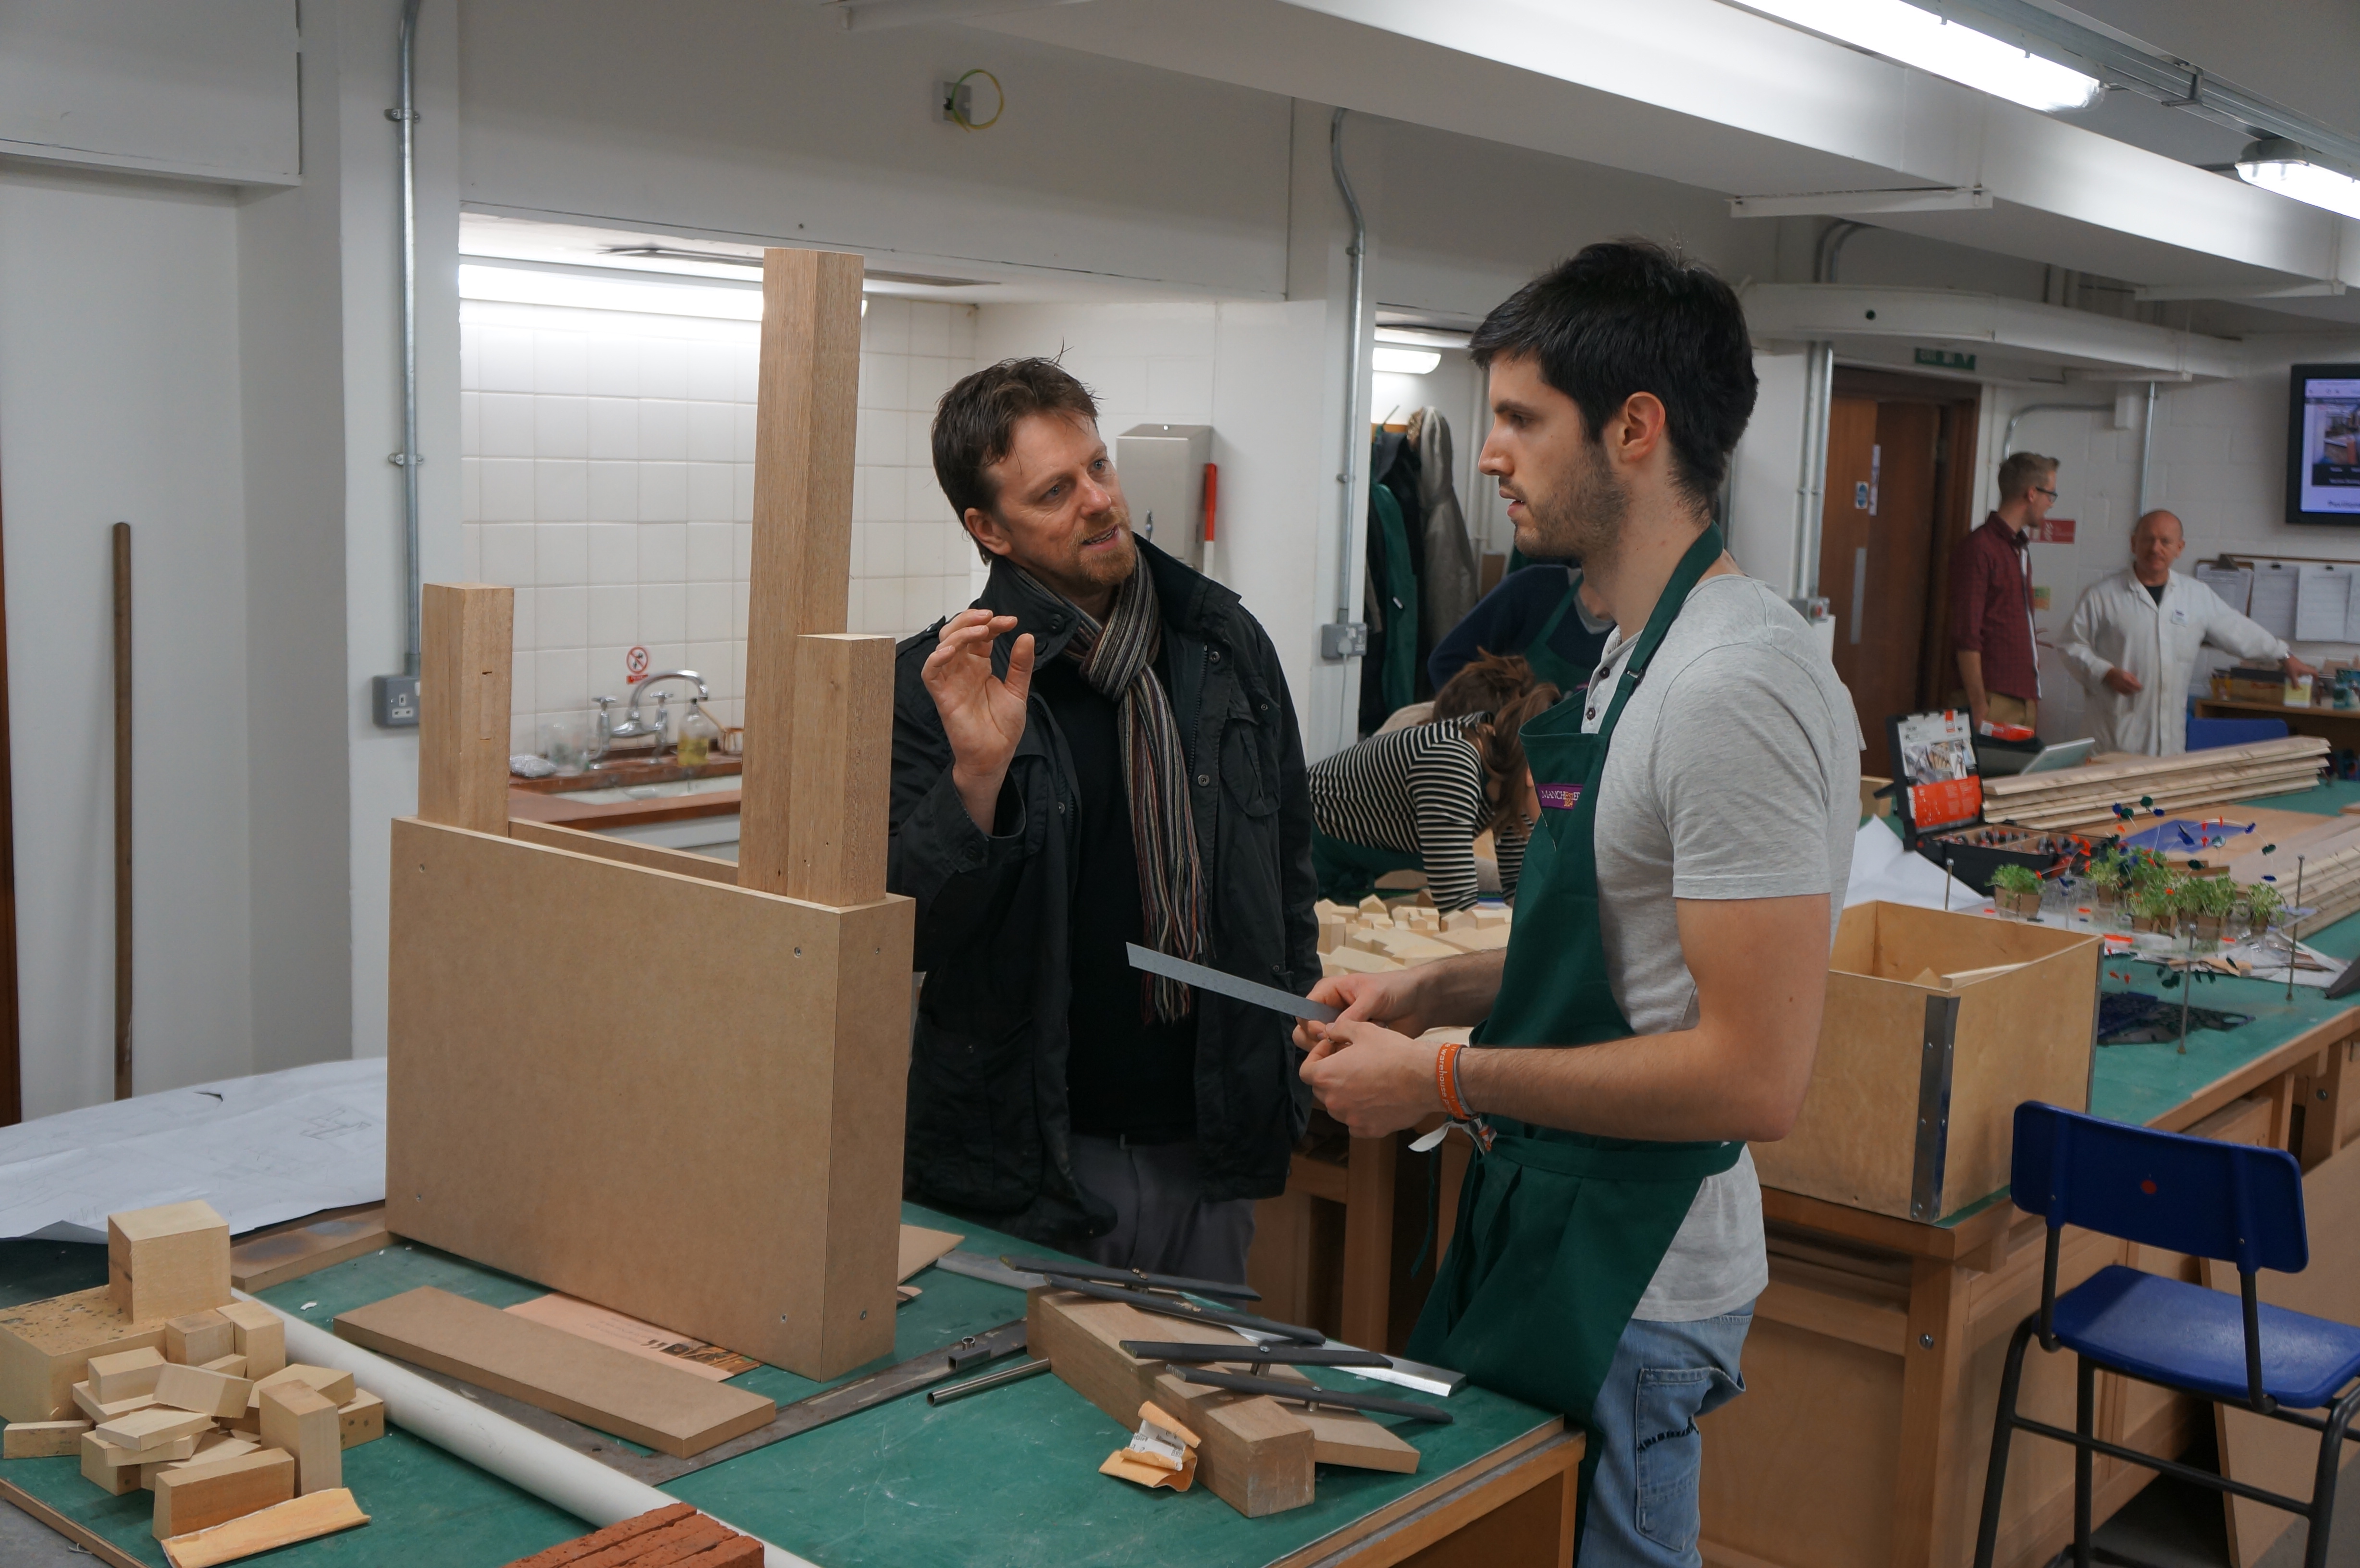
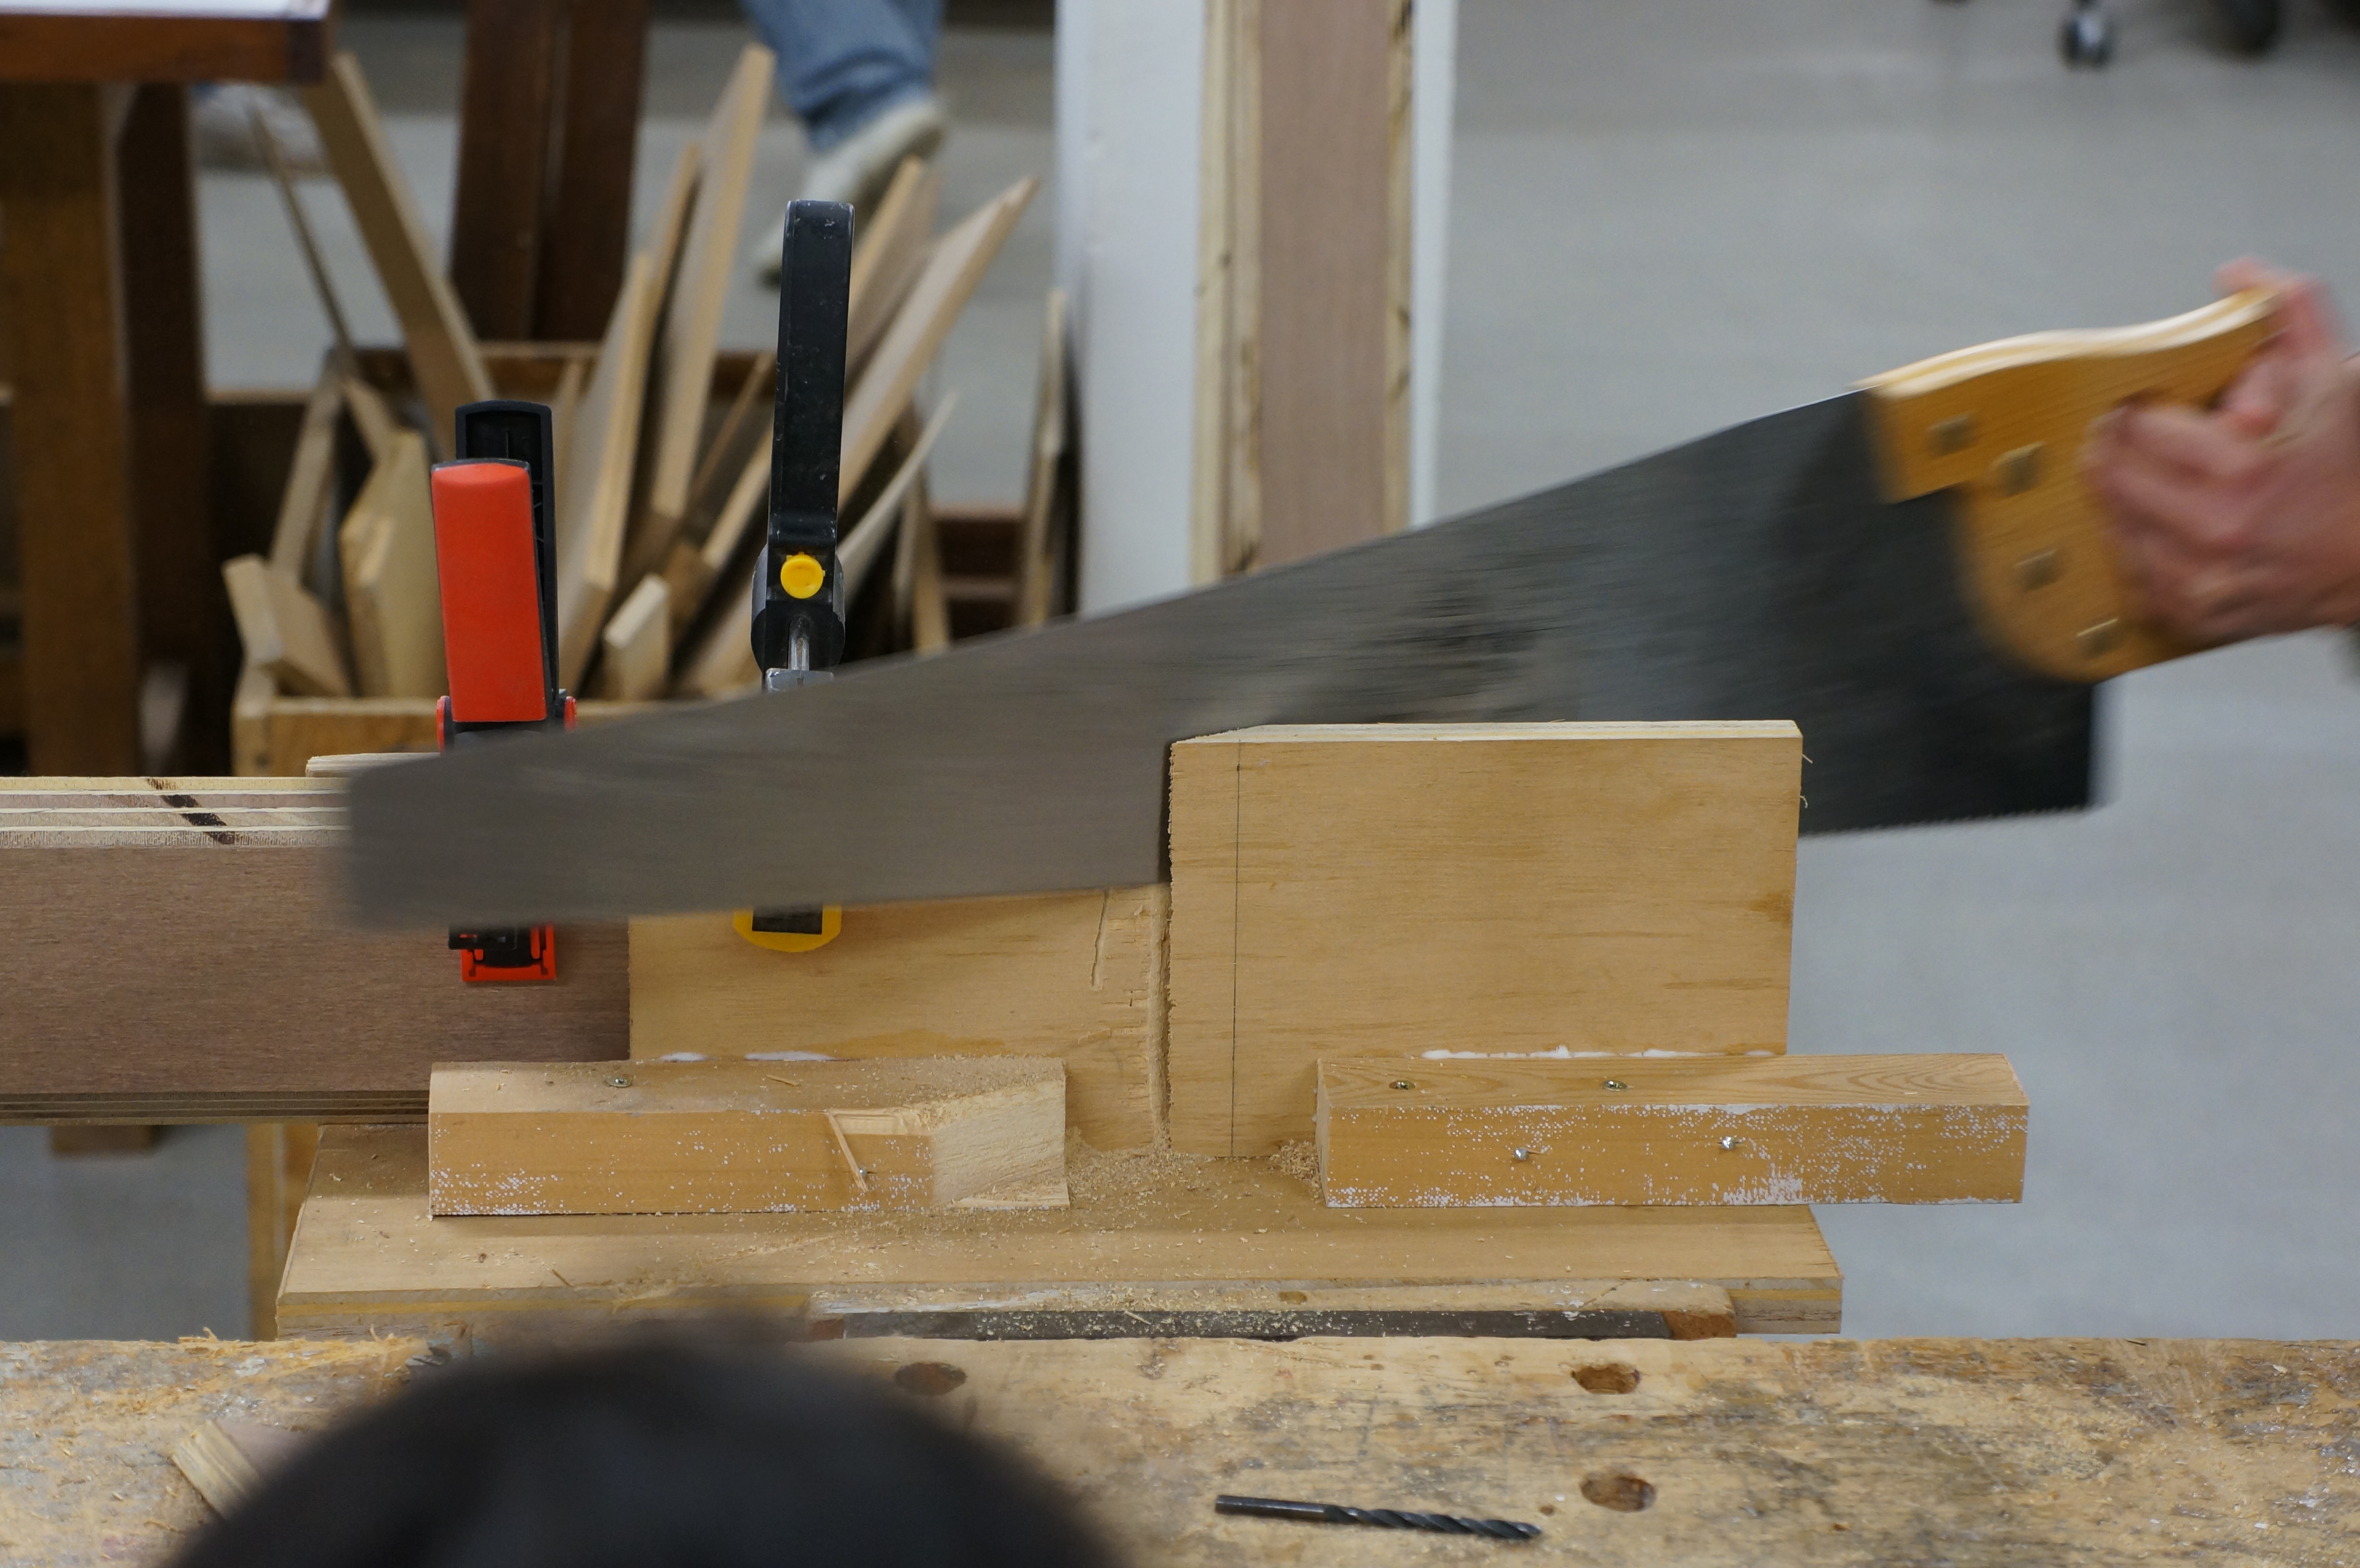
Here Jim is using the band saw table on an angle to create roof pitches on a block model. It is likely that when producing block models there will come a point when a machines limits will not be sufficient to get the angle you require.

Overcoming these aspects of modelmaking can be time consuming but is of course necessary to ensure consistent accuracy of your models. Should you feel you’re unsure about how to achieve a particular angle don’t hesitate to ask our advice.


The Peak Pavilion Project

This project consists of 8 ‘peaks’ which each point toward a significant battle of the first world war. Each peak will feature poetry written by patients at who stayed at Dunham Massey during its use as a hospital for wounded soldiers coming back from the front.  As with the other ongoing pavilion projects, this concept began in physical form as a sketch model.  Structural details were designed and refined through a series of test models. This example shows the internal frame construction to support each pillar in the circle.

After test models were made at small scale the group went on to make some details at 1:1 to test assembly and strength in reality. This section below shows how the framework inside each panel would be fixed. These kind of 1:1 details are great design theory tests and offer as close an insight as possible to the finished look without building the full structure.

Making components for this project, much like the concrete mould construction on one of the other pavilions required the mass production of specifically angled cuts using our circular saw.Due to the acute angle required for the top ends of each piece we were unable to cut the required angle using machines. In order to achieve the correct angle the group used a custom made mitre jig and hand saw to cut the correct angle at the end of each component. This proved to be a hand saw learning curve for most of the group after falling into the common misconception about using a hand saw – small fast movements will reduce the effectiveness of your cutting. Taking time to get used to using the main length of the saws teeth and allowing the saw to do the hard work always proves much more effective and less exhausting! 
The panels for each peak will be assembled using screws into pre-drilled holes (below) which will be plugged to make them less obvious. The main panels of each peak will be cut using a large CNC bed at FAB LAB Manchester. As with the other pavilion project developments, we will keep you up to date as things progress.

2nd Year Structural Models Continued

Moving on from the first stage of this assignment the second year students have been refining their designs and fitting them to context. Scaled down models (above) were made to fit into bigger site plan showing them in context to surrounding buildings and landmasses.  As was discovered in this case, fixing components or rather the design of the fixings on the components requires in depth thought. Whilst this structure was made to hold its form using adhesive, in reality a strong proven junction would be required and therefore this design requires more refinement. This site plan block model featured a removable contoured section made from cardboard where the various sample structures could be placed to demonstrate their relationship with the site.

Structural Detail Model by Andra Calin

2nd year student Andra Calin has been developing a structural concept model that is expanding on a sketch model inspired by the form of a bird. Initially Andra produced a paper model of her idea which loosely defined what the structure would look like. For this next model she has increased its scale and added more detail. This kind of model will raise questions regarding connection detail and overall practicality of the structure.

2nd Year Andra Calin (1)

DSC01267

DSC01274

For me its these intermediate types of development model that are the most fun to construct as they help clearly define details that can be replicated or improved upon and I hope to see more of these in the coming weeks as these ideas progress! Scott

DSC01269 DSC01273

‘Extreme Conditions’ Predictive Contour Model

Stockport Contour Model (3)

This 3rd Year contour model of a site in Stockport has been made to demonstrate the effects of pollution in the area. Smoke, trapped in the lower box section of the model will escape through holes on the base of the site representing pollution from the area. The river area will eventually be flooded and show and overspill to the surrounding urban area.

Models of this kind are described as being ‘Predictive models’ in that they are attempting to show how a change may occur over time. The process of ‘flooding’ on this model will likely result in its destruction so it’s life will be short.

Stockport Contour Model (4) Stockport Contour Model (6) The group used laser cut MDF to build up the site contours and band saw cut MDF for the site roadway. The buildings were made from Jelutong wood blocks and the base box from band saw cut acrylic with acrylic square section.

Stockport Contour Model (7) Stockport Contour Model (8) Stockport Contour Model (10) Stockport Contour Model (11)

Ancoats Community Development ‘Hybrid Scheme’, Sandra Schenavsky

3rd year Student Sandra Schenavsky decided to take a materialistic approach to her final submission model. The proposed site in Ancoats would feature a well rounded use of buildings to create a ‘Work, Life and Leisure’ balance for those who might use the space.

Sandra wanted to convey the different uses of each element of her design by representing them as near to her proposed material finish as possible. To do this the existing site and landscaping was represented in laser cut card contours. The main building itself was constructed using pigmented plaster casts to represent concrete sections, laser cut MDF to represent wooden cladding and laser cut acrylic to represent glass facades.

This was a great experimentation project which found a good balance of techniques. Casting plaster into MDF molds proved challenging but after several trials Sandra was able to come up with an effective way of casting the forms she wanted.


Exhibition Preparations in the Workshop

Since our last post we have barely been able to move for people in the workshop, regularly maxing out our capacity. Deadlines for exhibition construction have meant a surge of students getting their show pieces and exhibit spaces completed.


There have been many co-ordinated group’s mass producing components for exhibition over the last few weeks here at SED. Whilst there has been a positive hive of activity, there have been a few instances where machines such as the laser cutter have been wrongly used which we hope to address ahead of the next academic year. This really just comes down to being aware of when it is appropriate to use a specific machine for a given job.

There is a good chance we will be implementing a ‘pay up front’ policy for use of the CAD driven machines and for the materials we supply due to the number of no-shows and the knock on effect that causes to other students wanting to use the machines. Please be aware that these changes are likely to be in place come September.

Details of the Degree Show can be found here: http://degreeshow.mmu.ac.uk/locations/

Ketso Jigsaw Prototypes

Joanne Tippett Jigsaws (9)Dr Joanne Tippett, based here in the Humanities Building, got in touch with us to help her produce several prototype jigsaws for her ‘RoundView’ Project. This is a whole systems approach to sustainability, which has come from research funded by the Sustainable Consumption Institute here at the University. The jigsaws are being manufactured by Ketso (founded by Joanne). Ketso offers various interactive hands-on engagement packs to allow groups of people to contribute to discussions fairly in group working and learning environments.

Find out more at wwww.roundview.org and www.ketso.com

The ‘Eco Puzzle’ we have been involved in is nearing its final stages with Joanne hoping for mass production if interest from organisations such as the Manchester Science and Industry Museum and others is taken forward.
Contact Joanne at joanne.tippett@manchester.ac.uk if you would like to know more.

Good luck Joanne!

Joanne Tippett Jigsaws (4)Joanne Tippett Jigsaws (1)Joanne Tippett Jigsaws (6) Joanne Tippett Jigsaws (10)

1:100 section model of a distribution/retail centre in Bradford, Sam Higgins

Sam Higgins 2

To further convey the detail within the Site as shown in Sam’s 1:500 site model, this model takes a section of one of the buildings to focus on. By using a ‘cut through’ approach at 1:100 the viewer is able to better understand the complexity or layout of a building’s construction that is not put across in models of a smaller scale.

Sam Higgins 3DSC00217

Sam used a variety of materials and techniques to create this cross section but of most importance to note is that it was largely hand crafted and assembled. Whilst CAD based machines can greatly benefit the construction of elements of your models they are best used as additional tools for making rather than the sole producer of your models.

This model used laser cut parts to great effect such as the window frames and shelving units which, if done by hand would come at great cost in terms of your time. Time spent drawing accurate components for other flat elements of this model, is far better spent simply hand cutting them. This is also a lot cheaper! Use machines appropriately – ask a member of staff when deciding how to construct your model for their take on the best approach.

DSC00195 DSC00198