Following our successful launch exhibition at this year’s Venice Architecture Biennale, we’re excited to announce a follow-up exhibition in our home city of Manchester:
AiM : Making Matters
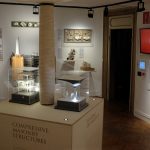
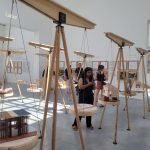
Communicating Architectural Ideas Through Models
Sponsored by: Material Source Studio
In partnership with:
The exhibition will run for five weeks, from Monday 2 March to Thursday 2 April 2026, at Material Source Studio in central Manchester.
Private View Launch Event: Thursday 5 March, from 17:00
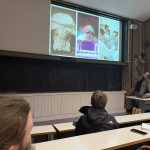
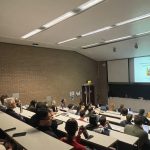
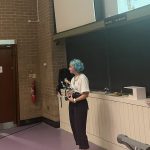
Public Programme: Practitioner lectures (details TBC)
Practitioners, WE NEED YOU!
Your work is the exhibition. We are seeking contributions of up to three models per practice, ideally at different scales and/or showing the development of a single project. Alongside chosen models, we will request short supporting text.
We also welcome any video material showing the making or use of models in your practice.
We will curate the final selection based on proposals and spatial considerations.
As AiM index members, you are receiving this invitation before the public call for contributions. If you’d like to take part, please complete the expression of interest form below:
We will review submissions and confirm selected participants shortly after 9 January 2026.
Participation is free; we only ask that you arrange delivery and collection of your models to either the venue or our workshop.
If needed, we can recommend couriers depending on your location.
Key Dates
Confirm participation & proposed models: by 9 January 2026
Model delivery deadline: Friday 20 February 2026
Exhibition opens: Monday 2 March 2026
Private View: Thursday 5 March 2026, from 17:00
Exhibition closes: Thursday 2 April 2026
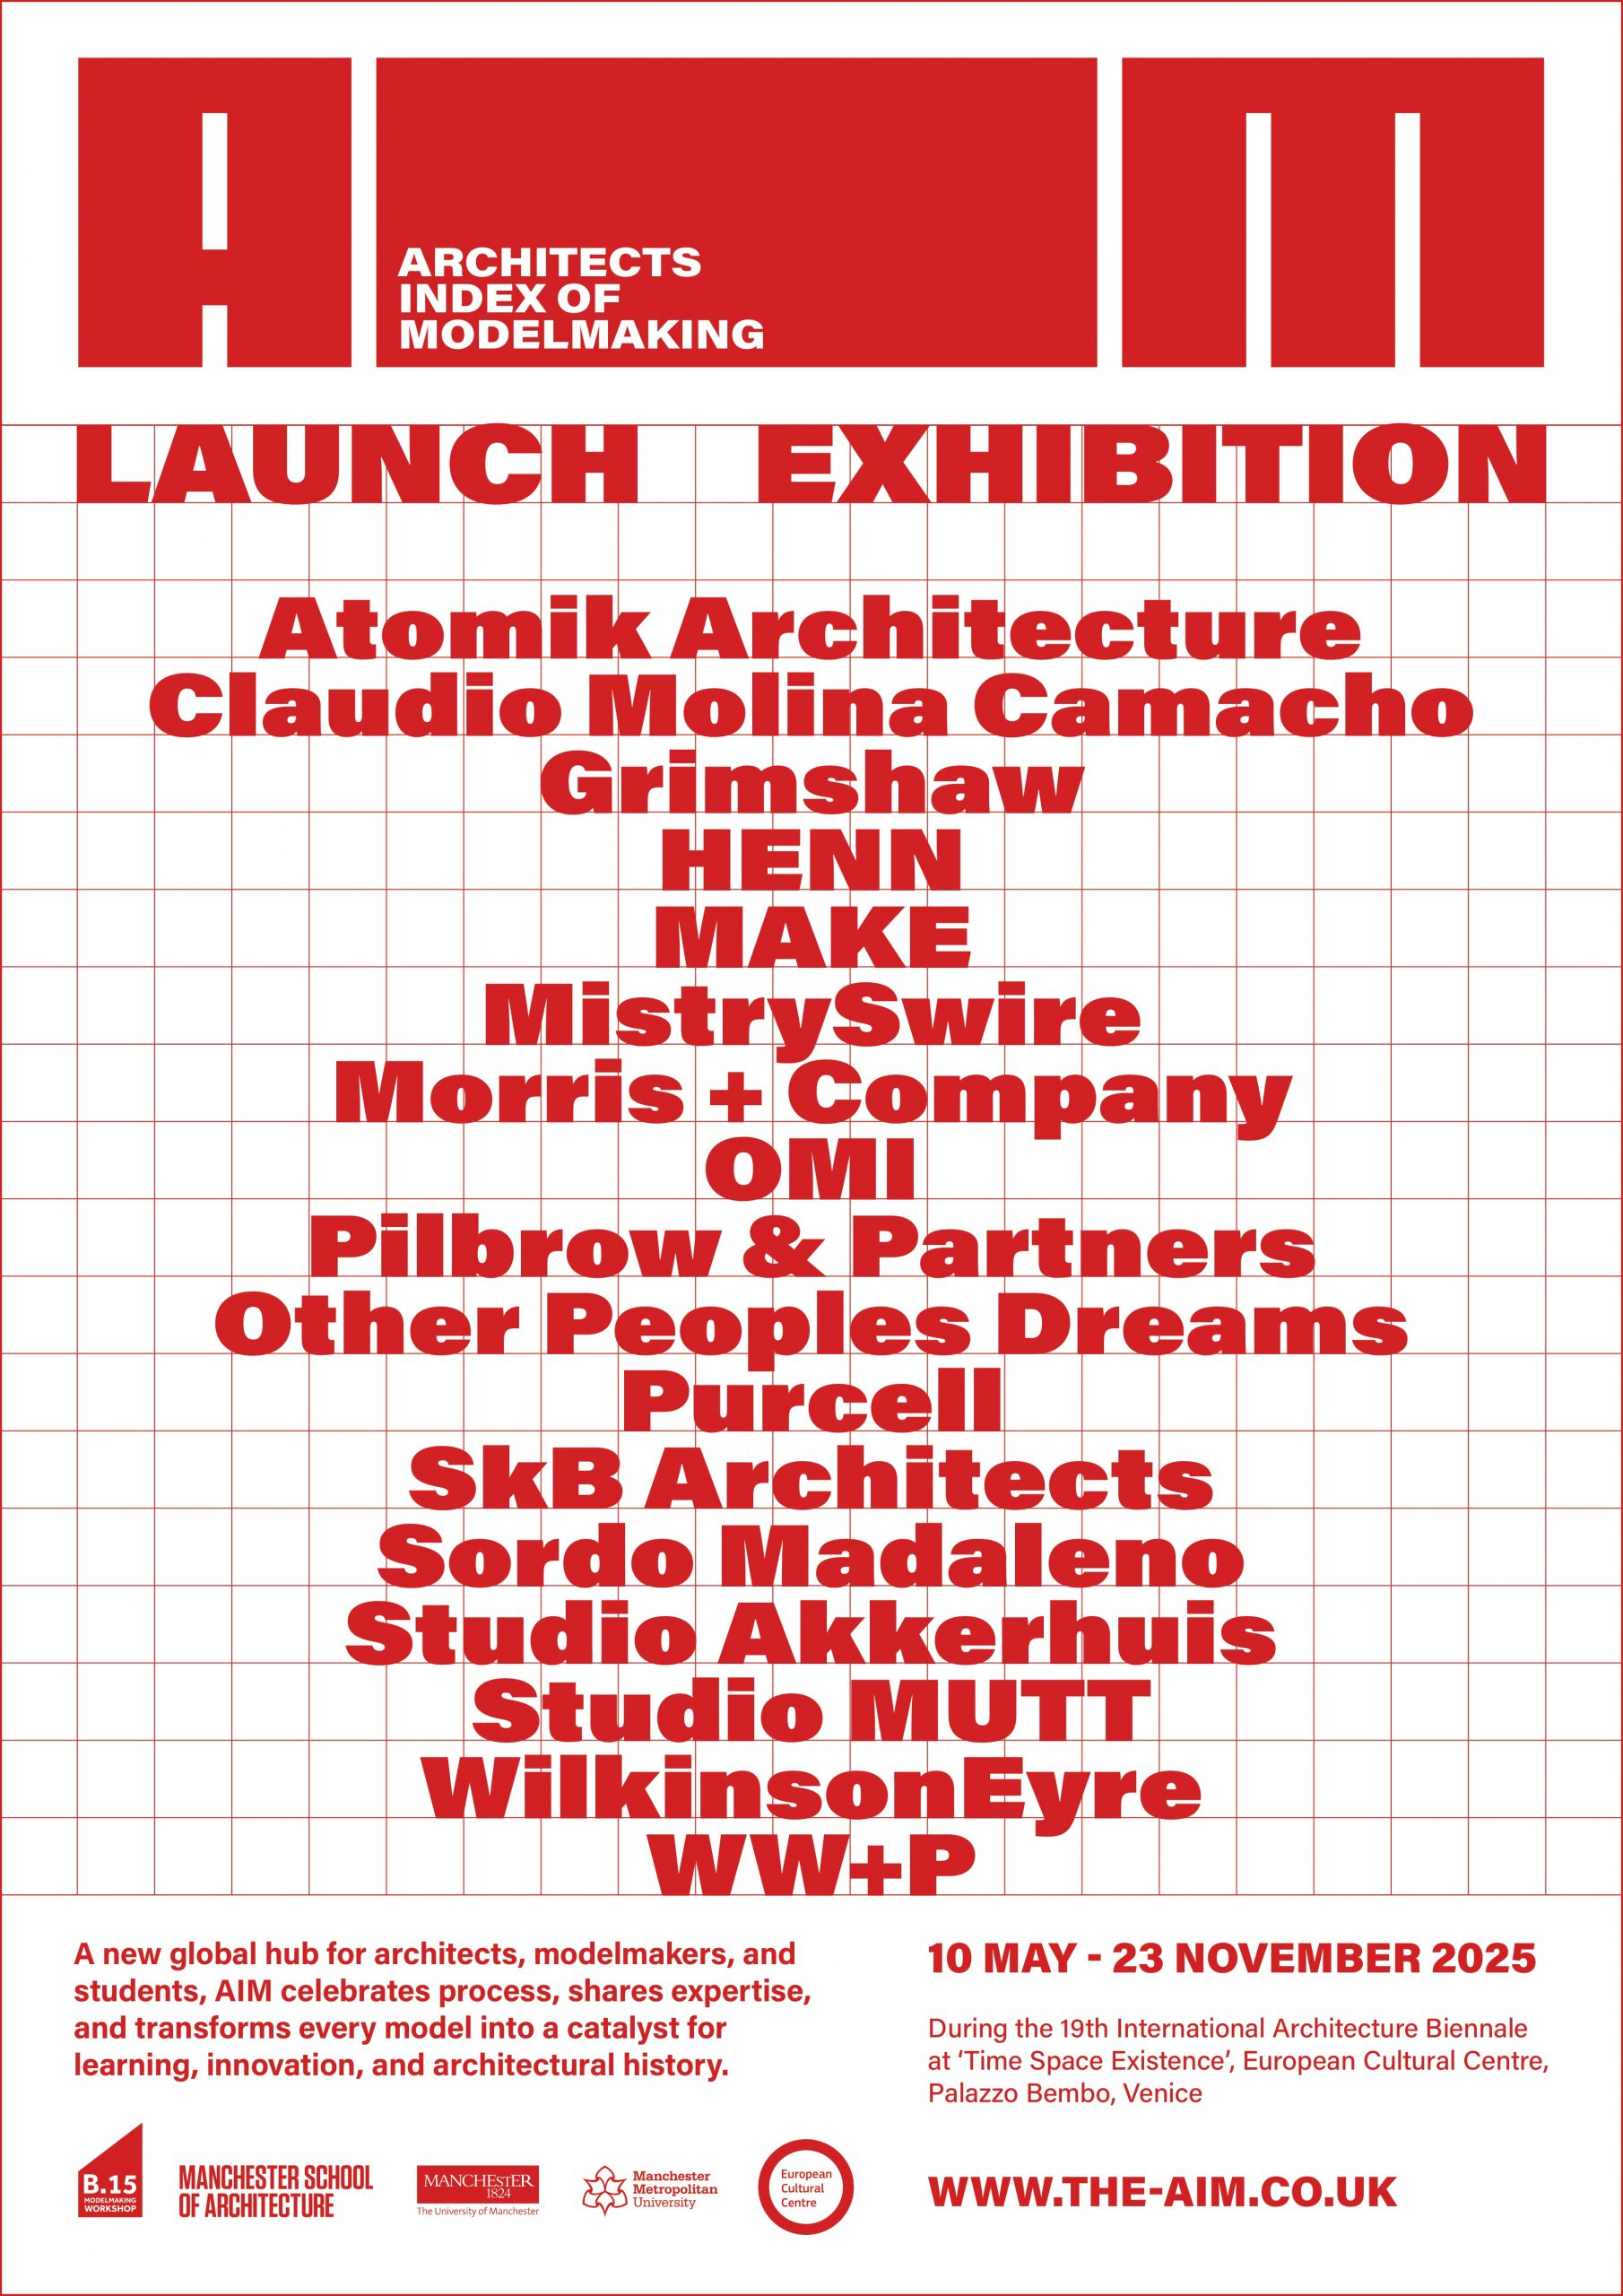
A Reminder: What is AiM?
The Architects Index of Modelmaking (AiM) is an online directory for architecture students and professionals. Our aim is to build a network of local, national and international practitioners who champion the value of physical modelmaking in architectural design.
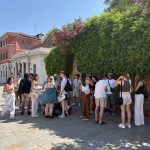
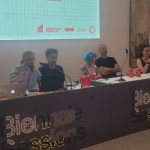
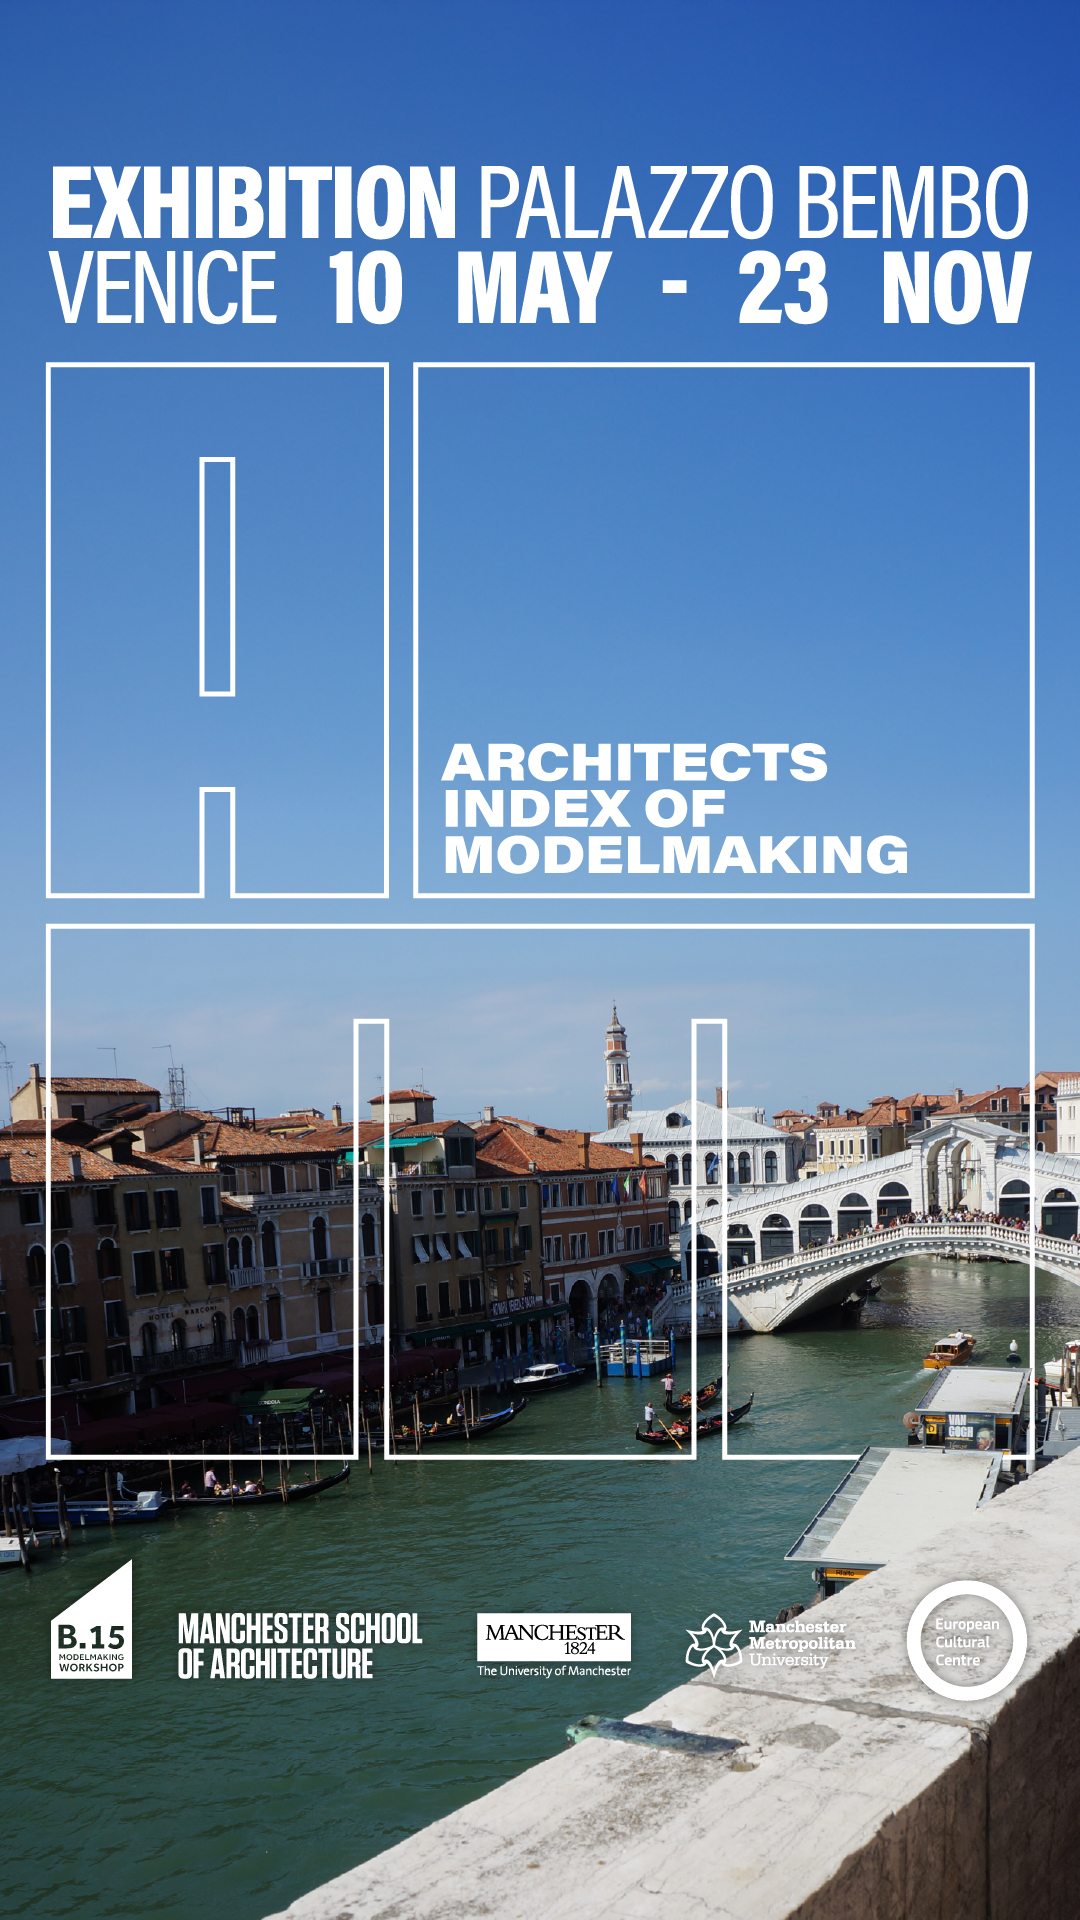
We continue to grow the network through social media, exhibitions and future publications. As some of you will know, the project launched earlier this year with an exhibition at the European Cultural Centre during the Venice Architecture Biennale, attracting more than 88,000 visitors across six months.
Thank you for your support, and we hope you’ll be able to join us for this next stage of the project at Material Source Studio, Manchester.
Scott Miller — on behalf of AiM, B.15 Modelmaking Workshop
Simina Ionescu — on behalf of Manchester Society of Architects
Lucia Pedrana — on behalf of the European Cultural Centre Italy