Fabricate – 1st year Project

1st Year Farbicate (14)

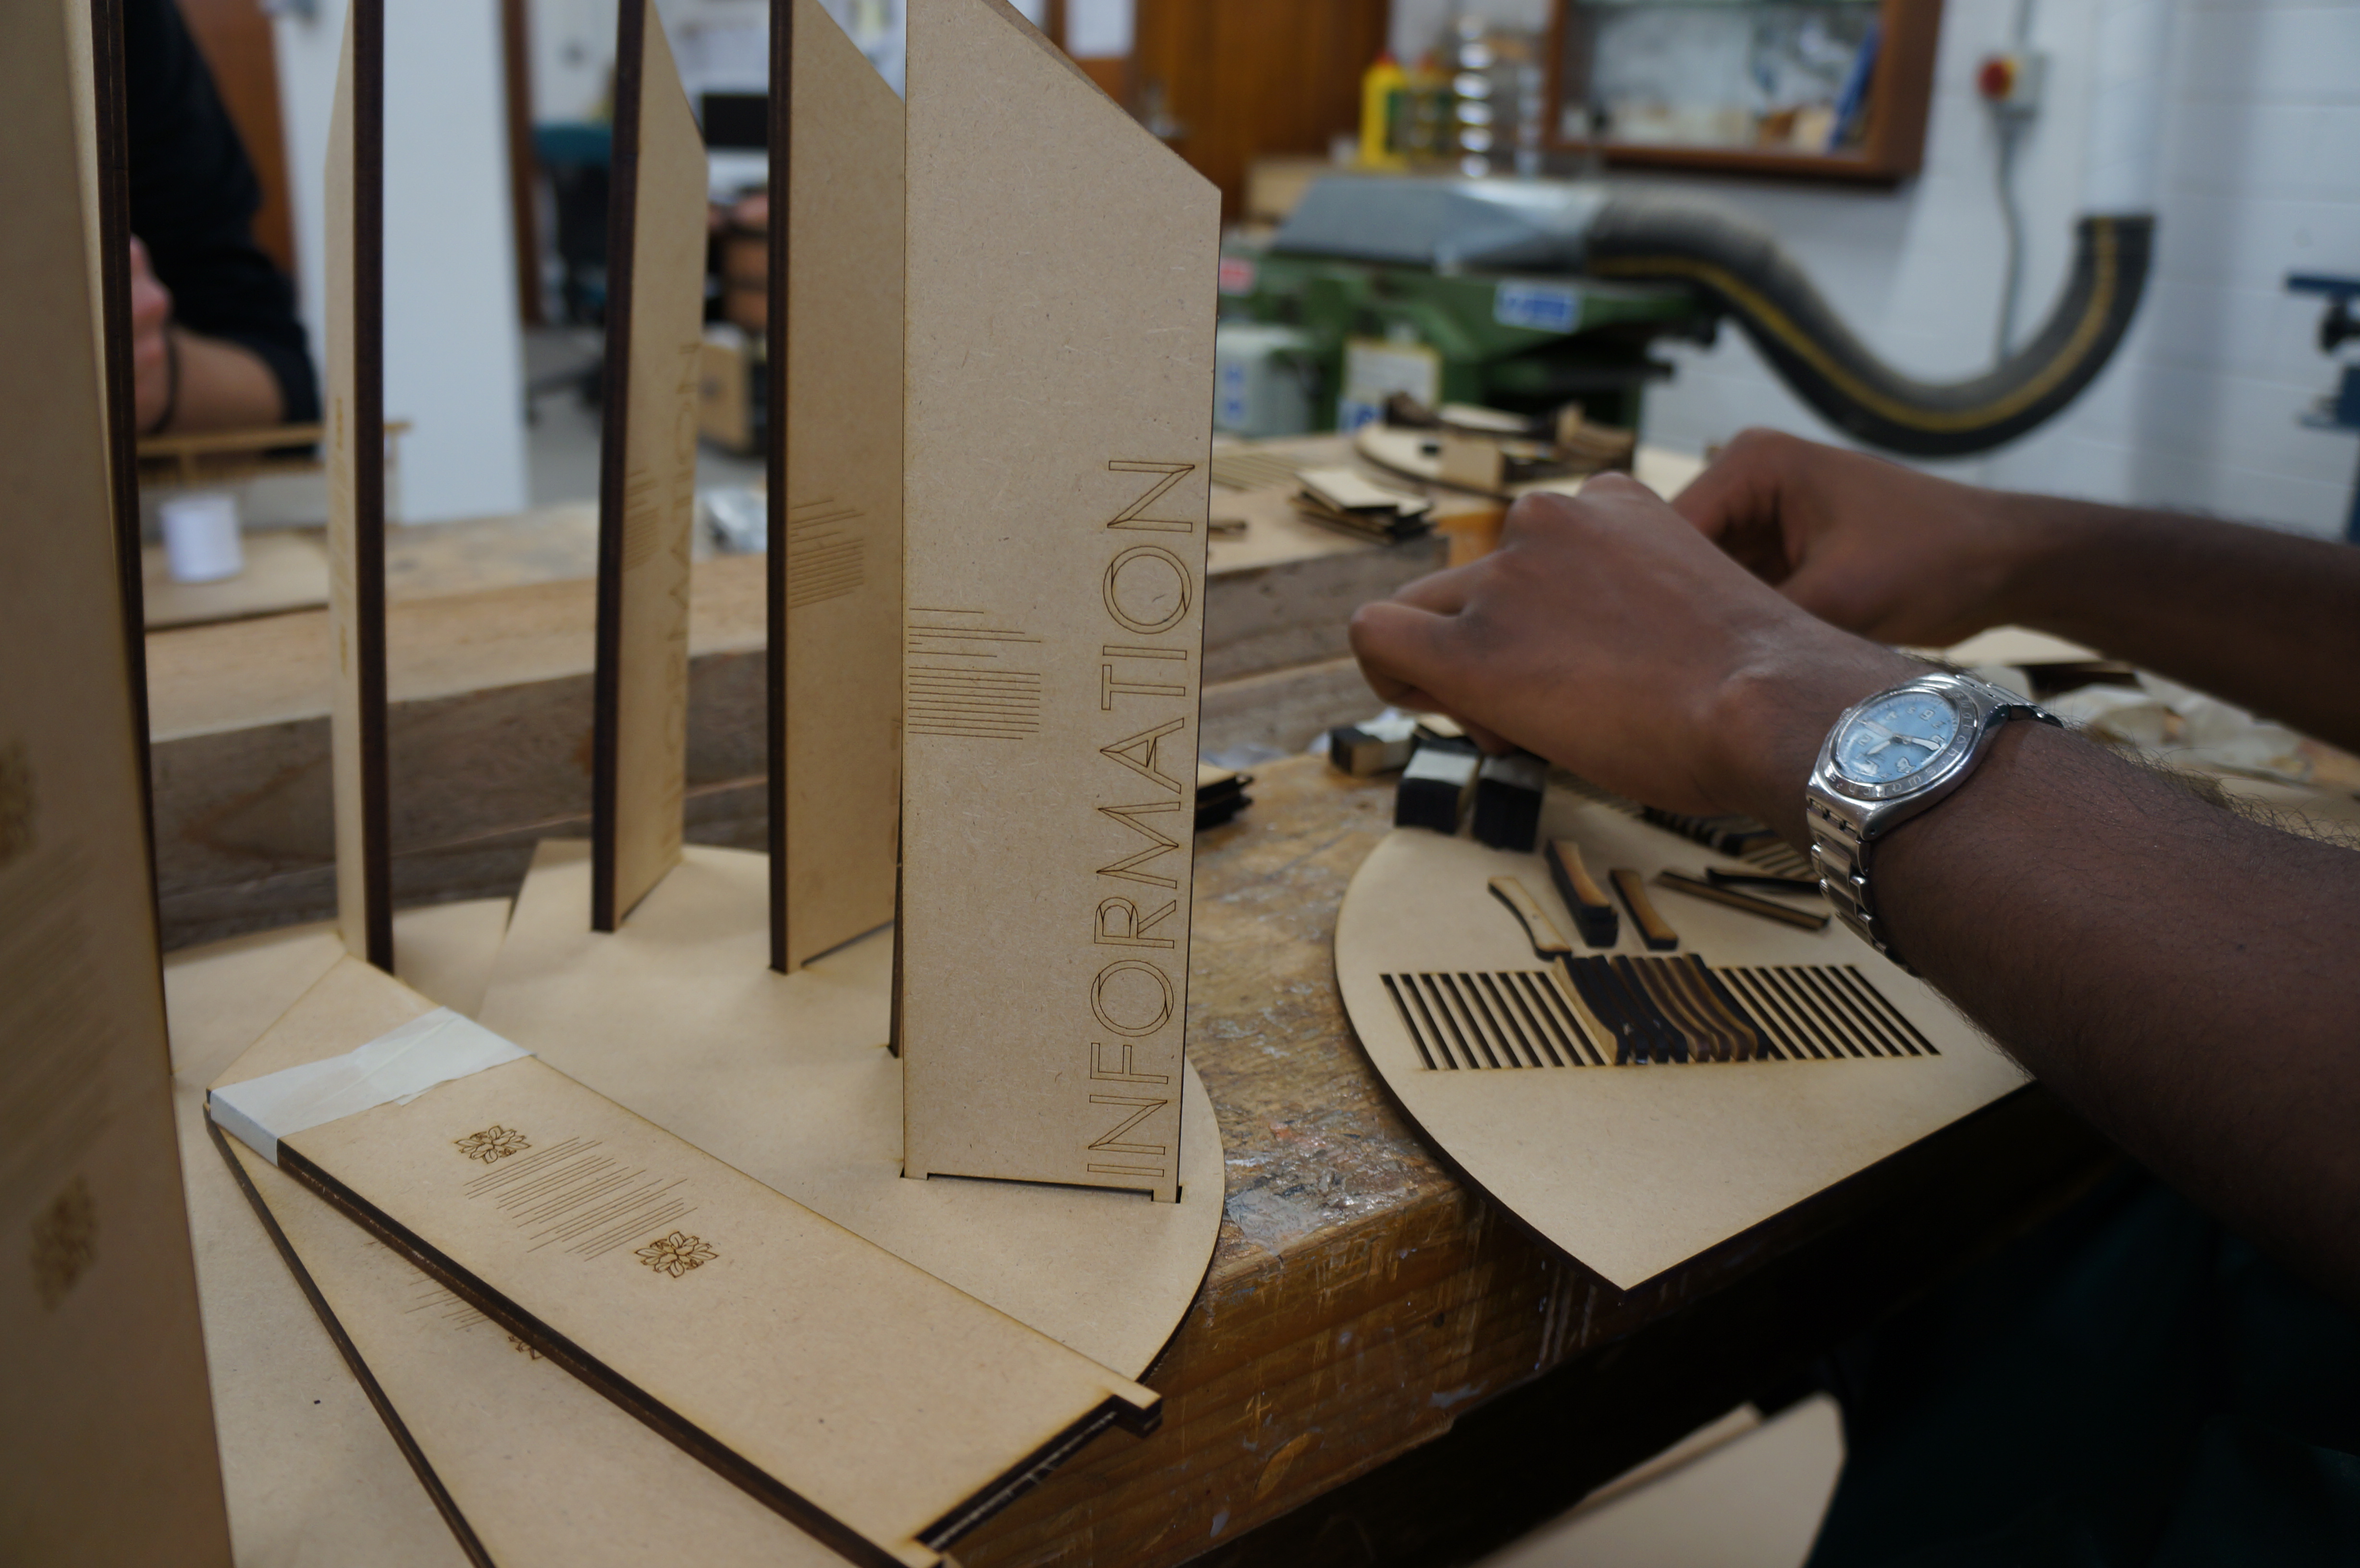
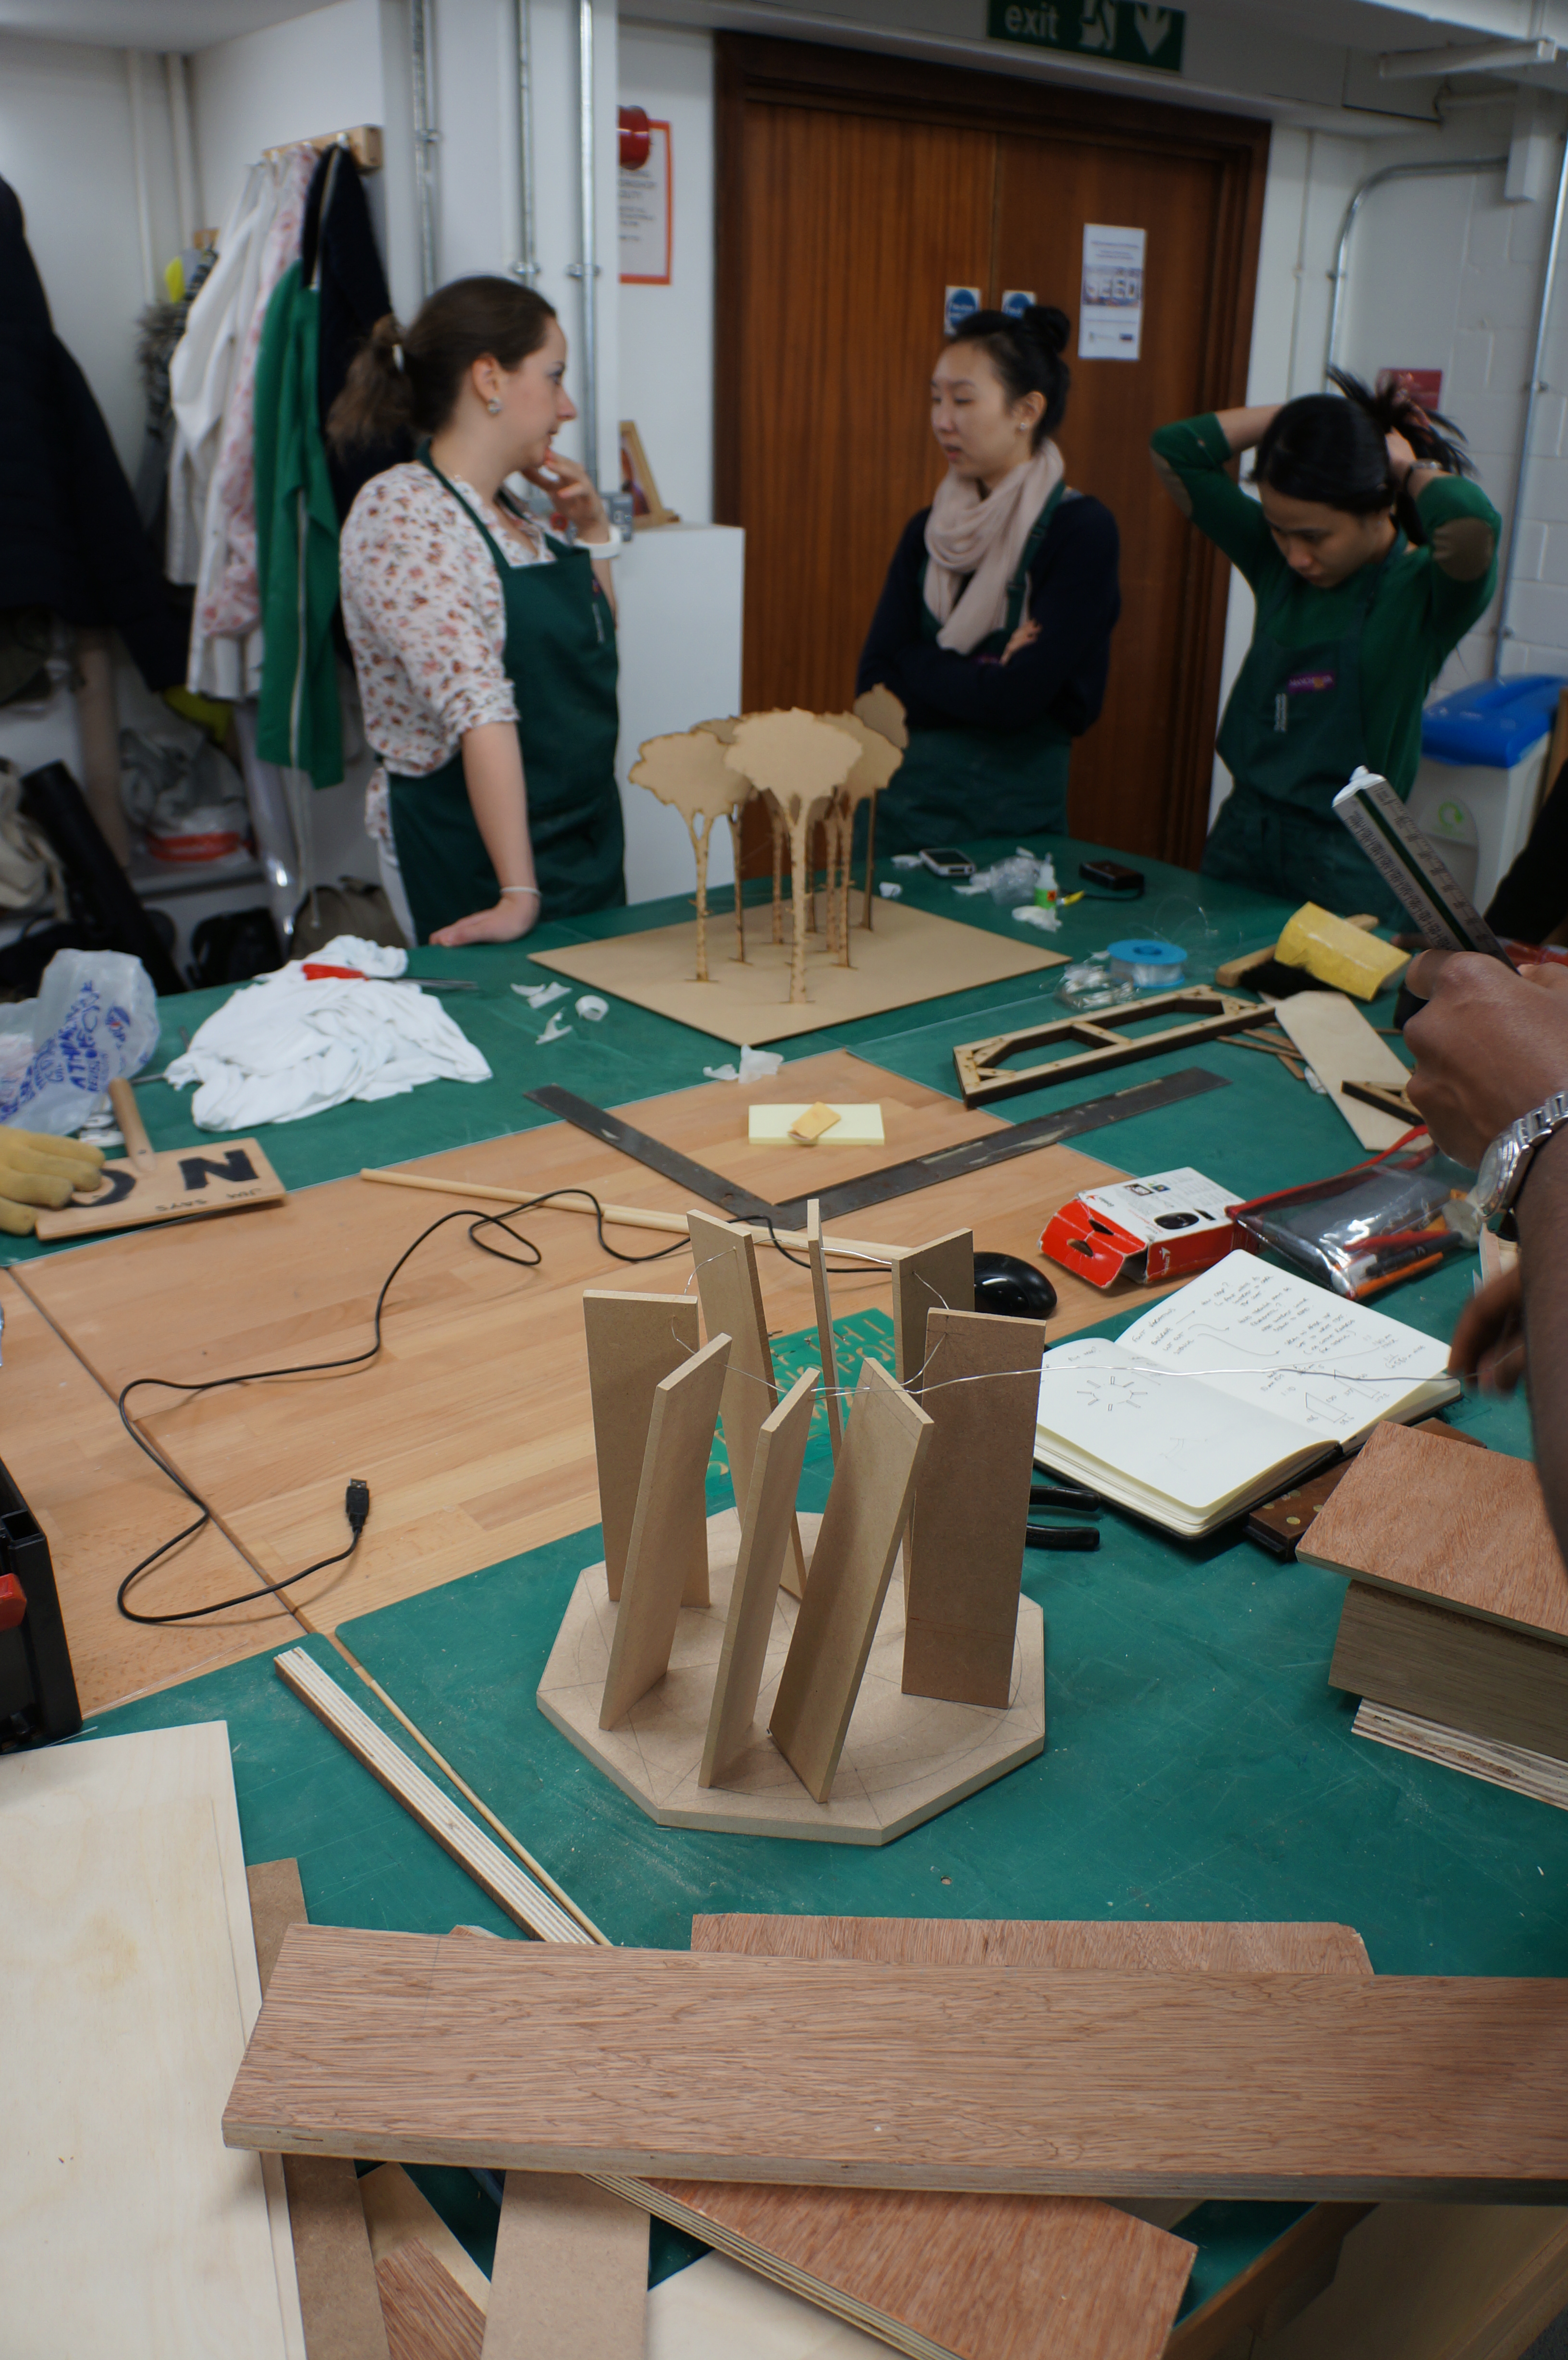
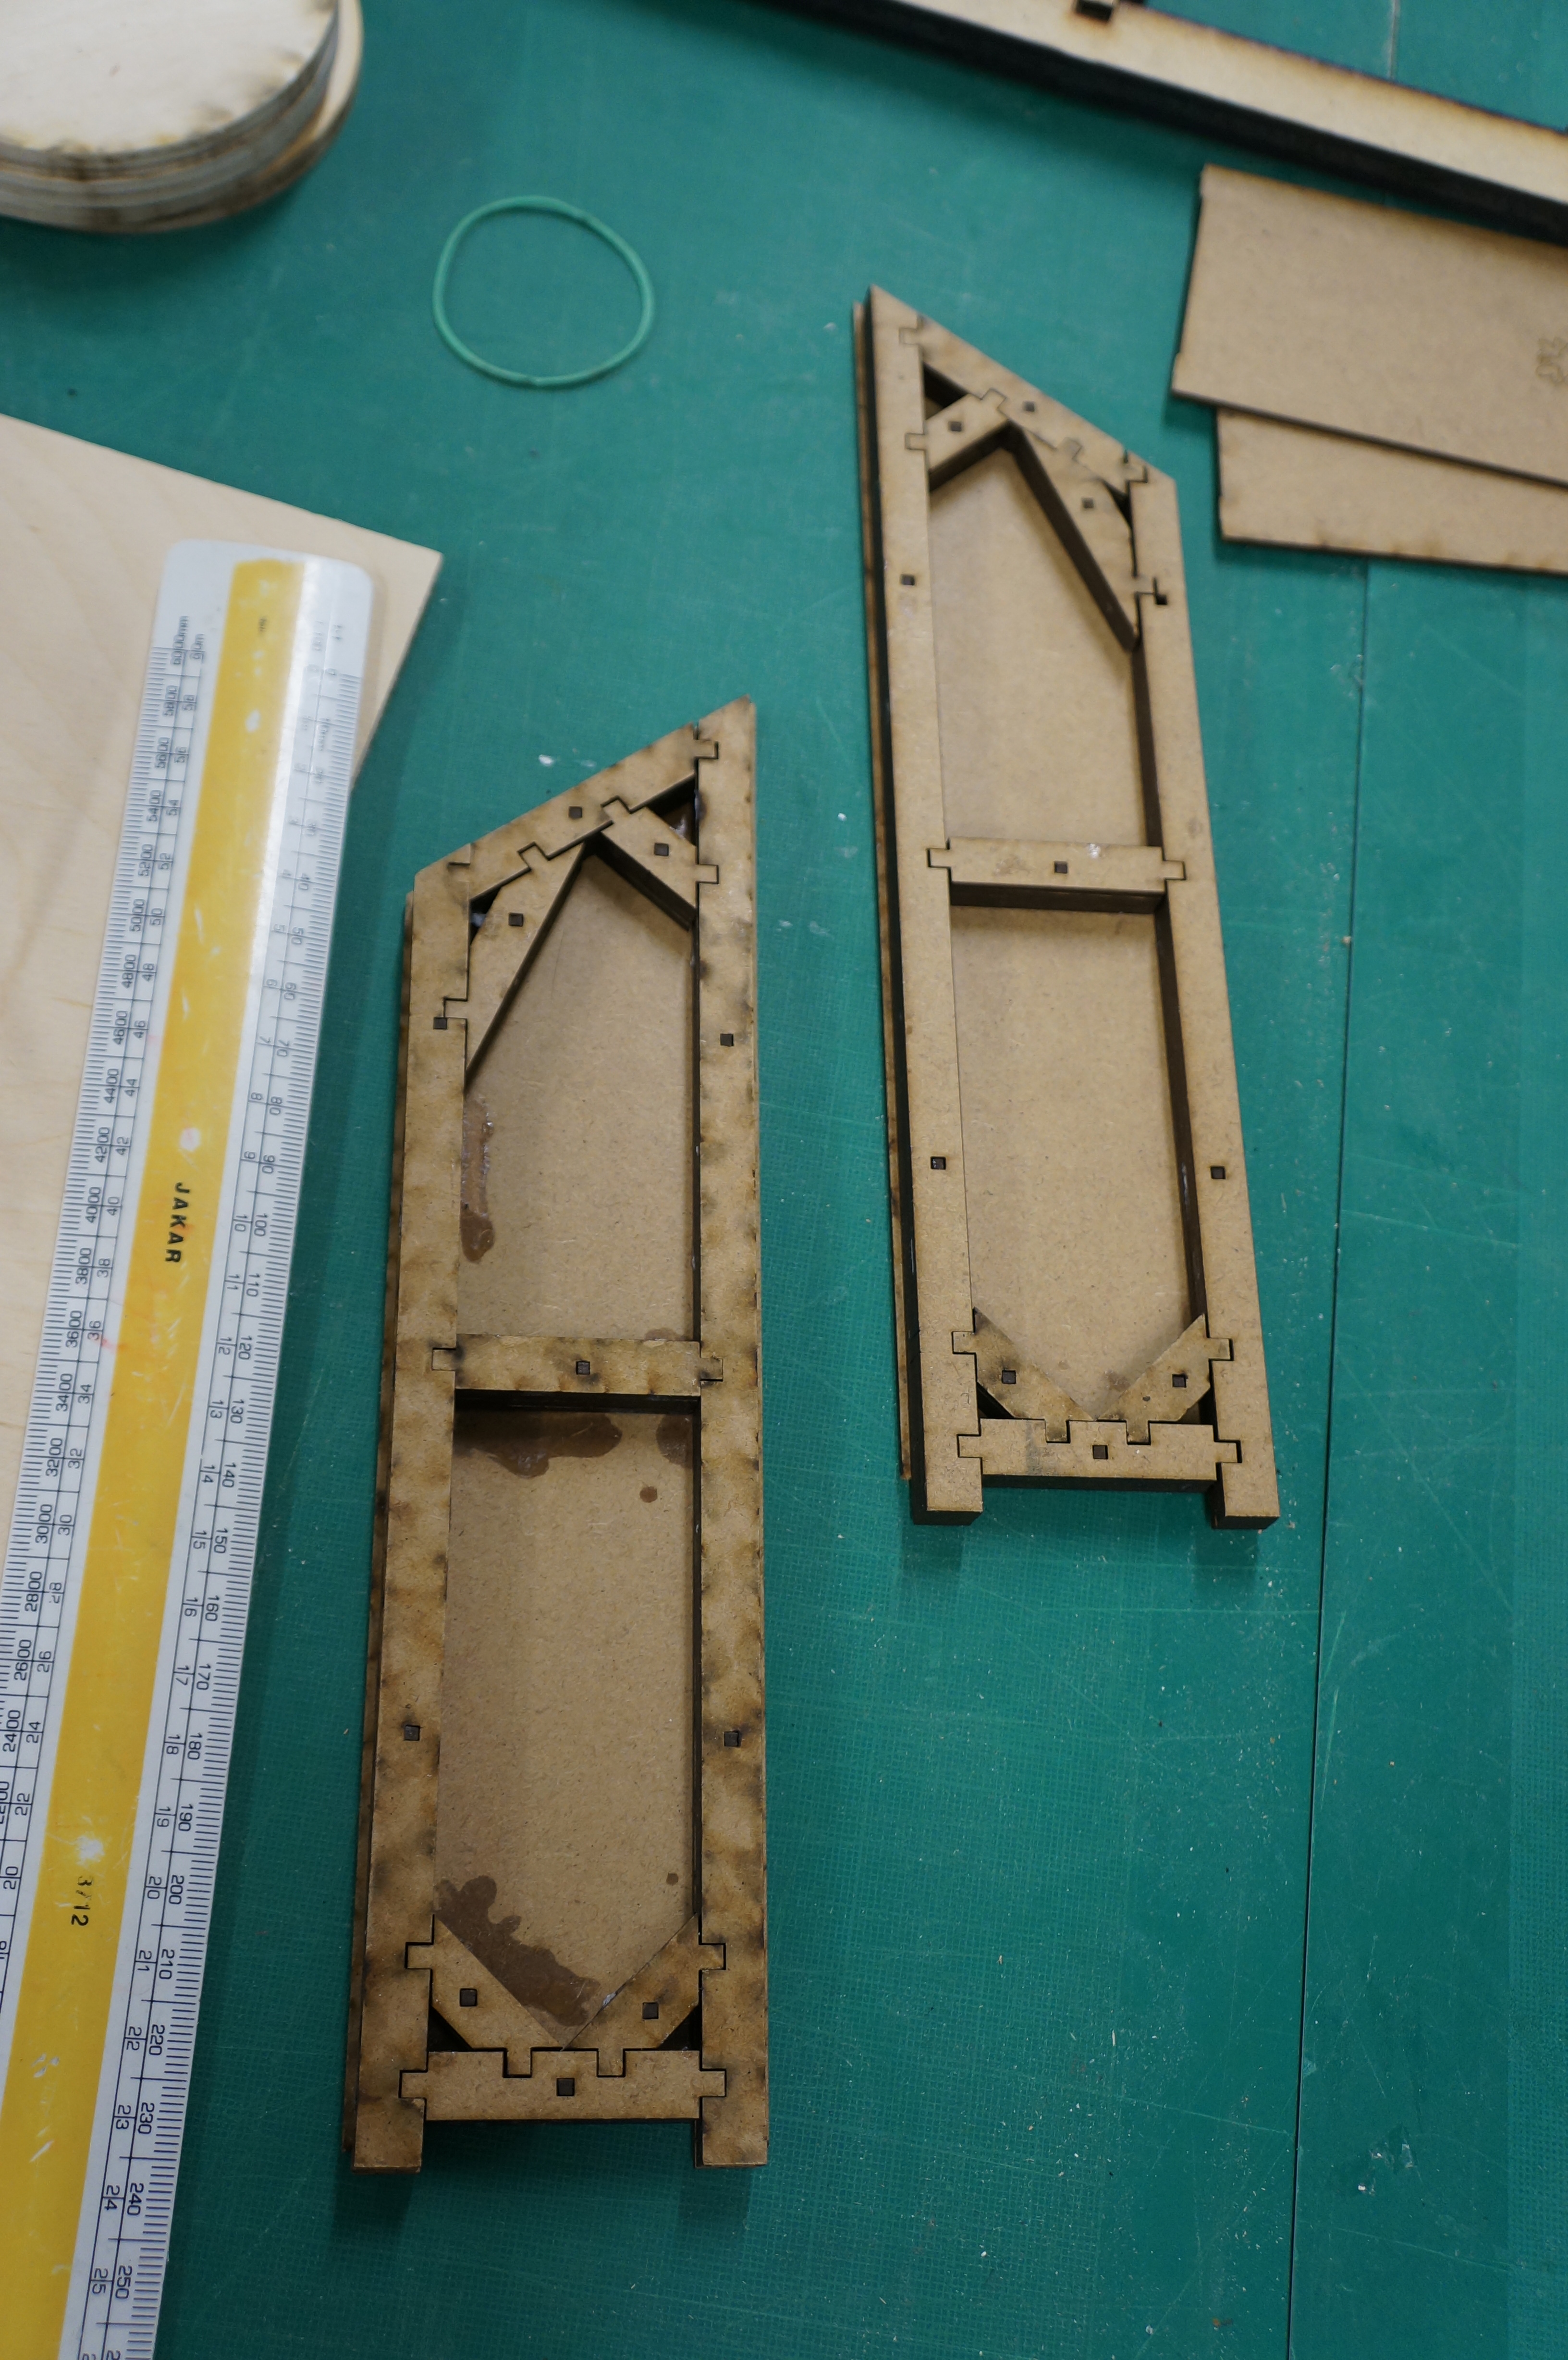
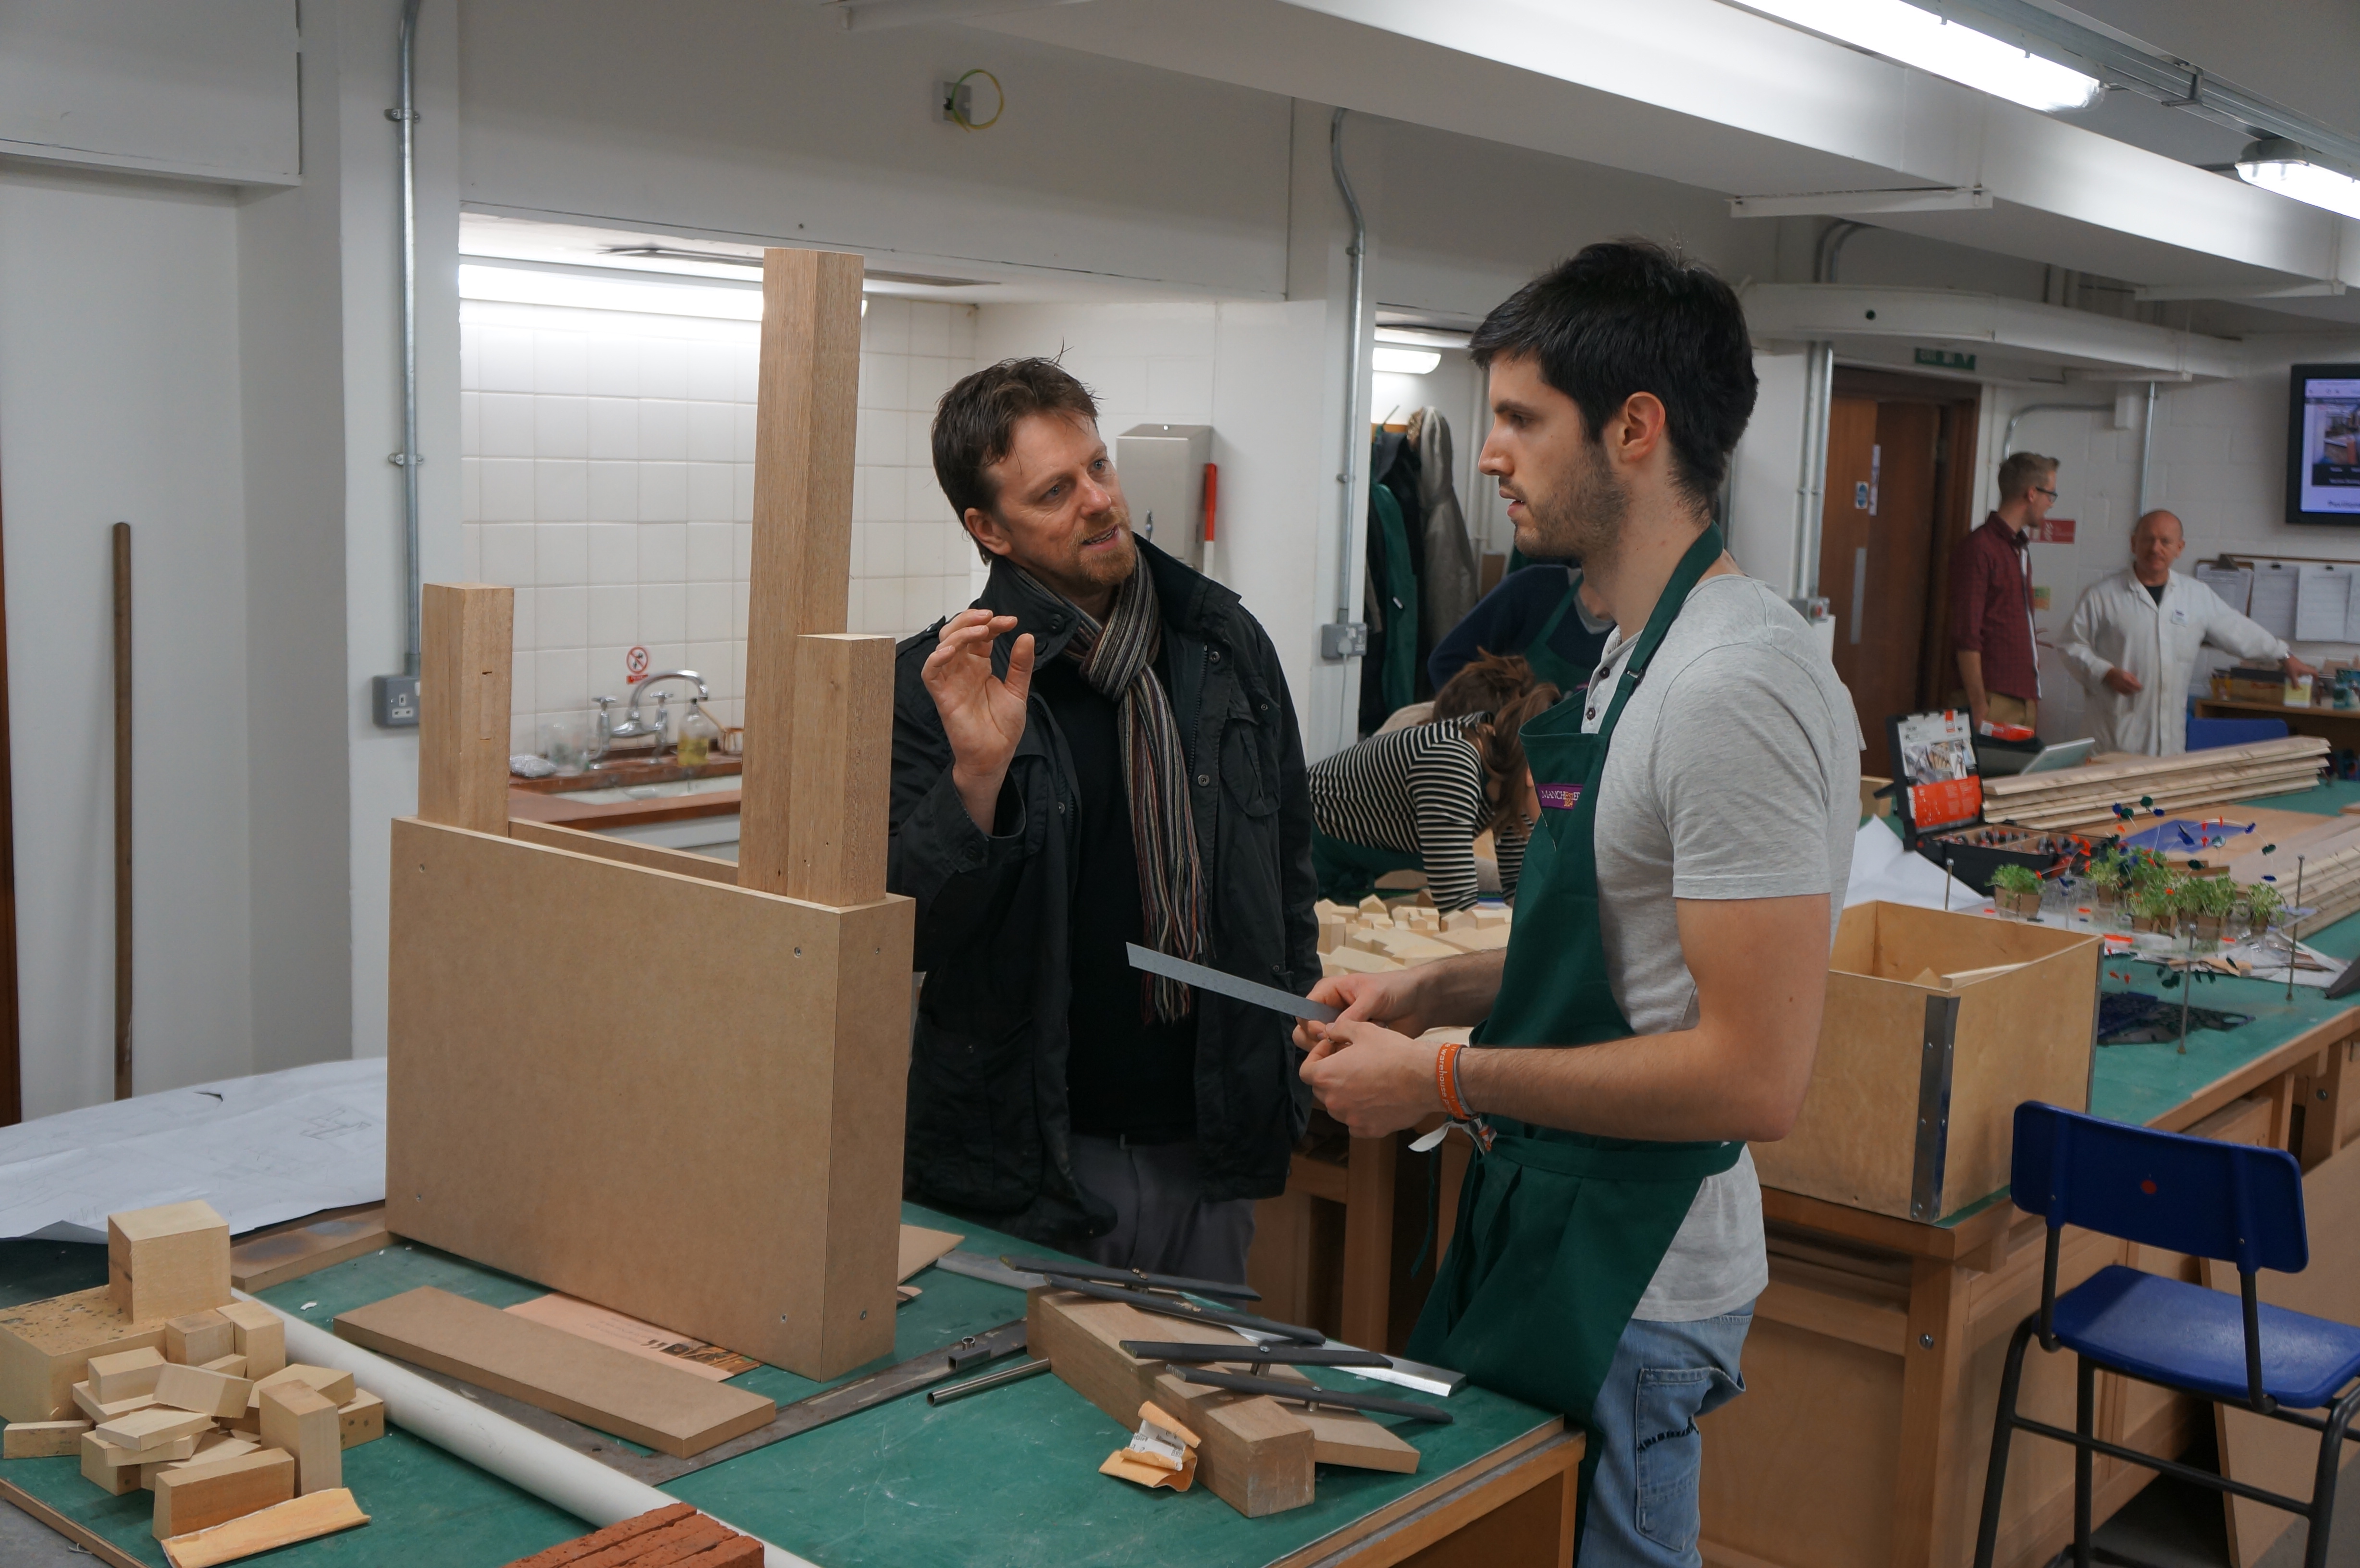
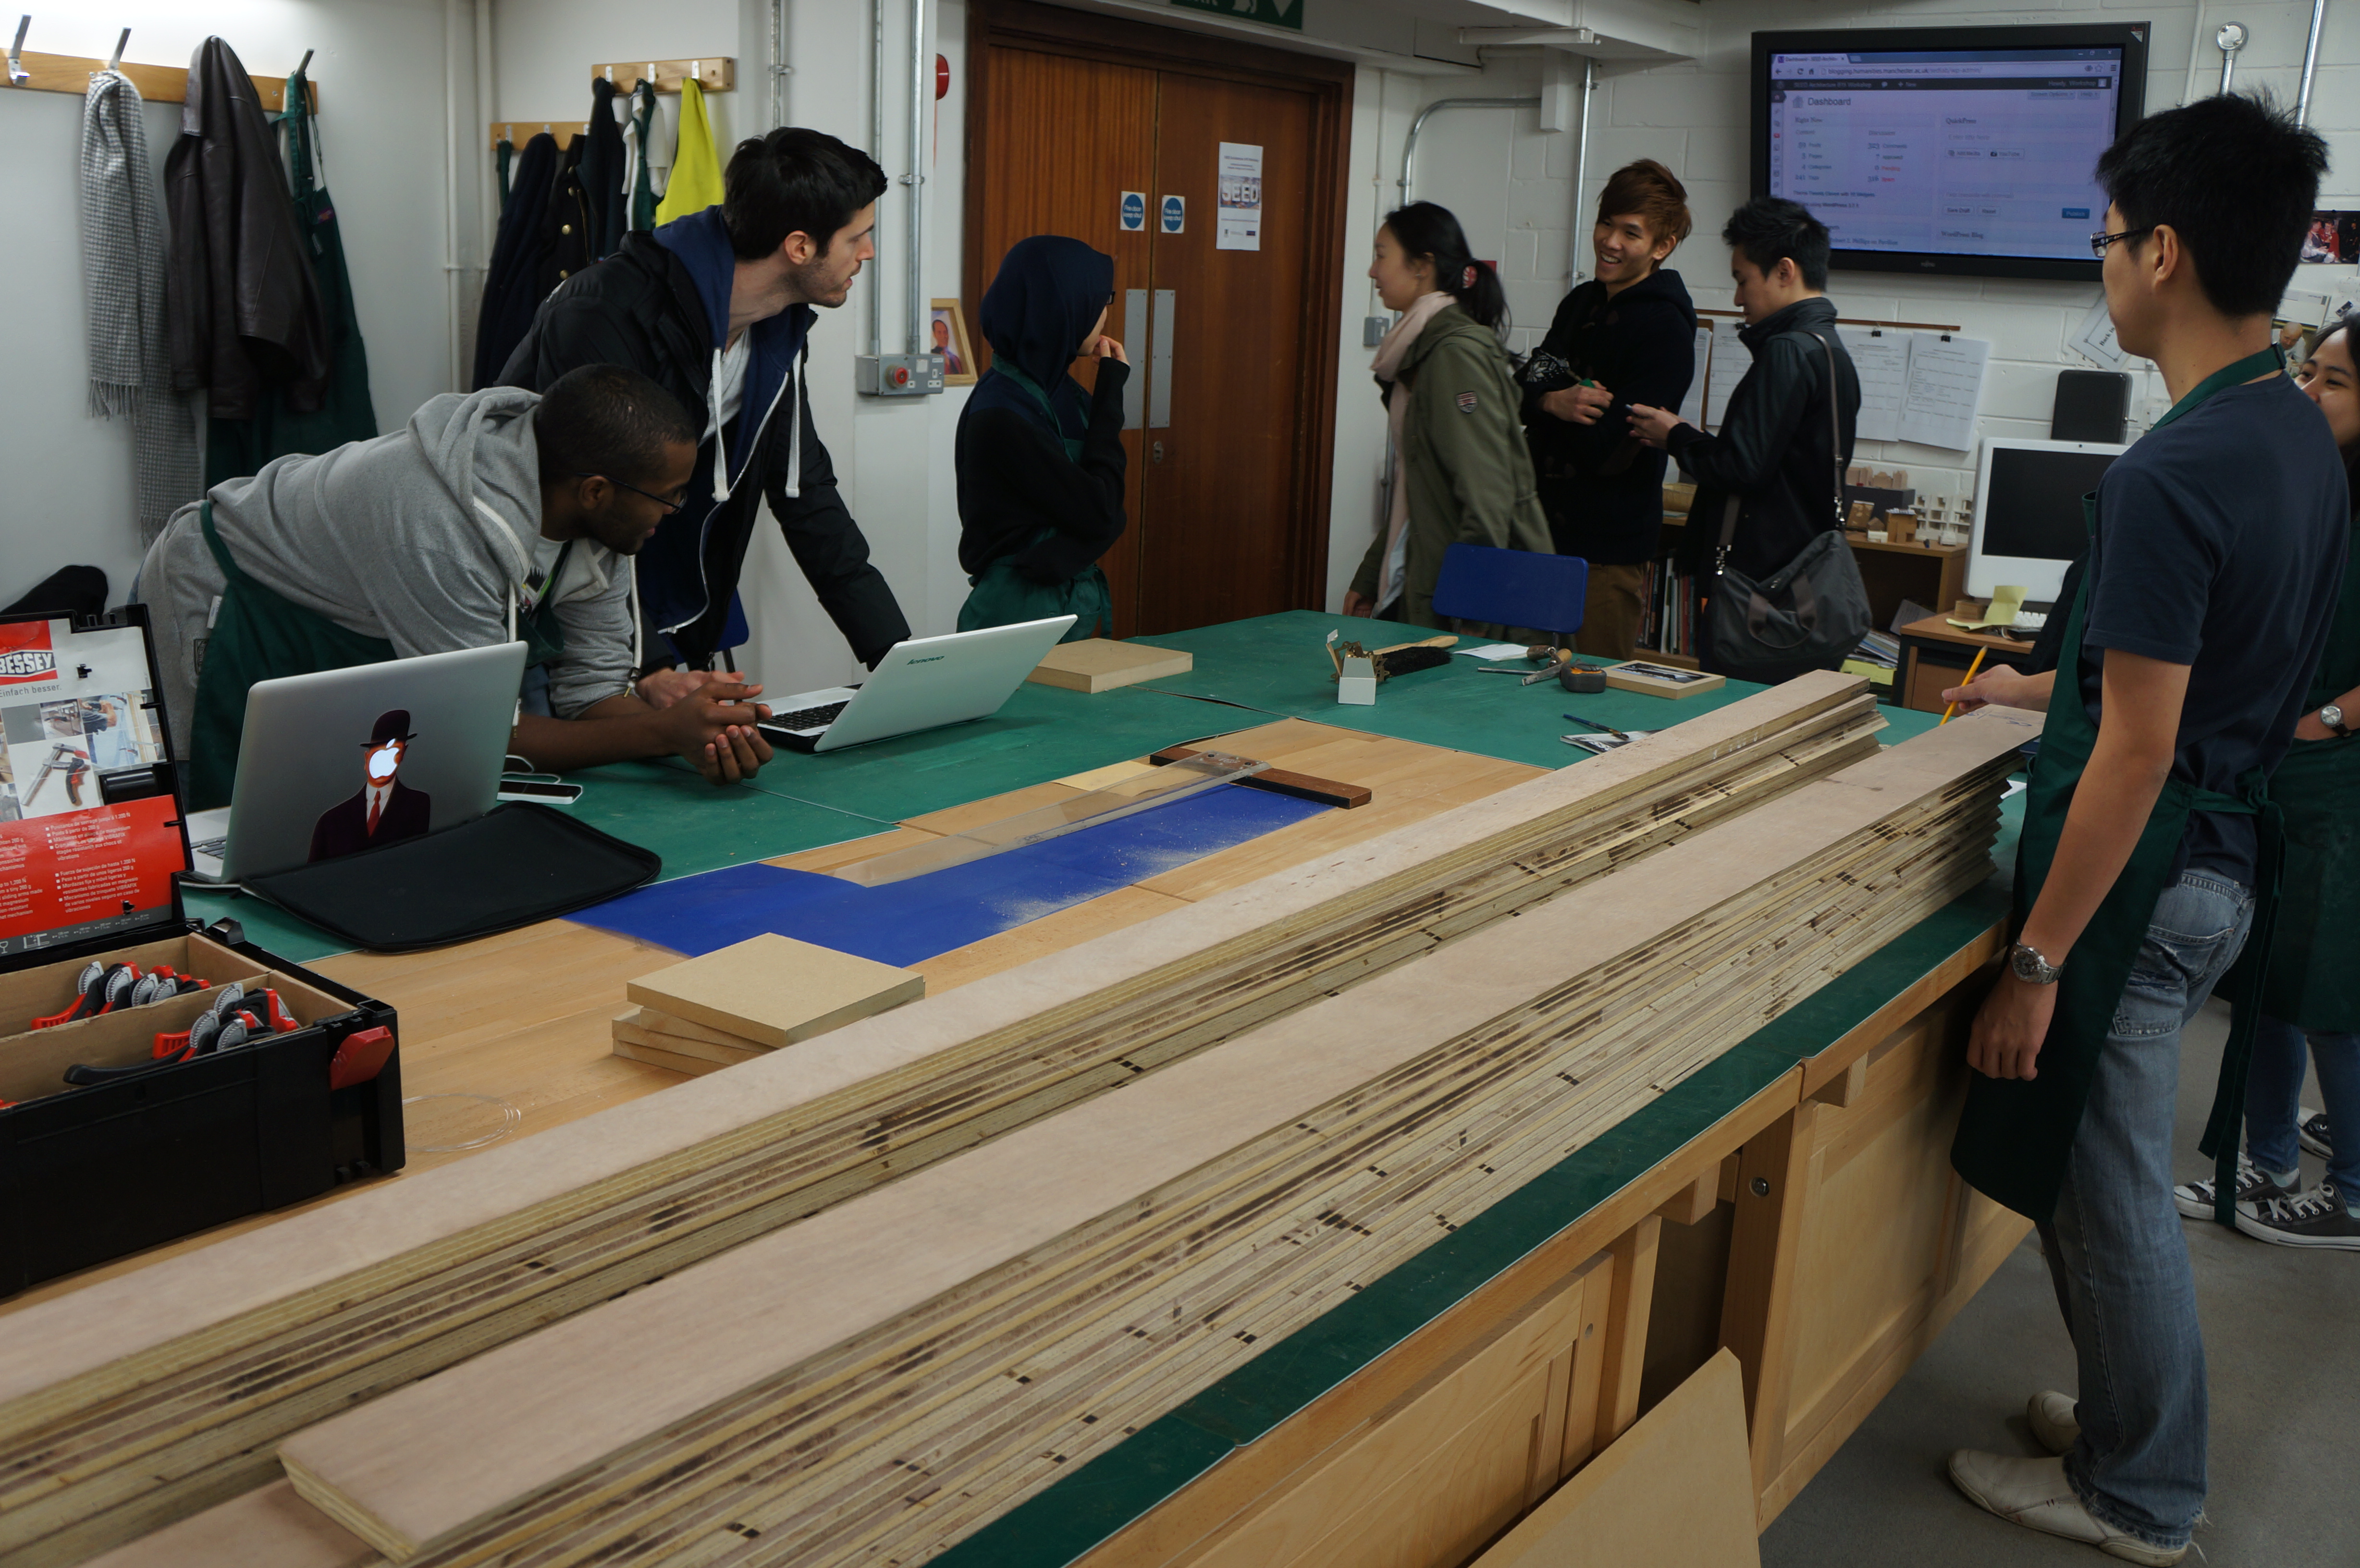
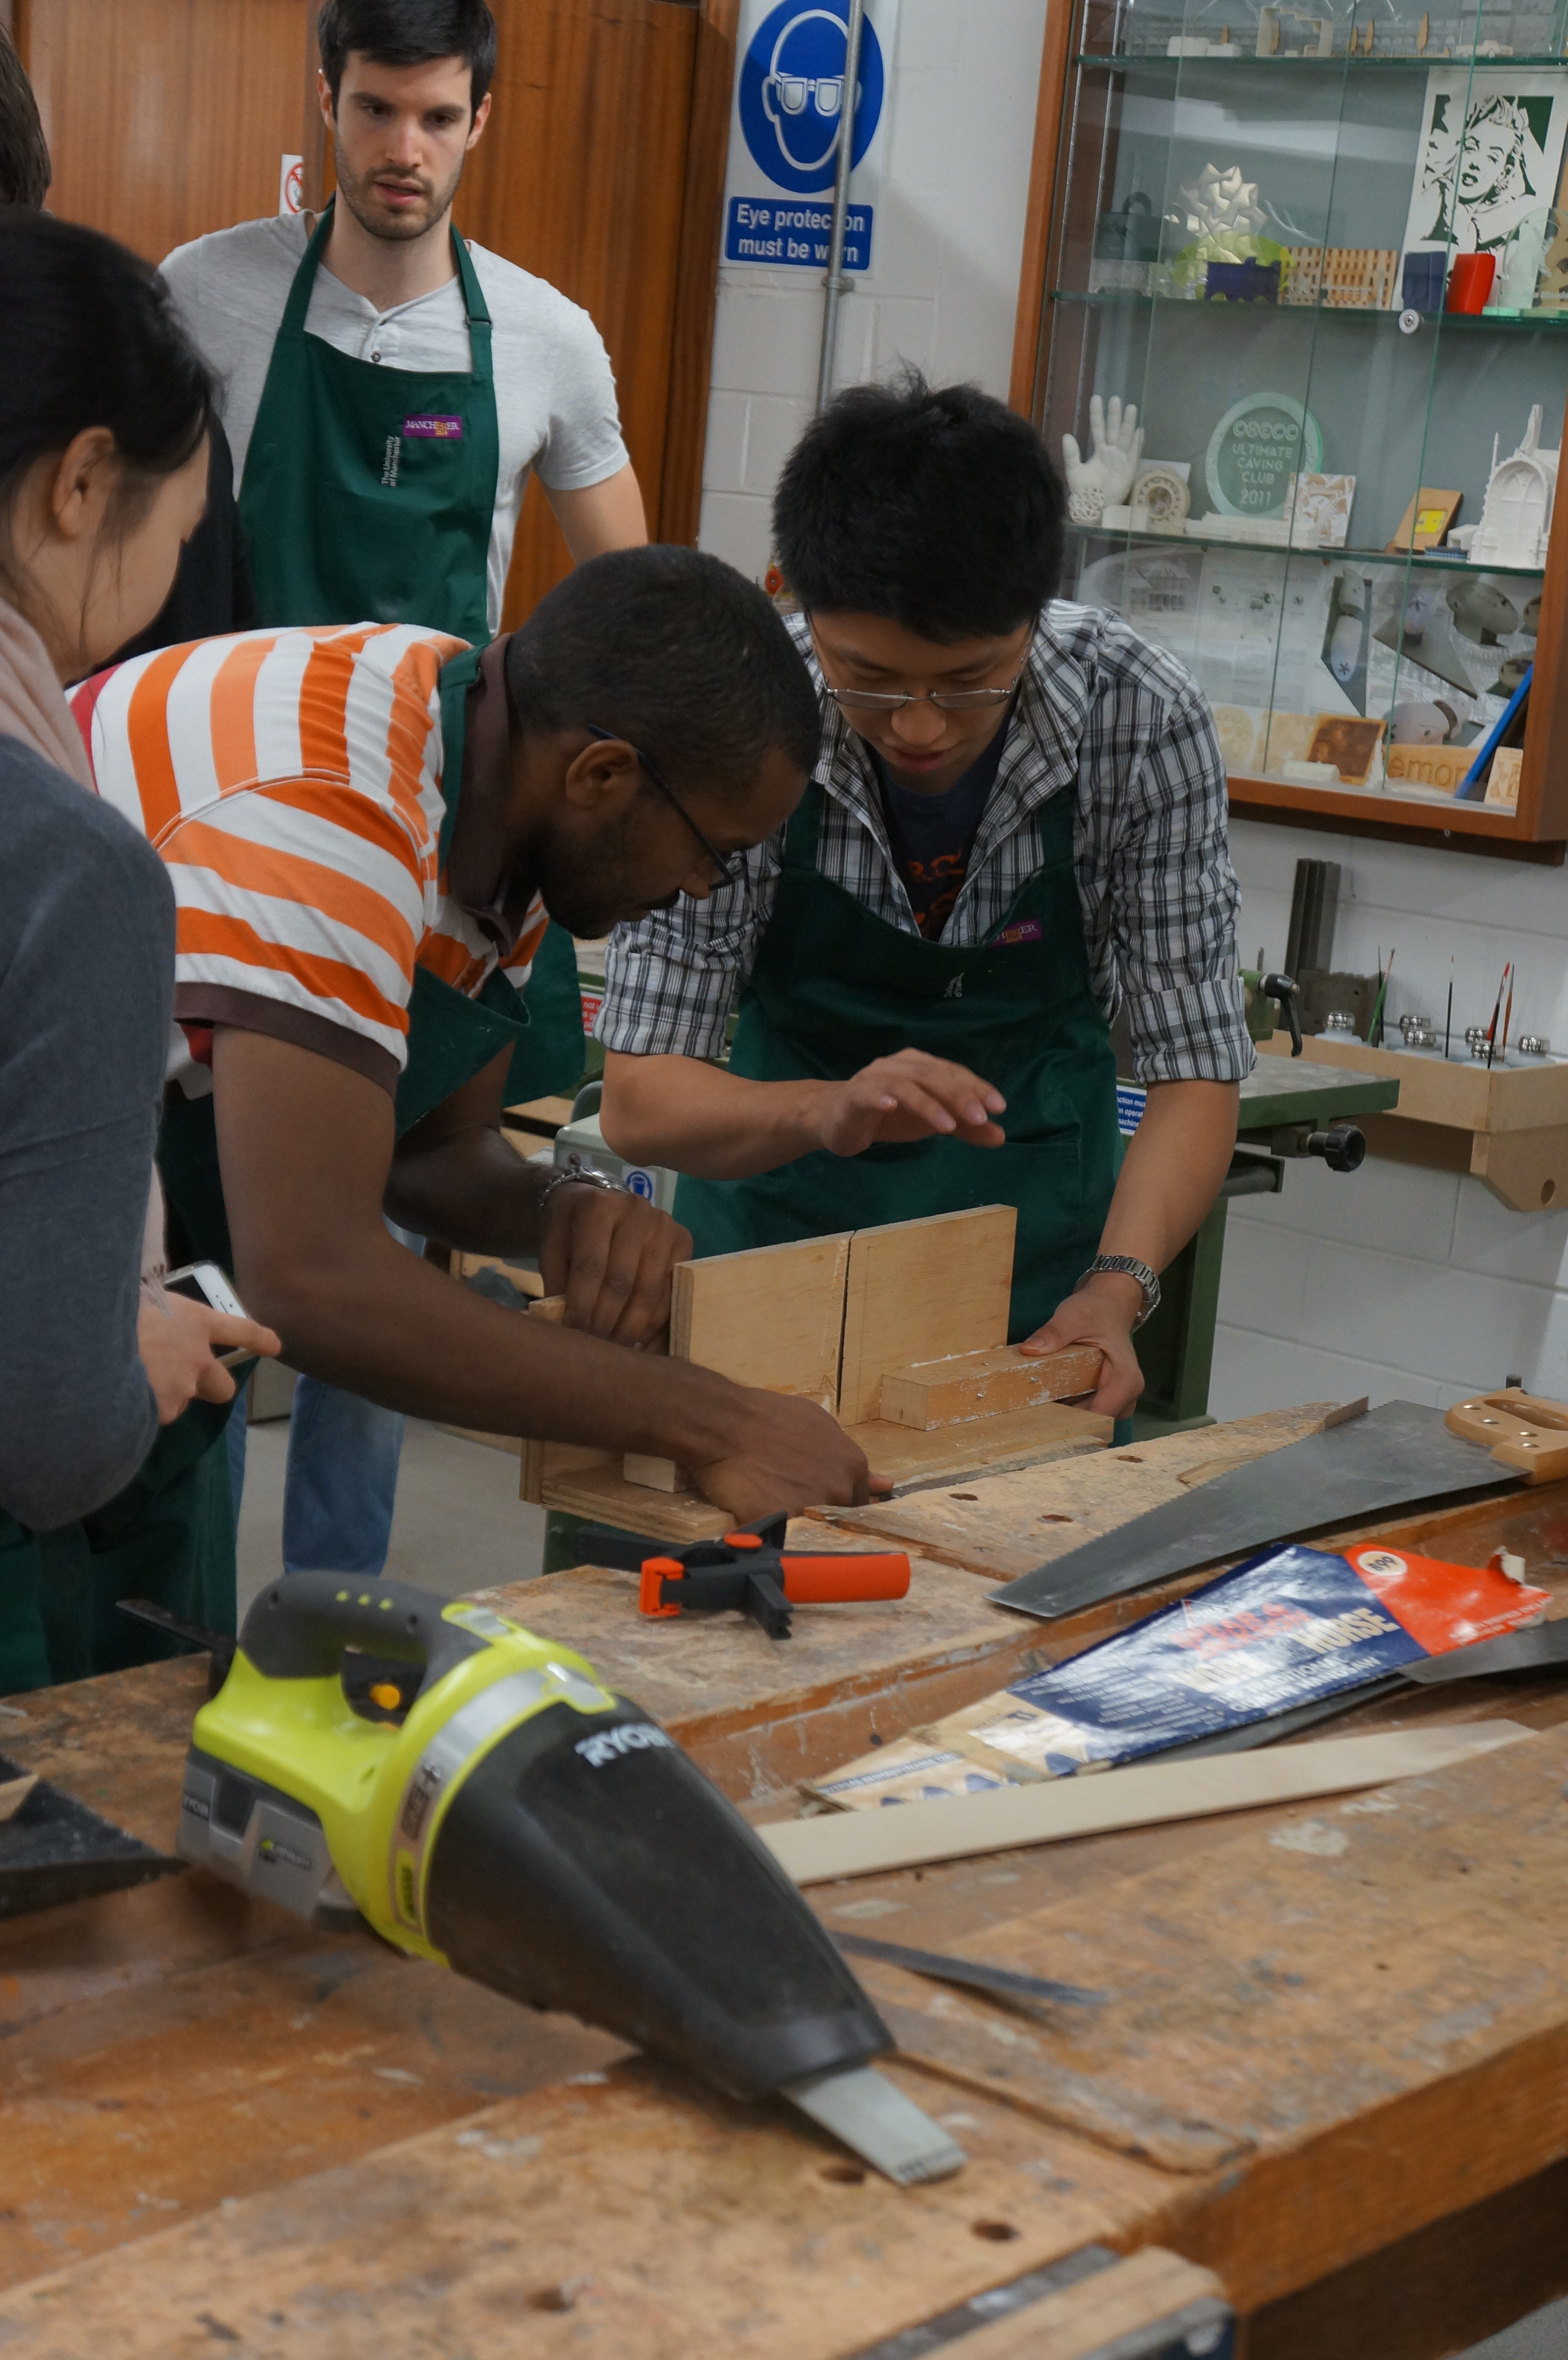
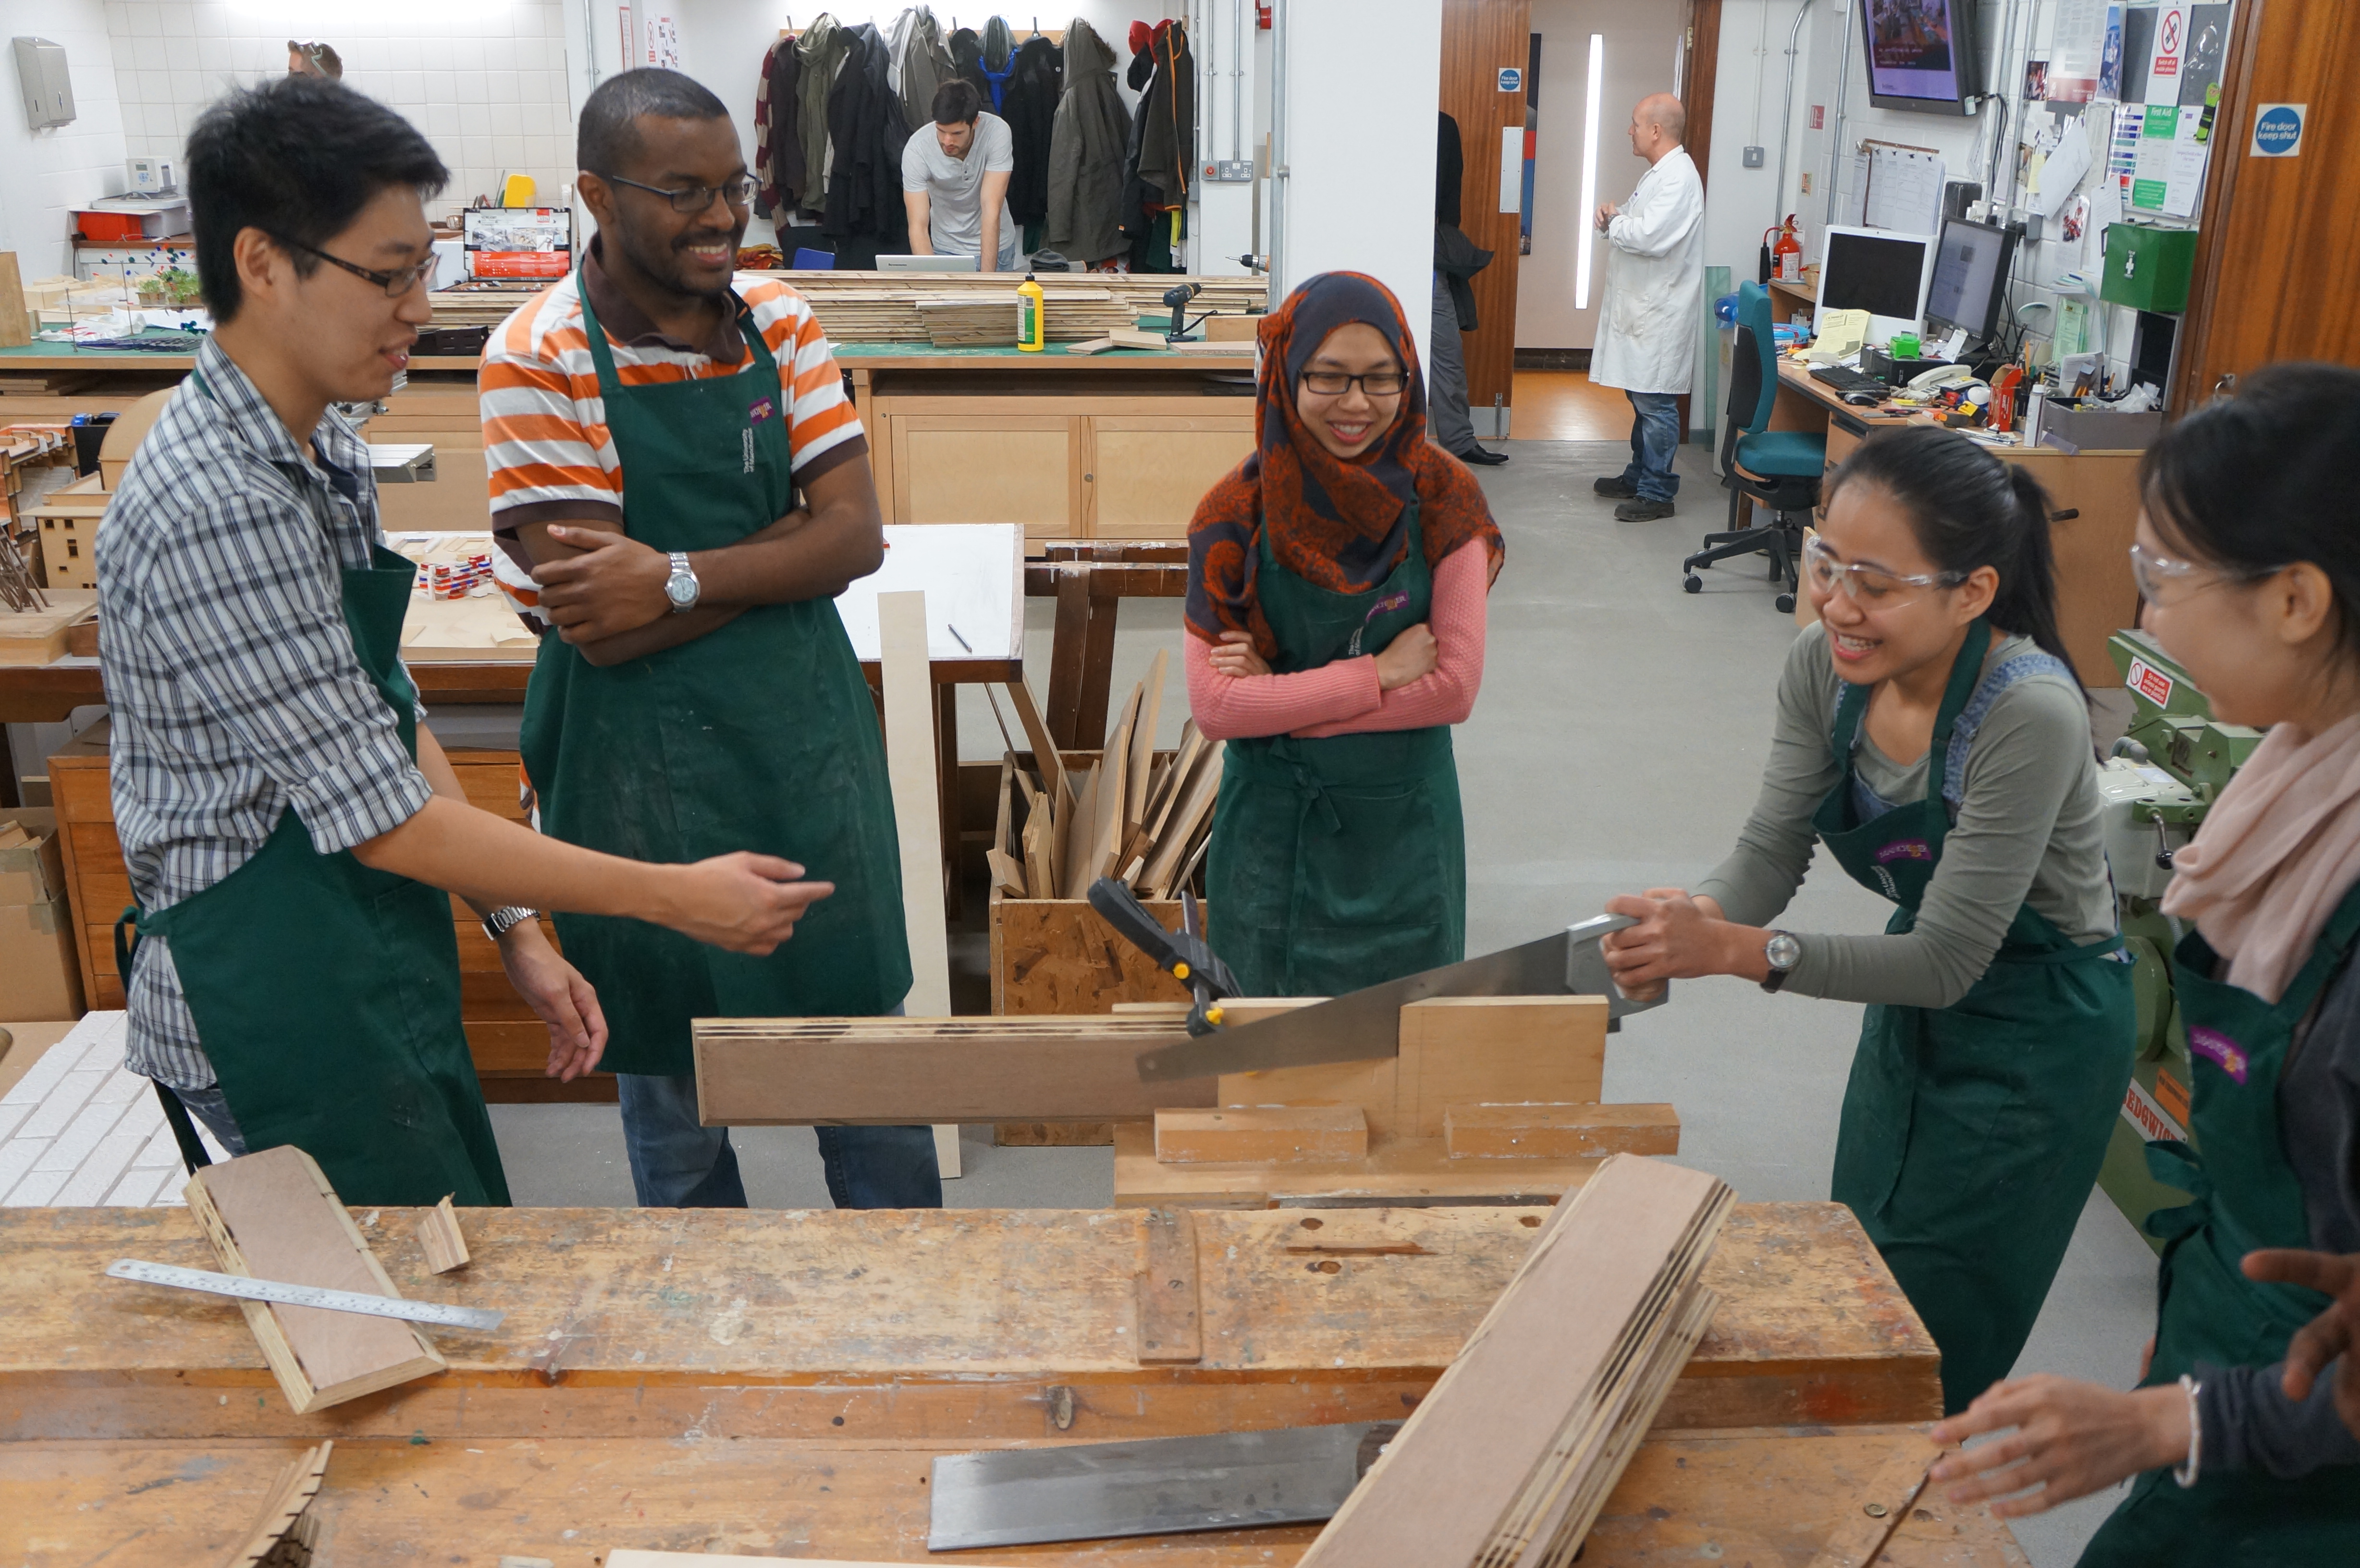
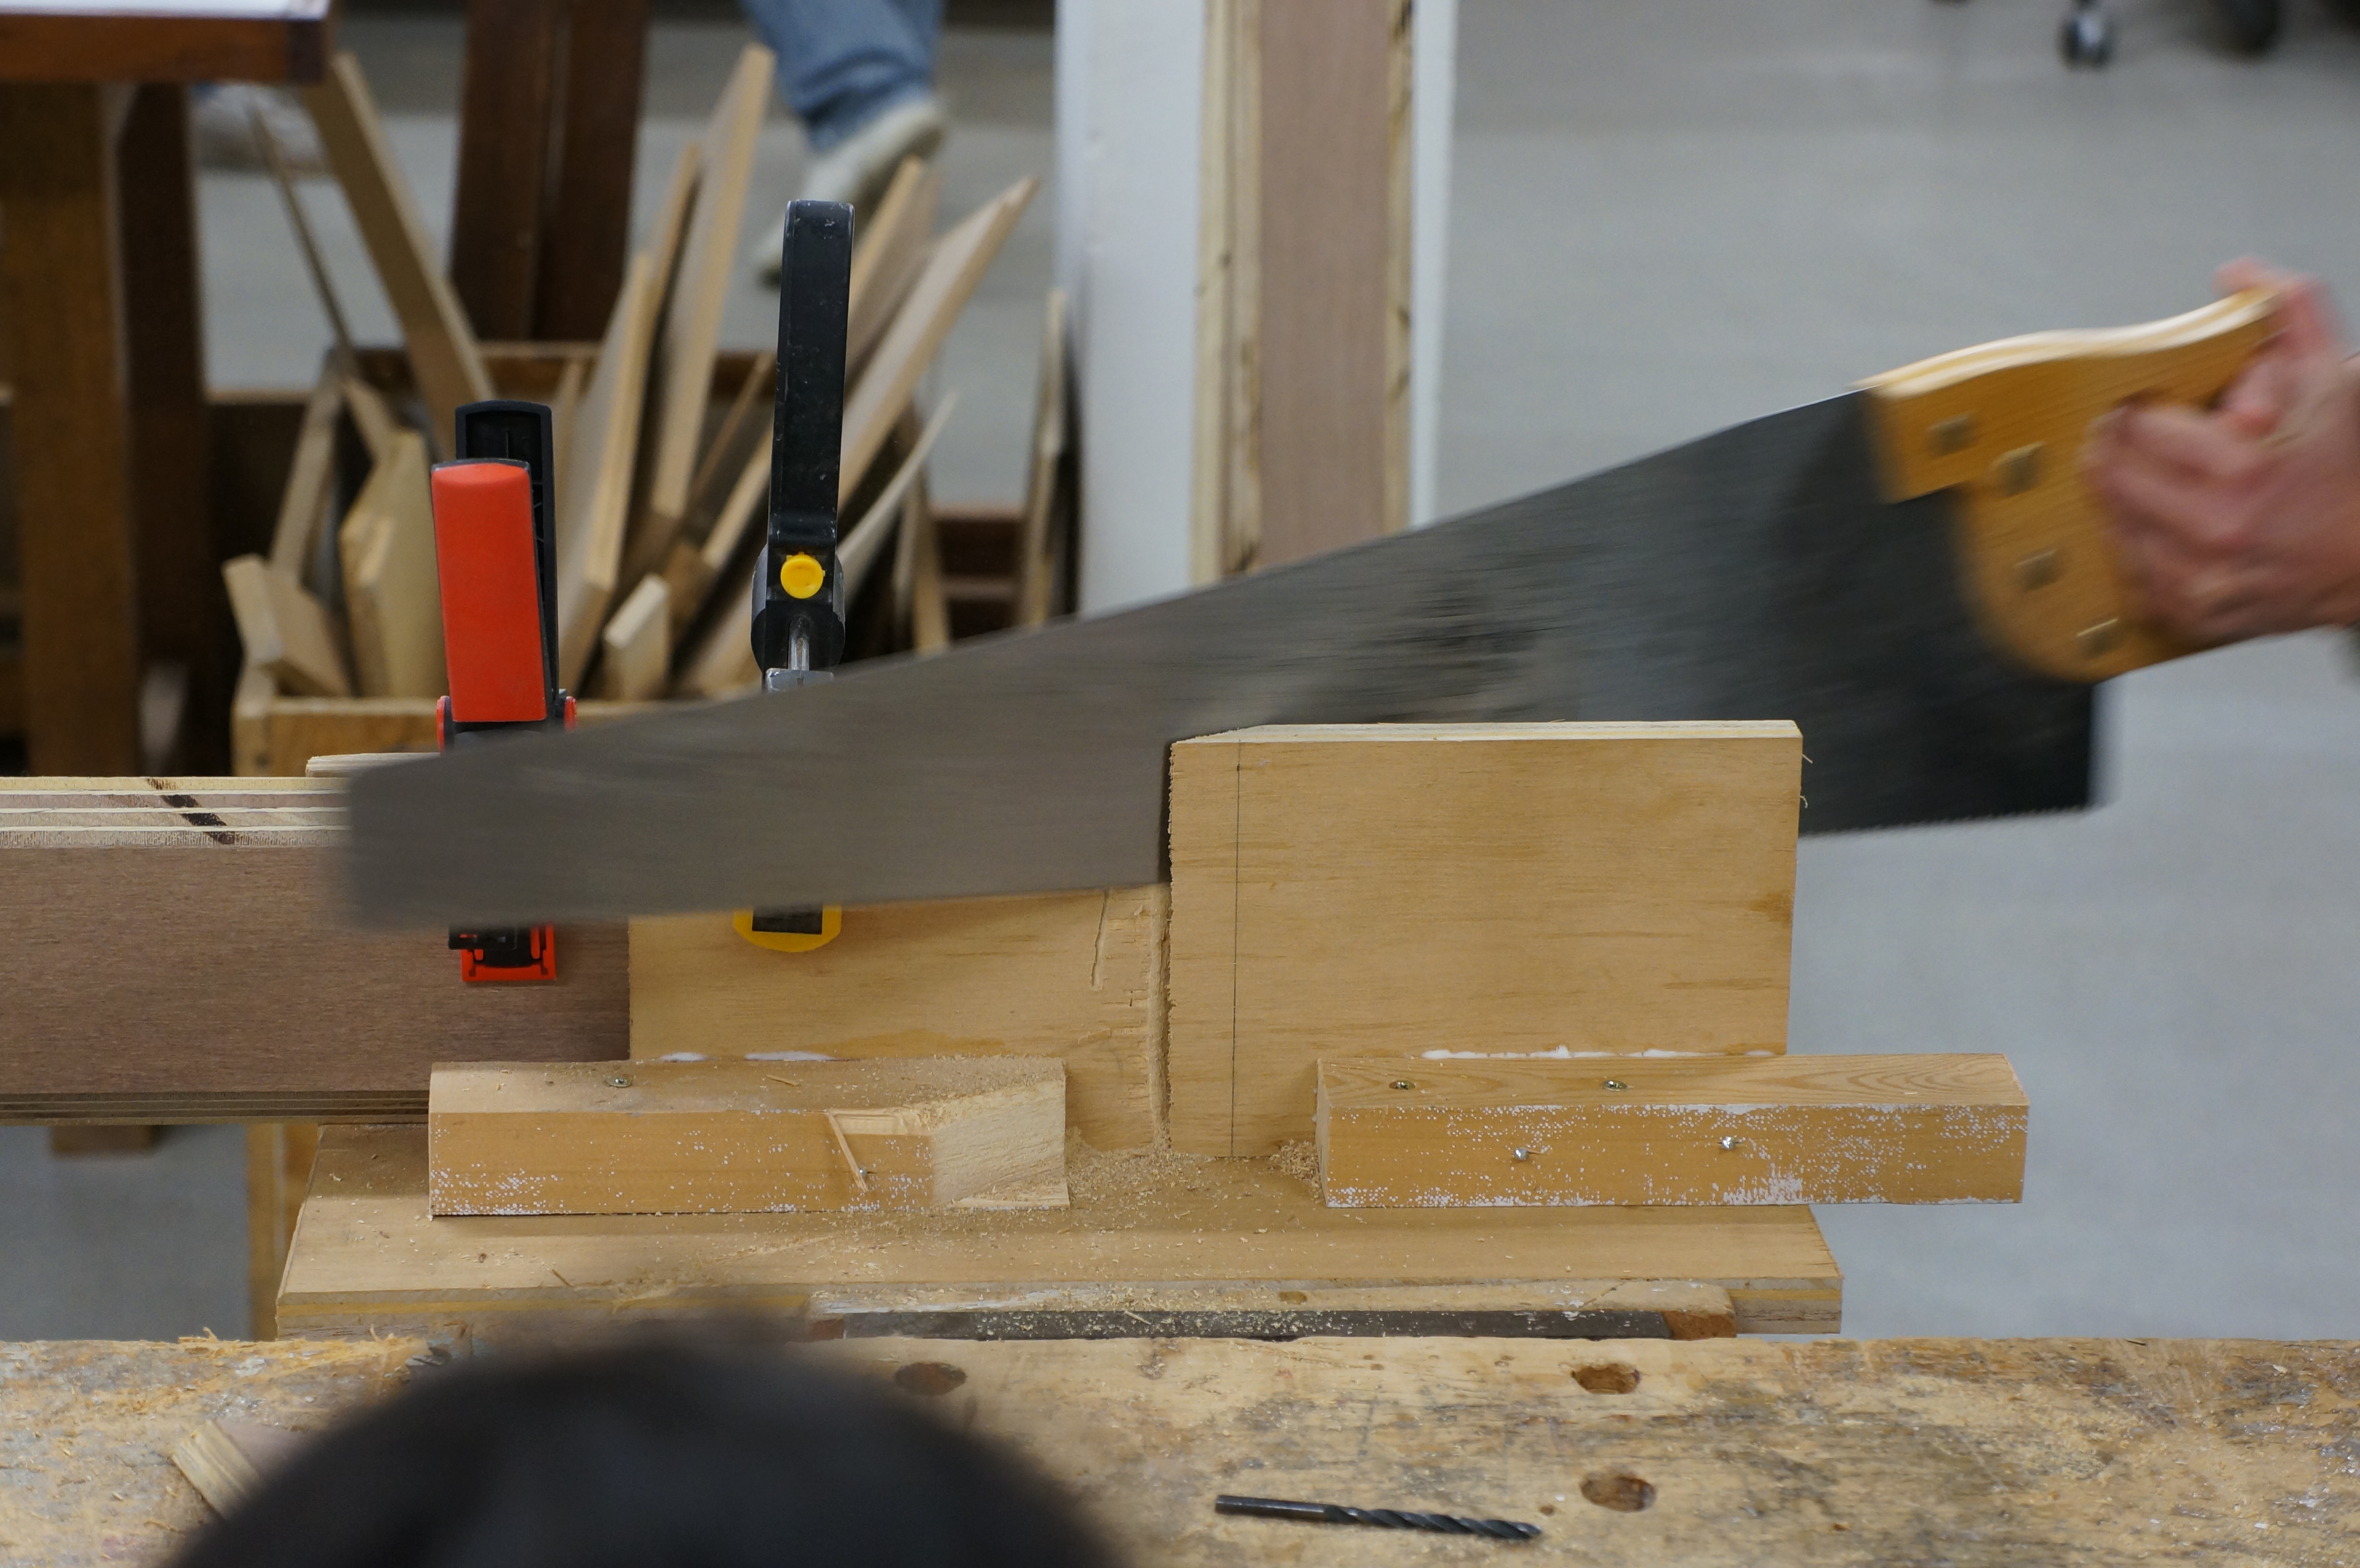
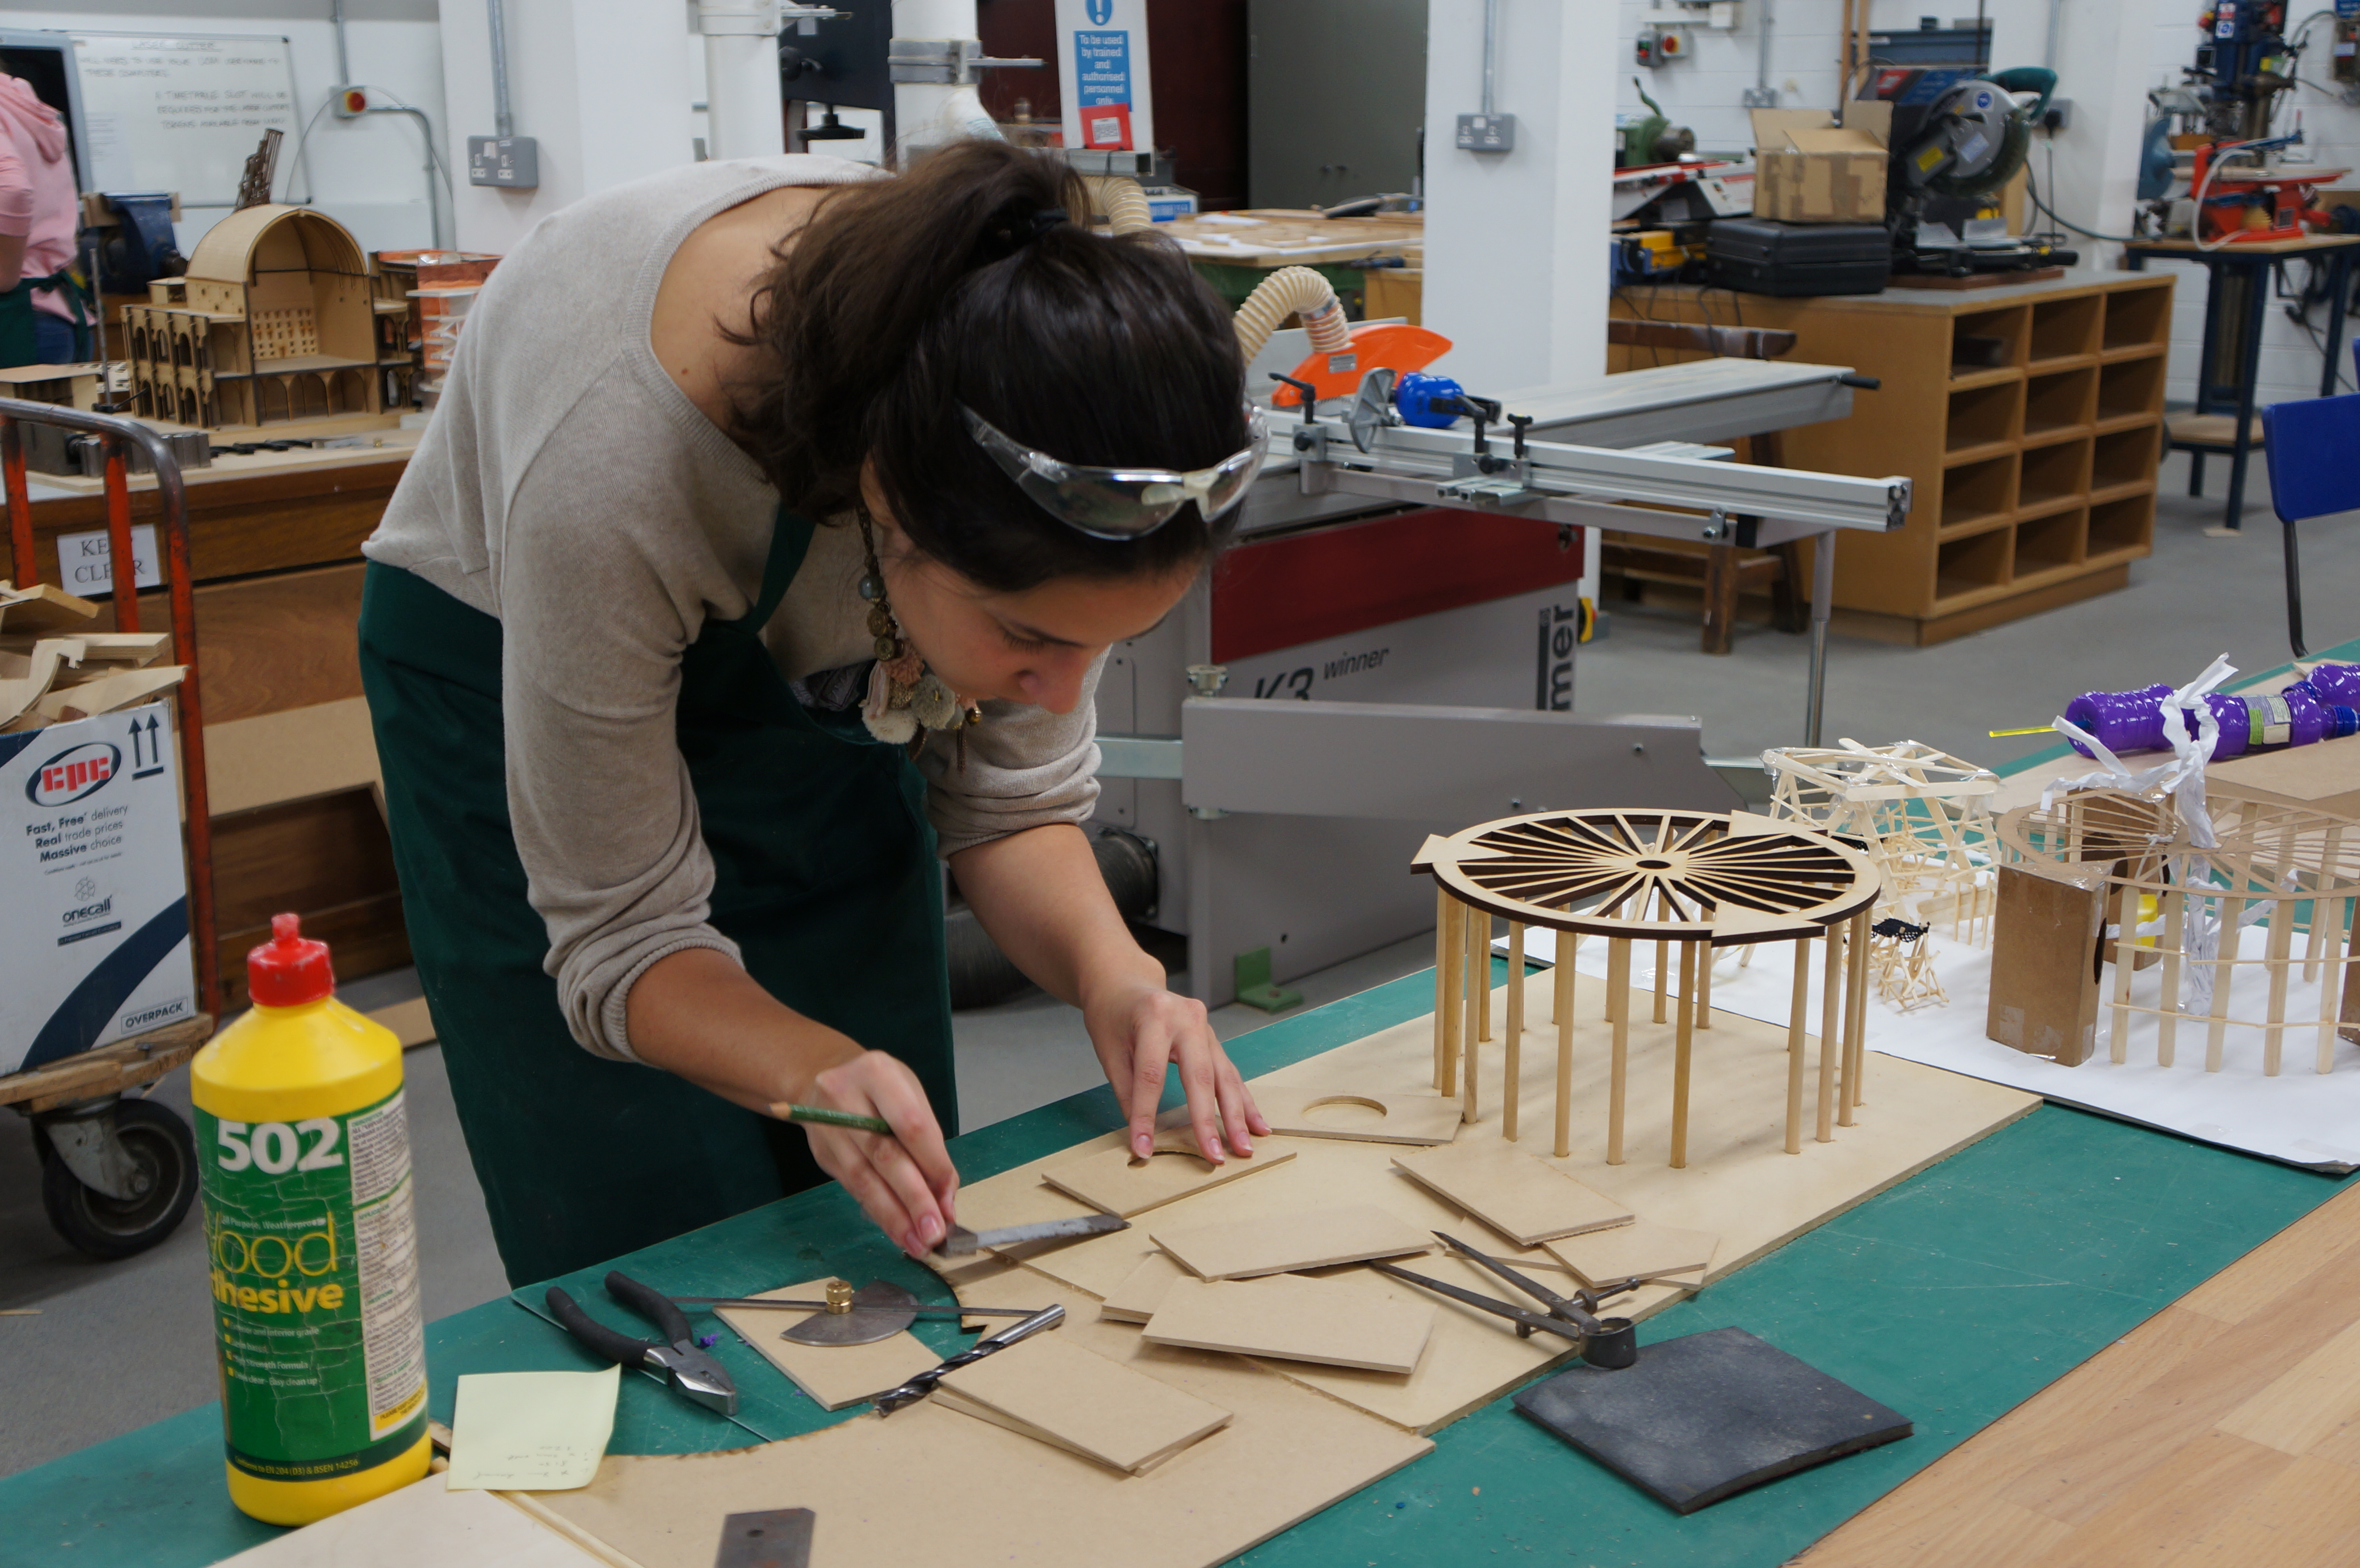
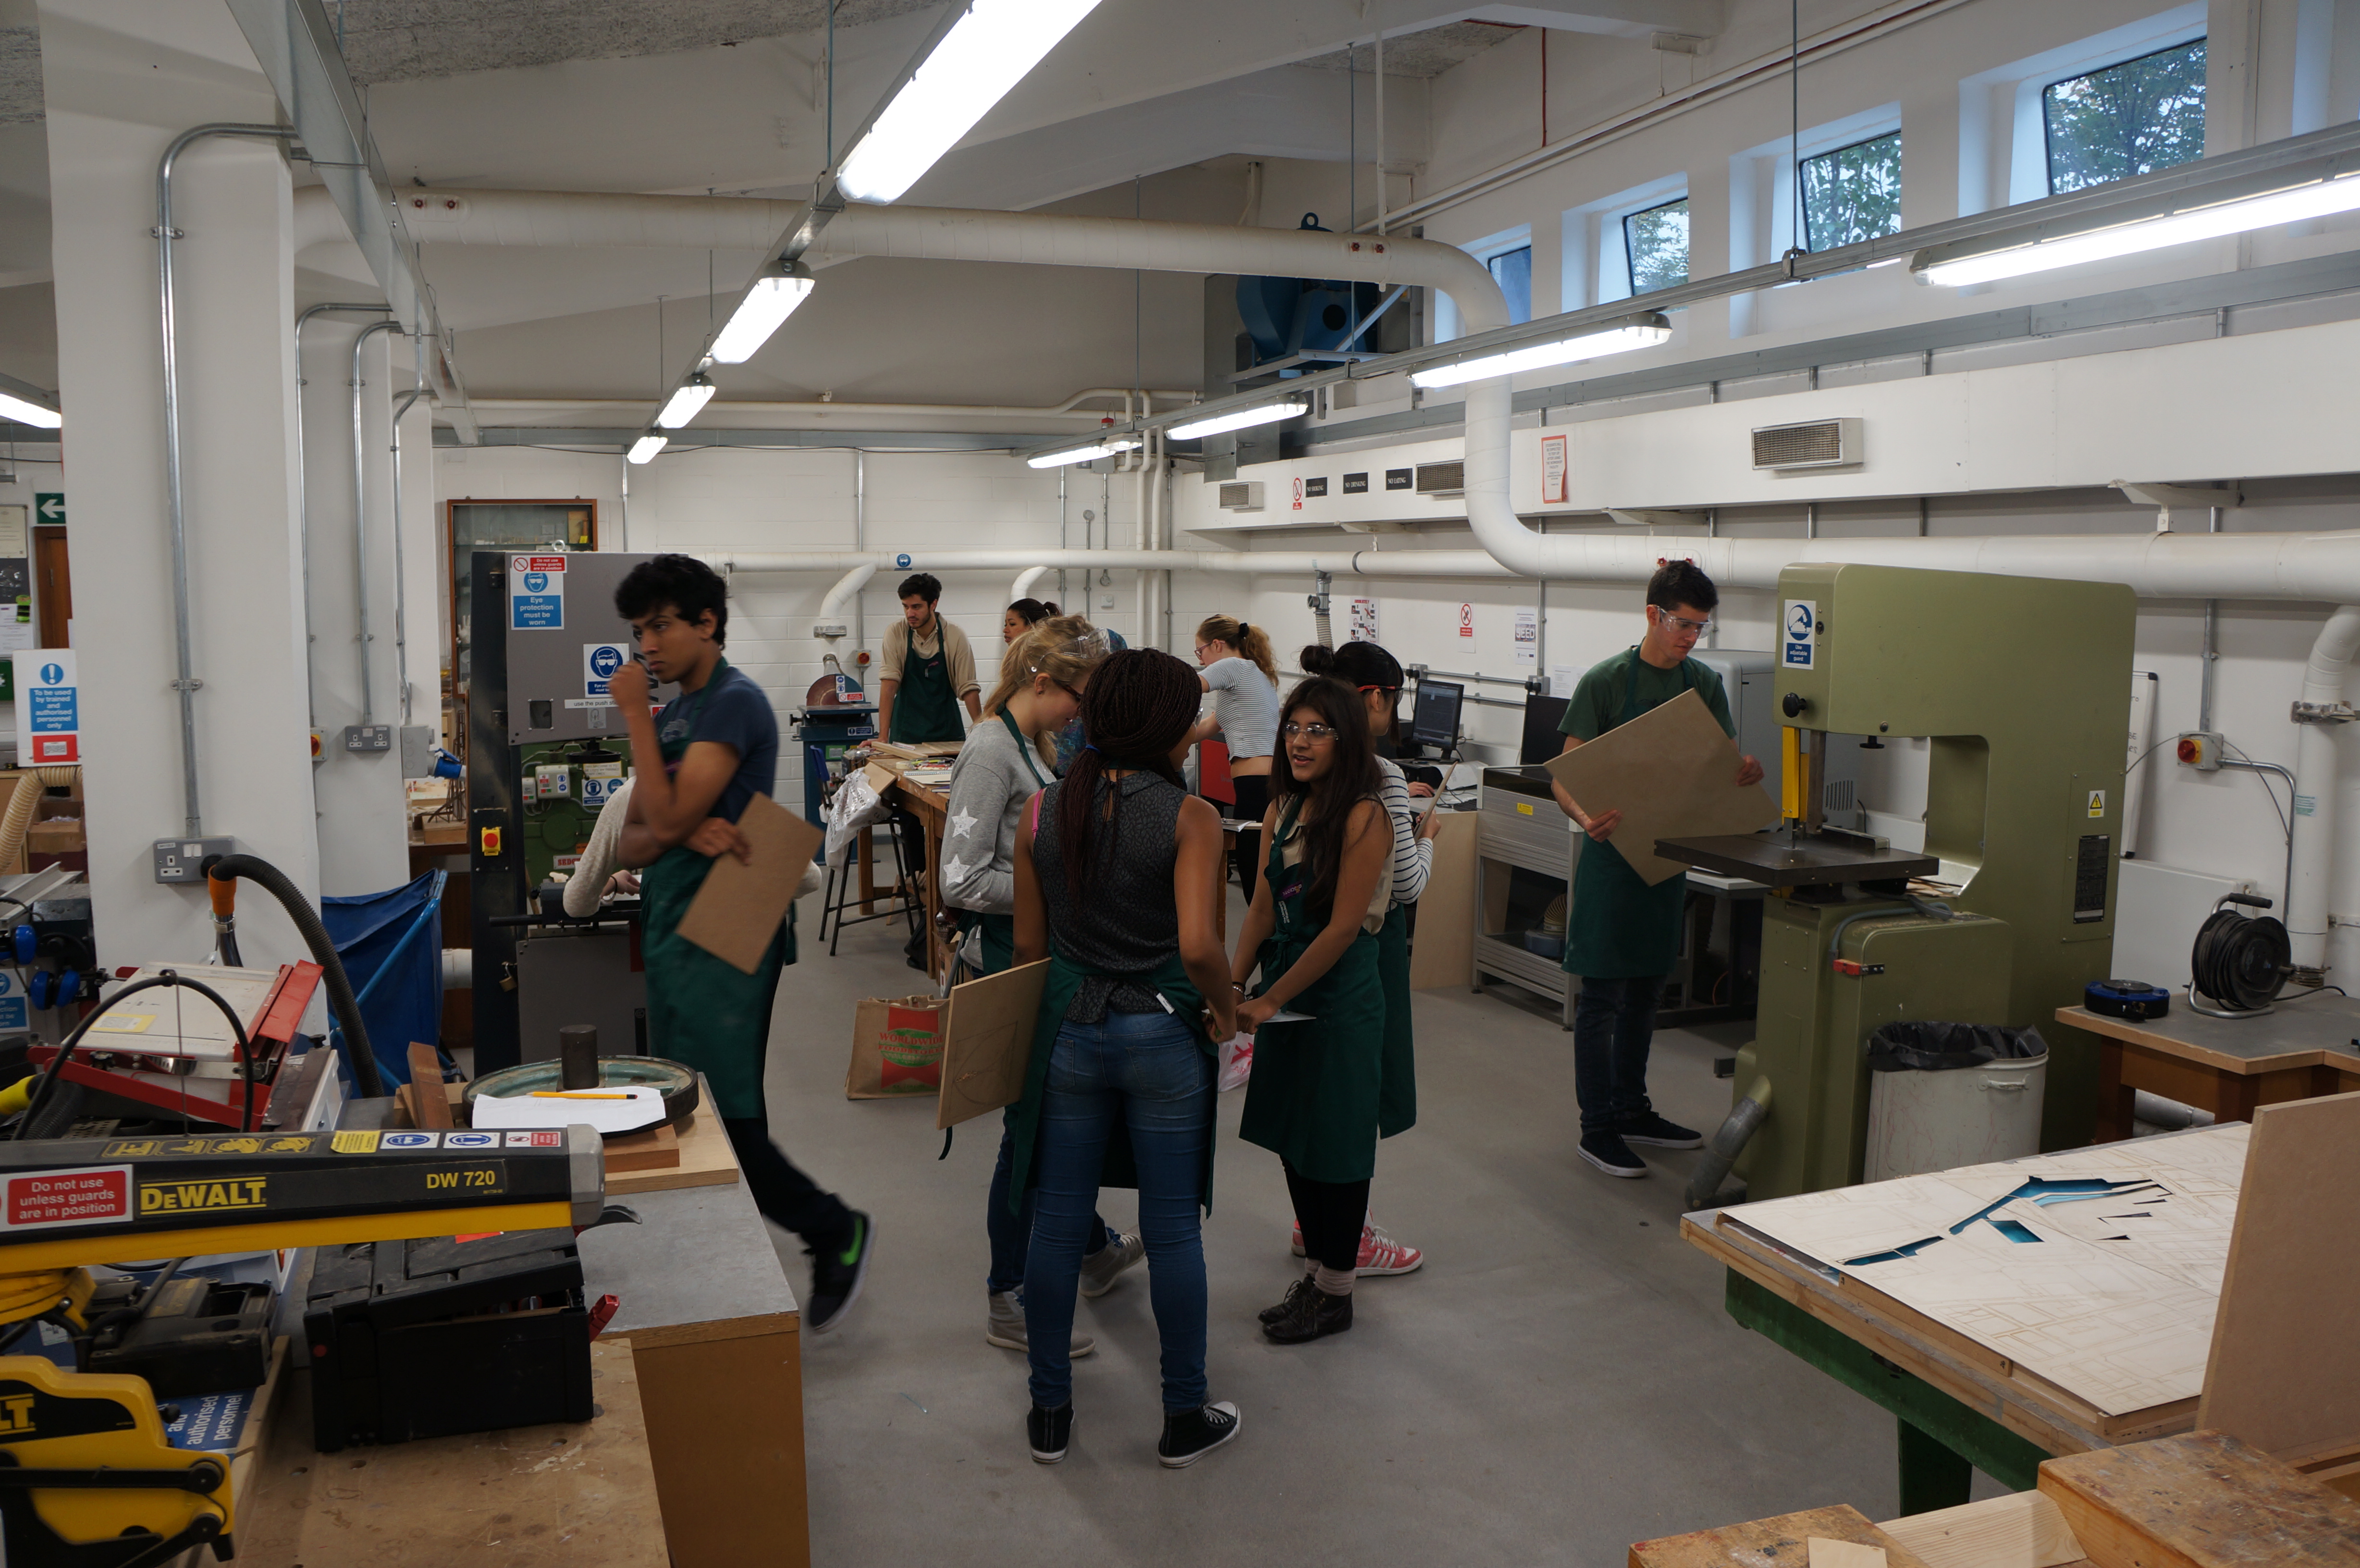
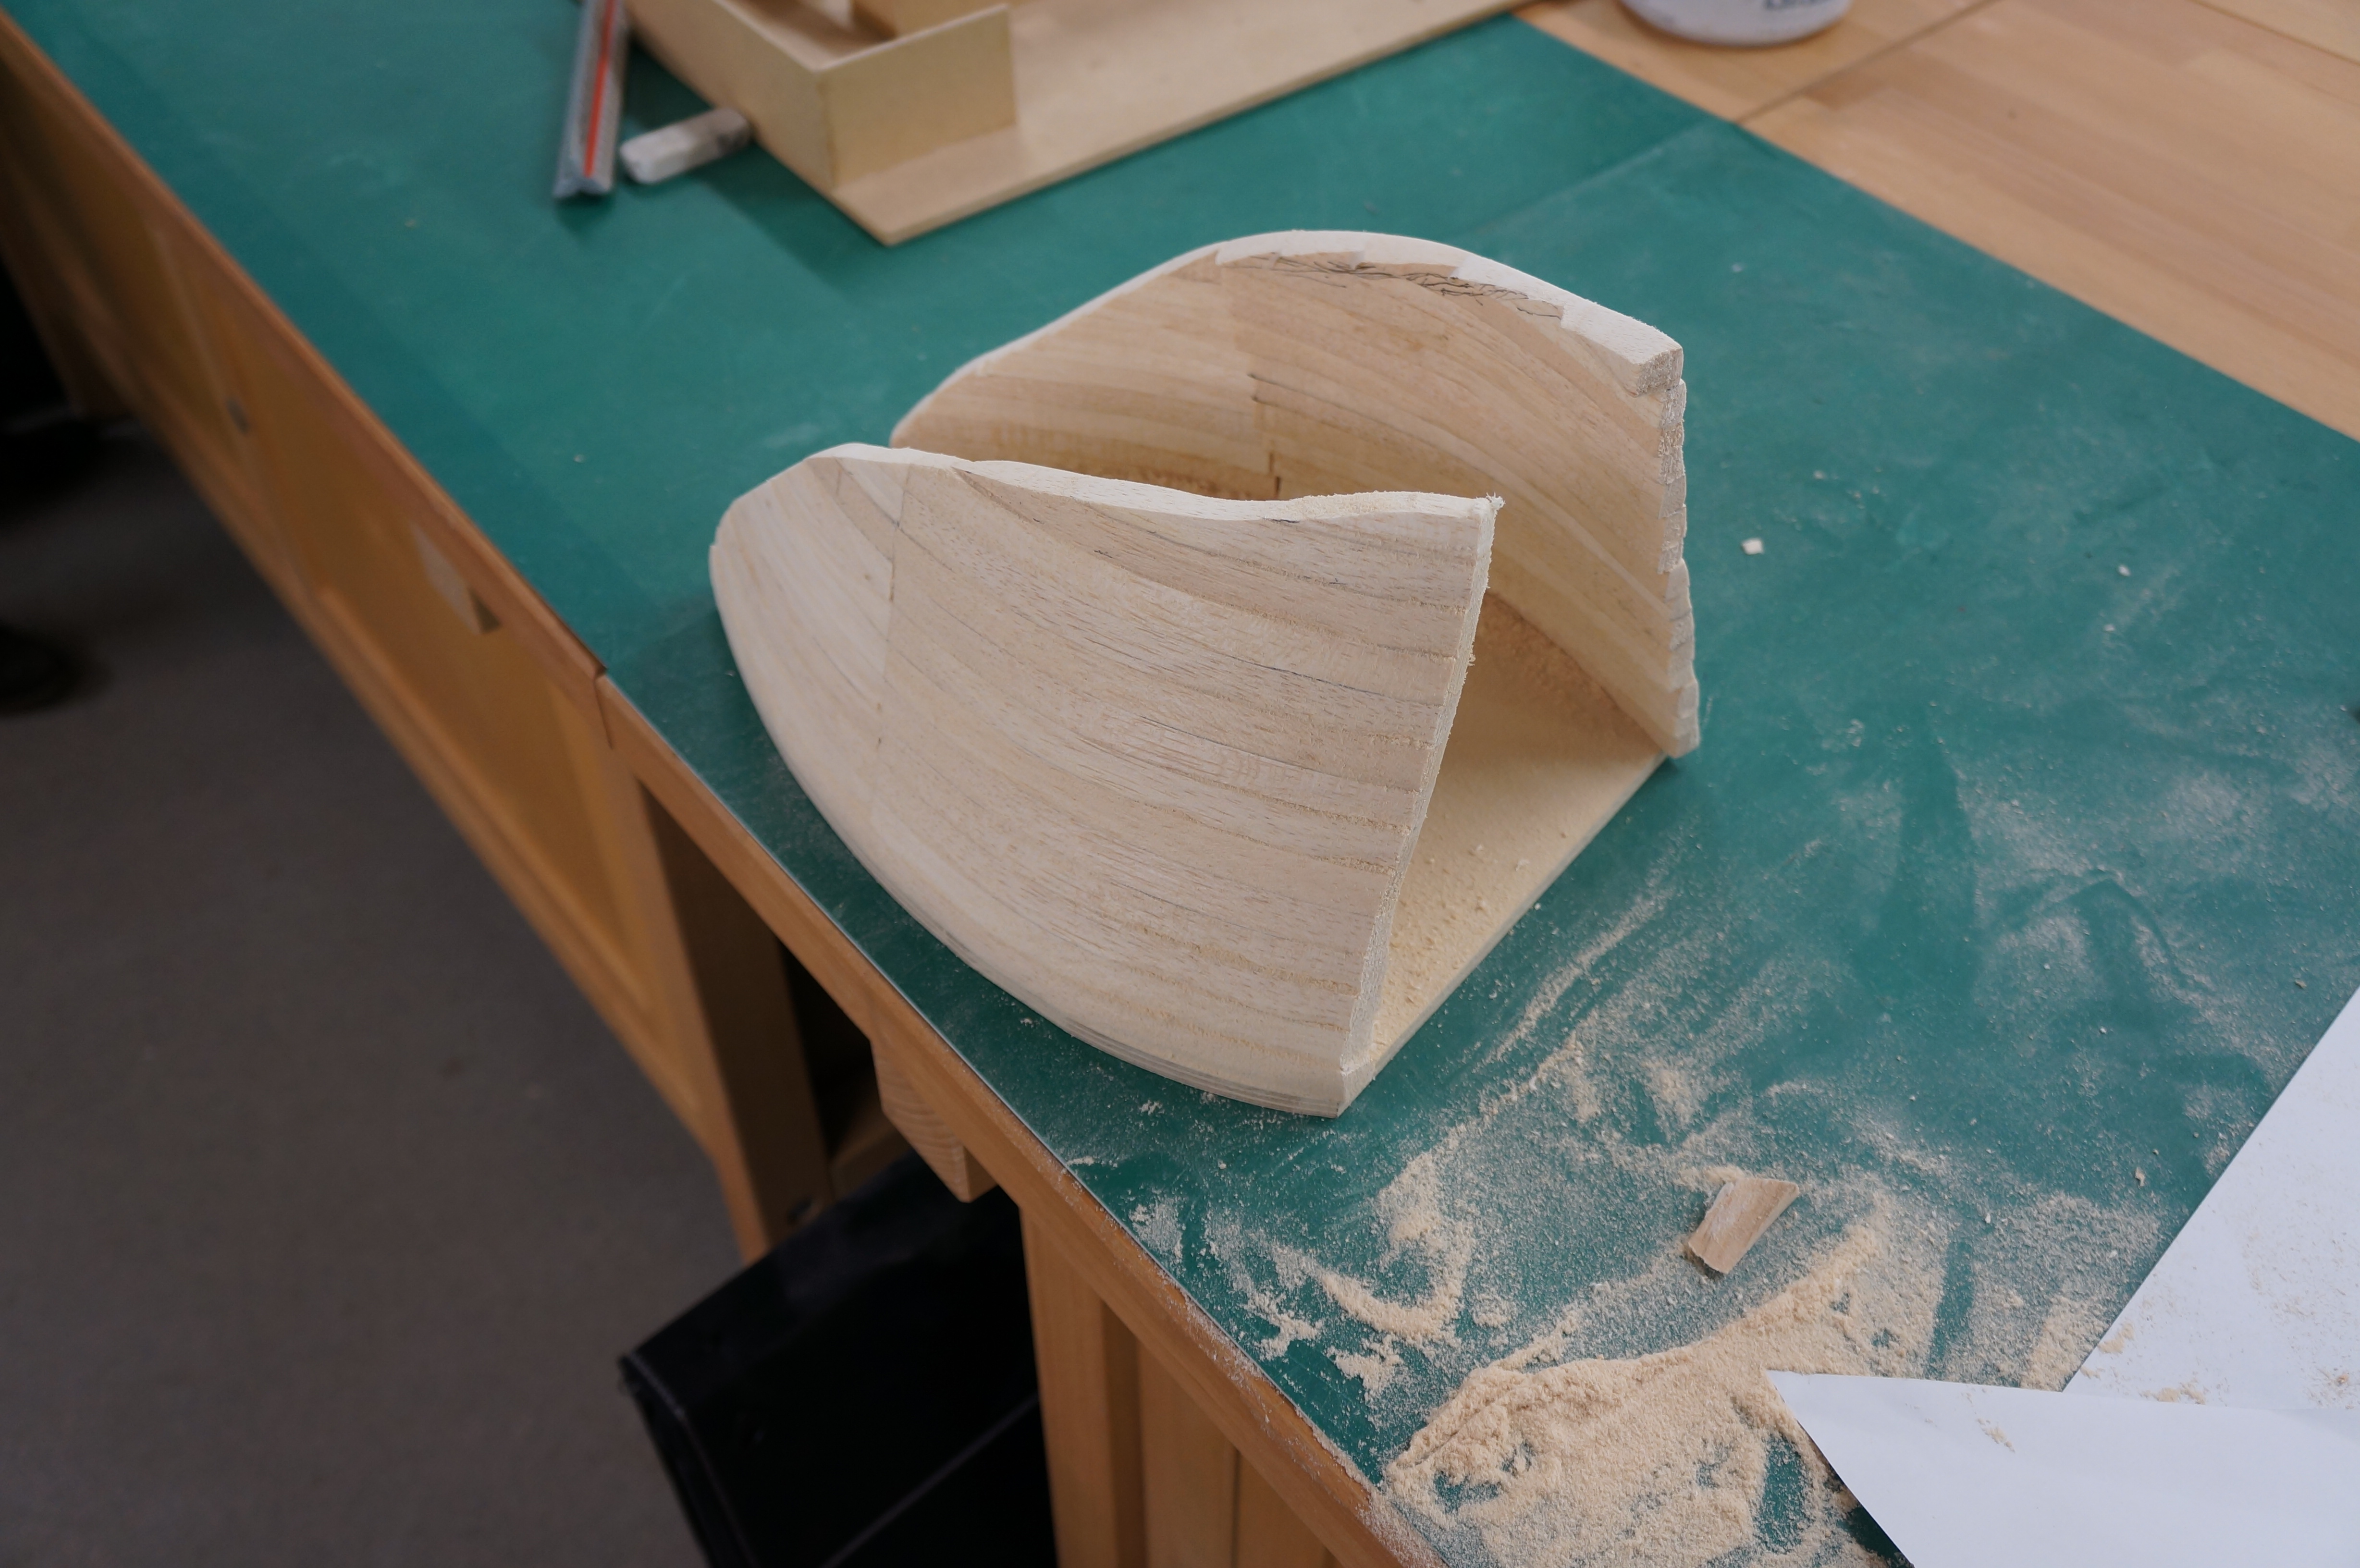
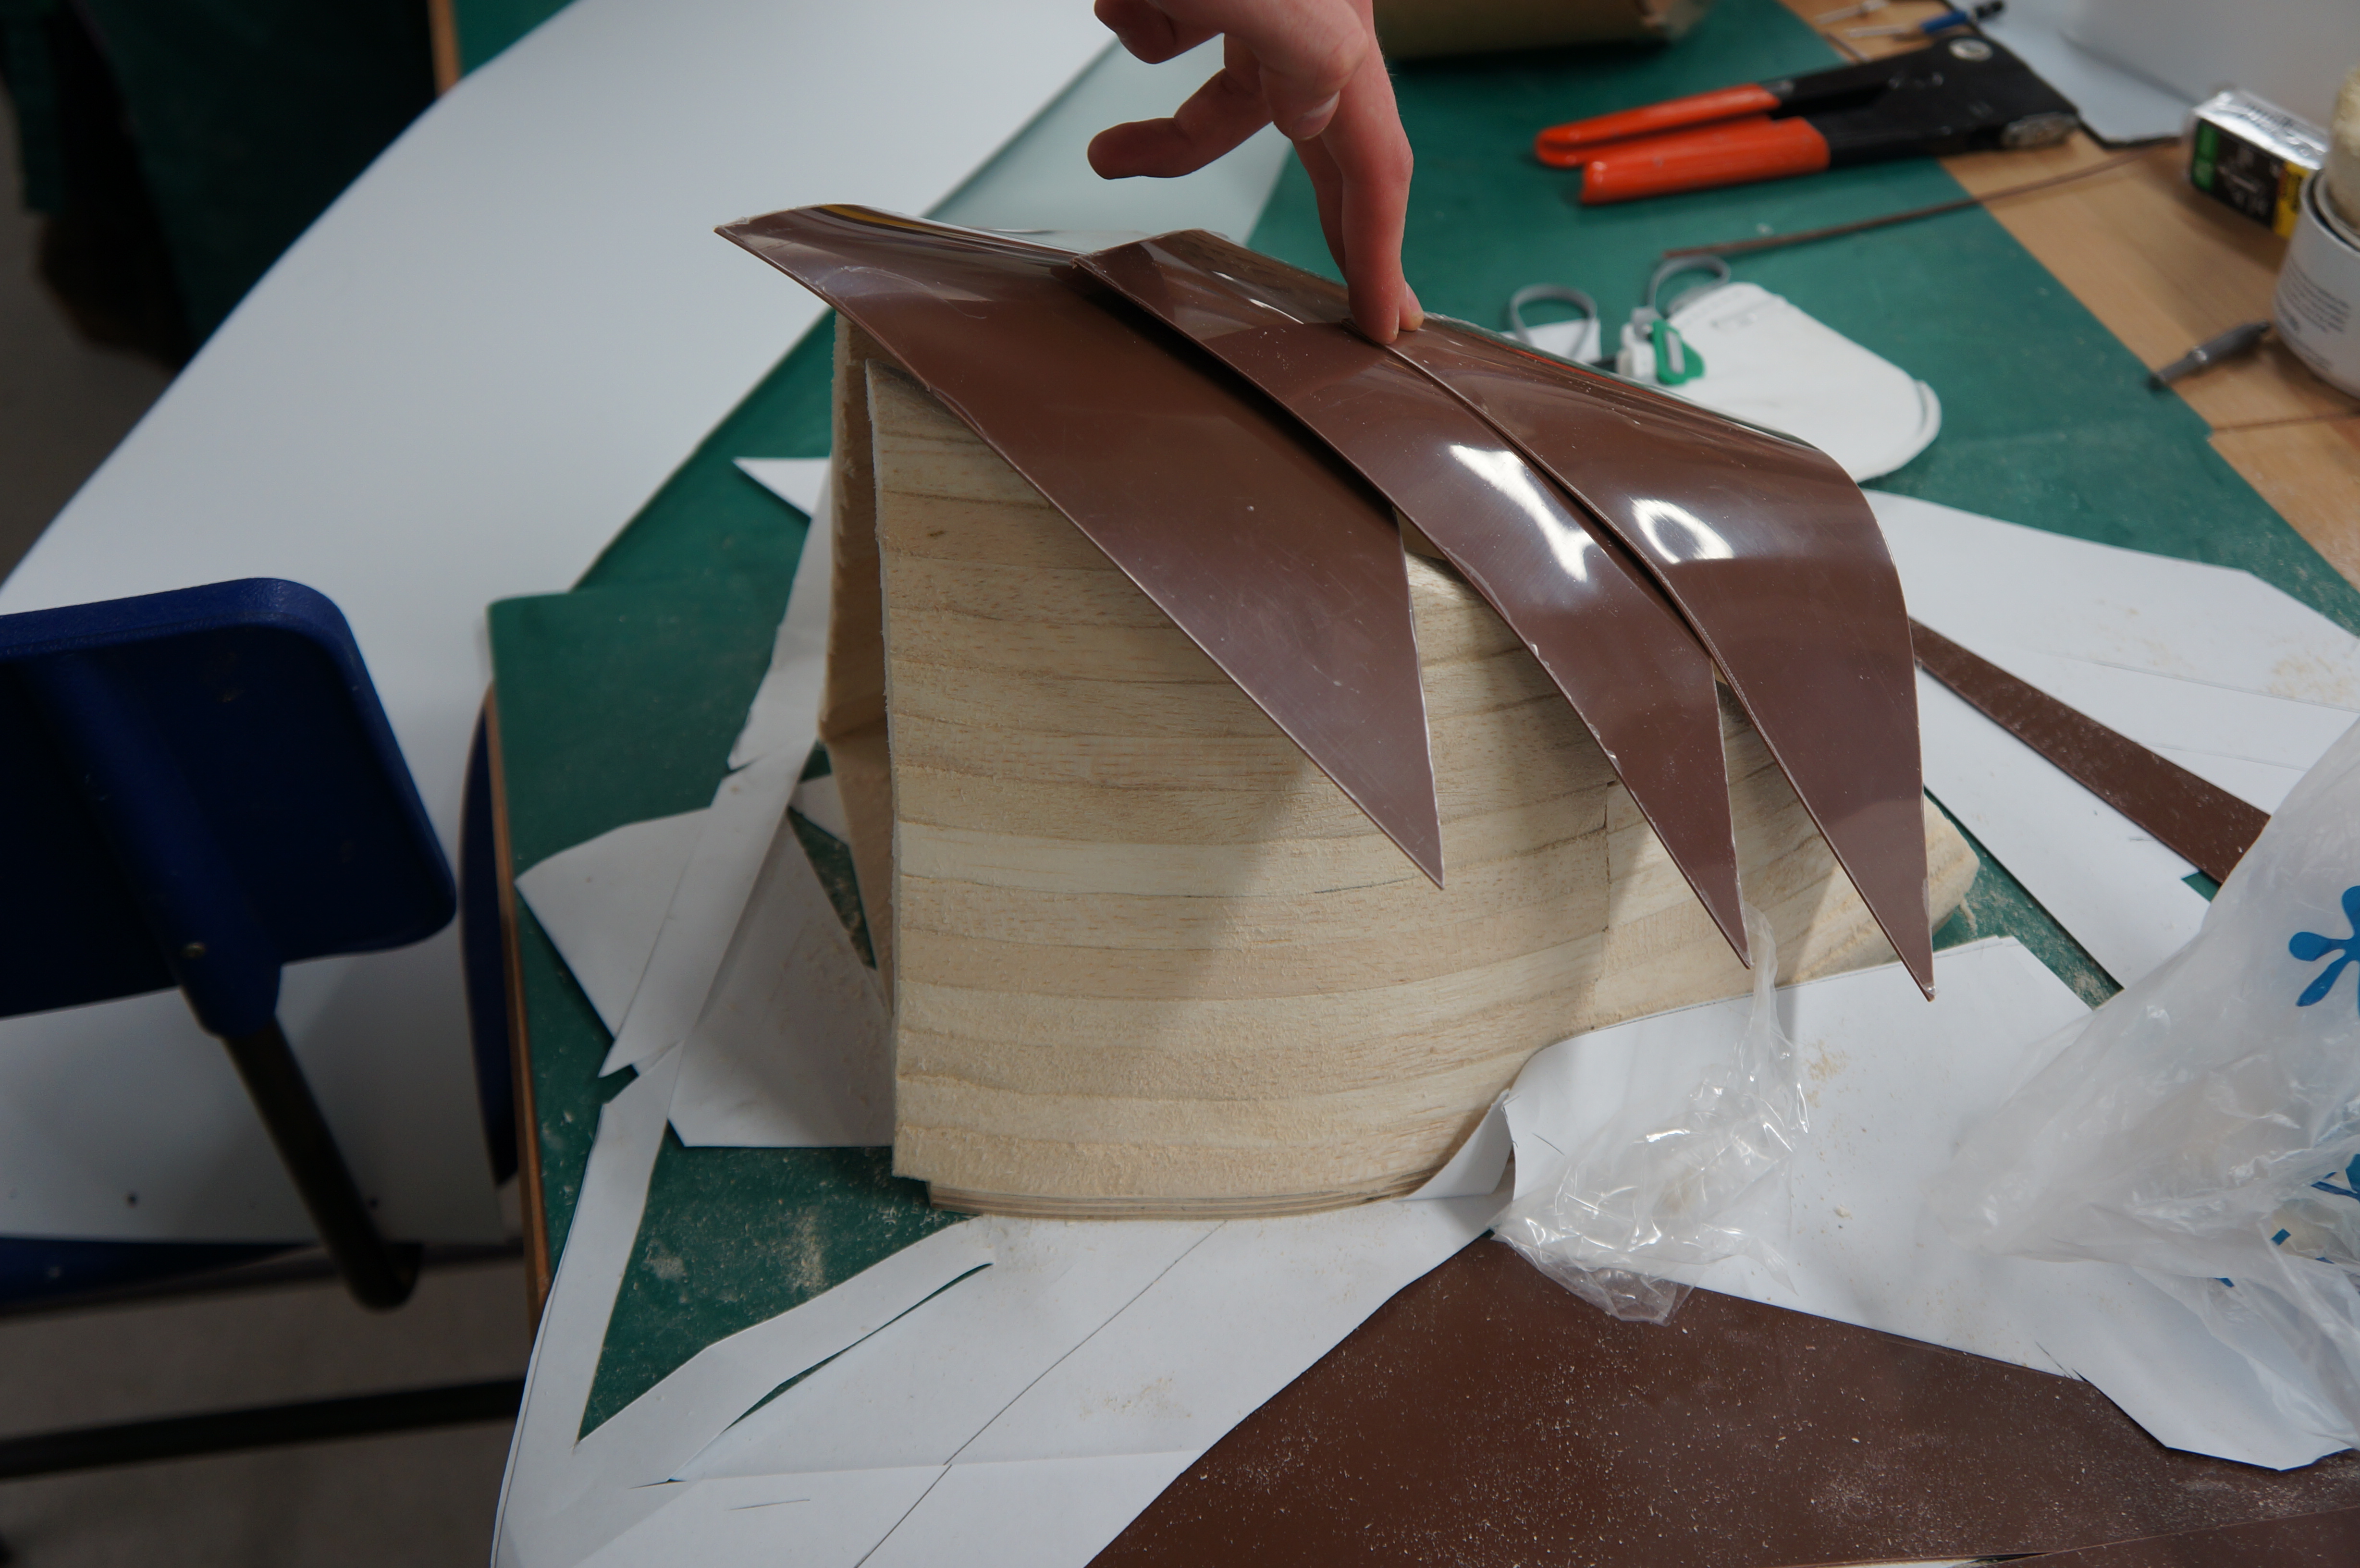
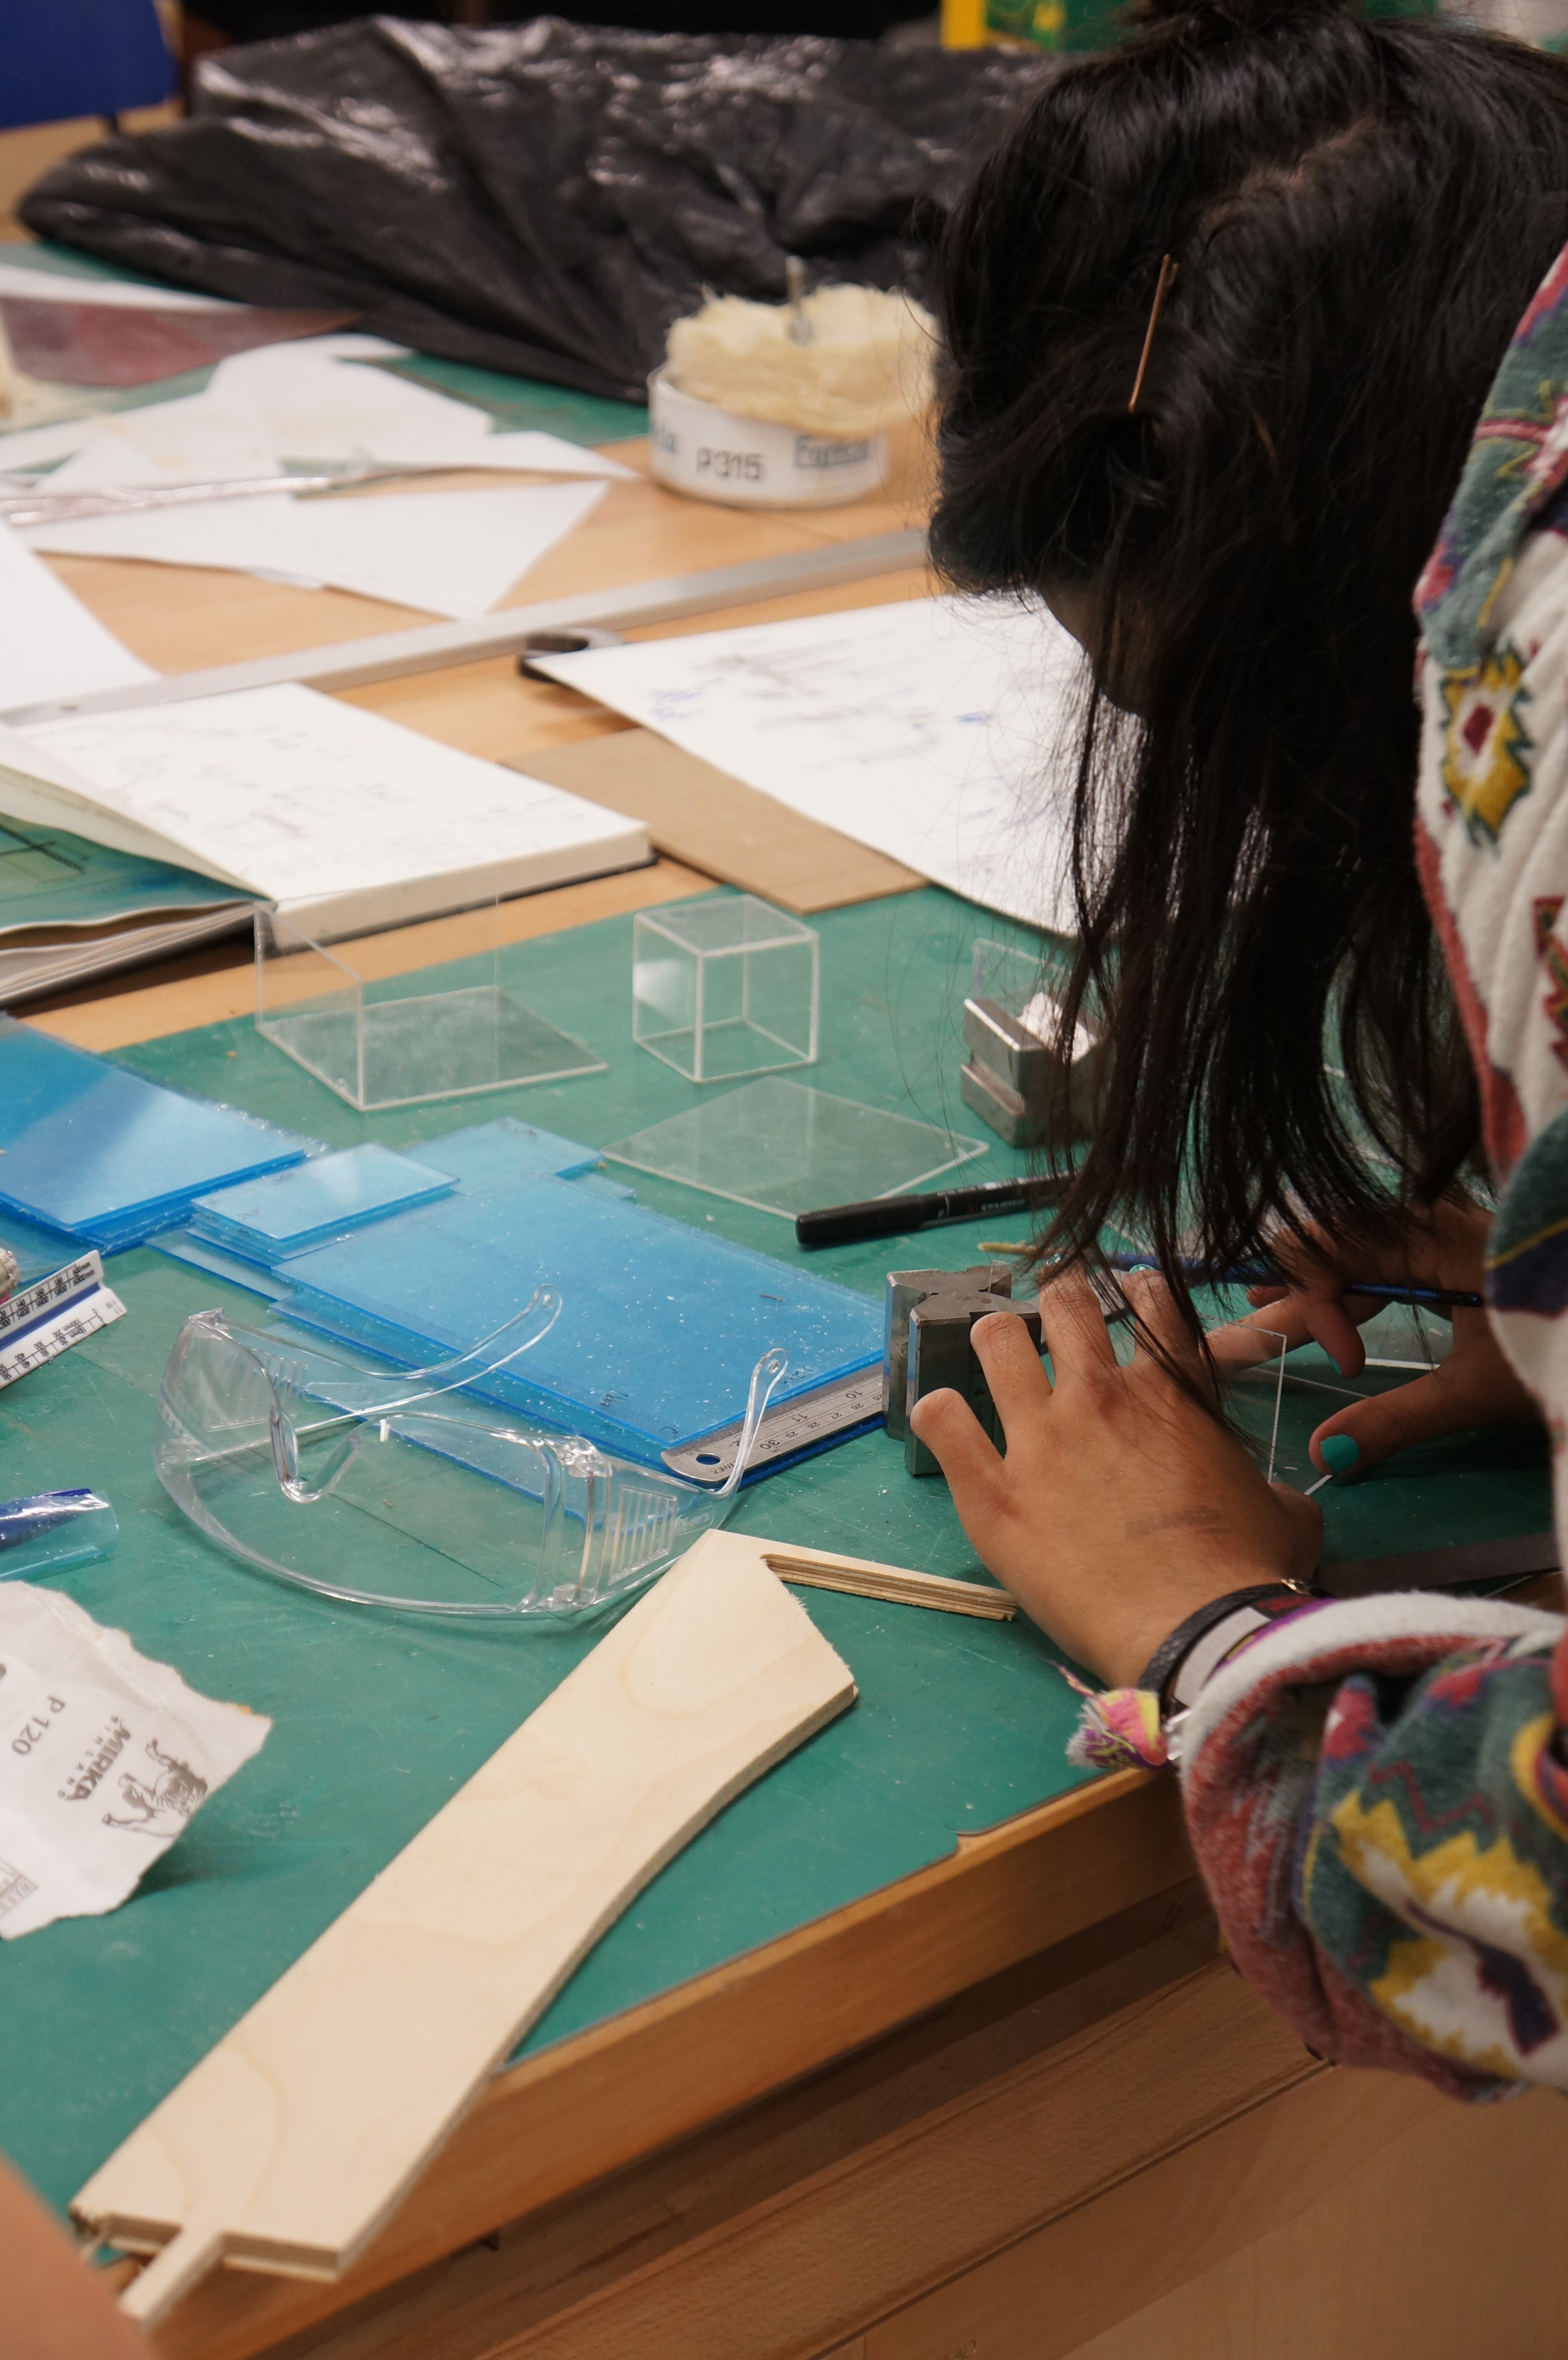
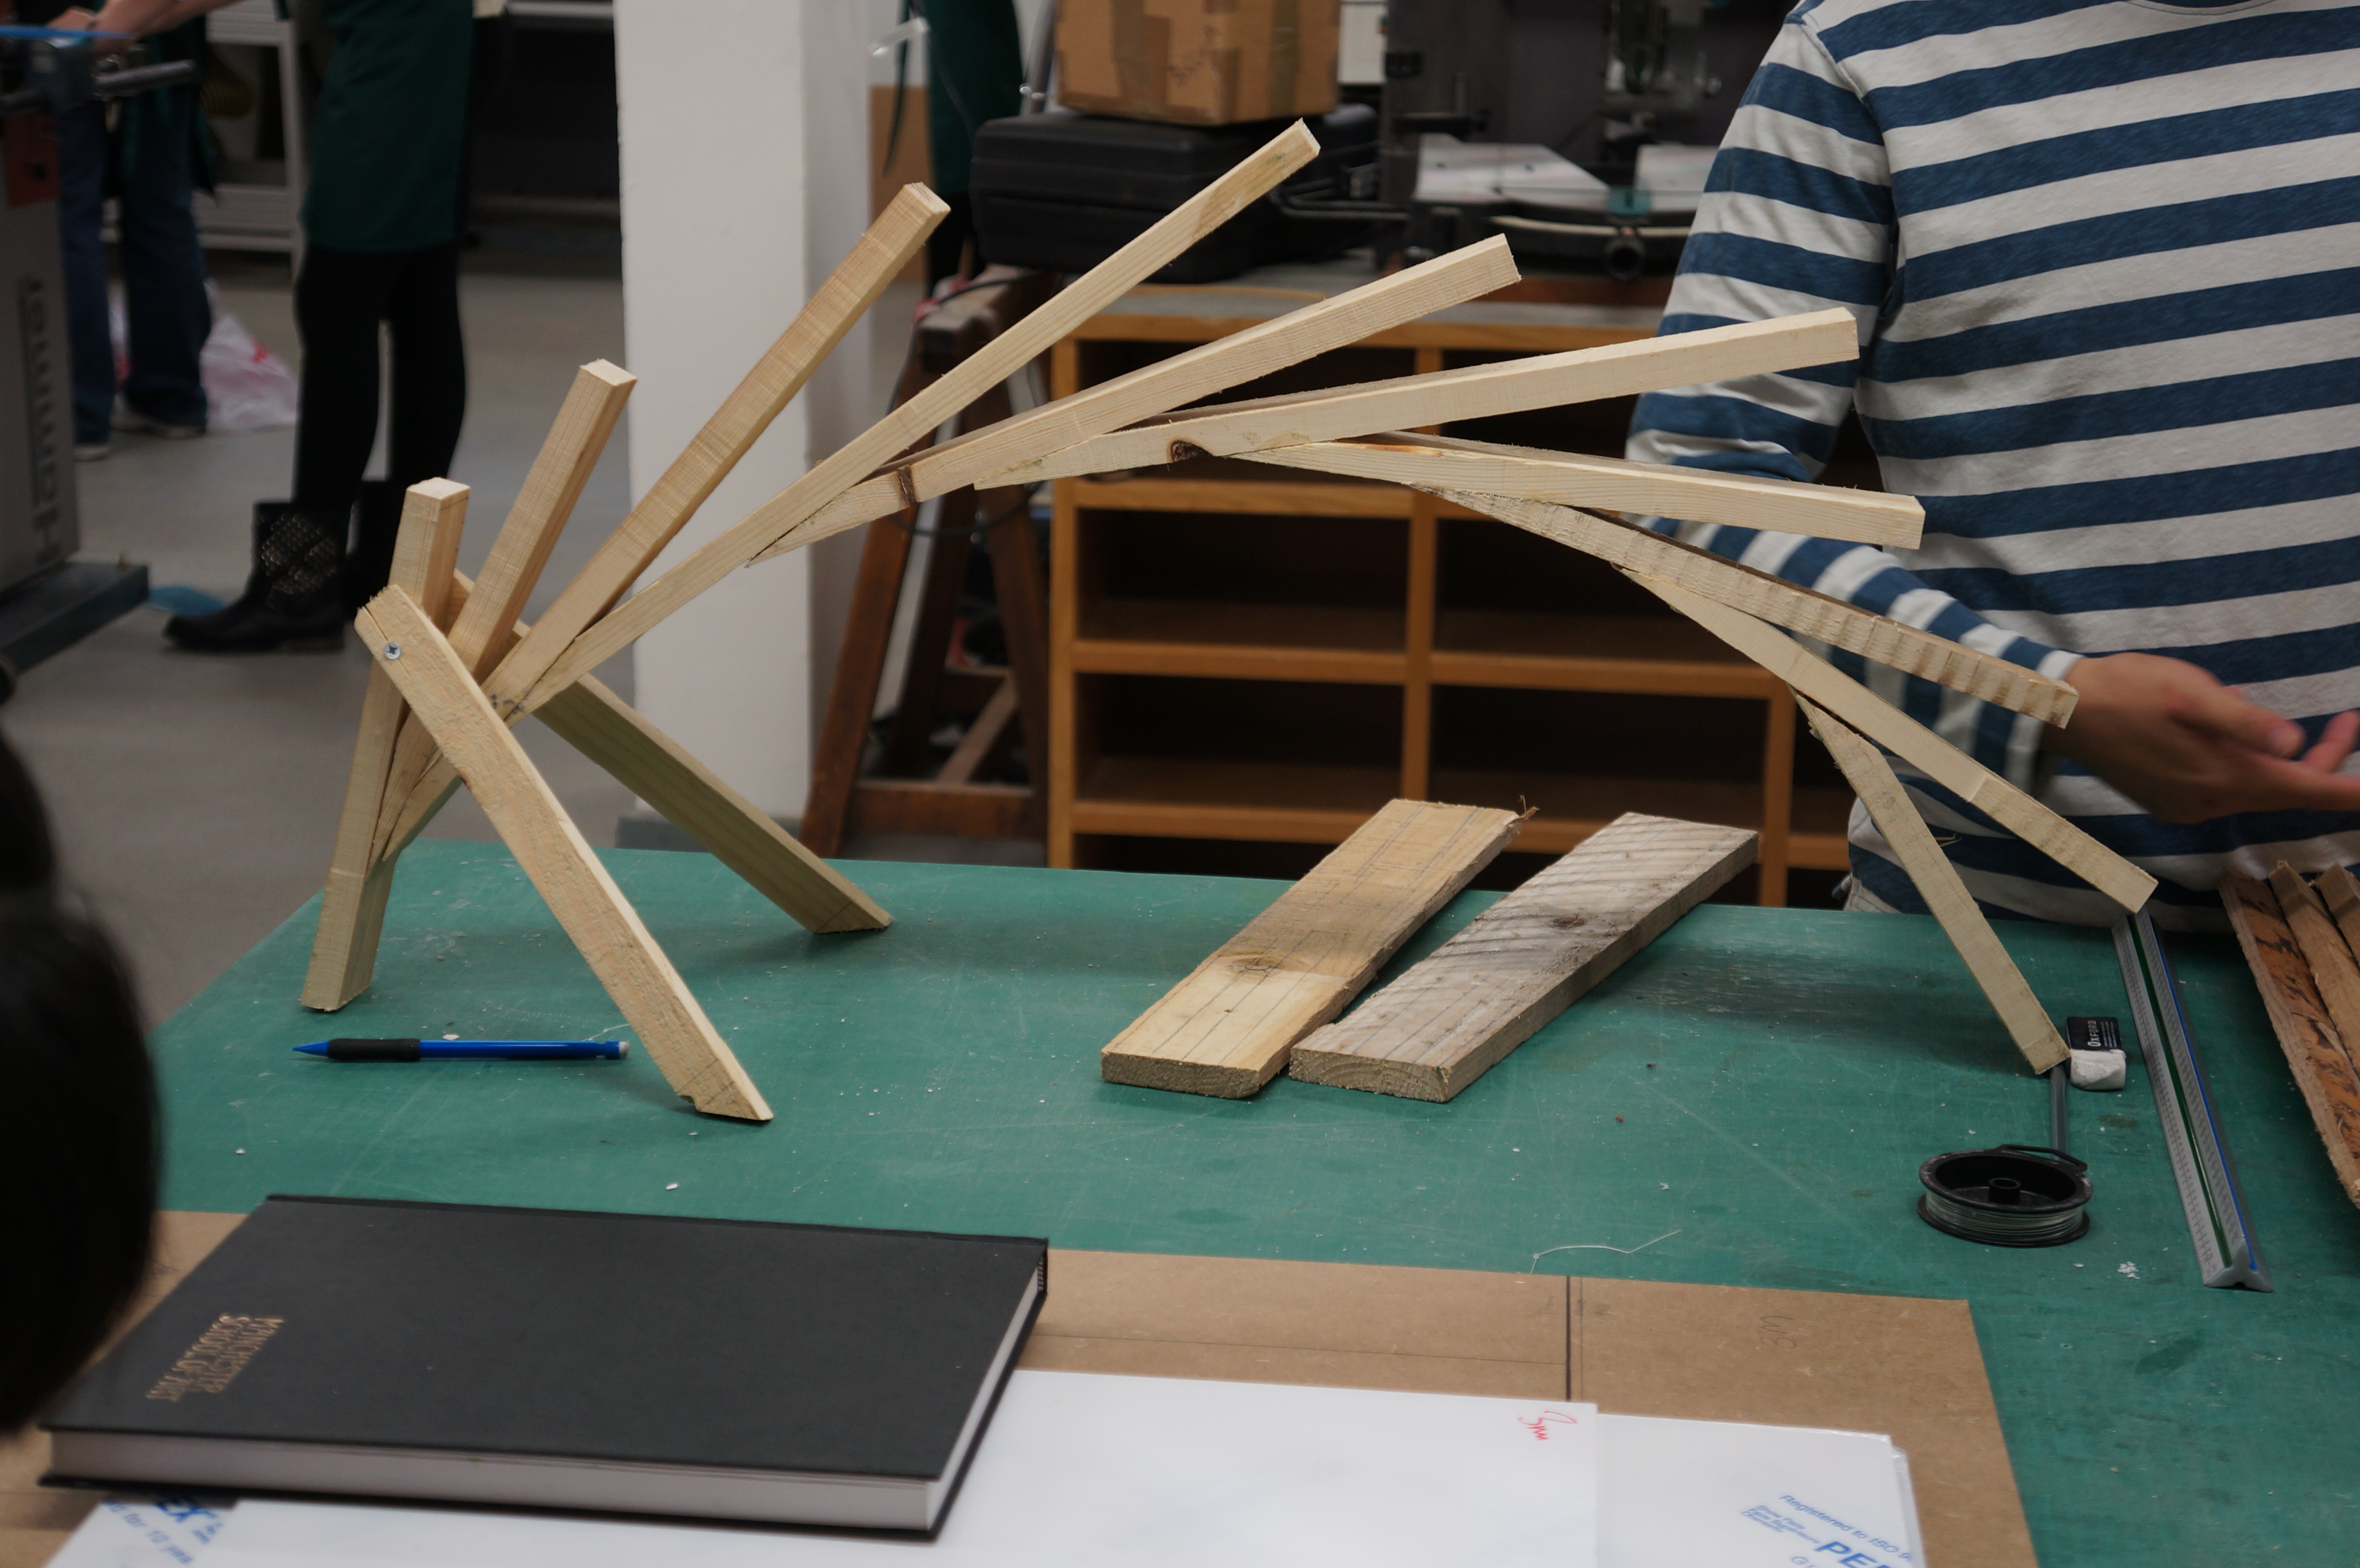
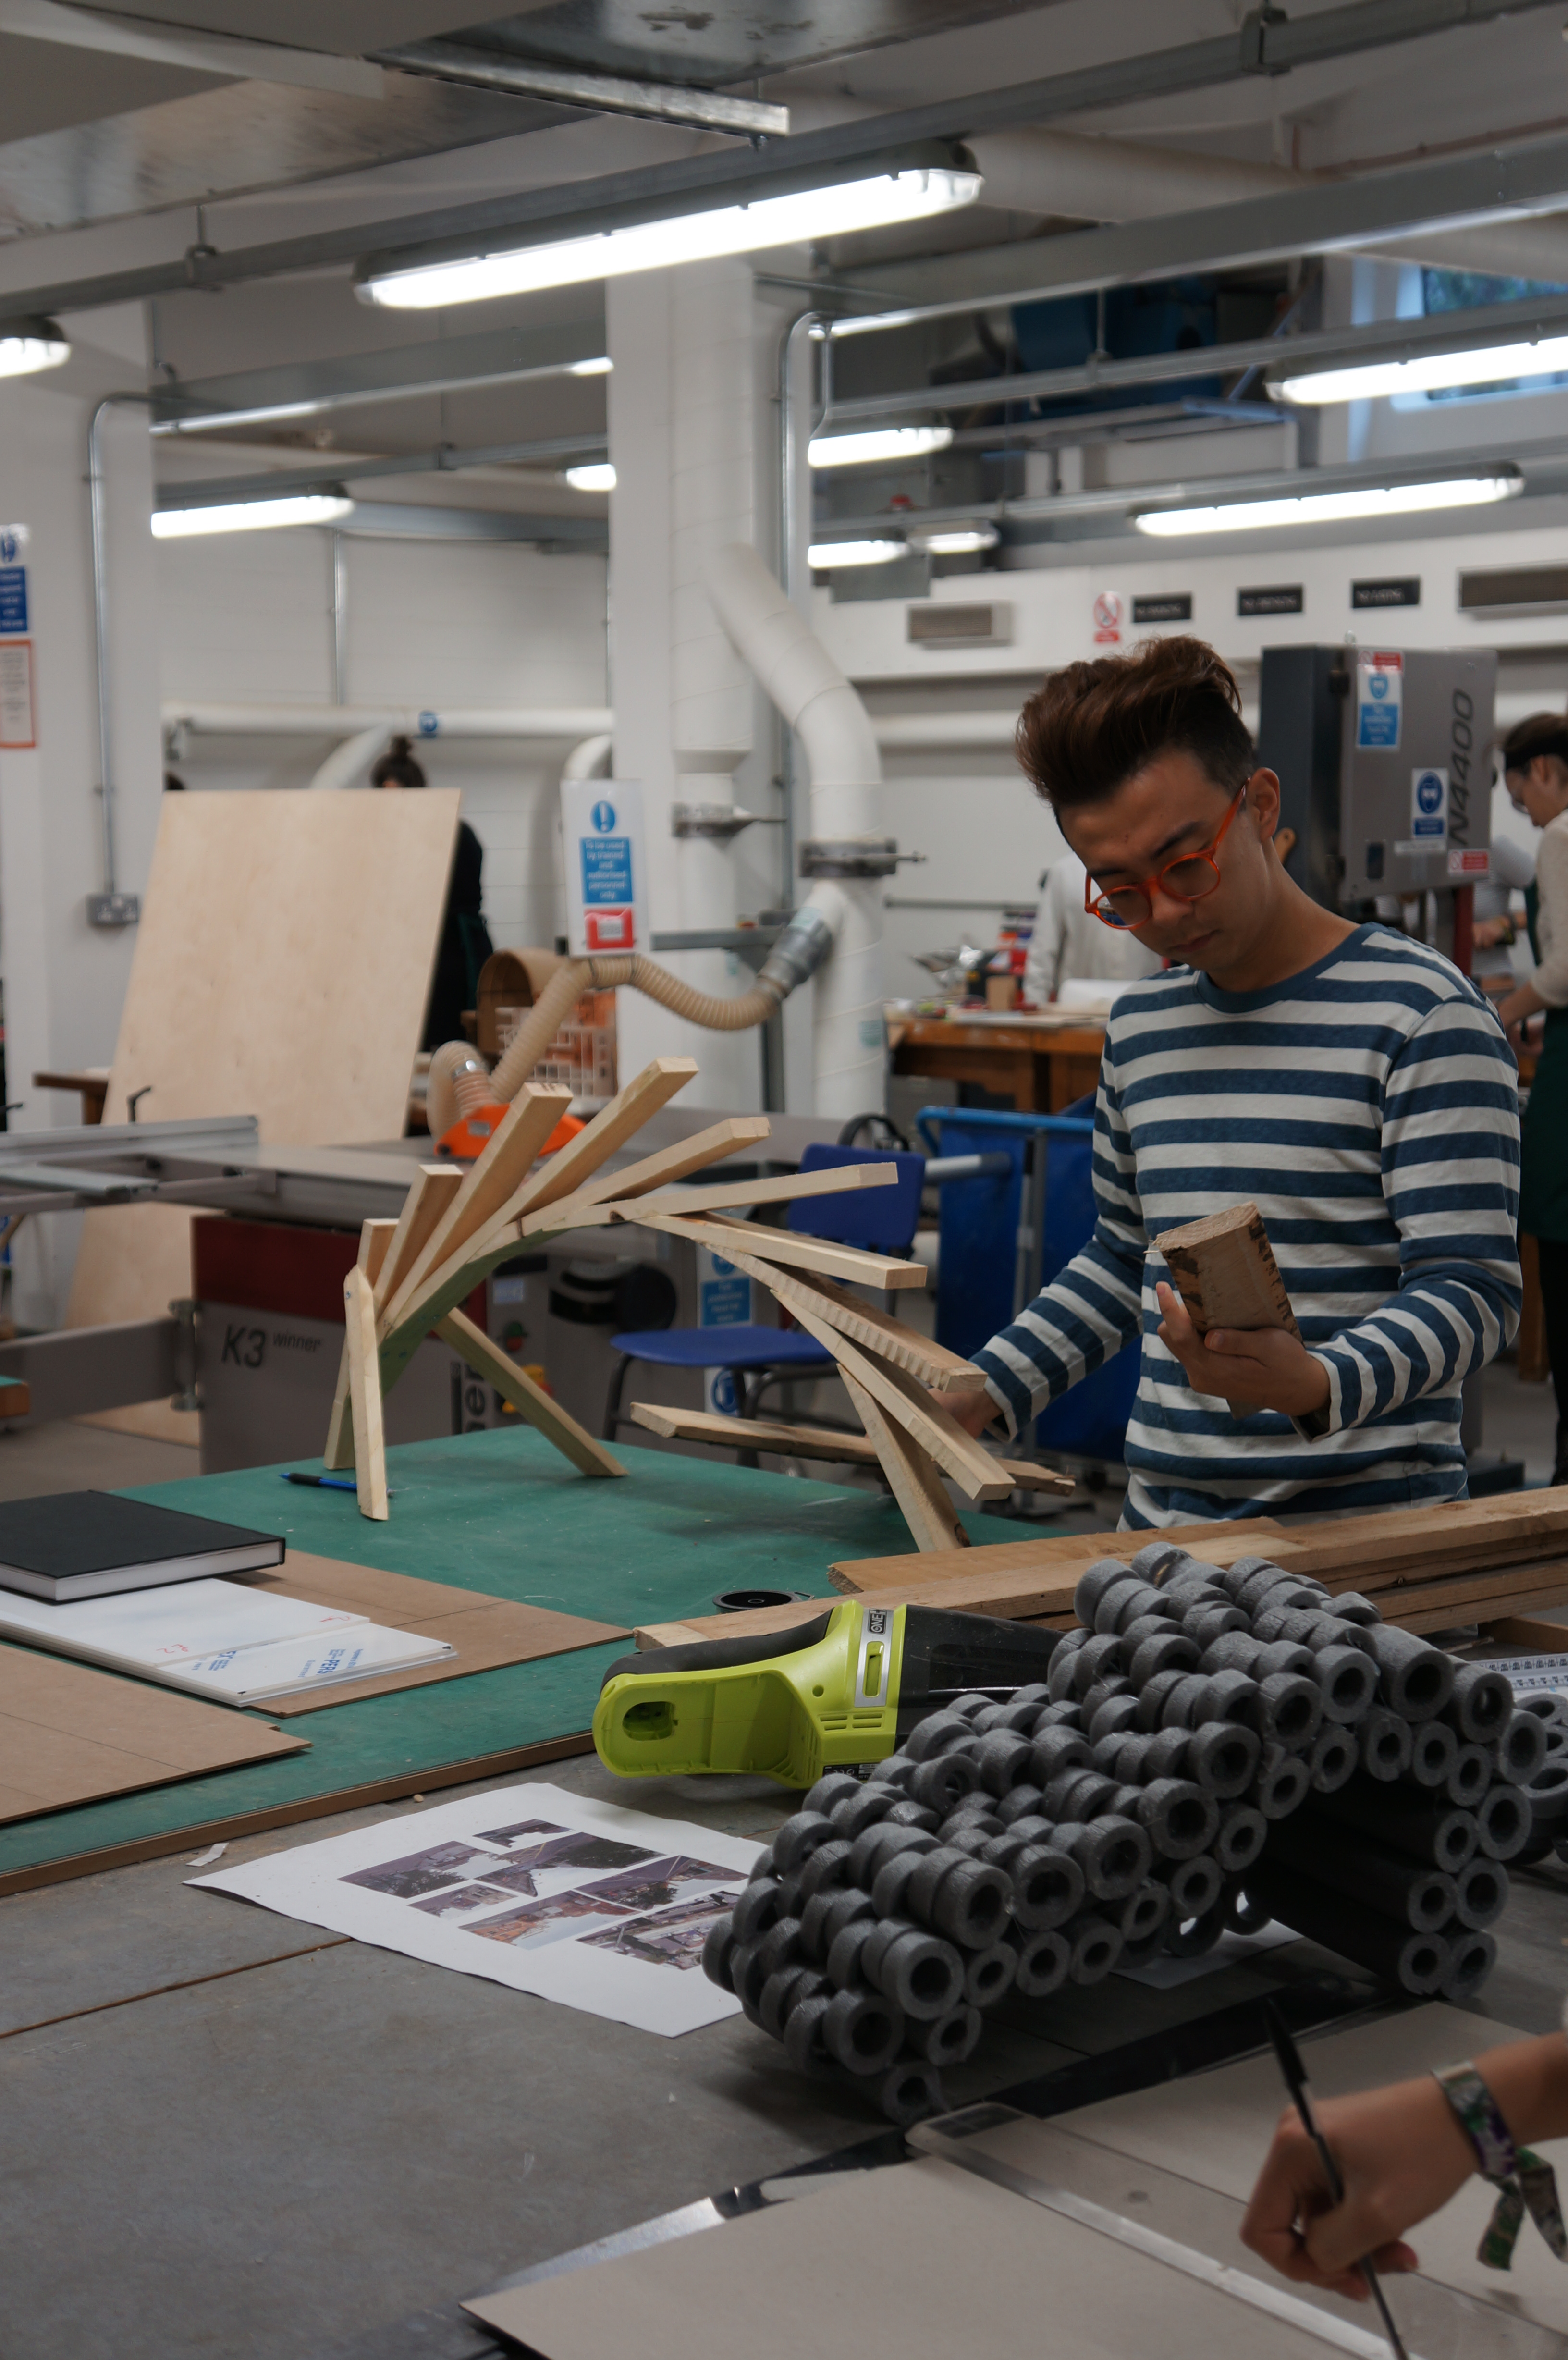
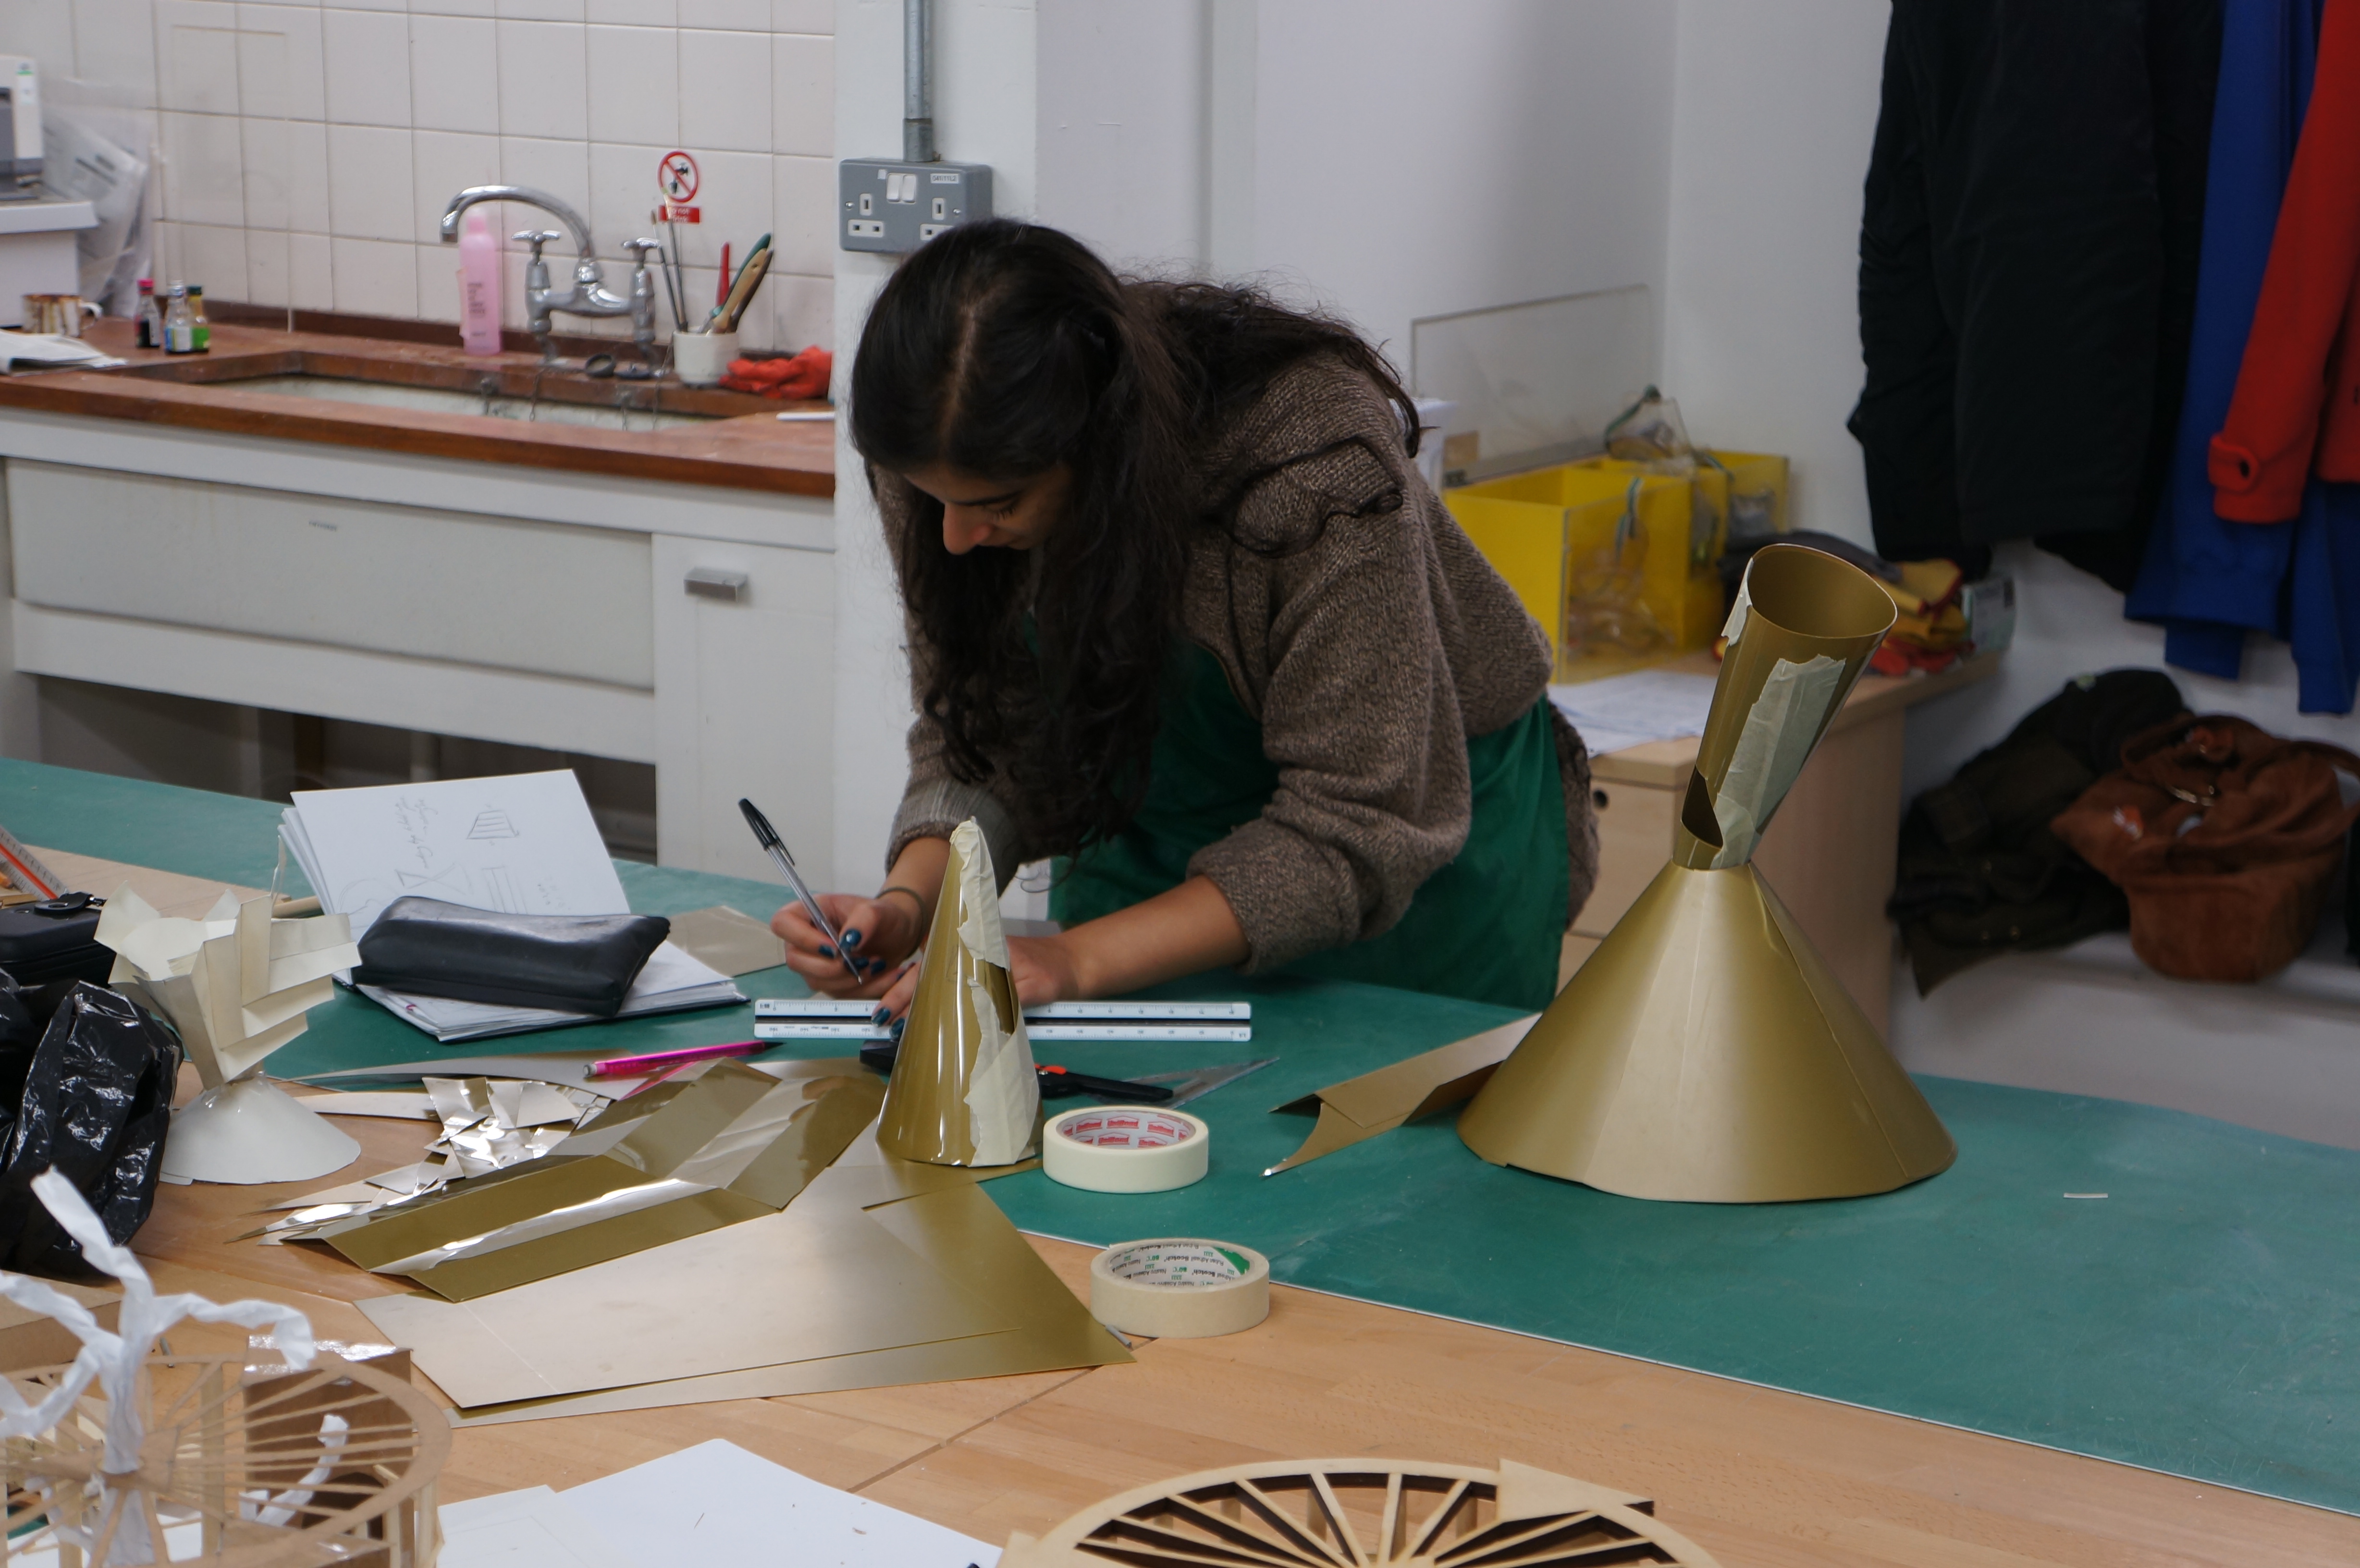
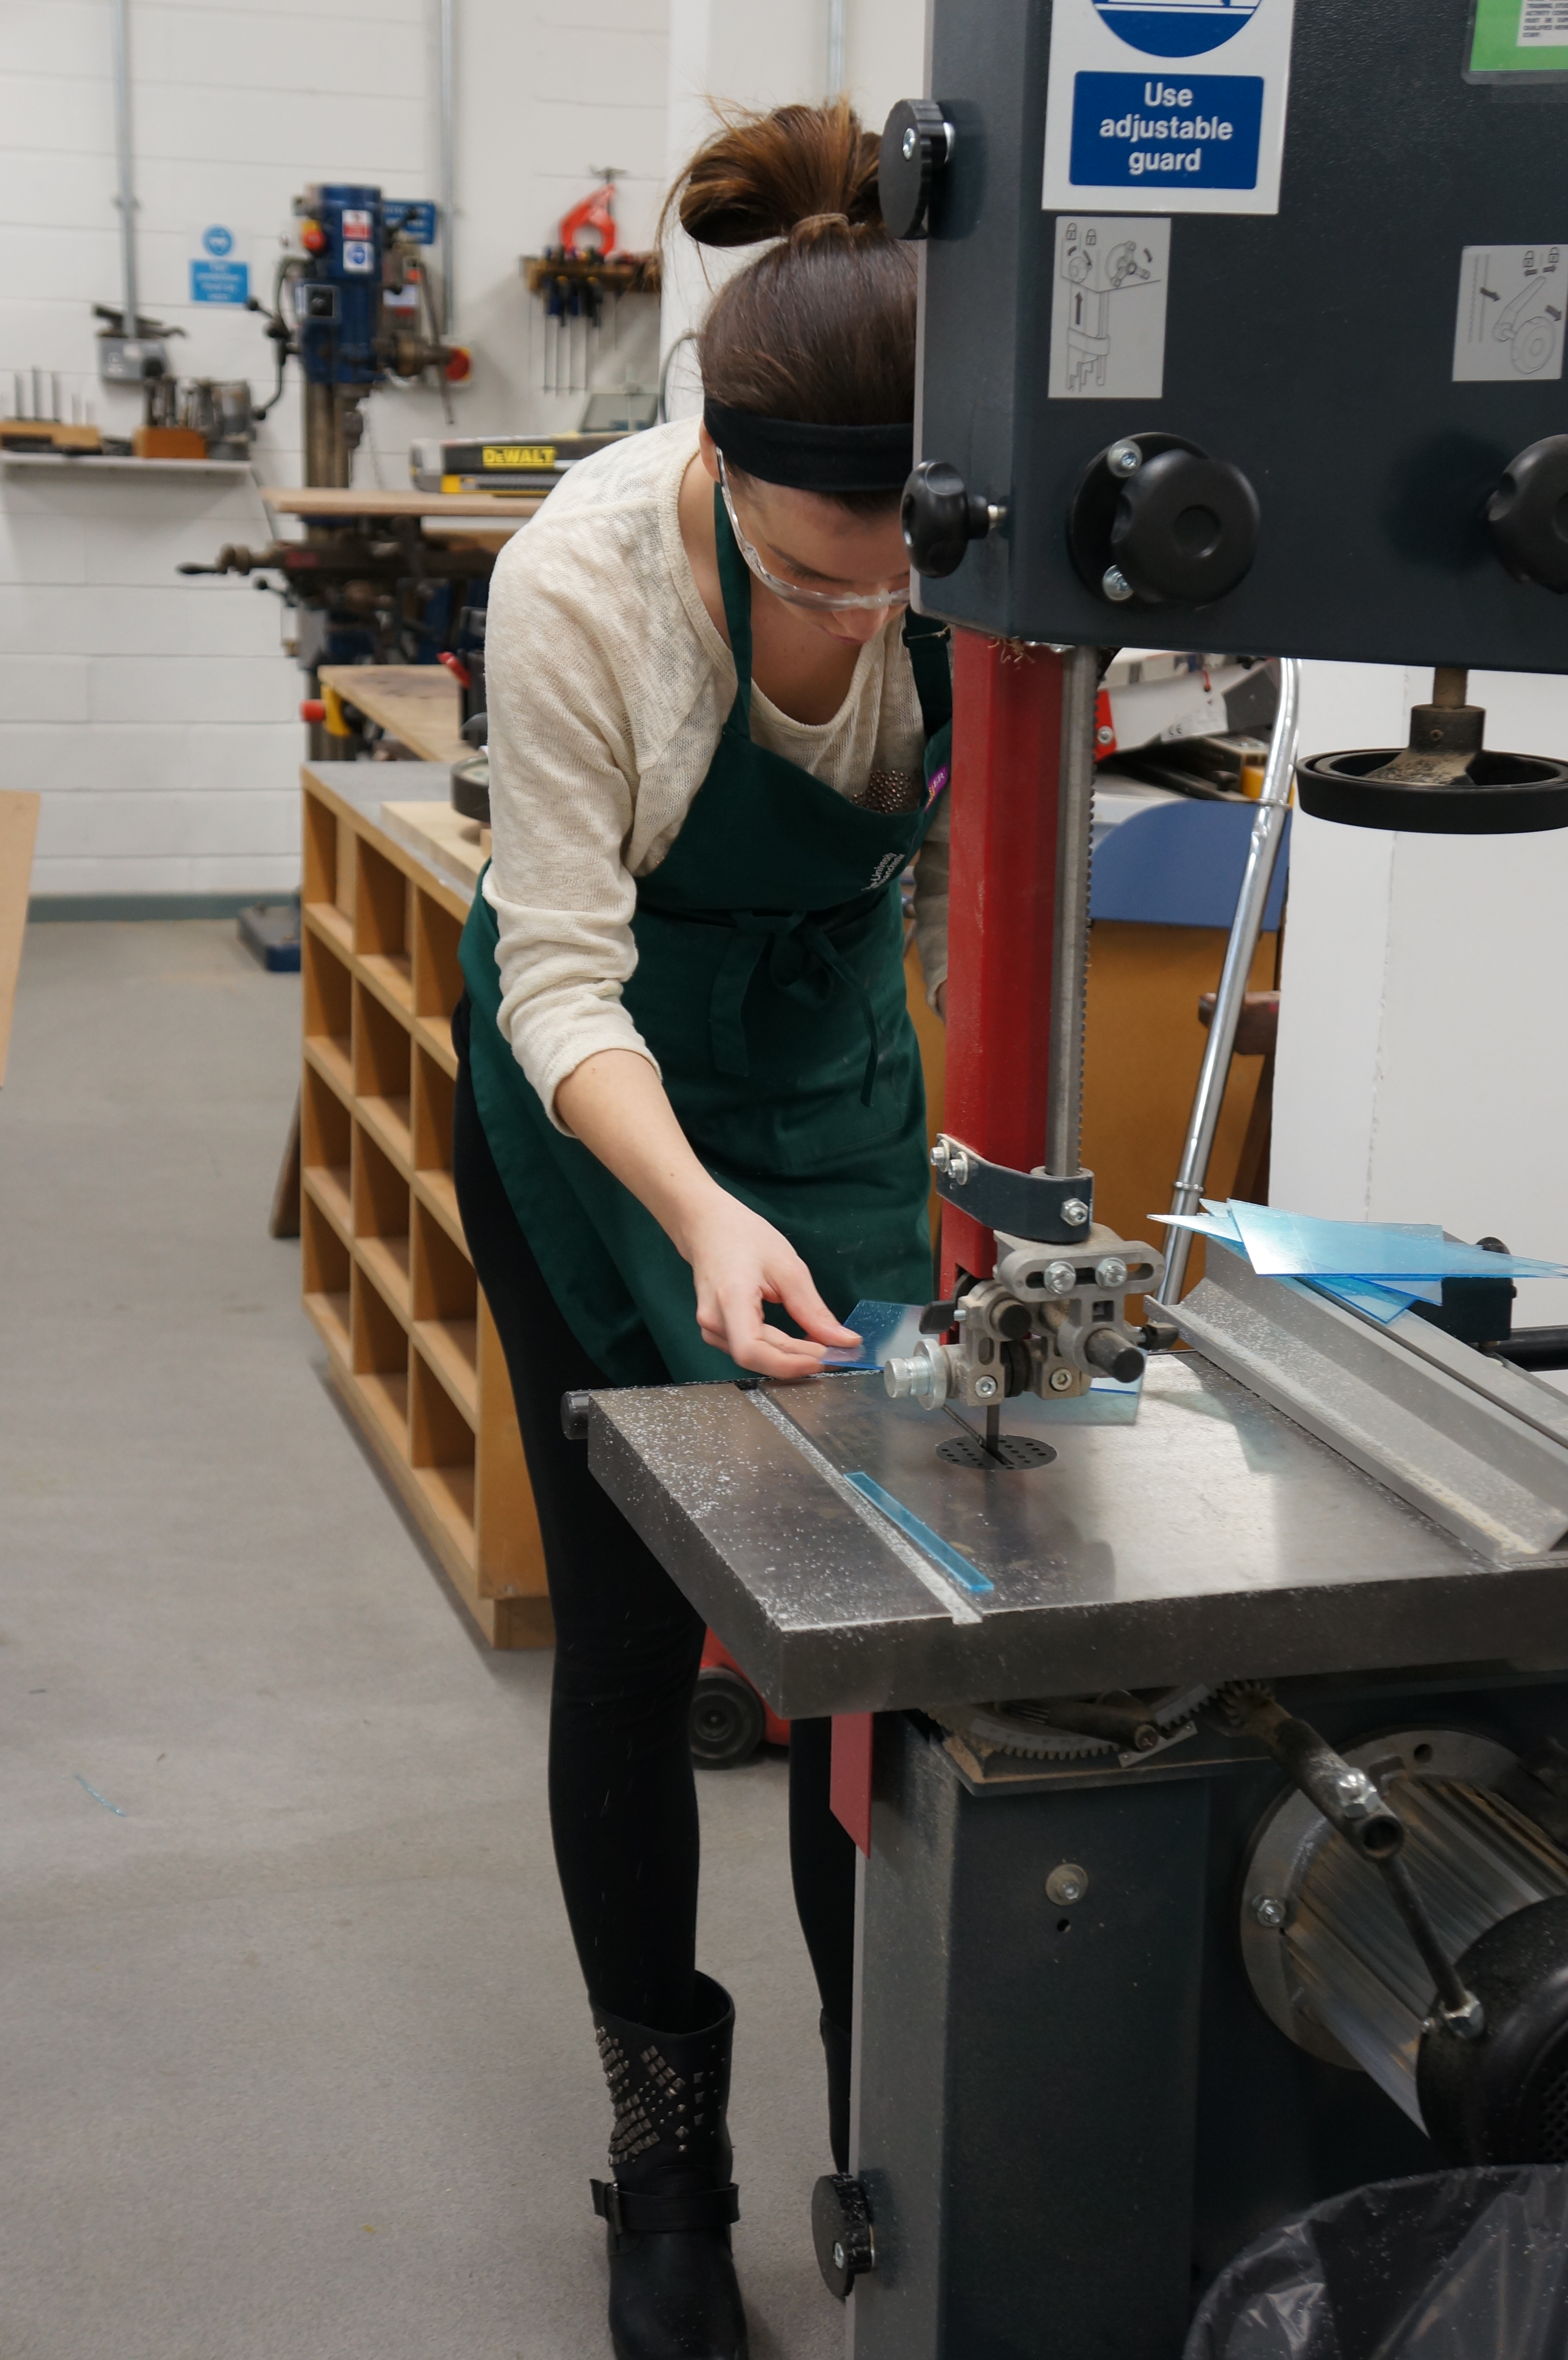
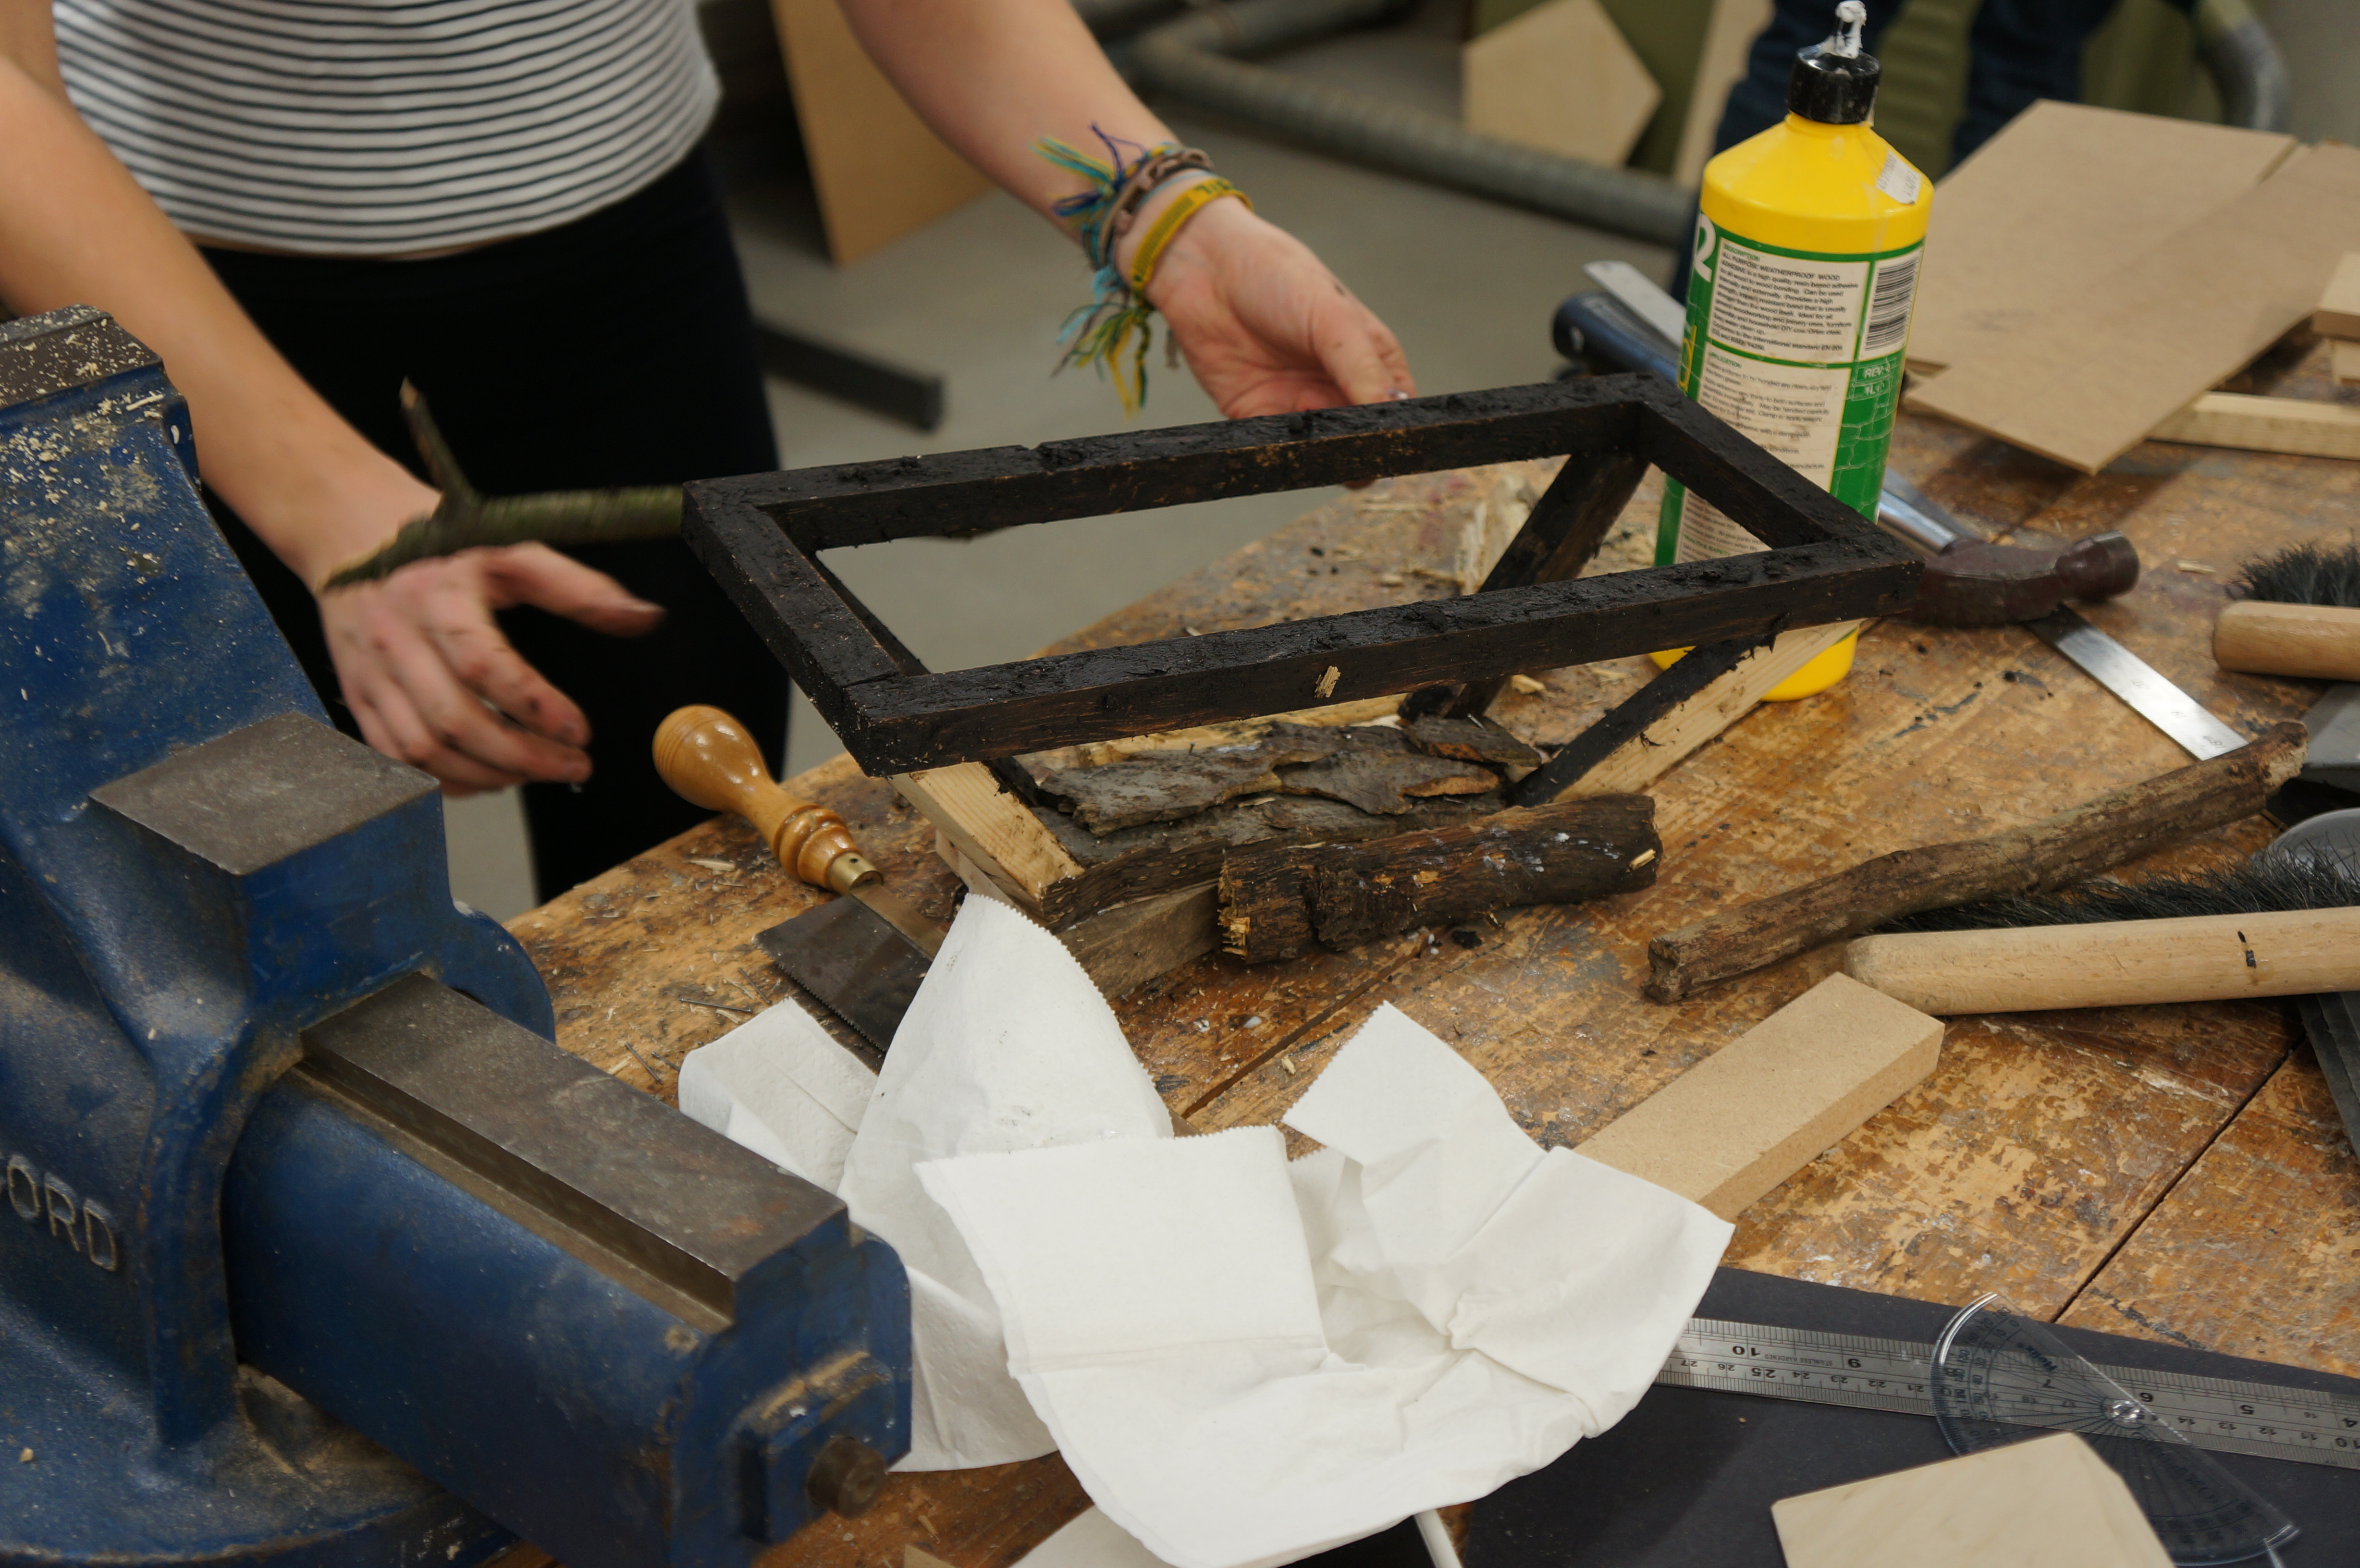
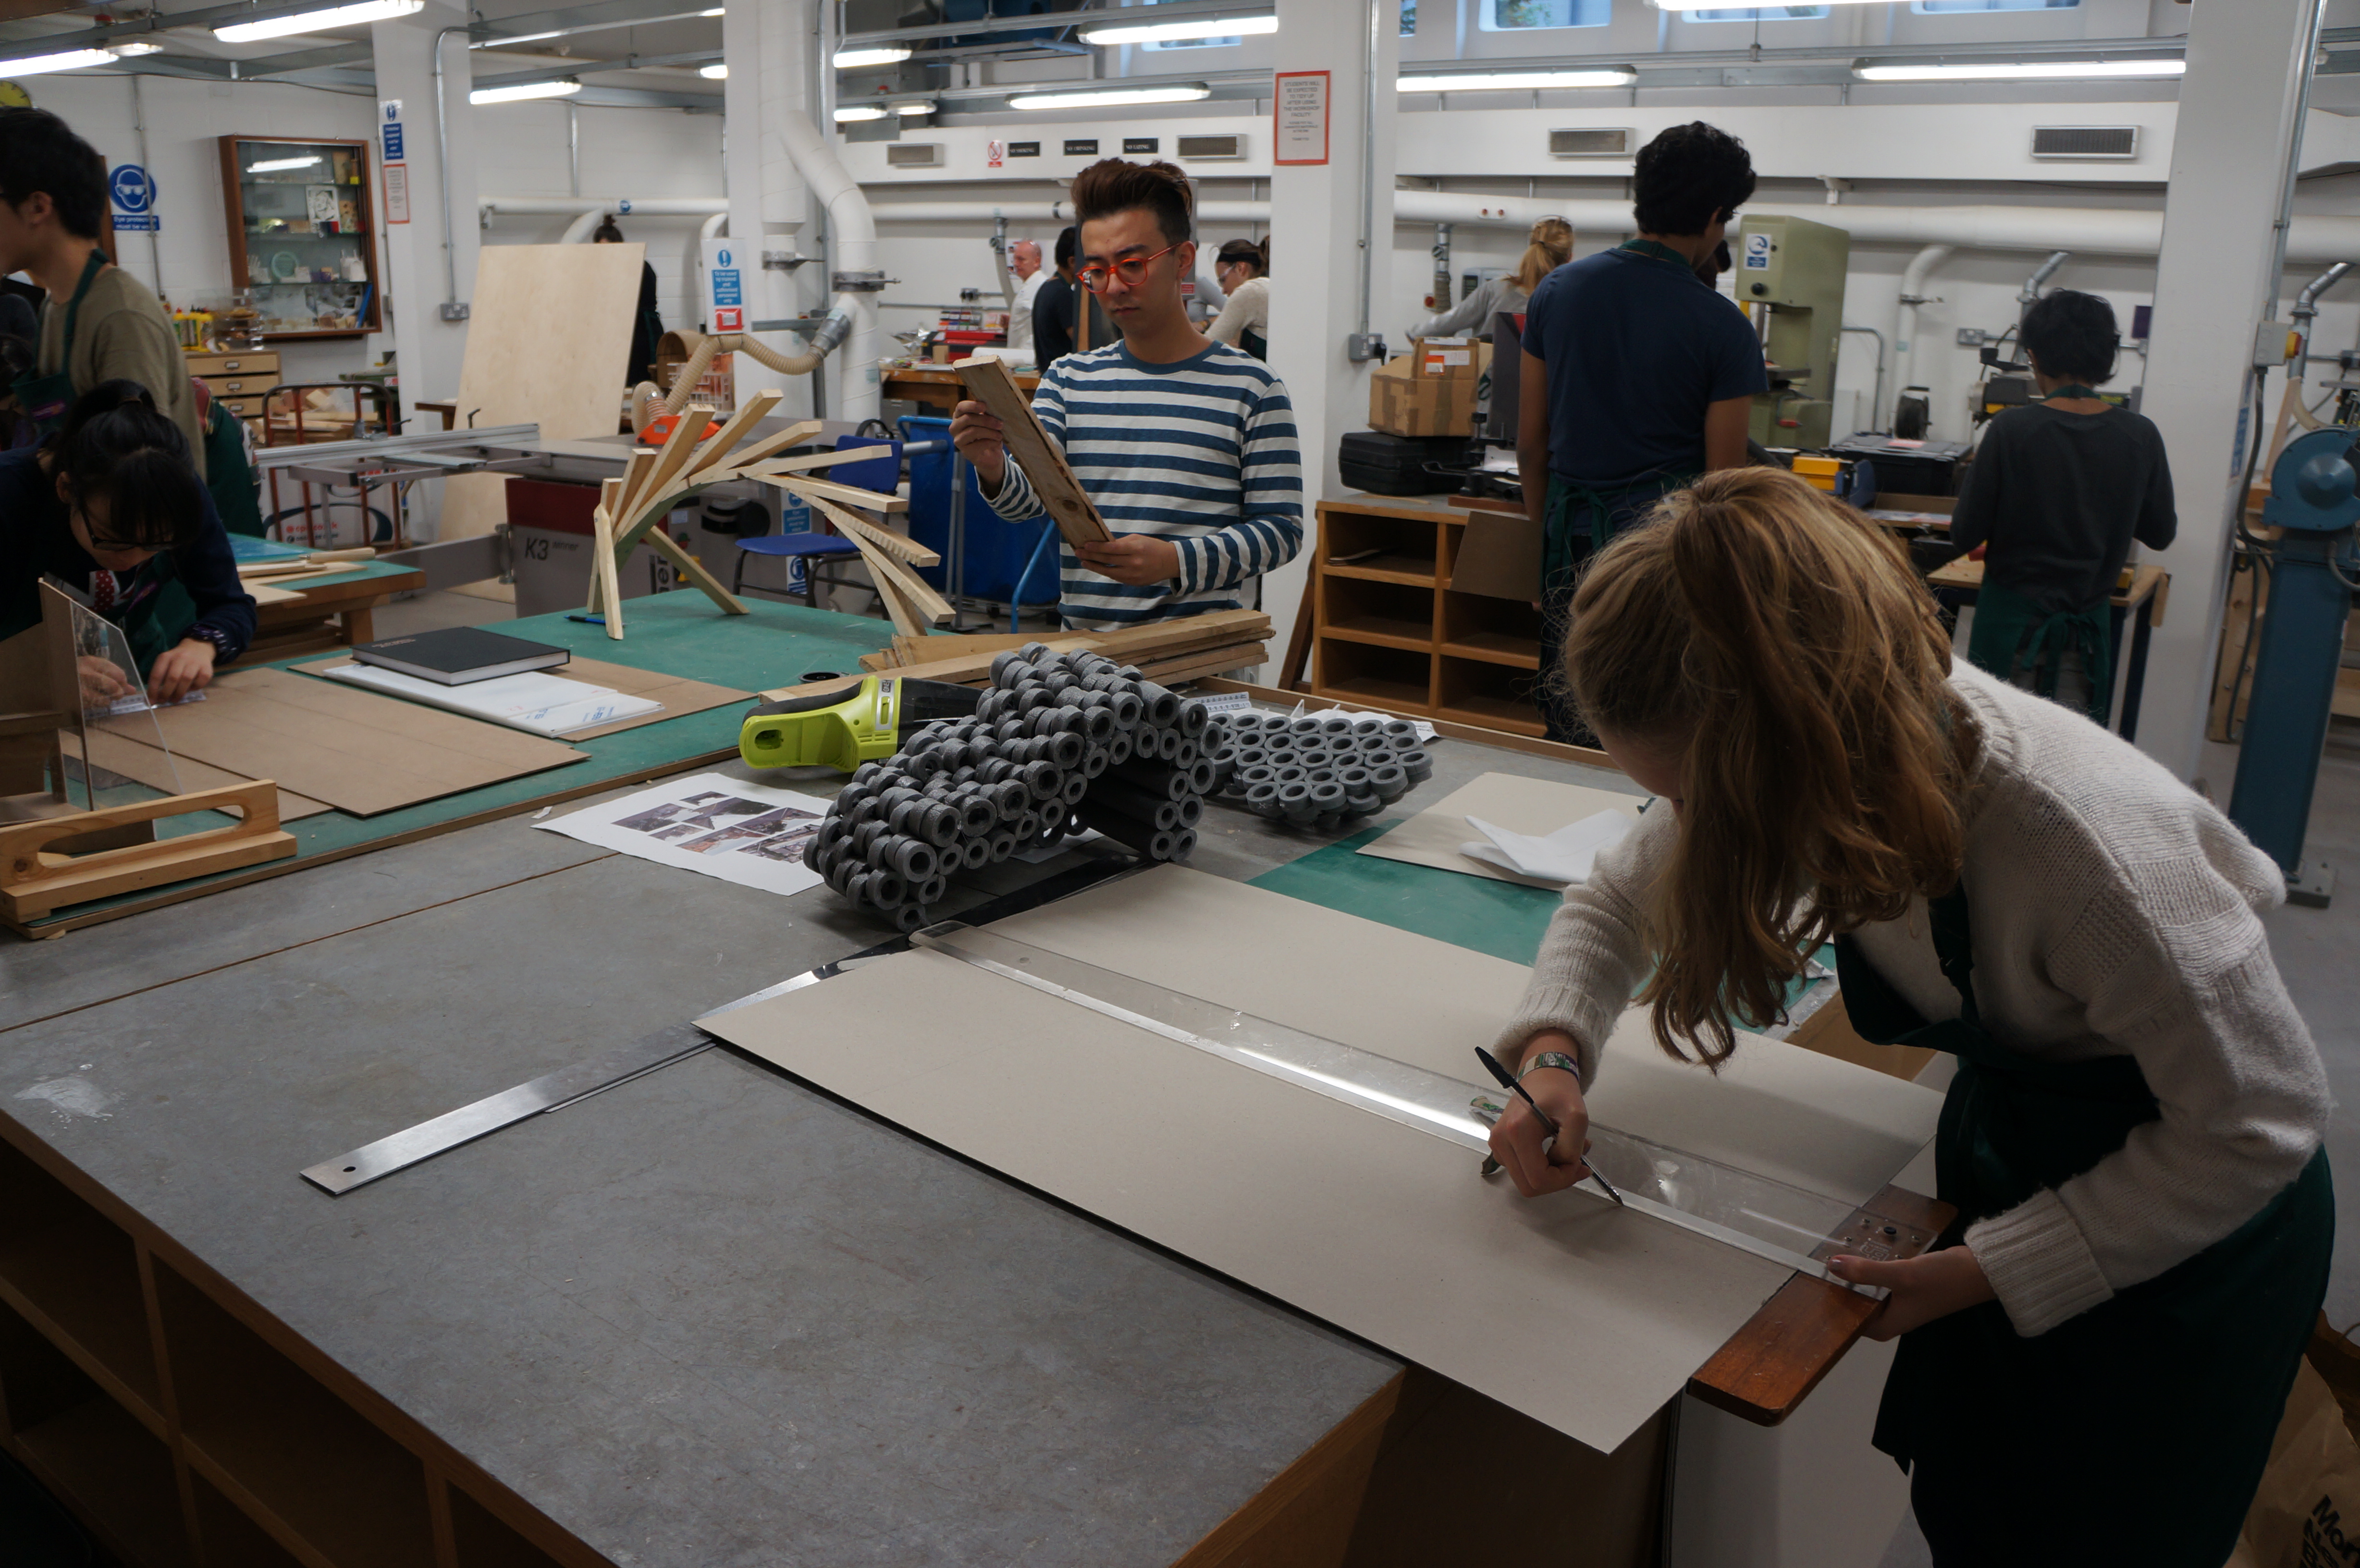
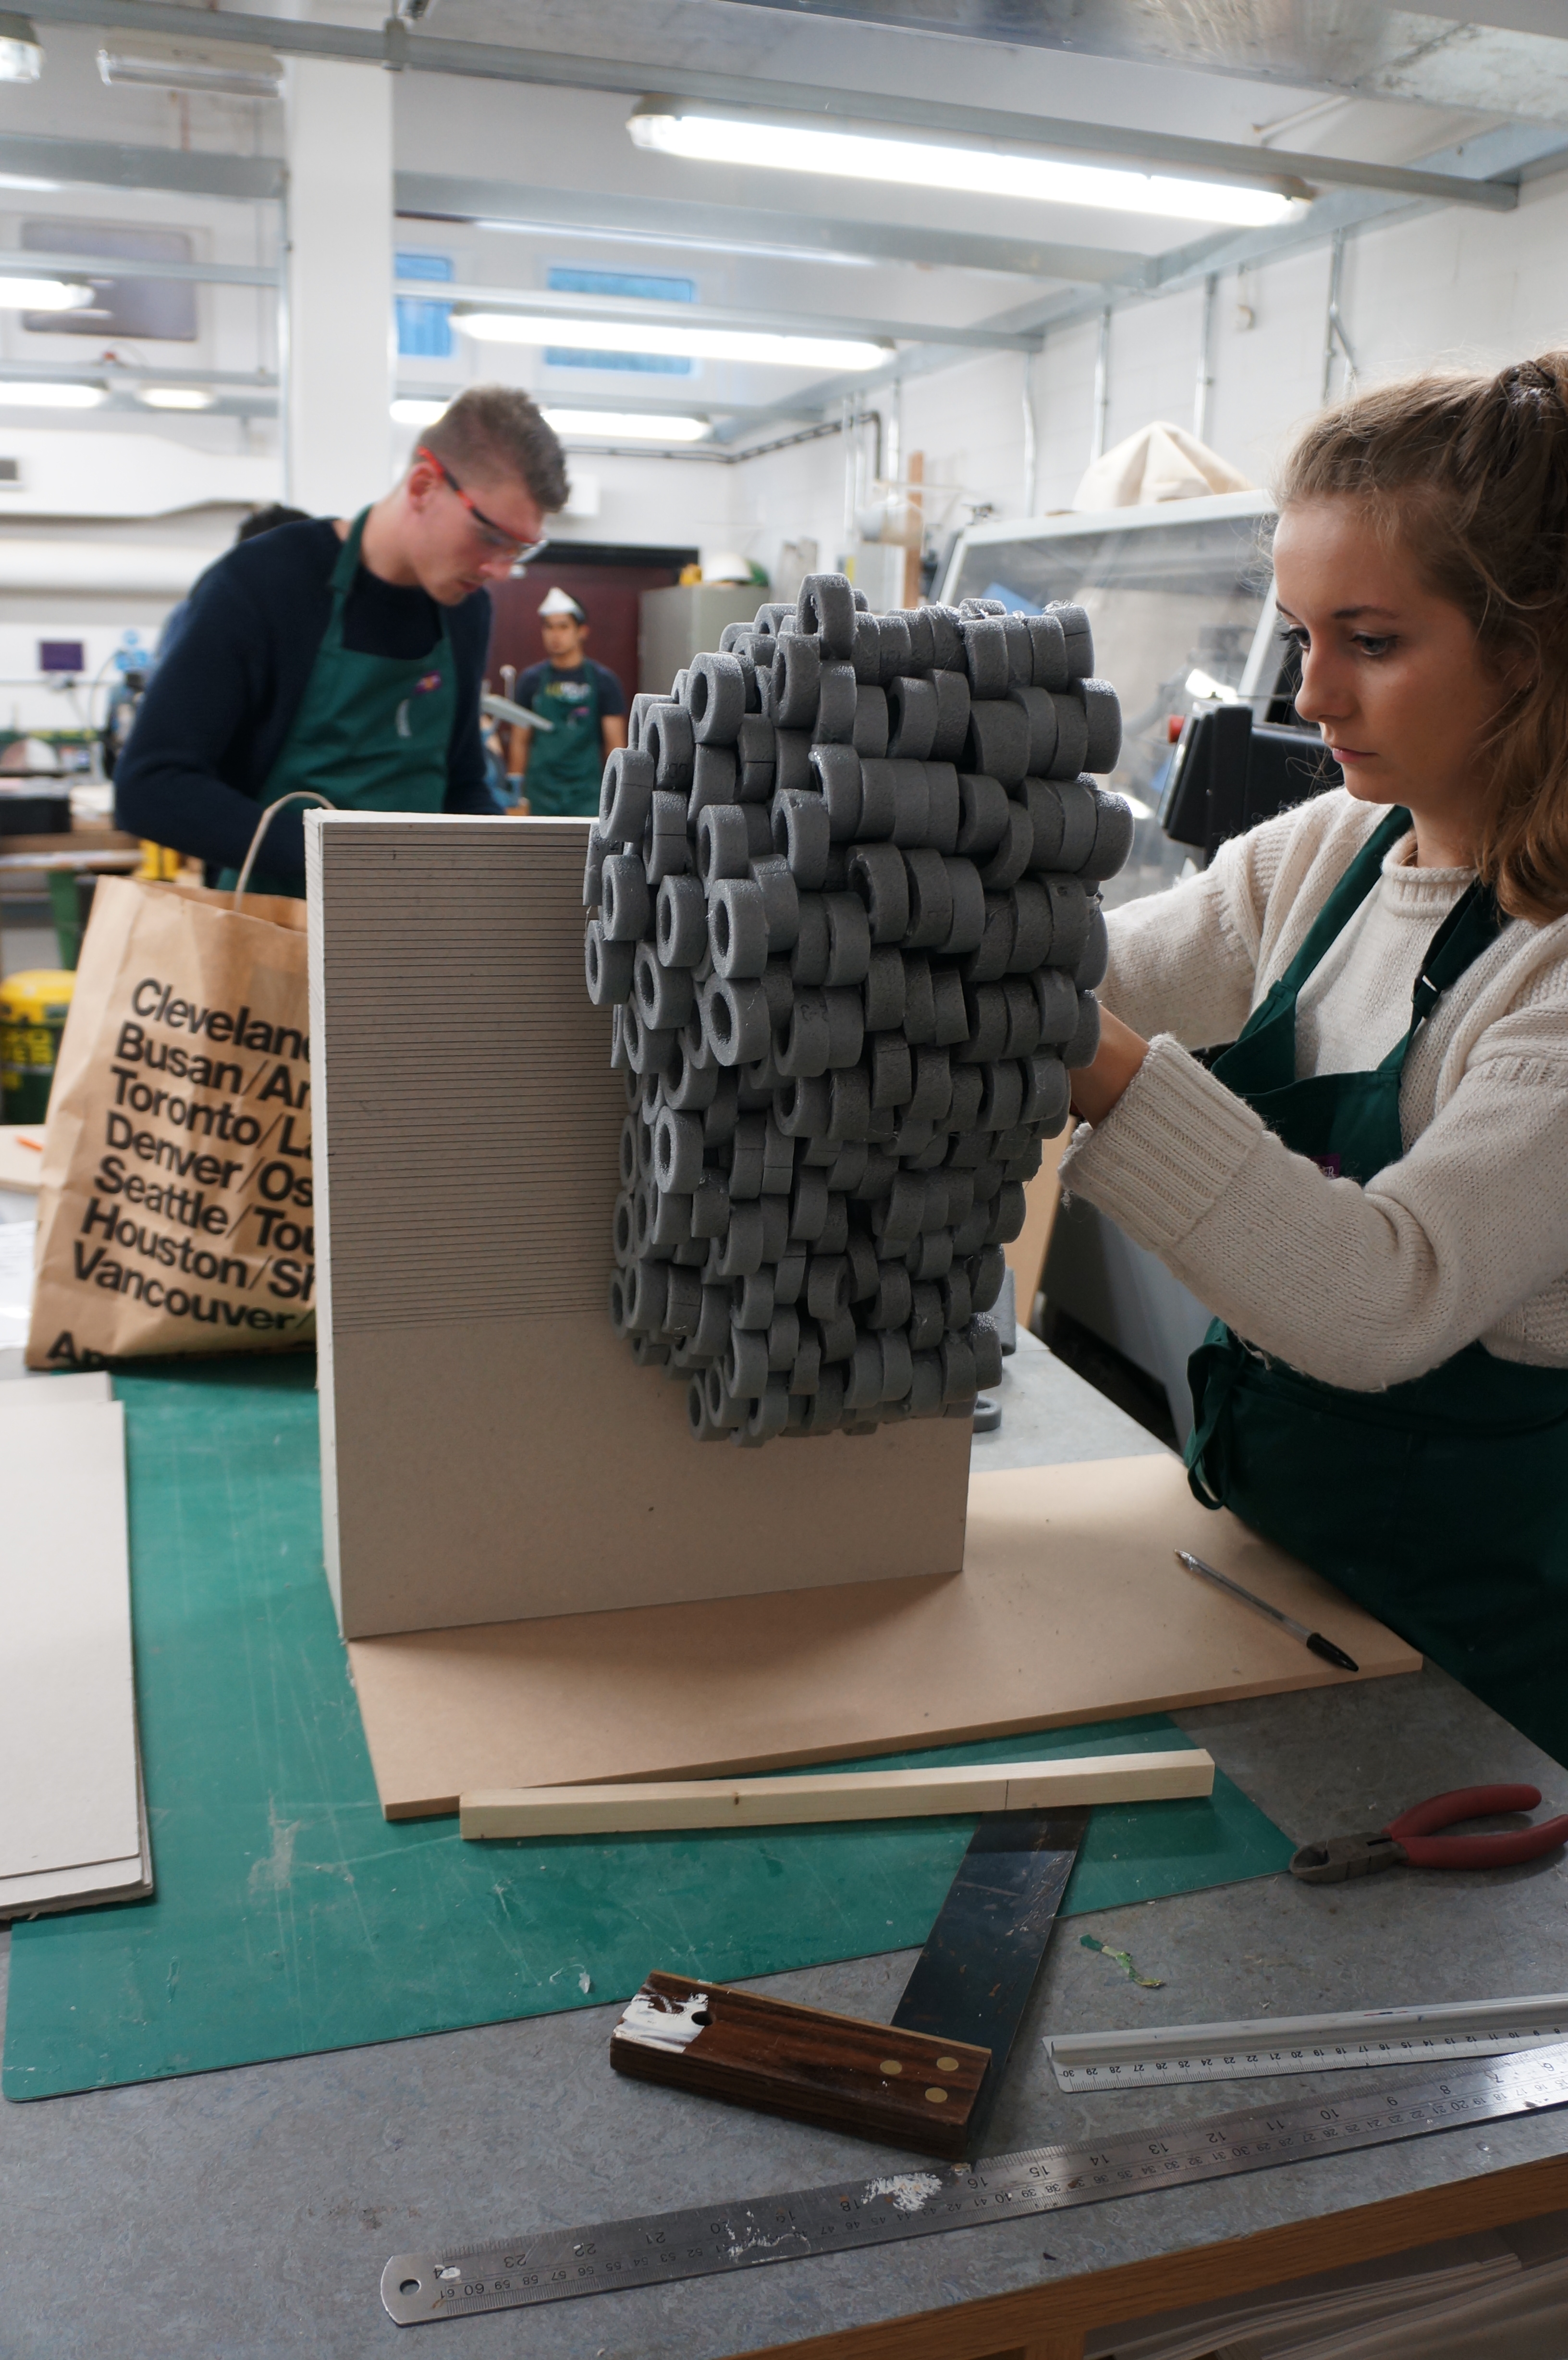
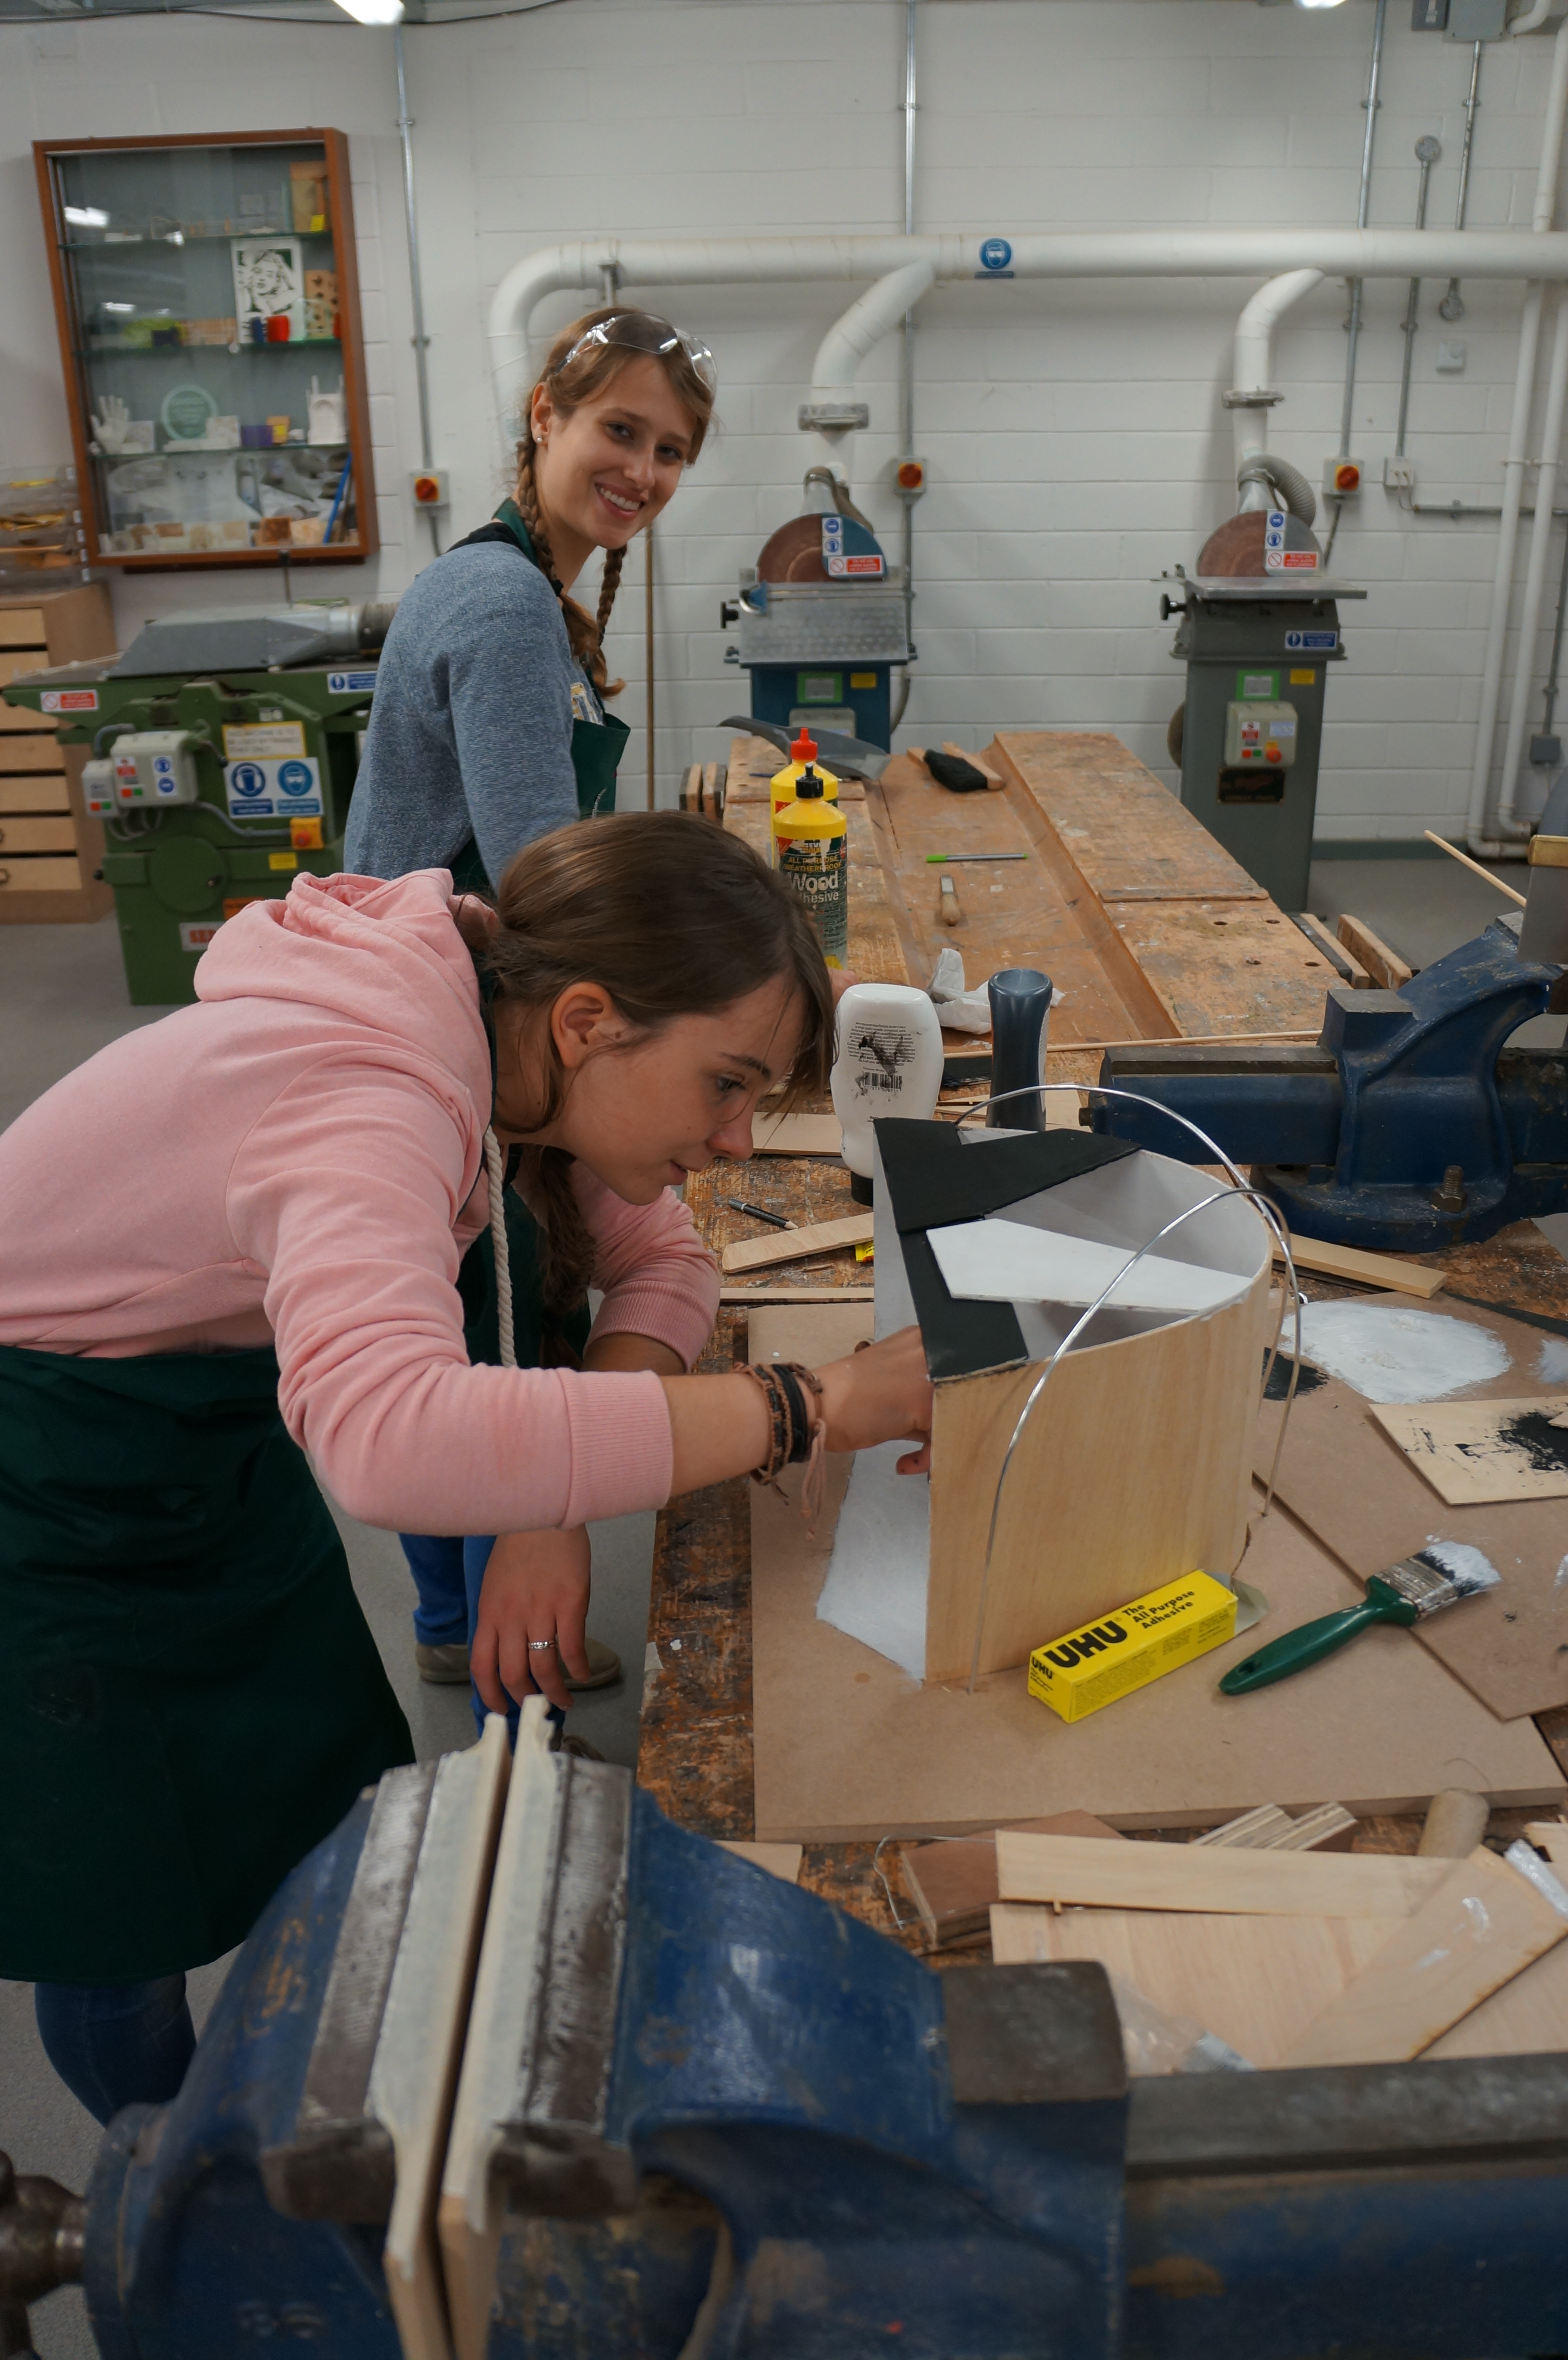
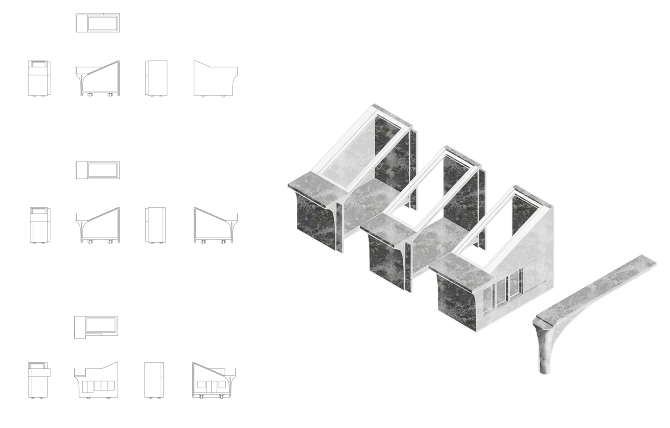
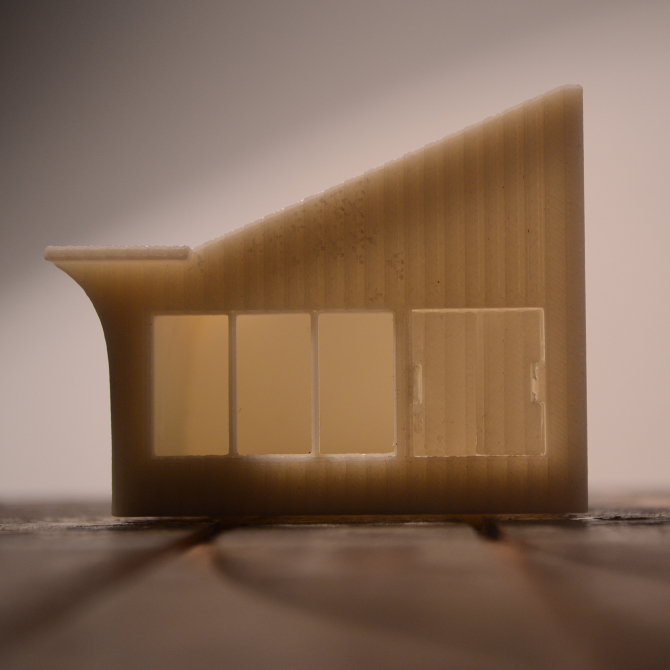
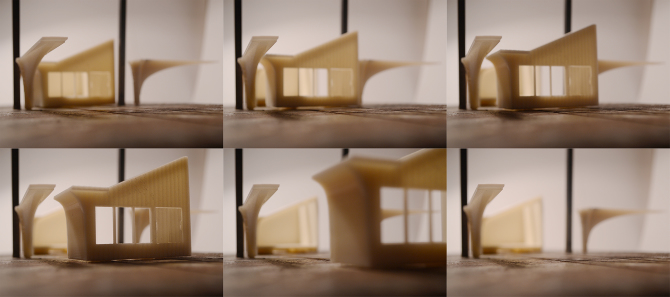
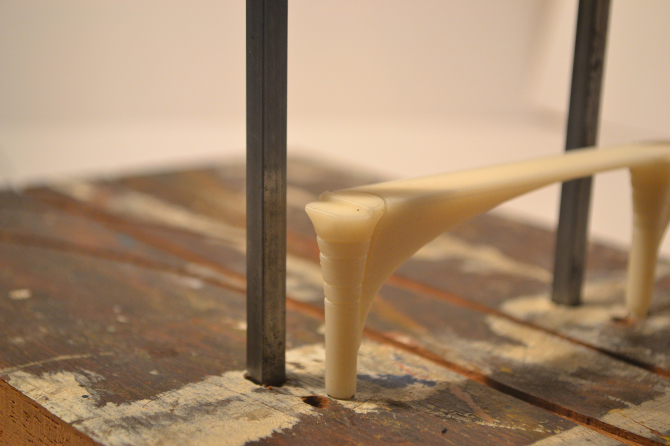
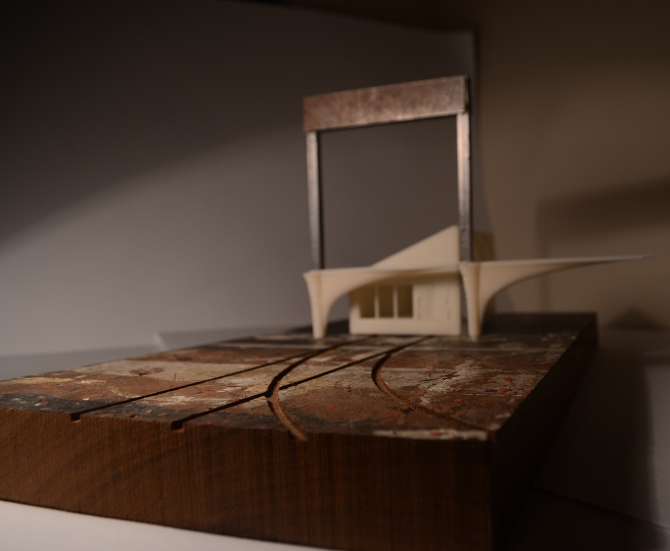
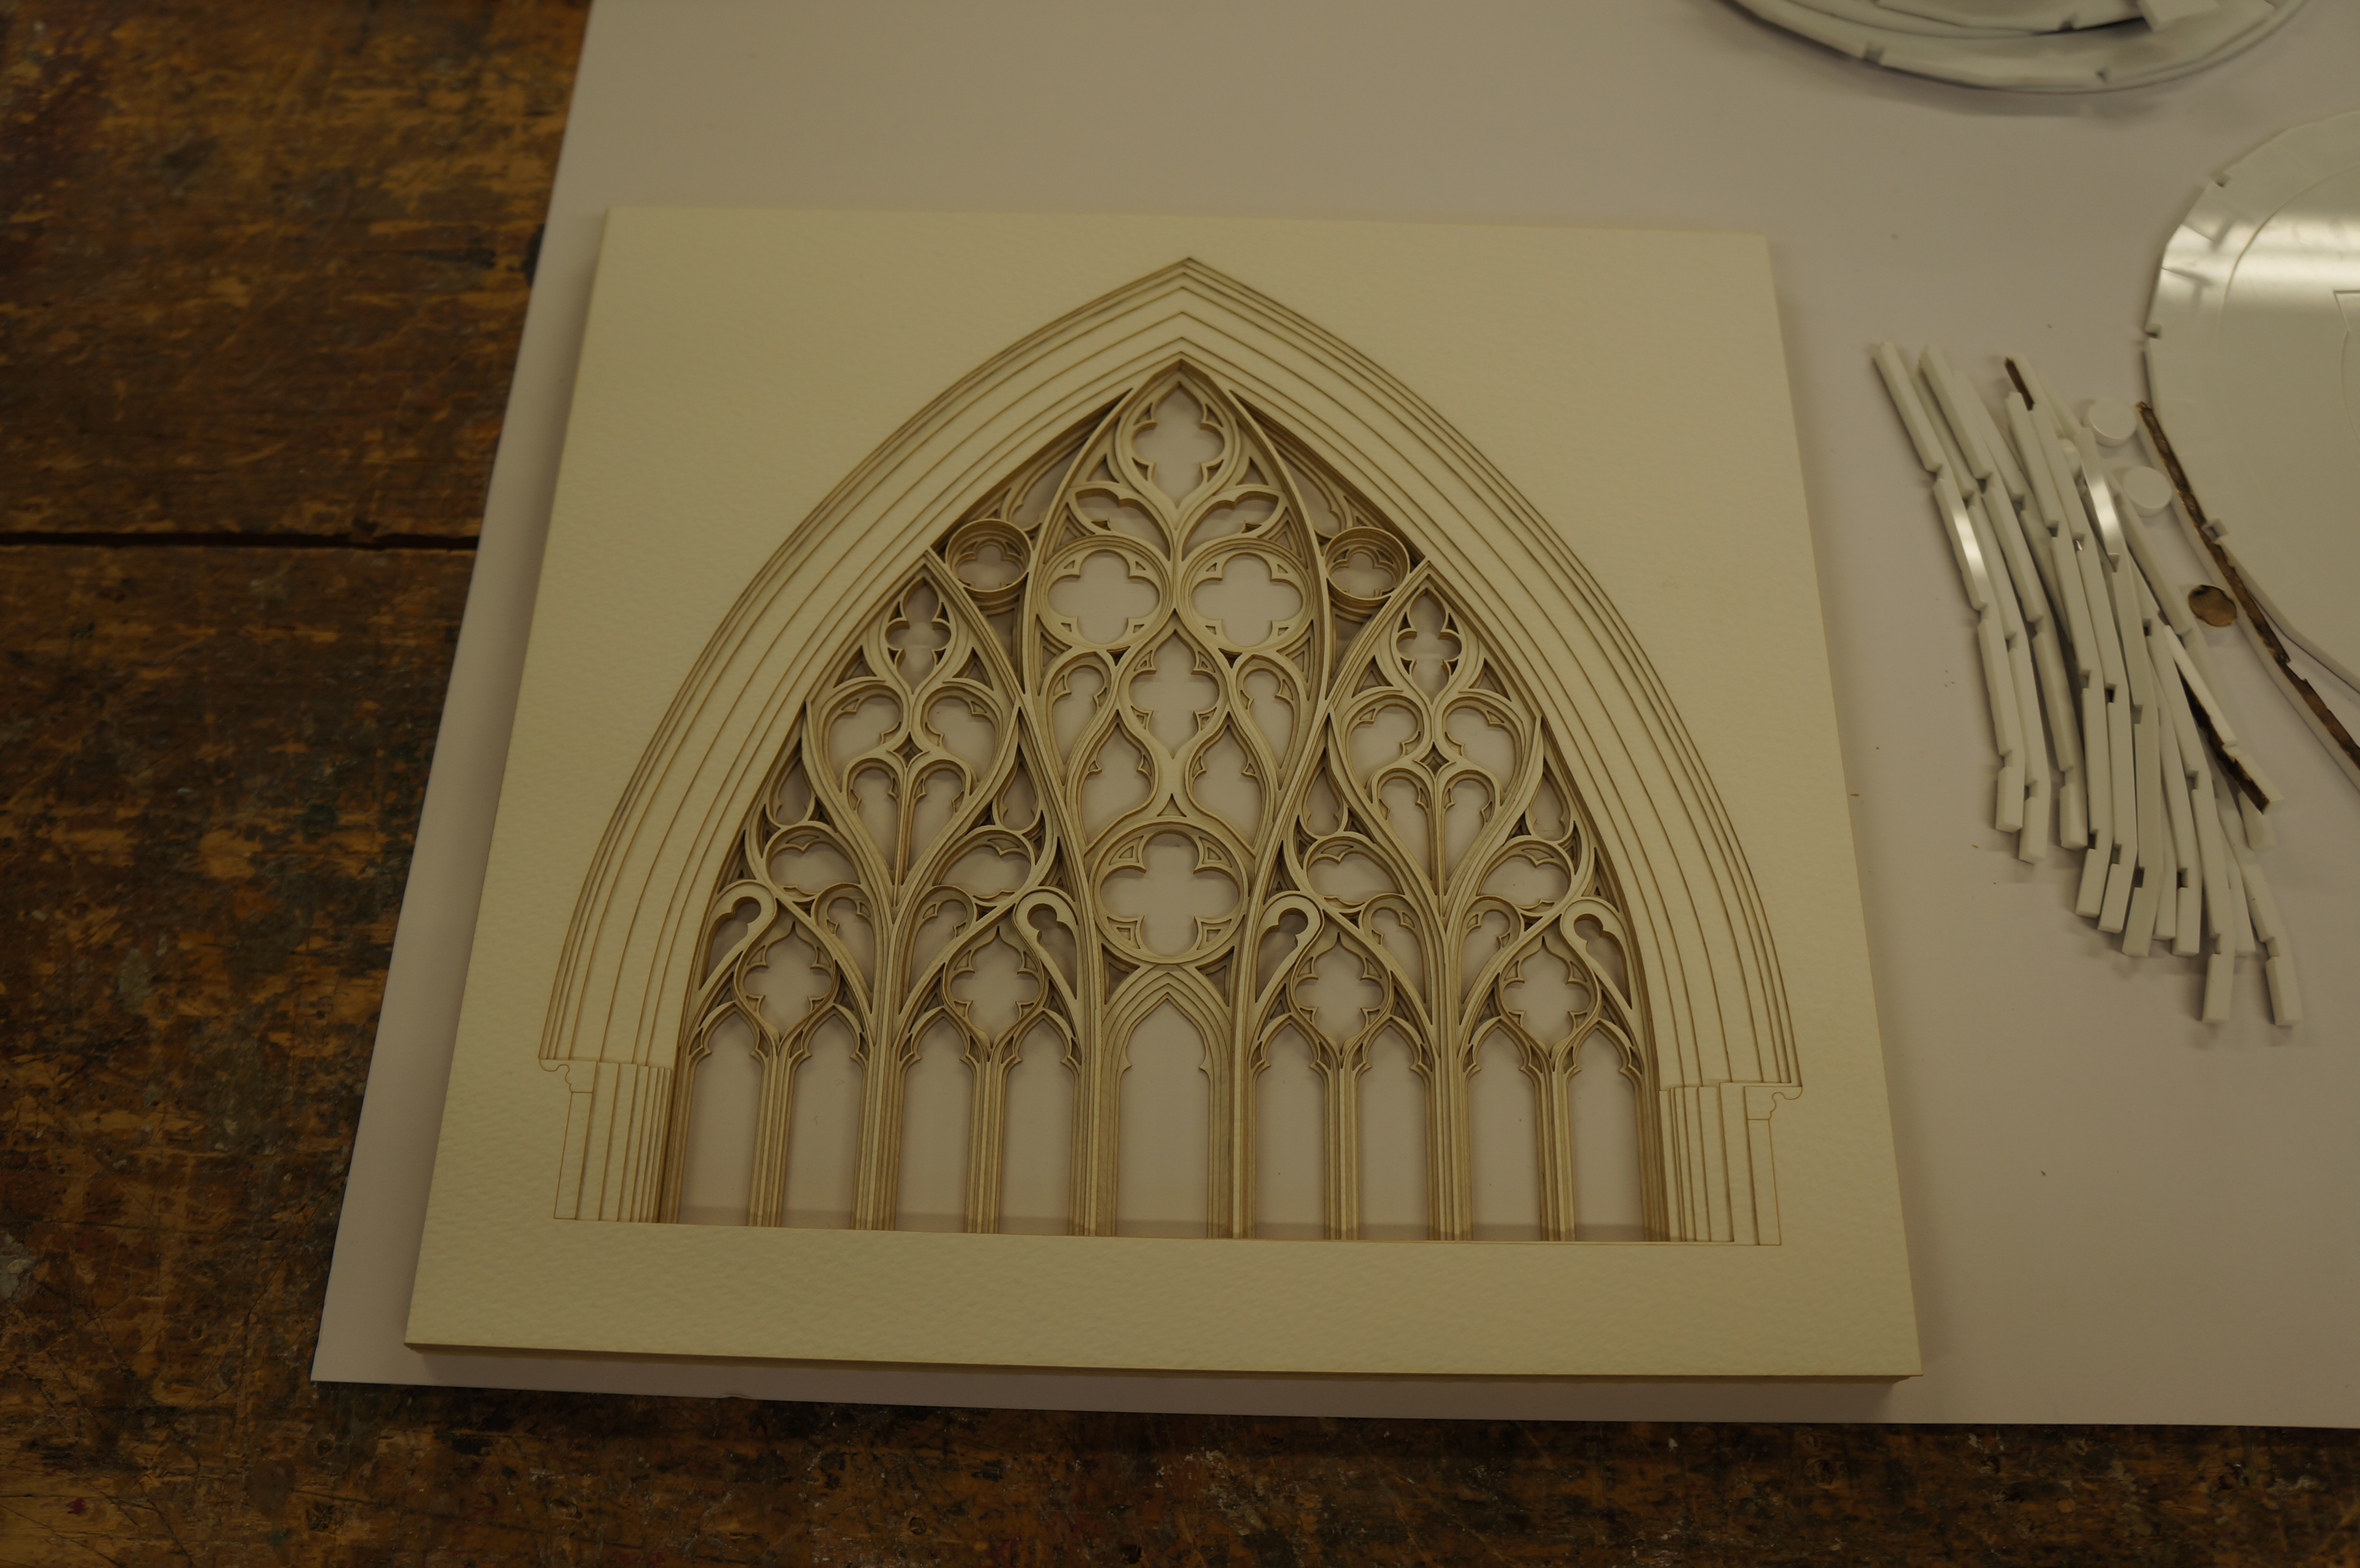
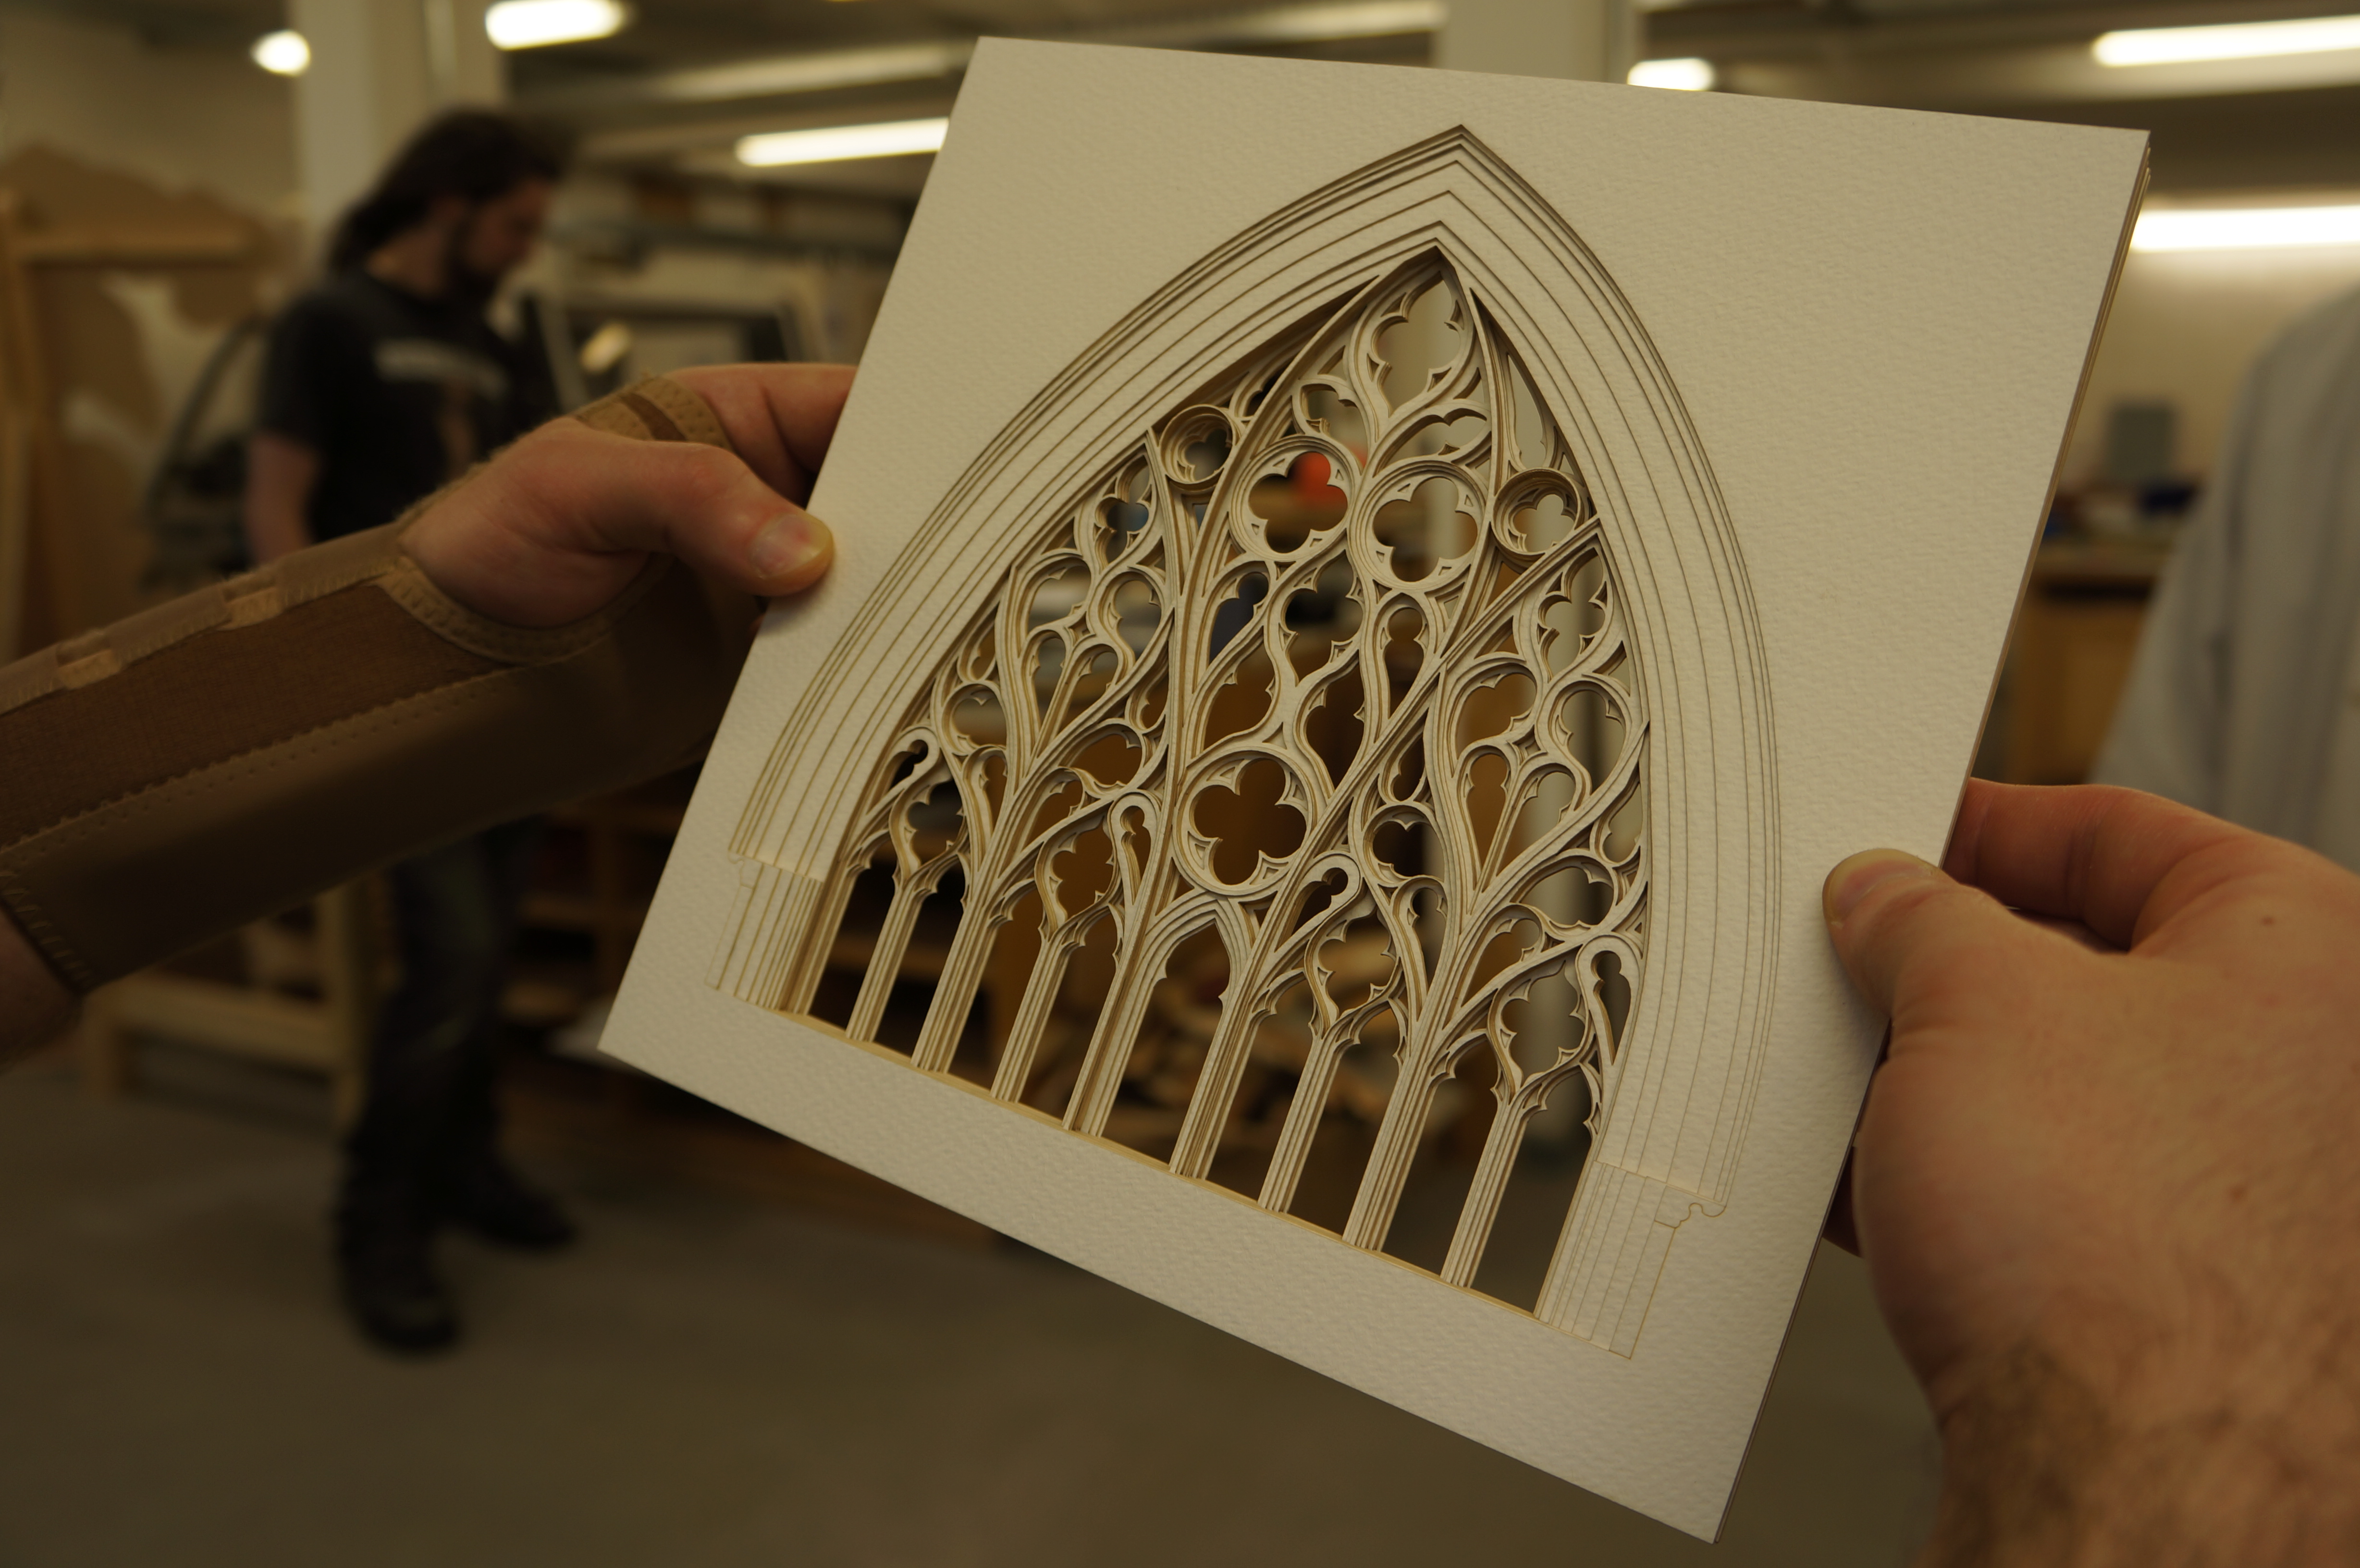
Last week we were very busy dealing with the first real workshop-based project for our new first year students. Their fabricate brief took their initial ideas for an animal habitat a step further to refine the details of design and assembly.

1st Year Farbicate (16)


1st Year Farbicate (8)

Both myself and Jim agree that a major learning curve of this week-long project has to be in time management. Many students found themselves rushing elements of their projects as it had been left too late in the week. As was said during inductions and many times since – please come to see us to discuss how realistic your ideas are for the time frame. If you do this at the earliest possible stage in the process we can help to get the best results with your project and importantly – to get it completed by the deadline! 1st Year Farbicate (7)

1st Year Farbicate (28) 1st Year Farbicate (24)

All in all it was a fun week with many interesting projects making their way in and out of the workshop. Enjoy your trip to Berlin and we’ll see you for your next project when you return!

Scott and Jim

1st Year Farbicate (18) 1st Year Farbicate (20) 1st Year Farbicate (13)

The Peak Pavilion Project

This project consists of 8 ‘peaks’ which each point toward a significant battle of the first world war. Each peak will feature poetry written by patients at who stayed at Dunham Massey during its use as a hospital for wounded soldiers coming back from the front.  As with the other ongoing pavilion projects, this concept began in physical form as a sketch model.  Structural details were designed and refined through a series of test models. This example shows the internal frame construction to support each pillar in the circle.

After test models were made at small scale the group went on to make some details at 1:1 to test assembly and strength in reality. This section below shows how the framework inside each panel would be fixed. These kind of 1:1 details are great design theory tests and offer as close an insight as possible to the finished look without building the full structure.

Making components for this project, much like the concrete mould construction on one of the other pavilions required the mass production of specifically angled cuts using our circular saw.Due to the acute angle required for the top ends of each piece we were unable to cut the required angle using machines. In order to achieve the correct angle the group used a custom made mitre jig and hand saw to cut the correct angle at the end of each component. This proved to be a hand saw learning curve for most of the group after falling into the common misconception about using a hand saw – small fast movements will reduce the effectiveness of your cutting. Taking time to get used to using the main length of the saws teeth and allowing the saw to do the hard work always proves much more effective and less exhausting! 
The panels for each peak will be assembled using screws into pre-drilled holes (below) which will be plugged to make them less obvious. The main panels of each peak will be cut using a large CNC bed at FAB LAB Manchester. As with the other pavilion project developments, we will keep you up to date as things progress.

Pavilions…..

Danielle Foster and Patrick Gorman have begun making their moulds for concrete casting which will take place at the Sheds over the coming weeks. The actual concrete casting process will be time consuming and potentially costly so spending time to get the moulds right is essential.  Myself and Jim spent almost two days cutting components on our circular saw to make the moulds for the blocks. each mould will produce a positive and a negative indent to allow each brick to fit together. Each brick will also be numbered using the rubber number profiles the group tested at the previous stage of development. Cutting this material takes a little practice before going ahead to cut hundreds of components. The rubber had a tendency to melt and blacken as it was cut meaning that cleaning was required post cutting.

Hopefully we’ll start to see some of the finished components coming in the next few weeks. We’ll post an update when we do.

Further testing was required in Alexander Valakh and Lorena Chan’s design following some material and assembly issues.  Once the main structural form was complete Alex and Lorena were able to test the ‘skin’ components that started life being inspired by poppies. At this stage they are still unsure about the exact material that will be used to create this component. This project has been given the green light along with the concrete blocks so we can expect more posts from both of these projects in the next weeks/months.

Structural Detail Model by Andra Calin

2nd year student Andra Calin has been developing a structural concept model that is expanding on a sketch model inspired by the form of a bird. Initially Andra produced a paper model of her idea which loosely defined what the structure would look like. For this next model she has increased its scale and added more detail. This kind of model will raise questions regarding connection detail and overall practicality of the structure.

2nd Year Andra Calin (1)

DSC01267

DSC01274

For me its these intermediate types of development model that are the most fun to construct as they help clearly define details that can be replicated or improved upon and I hope to see more of these in the coming weeks as these ideas progress! Scott

DSC01269 DSC01273

First Year Starter Projects

Last week brought us an onslaught of eager first year students all keen to make their ideas into reality in the workshop. As many found, this wasn’t as straight forward as they might have thought! With projects like this it is crucial that things get moving quickly for avoid disappointment with machine bookings of workshop space as several students found last Friday.

This is an important lesson for future tasks as space in the workshop is at a premium and demand will be especially high in the last few days before submissions. The best way to prepare for this to the organised ahead of time and get to a stage where you can be making as early as possible in your unit.

For the students who did make it in there was a fantastic array of sketch models and concept models produced. As with all students, no matter what your experience within a workshop environment we encourage you to ask for assistance if unsure about your projects before starting. This allows us to advise the best construction methods and materials choice for your purpose and can help us free up space to get as many of your projects completed as possible. We look forward to see what comes our way next!

Mayfield Redevelopment, Joseph Hamblin

Josephs description of his project:

My initial place/non-place study of mayfield highlighted the temporality of these ideas. To me mayfield was an area made up of and defined by working relationships, it is fragmented from its urban context and the activities on site work around one another rather than with one another. I wanted to create a unifying vision which responded to the existing urban condition and tied the fragmented territory together. My project brings ideas of knowledge exchange and open source information together to create a platform for innovation on both a personal and corporate scale.

It seemed very fitting for Joseph to use 3D printing to convey his ideas in his model. The idea behind his site redevelopment was that individual business units can be extended or reduced by simply adding or removing sections. New units would be created on site and moved into place using a rail system.

3D printing also lent itself to the mechanical side of the design, allowing moving components such as wheels and the rotating walkways.

In keeping with the new meets old theme on Joseph’s site he decided to keep the reclaimed piece of teak ‘as was’ with its scratched paint and chipped surface. This works really well in creating contrast and makes for a really nice object aside from its relevance to the design concept.

Joseph Hamblin.jpg 3 All Photographs shown here are taken from Joseph’s web page. Click here to see more.

Gothic Window Maquette, Luke Tyson

Luke’s Year 6 thesis focussed on a site at Green gate Square opposite Manchester Cathedral.

This laser cut development model to test a potential construction method for later models. In the end Luke decided against taking this idea further for this project but this sample turned out really well. Here Luke has layered up laser cut cartridge paper to mimic a stone sculpted Gothic style window. The results looked fantastic and go to show that with patience and experimentation when using machines can give a great range of results.

It’s always a good idea to experiment with these ideas at an early stage of your projects as they often lead to changes in your design and give great insight into success and failures of specific elements.

Luke Tyson y6 (4)

Ancoats Community Development ‘Hybrid Scheme’, Sandra Schenavsky

3rd year Student Sandra Schenavsky decided to take a materialistic approach to her final submission model. The proposed site in Ancoats would feature a well rounded use of buildings to create a ‘Work, Life and Leisure’ balance for those who might use the space.

Sandra wanted to convey the different uses of each element of her design by representing them as near to her proposed material finish as possible. To do this the existing site and landscaping was represented in laser cut card contours. The main building itself was constructed using pigmented plaster casts to represent concrete sections, laser cut MDF to represent wooden cladding and laser cut acrylic to represent glass facades.

This was a great experimentation project which found a good balance of techniques. Casting plaster into MDF molds proved challenging but after several trials Sandra was able to come up with an effective way of casting the forms she wanted.


Events Month

Earlier this month 5th Year students took on the role of supervisors for groups of 1st and 2nd Year’s group projects. This consisted of a shared brief laid out by the 5th years to give an insight into group working and basic making in the Architecture Degree courses.

The tasks laid out were varied and required full participation from all involved to meet the deadlines. Of particular success was the furniture restoration project that aimed to increase the value of old furniture through simple repair or re-design. Items of old furniture were purchased from charities with the aim of increasing their value through restoration. All sales profits then going back to the charities they were bought from.

Bradford ‘City of Film’ Facade concepts, Lisa Kinch

Lisa Kinch massing model, bradford

Lisa’s project has explored Facade detail for a proposed film related site in Bradford. Alongside site and massing models (above) Lisa has created an unusual facade concept to cover her proposed buildings. Taking from the idea of aperture and its use in film, her concept uses varying sizes of hole to create images of the city around the building that appear to change as the light conditions change.

The completed building facade would feature a panorama of Bradford around created around each elevation.

LisaKinch

These tests were done on paper using images created by changing images into vector in Adobe Illustrator. The laser cutter can work with most paper and card materials to produce effects like this and countless other.