By now there have been hundreds of on-line reviews of the Venice Biennale which is this year focused around Architecture. The Venice Biennale is an annual event that showcases the creative arts from across the globe. Having been open since the start of June this year, the show is almost coming to its end having seen thousands of interested visitors of all backgrounds. My visit last week coincided with the 5th year study trip which basically allowed students free reign over the site and city.
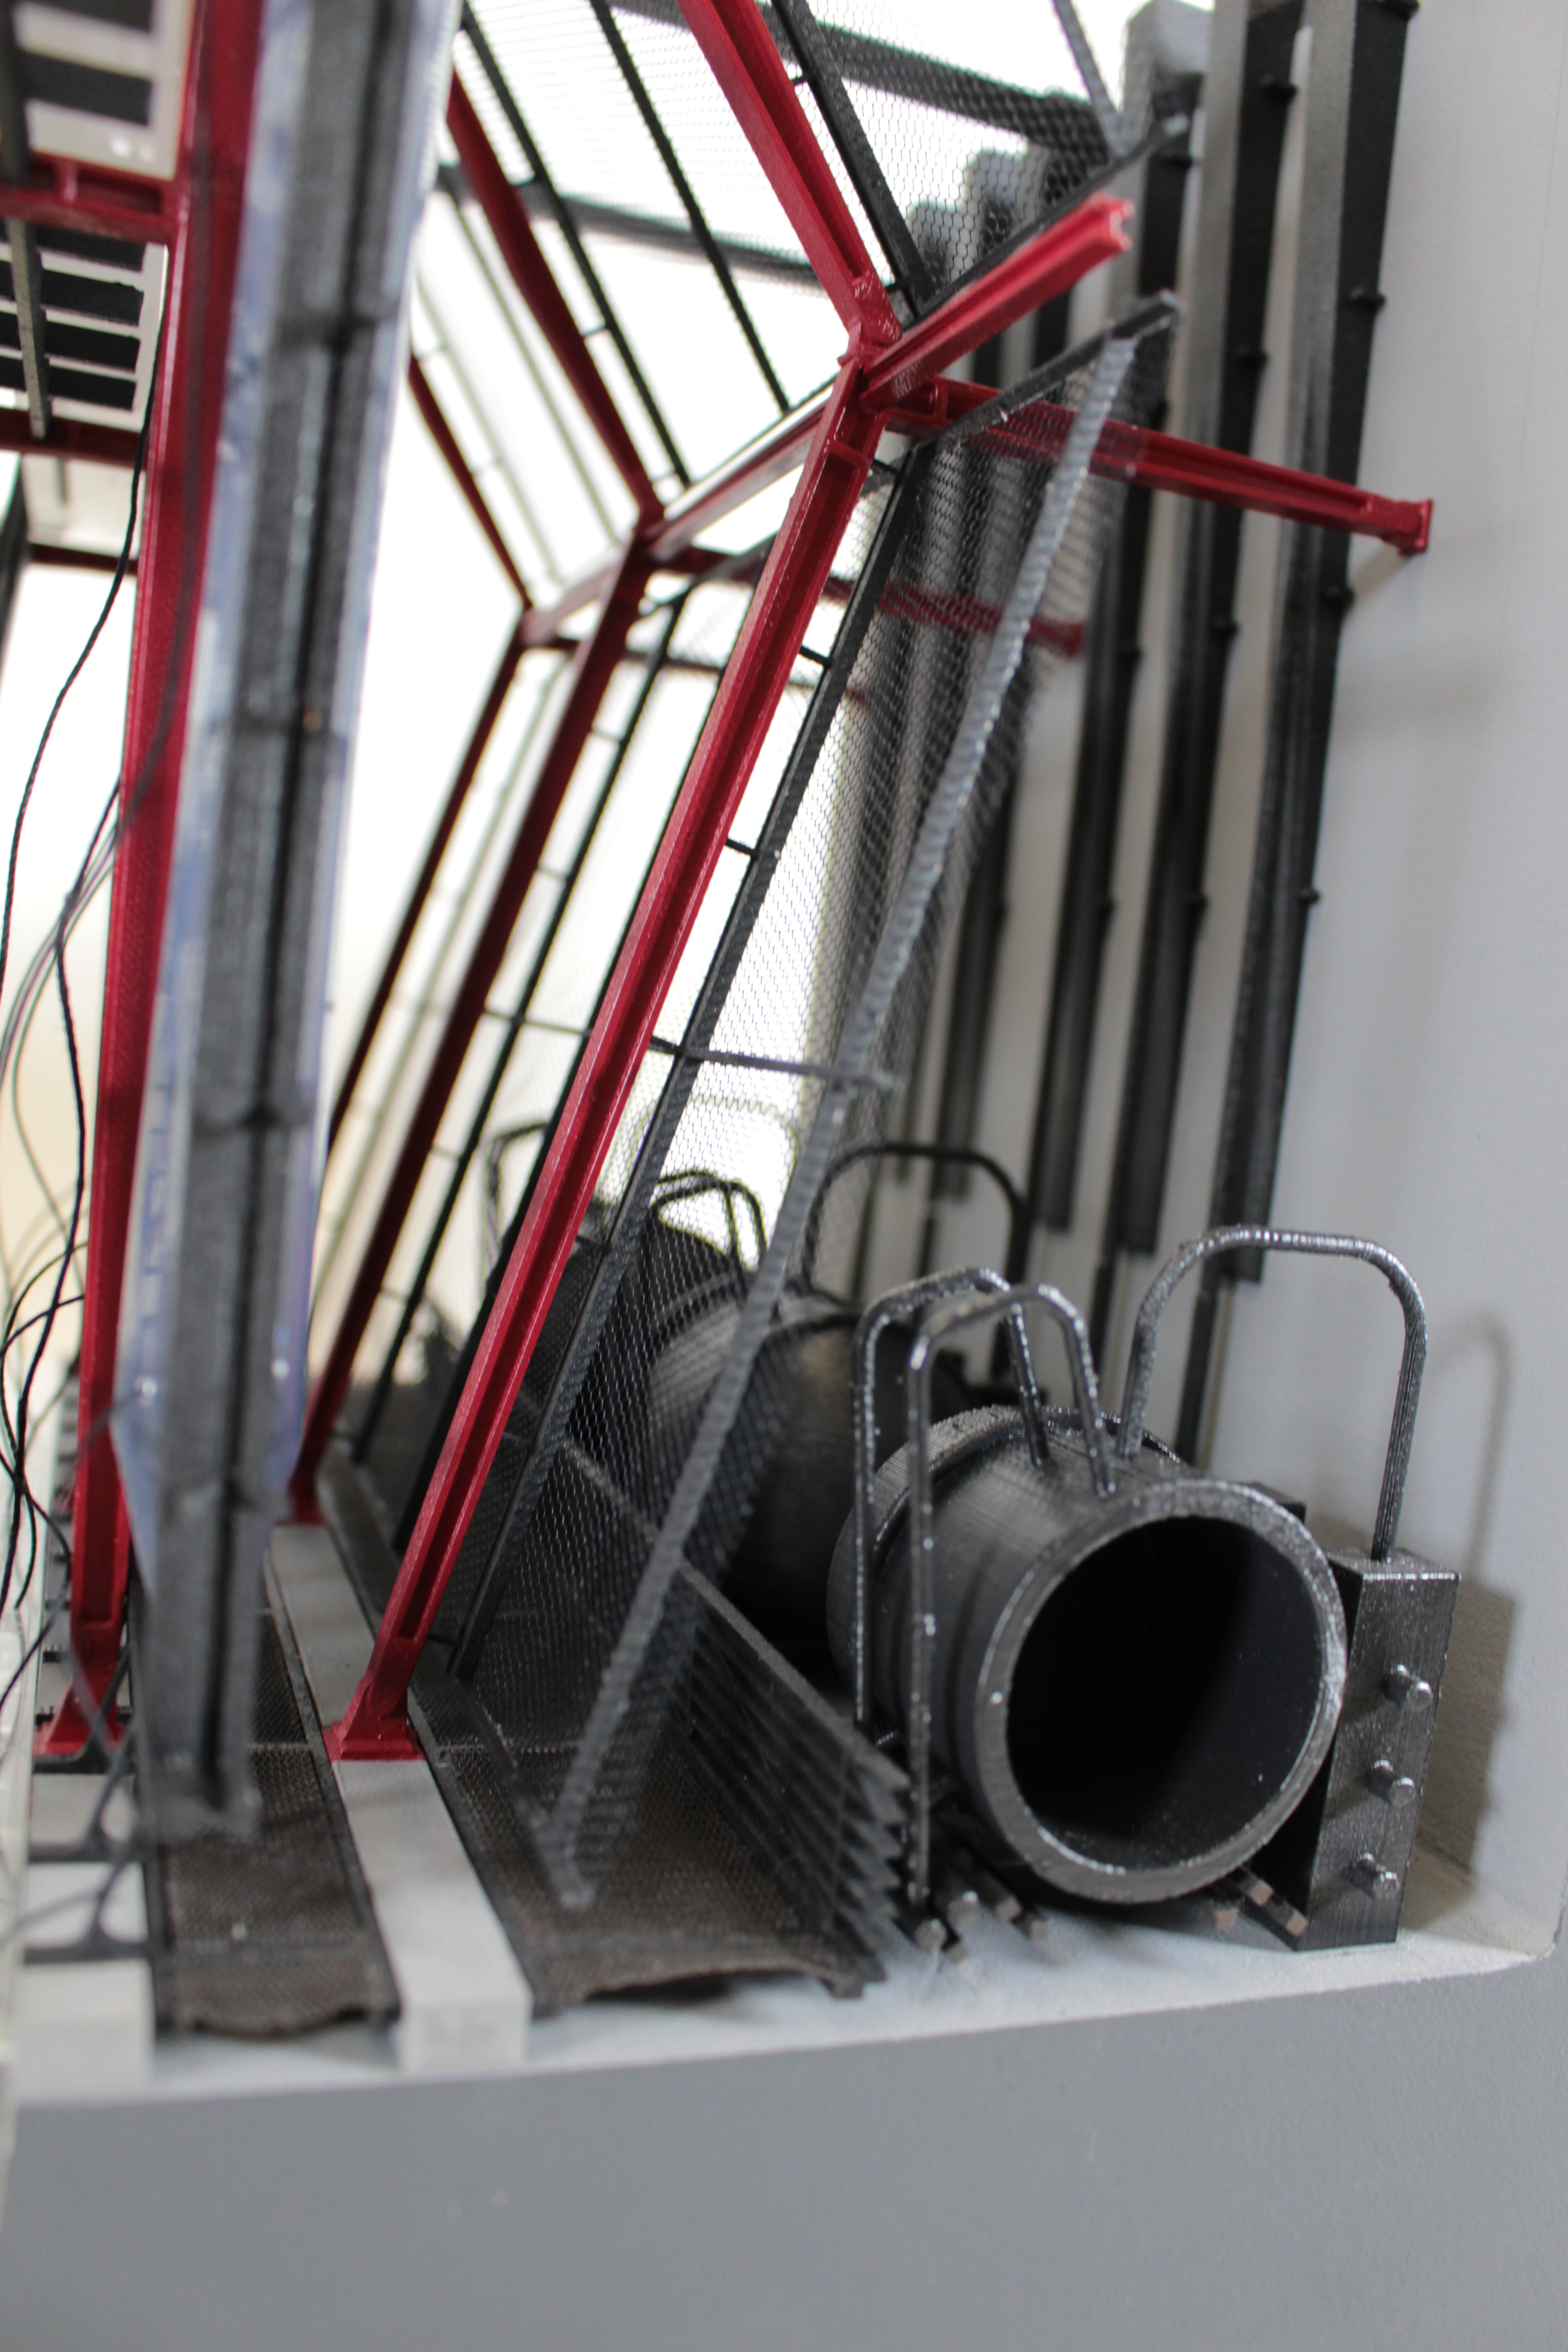
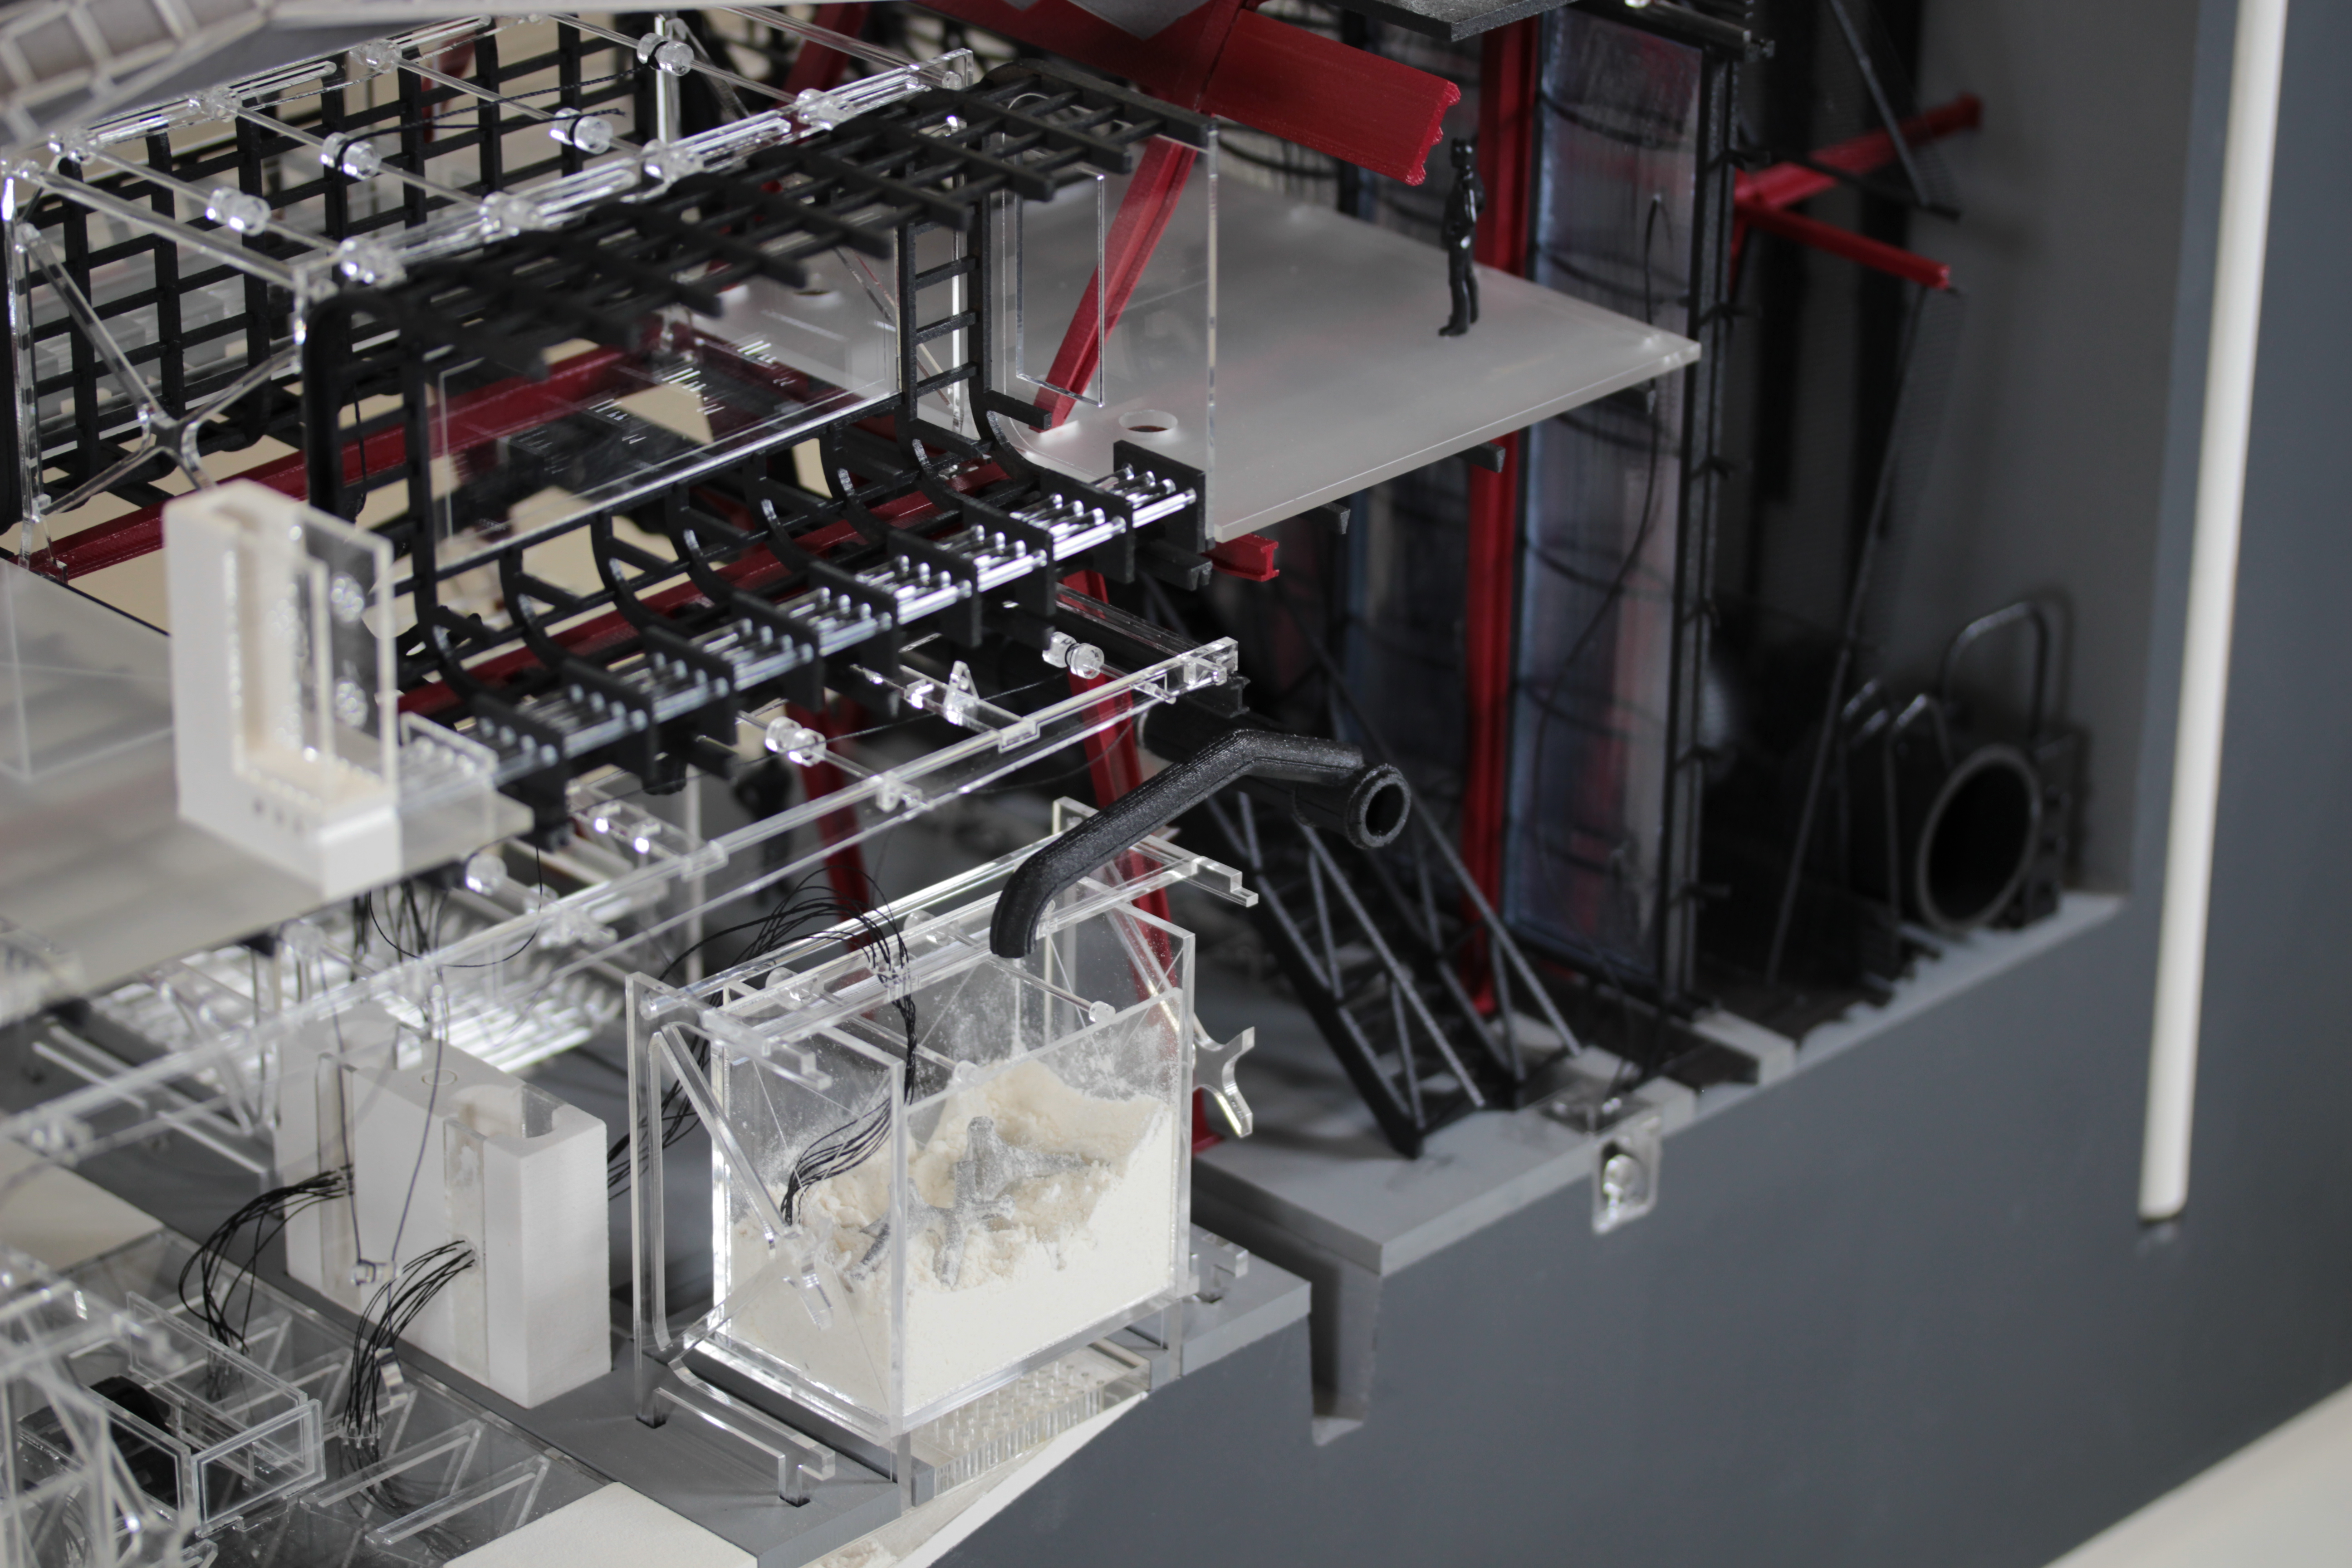
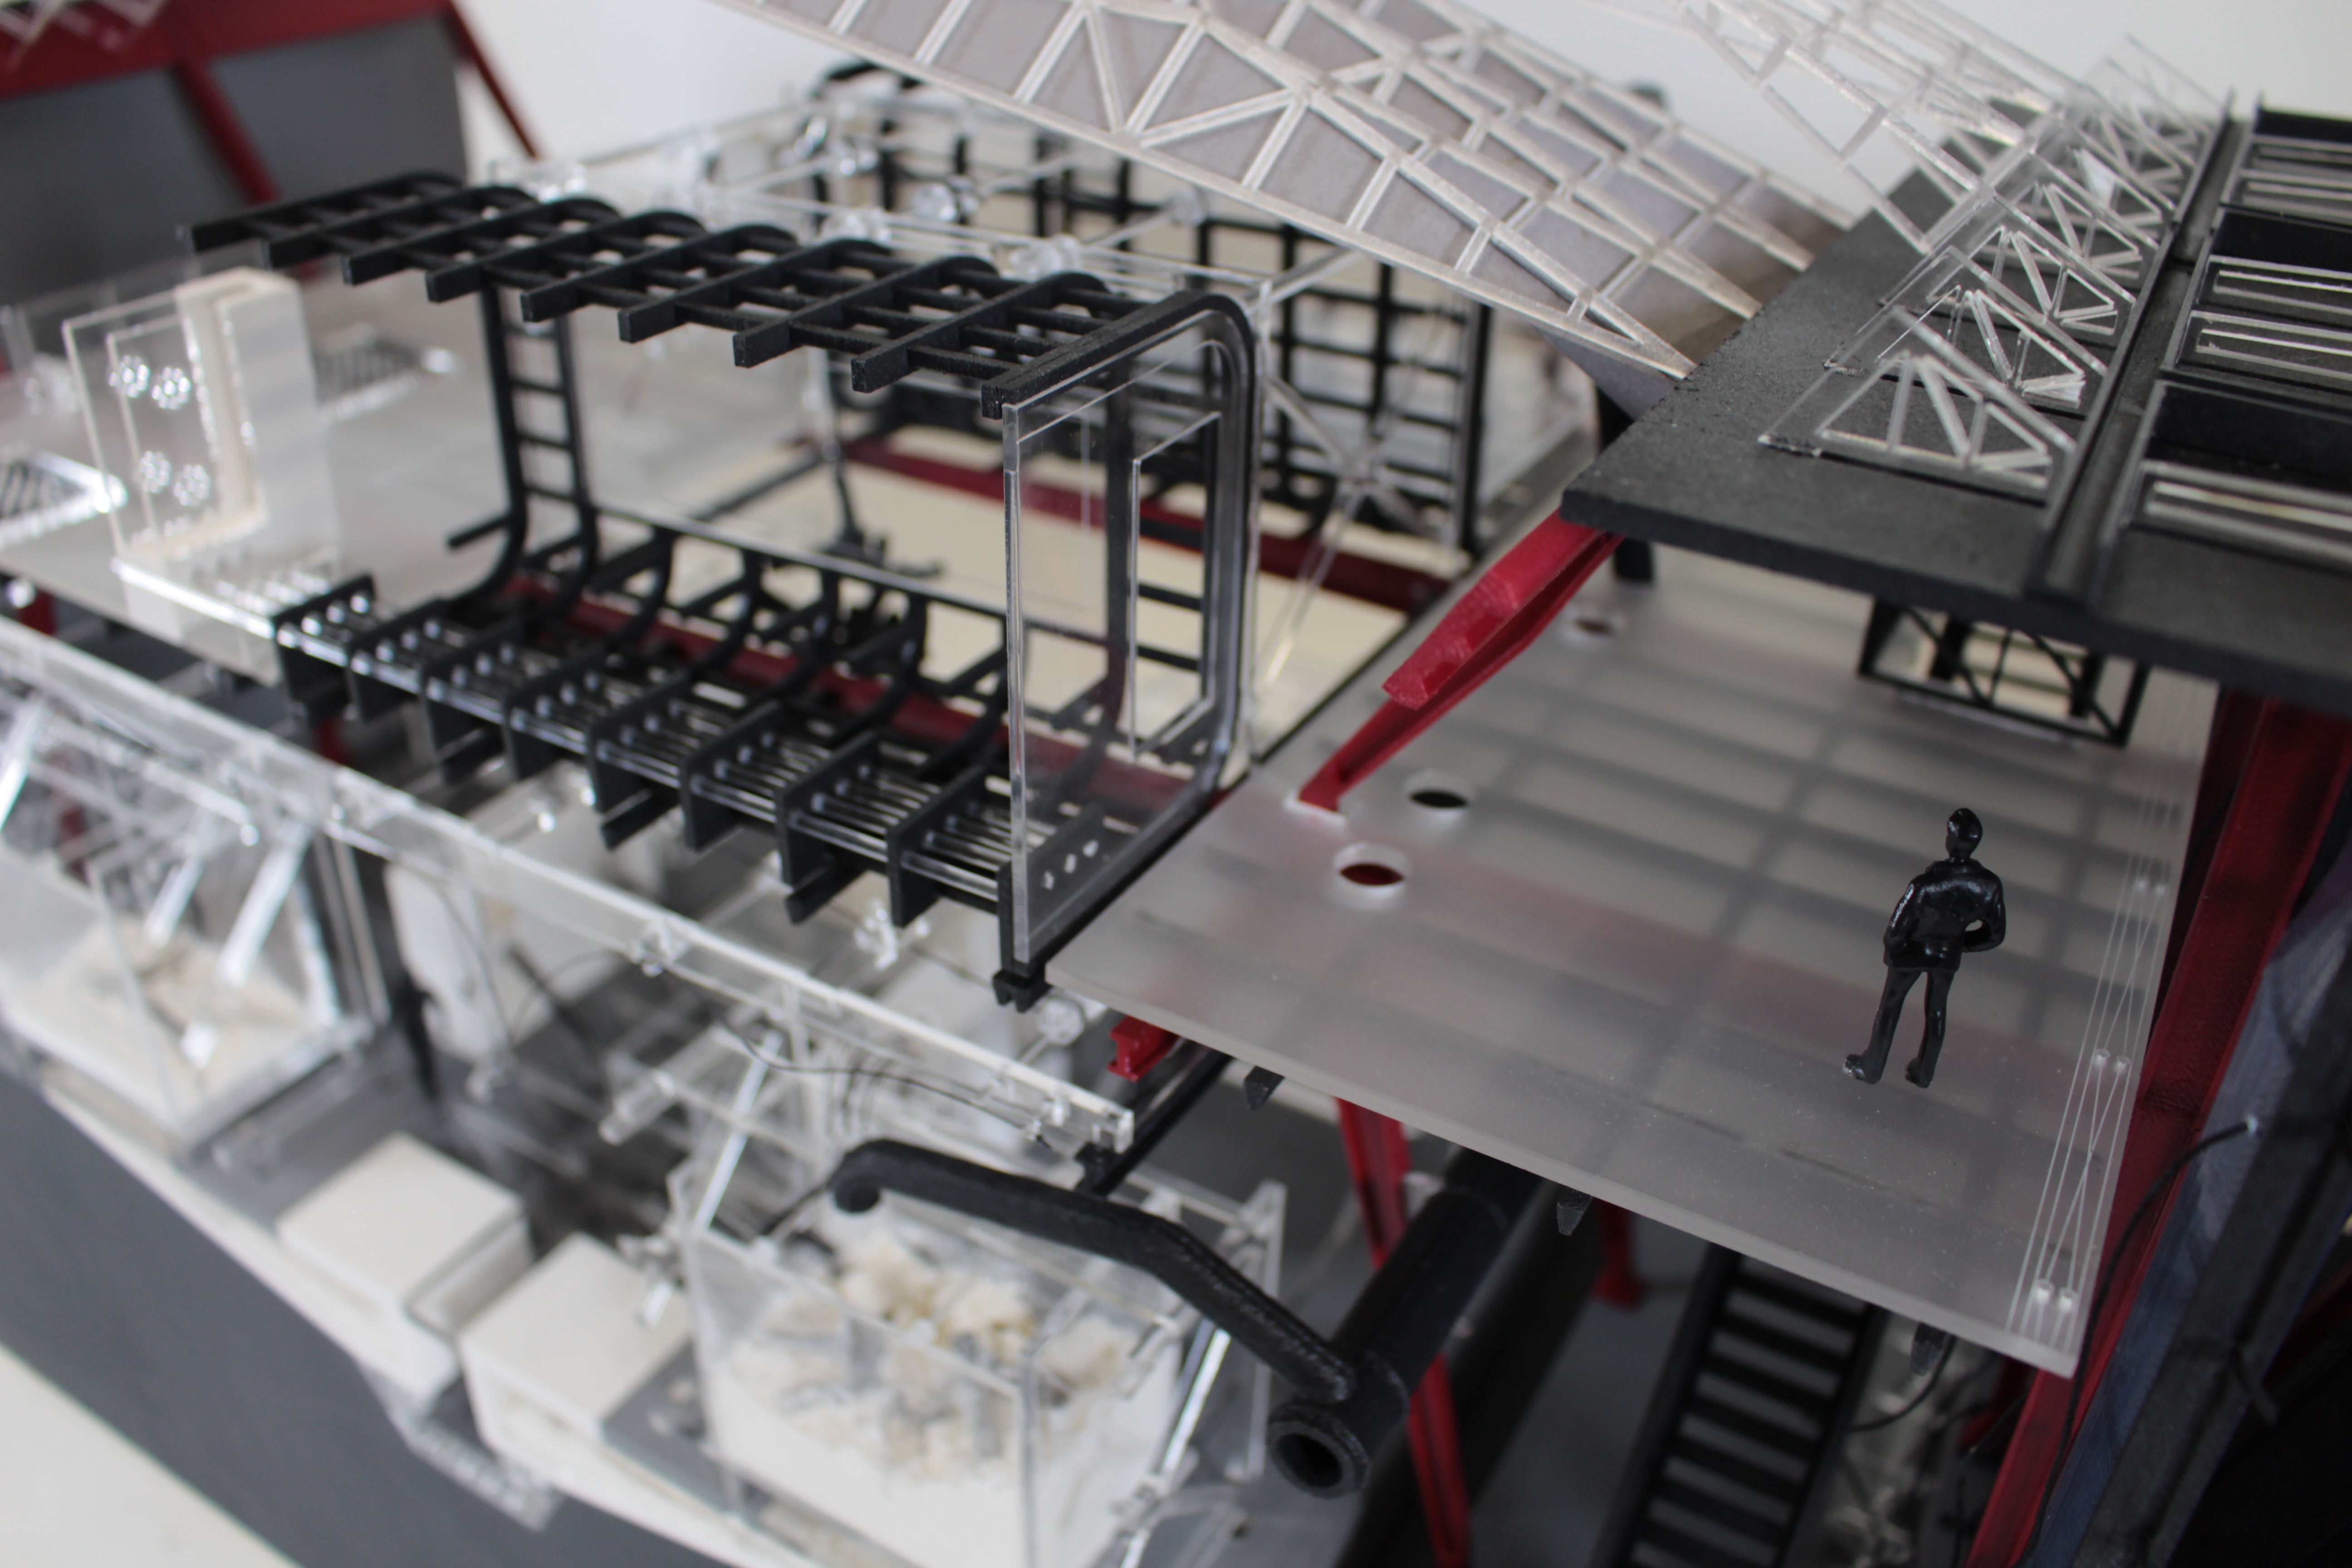
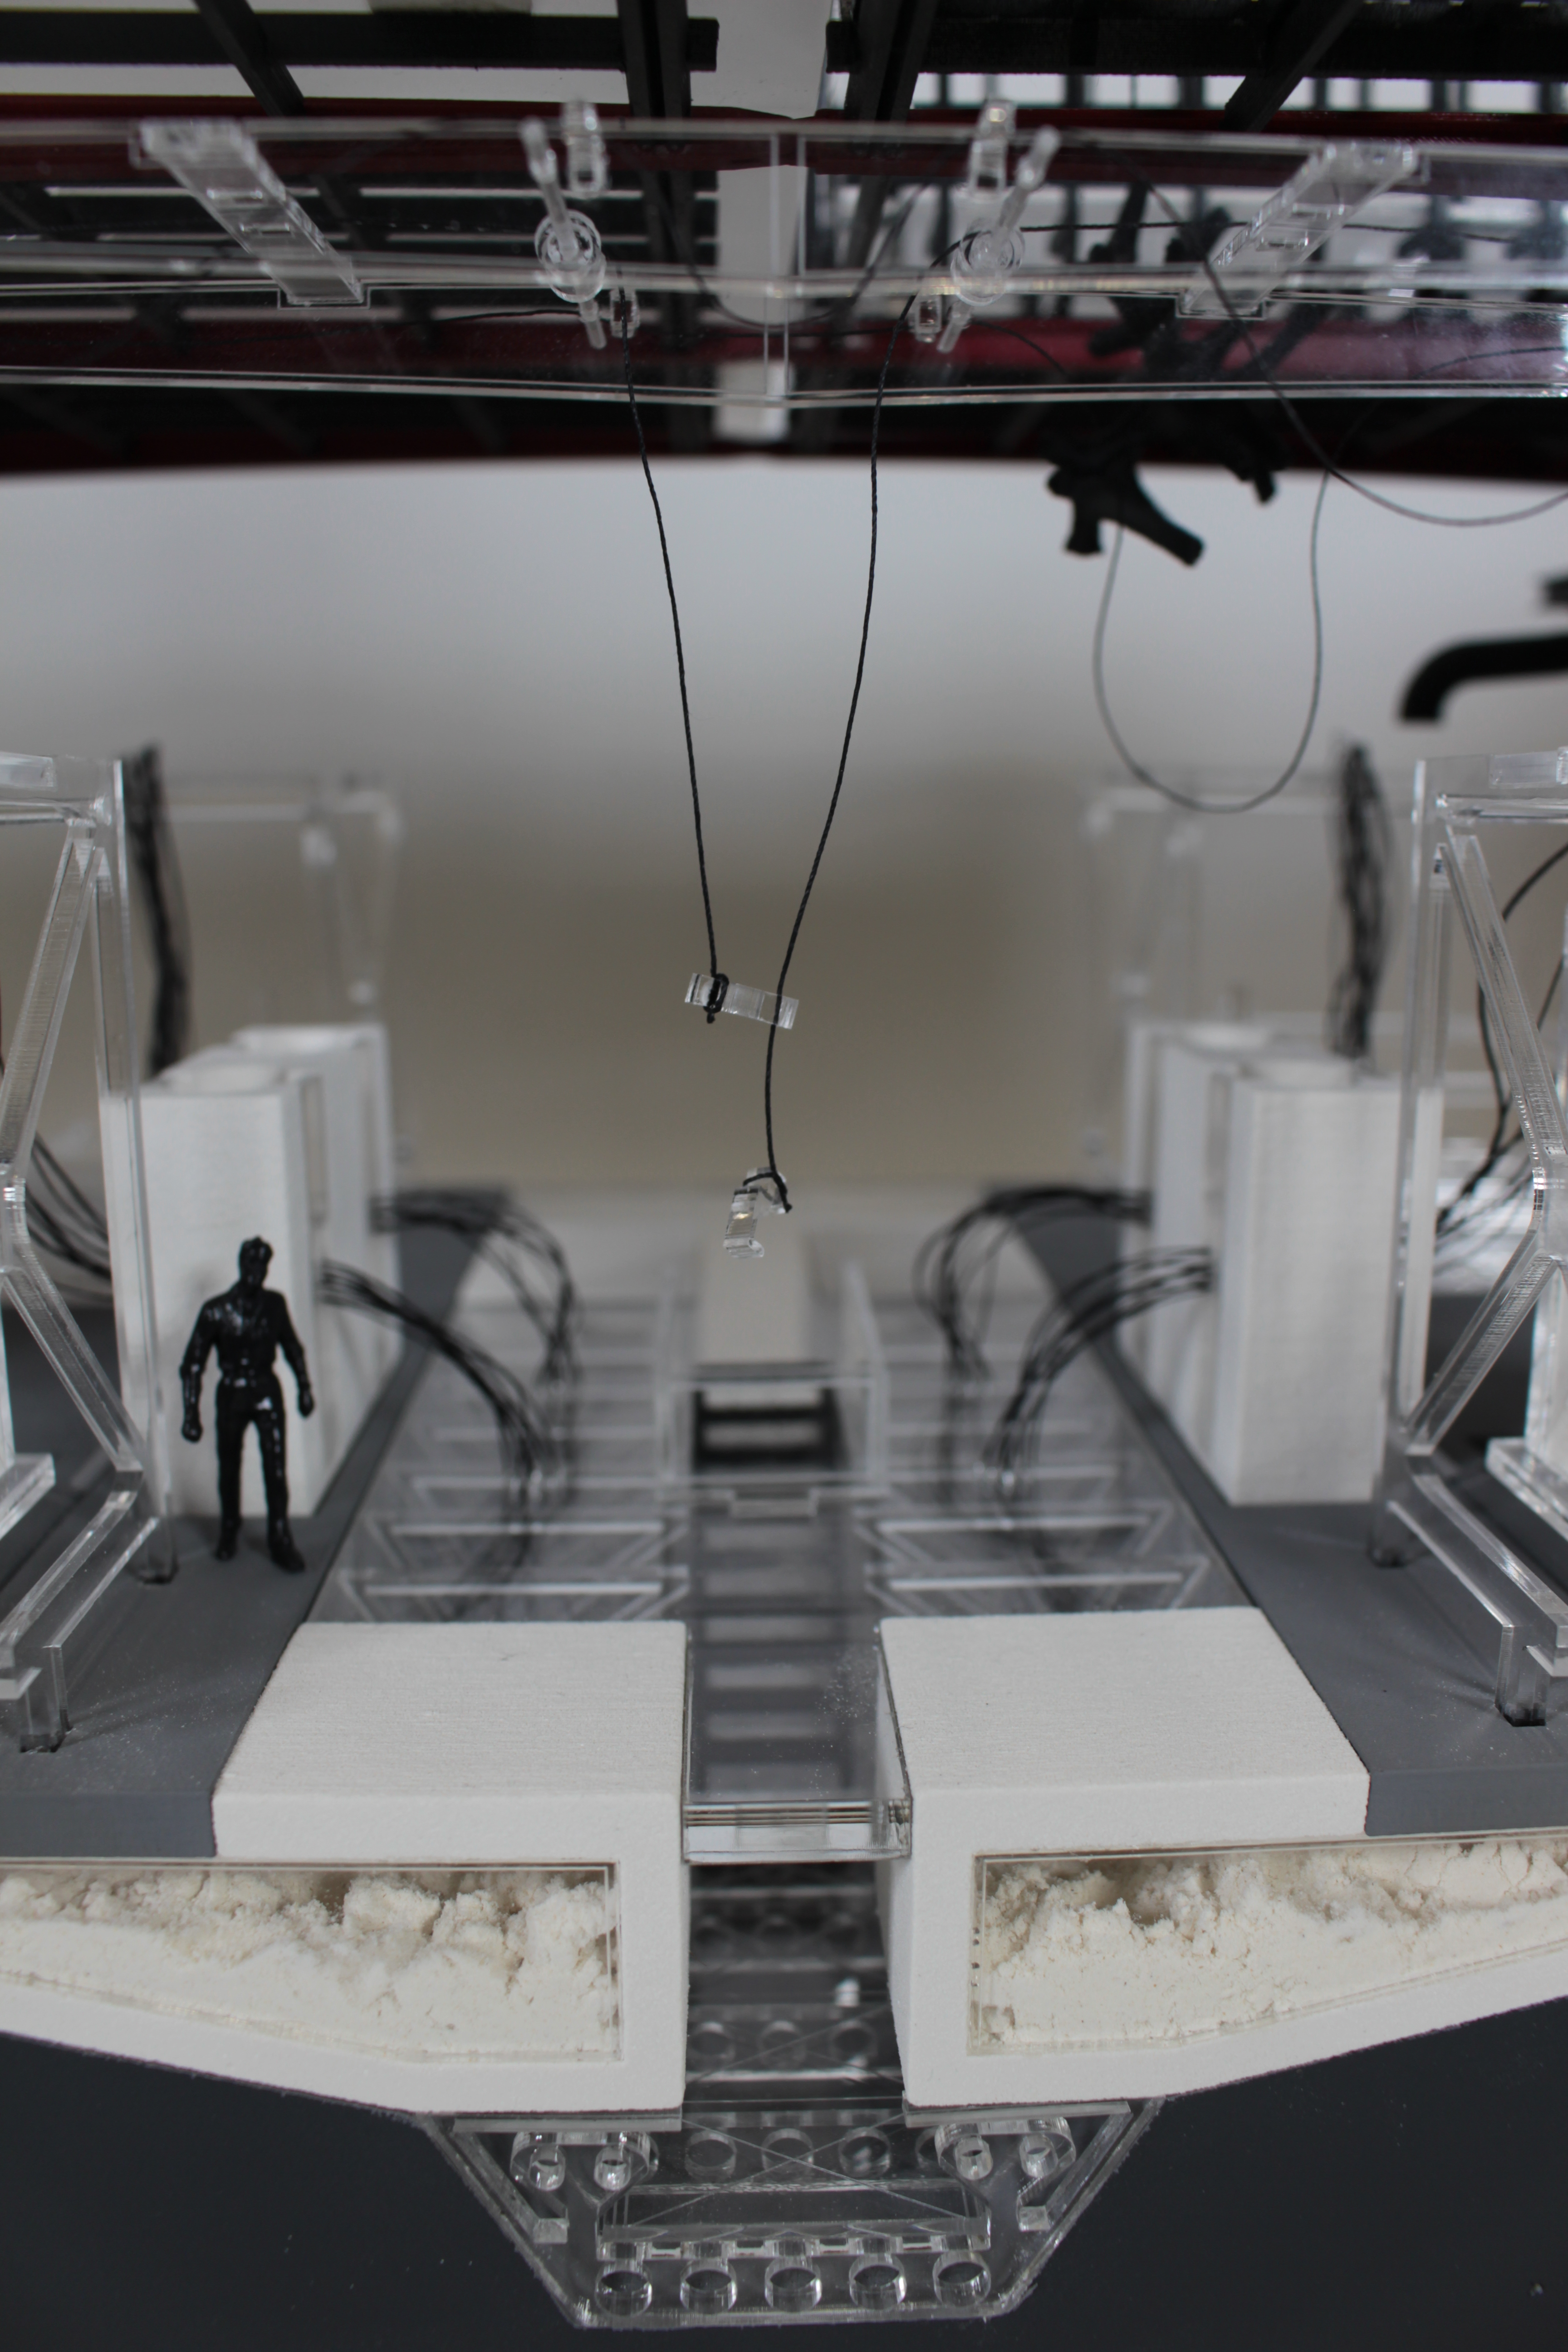
My interest on the site is of course about the varied use of models. There was certainly no shortage of examples. Each international pavilion display addressed their own study of architectural fundamentals and the use of models played a regular and prominent role. As there were so many examples I will summarize my visit by including images of the examples on show and pay particular attention to contemporary methods of display which noticeably inspired many of the students I was with.
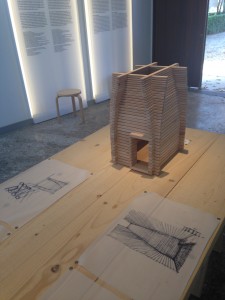
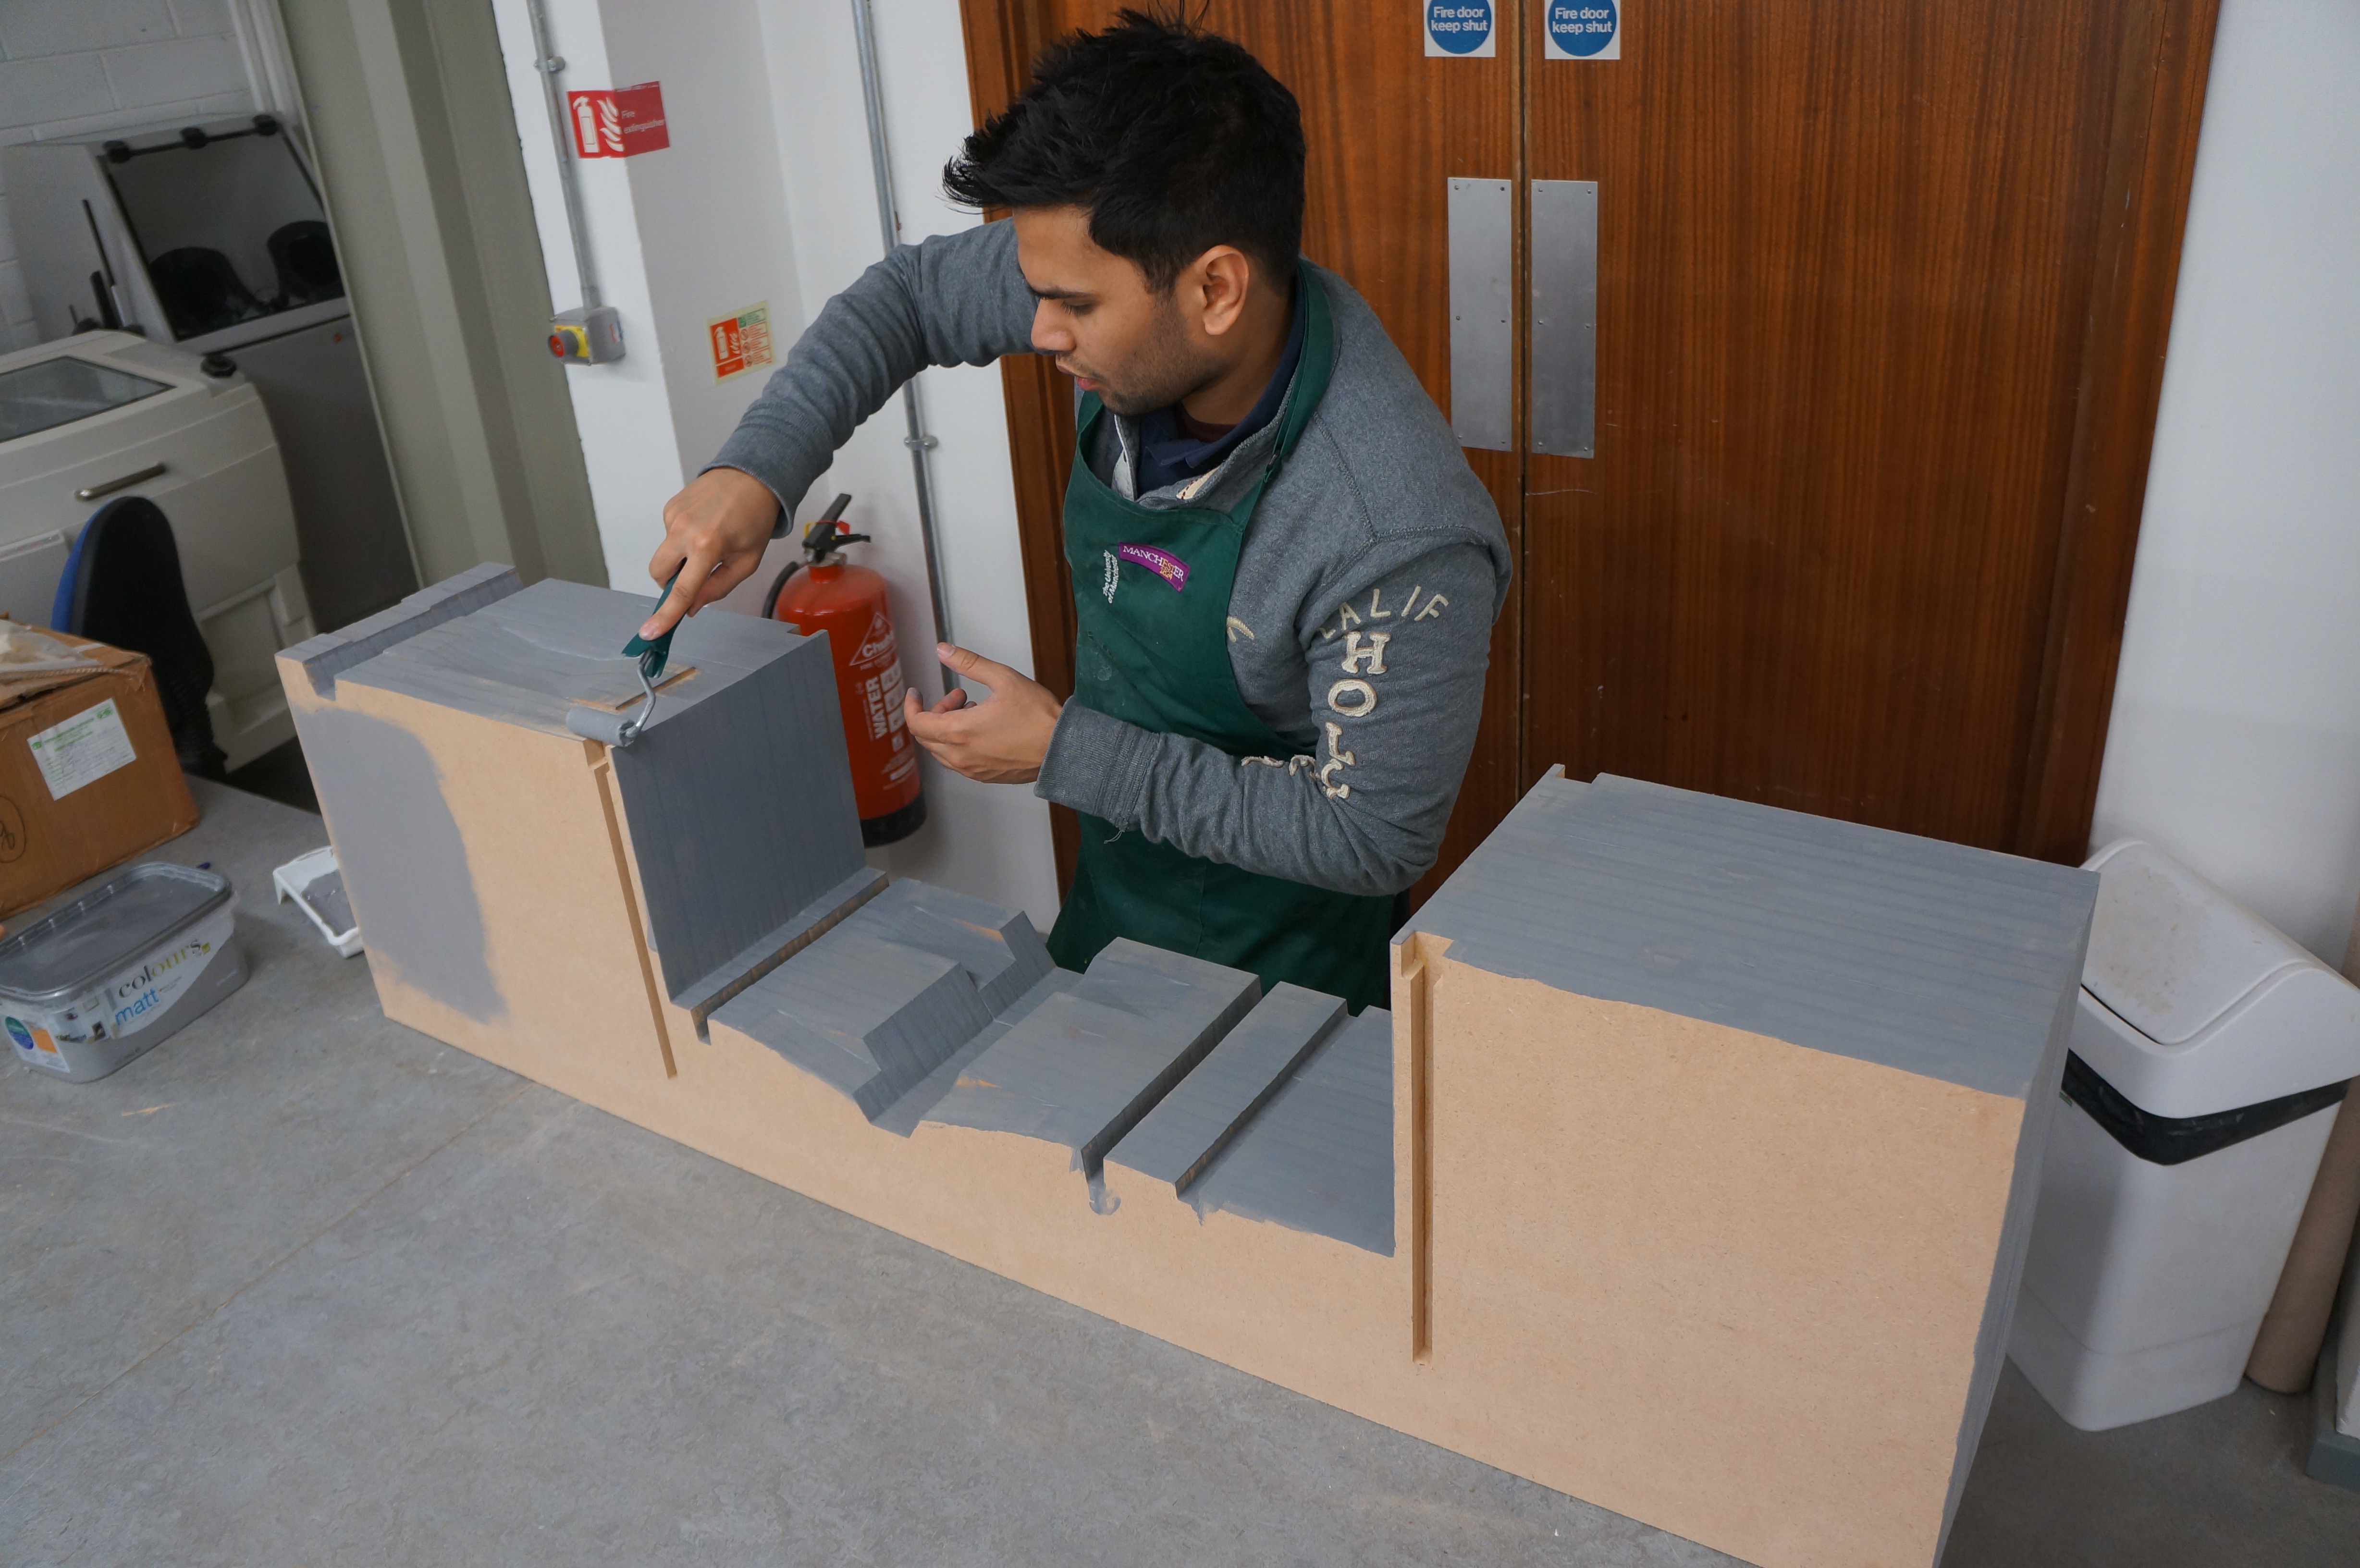
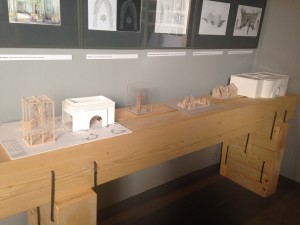
Finland – This pavilion was curated in a clear a concise way that explained the concepts in drawings, writing, models and the full size buildings on display outside of the main space. This method of display for the project was great and makes for easy understanding by any visitor. It’s probably worth taking note of this narrative when thinking about the display or presentation of your own projects.
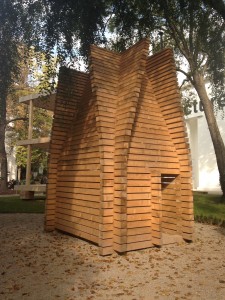
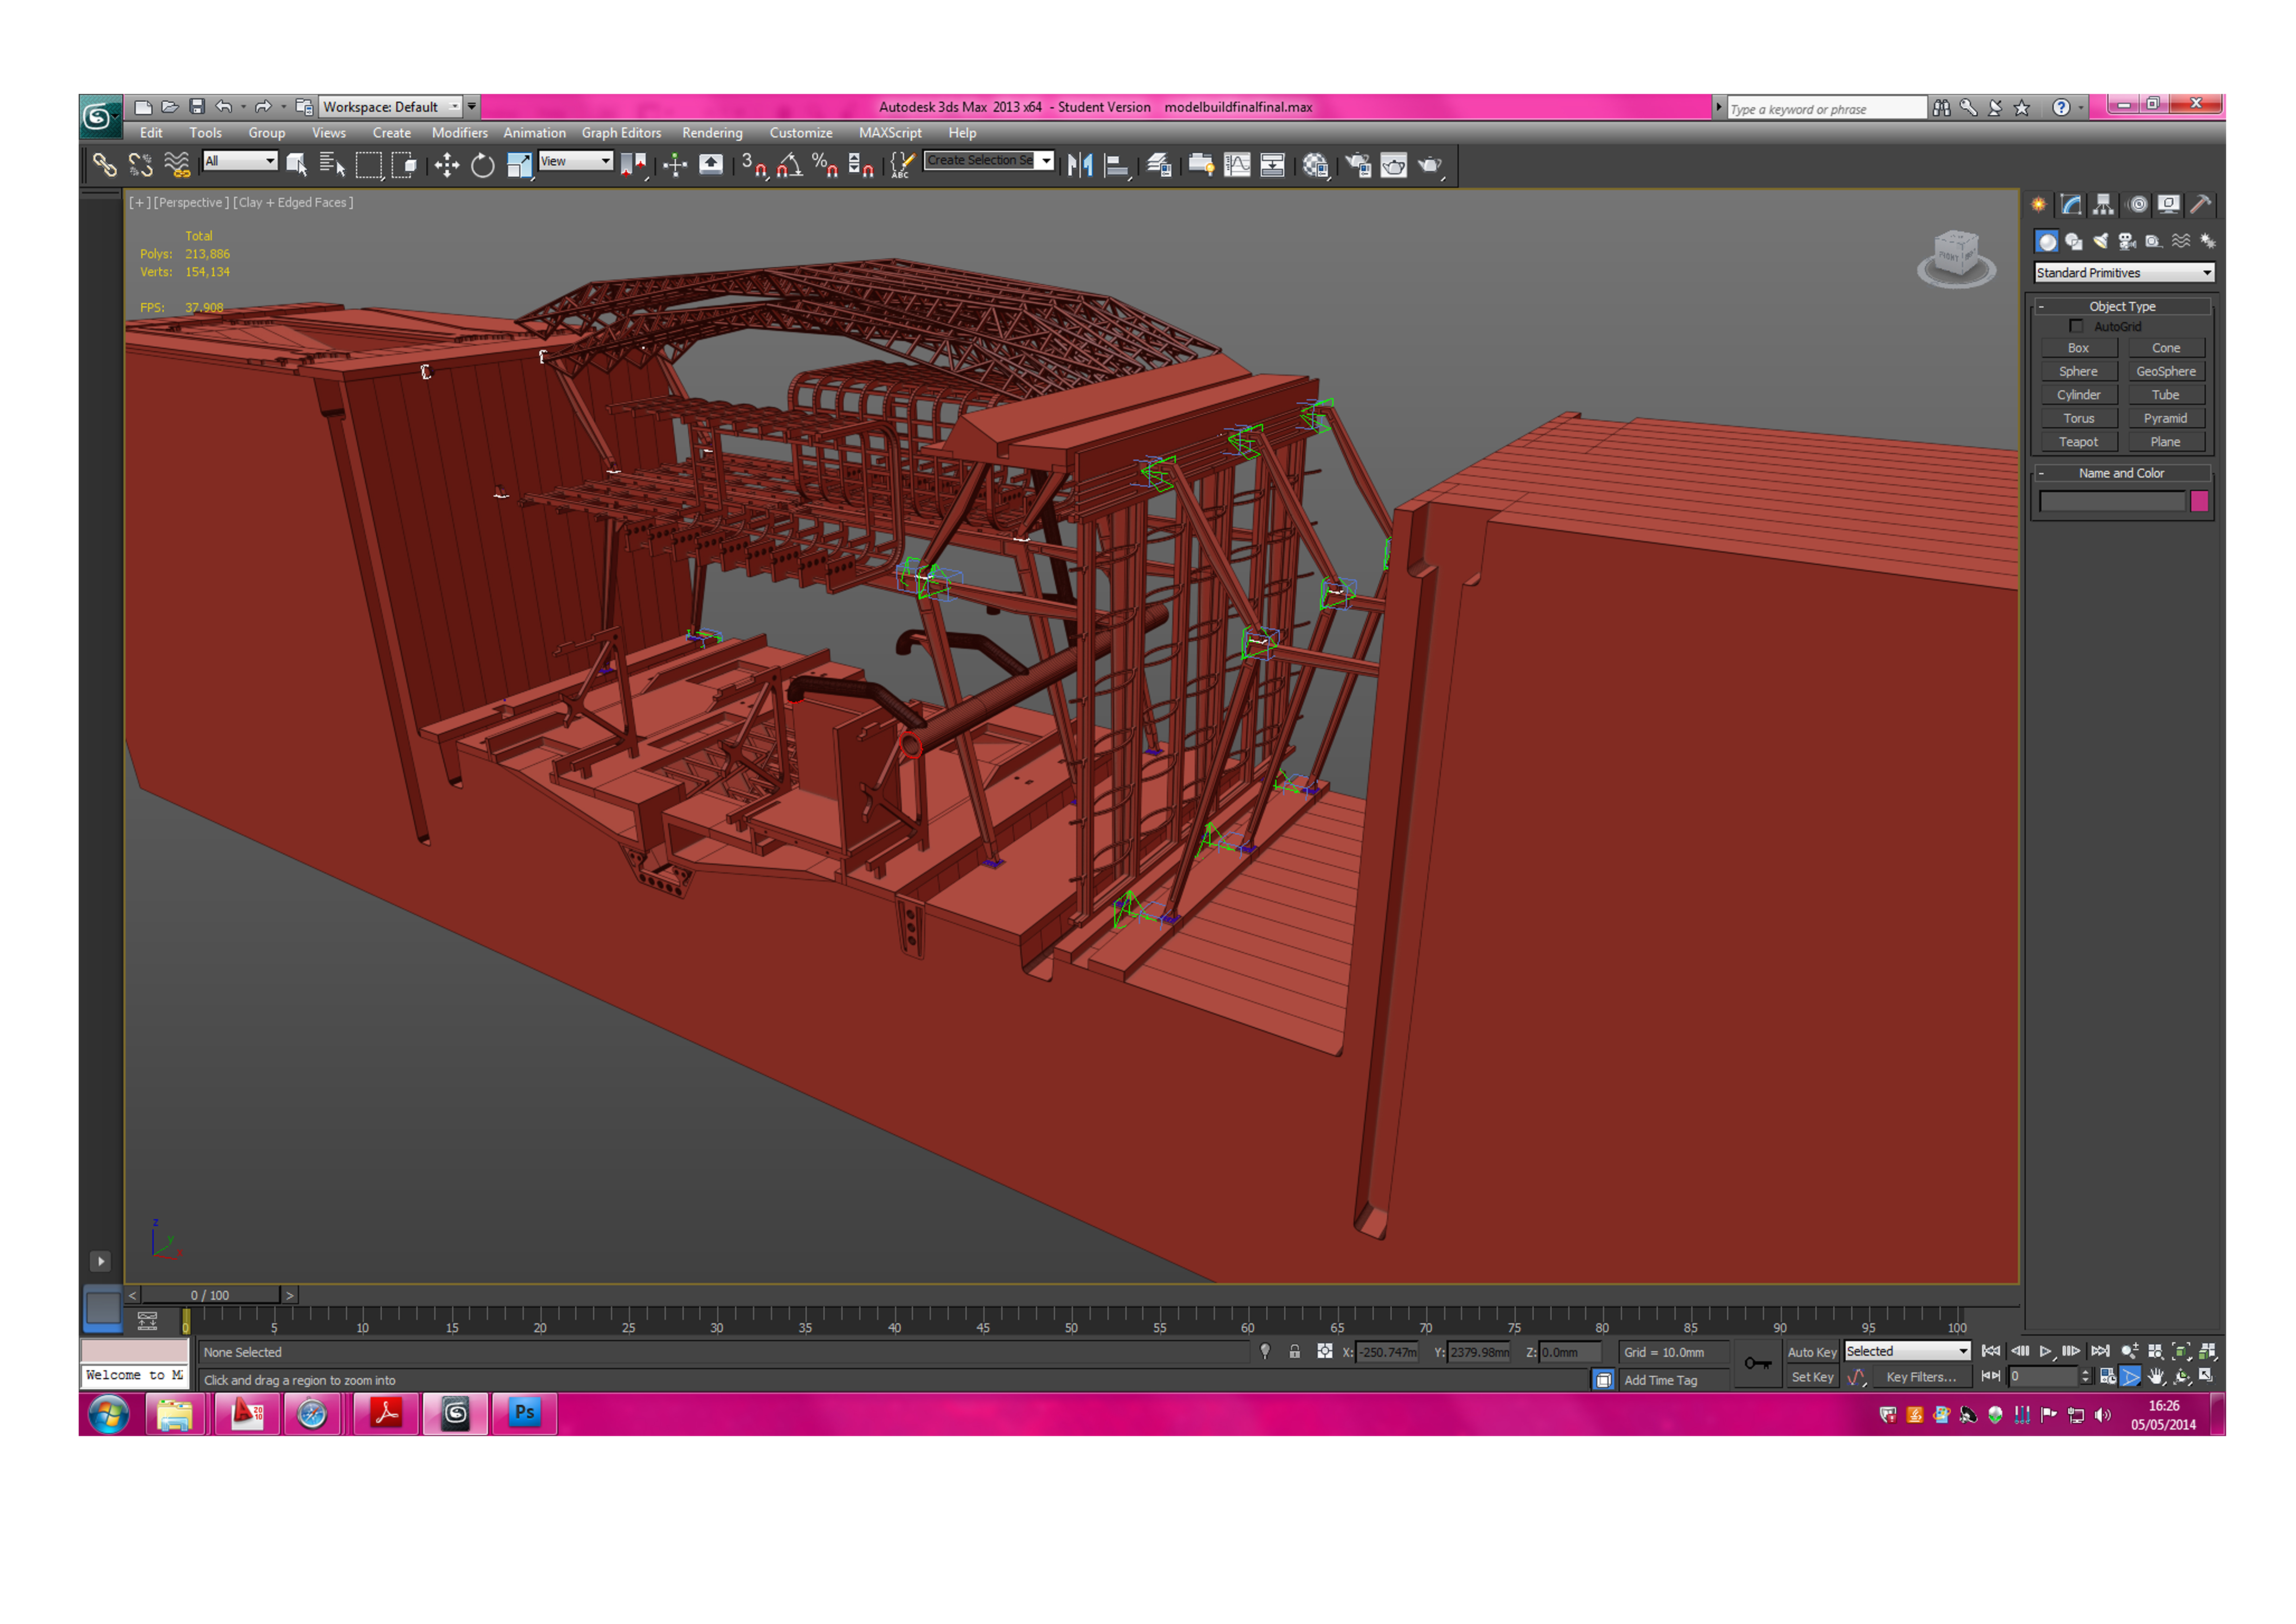
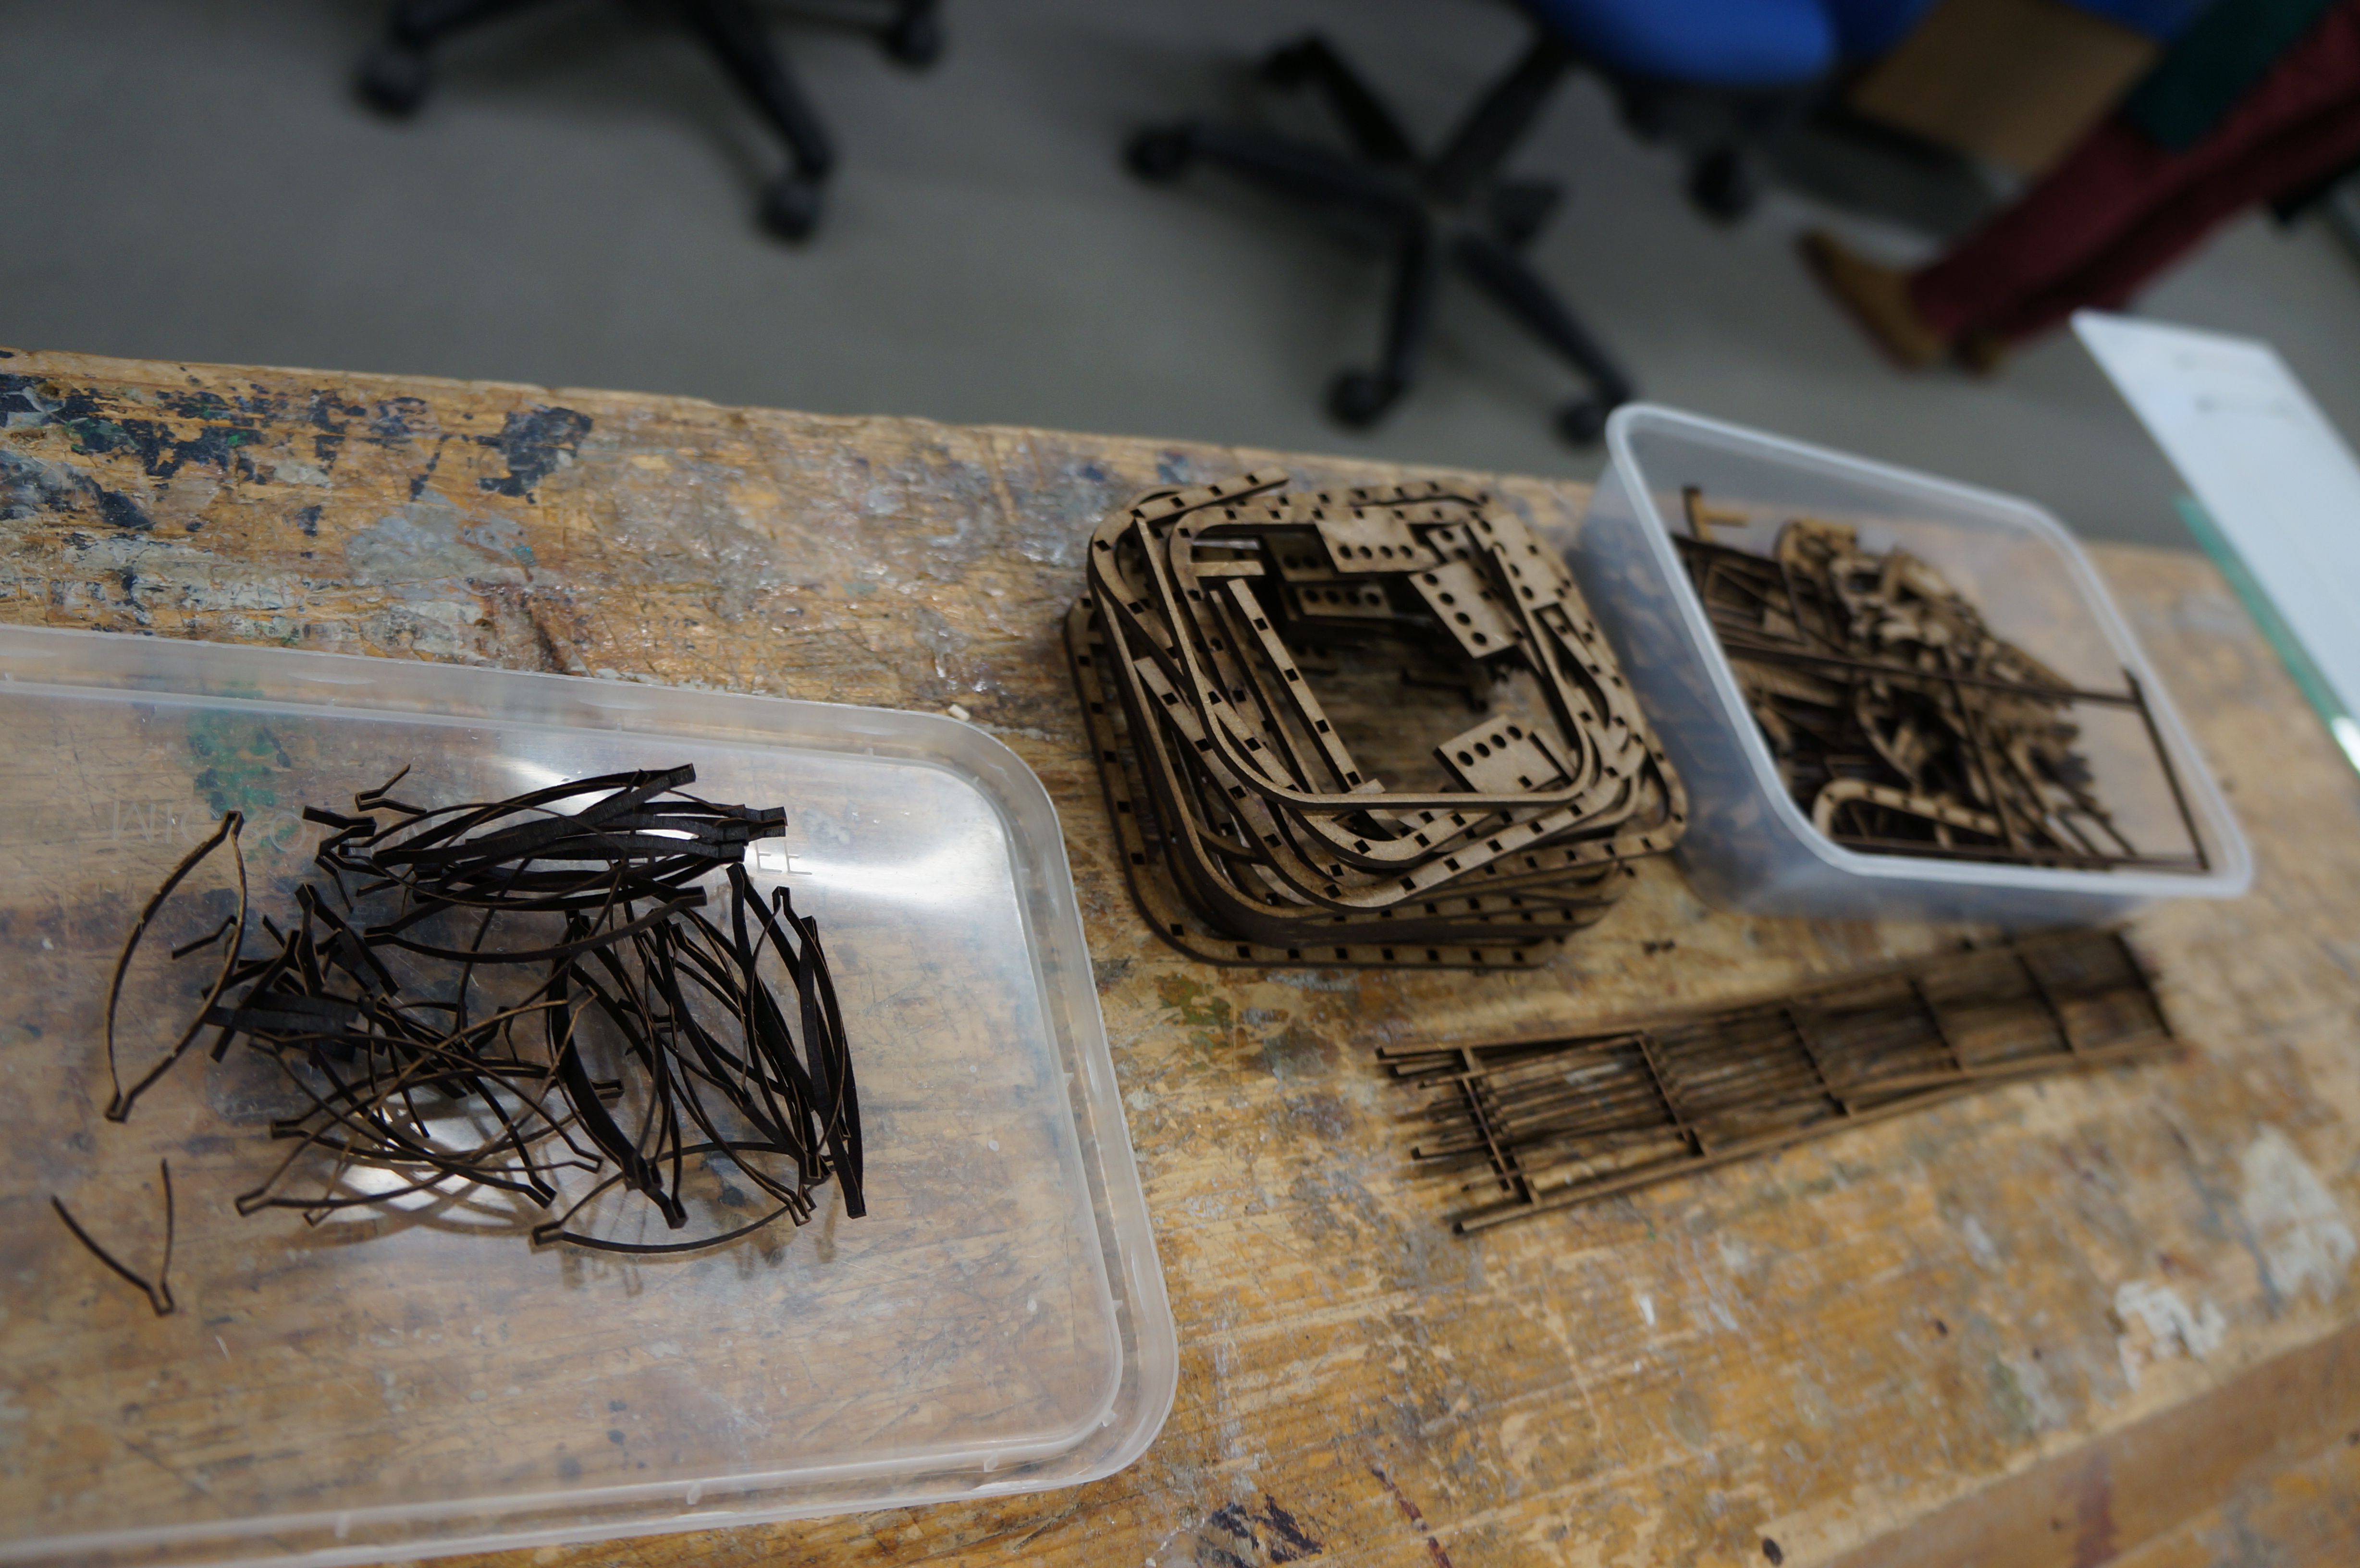
The use of timber pieces accurately cut for the model (above) translated directly into the construction of the 1:1 construction (right).
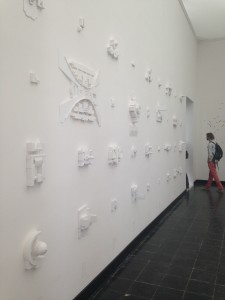
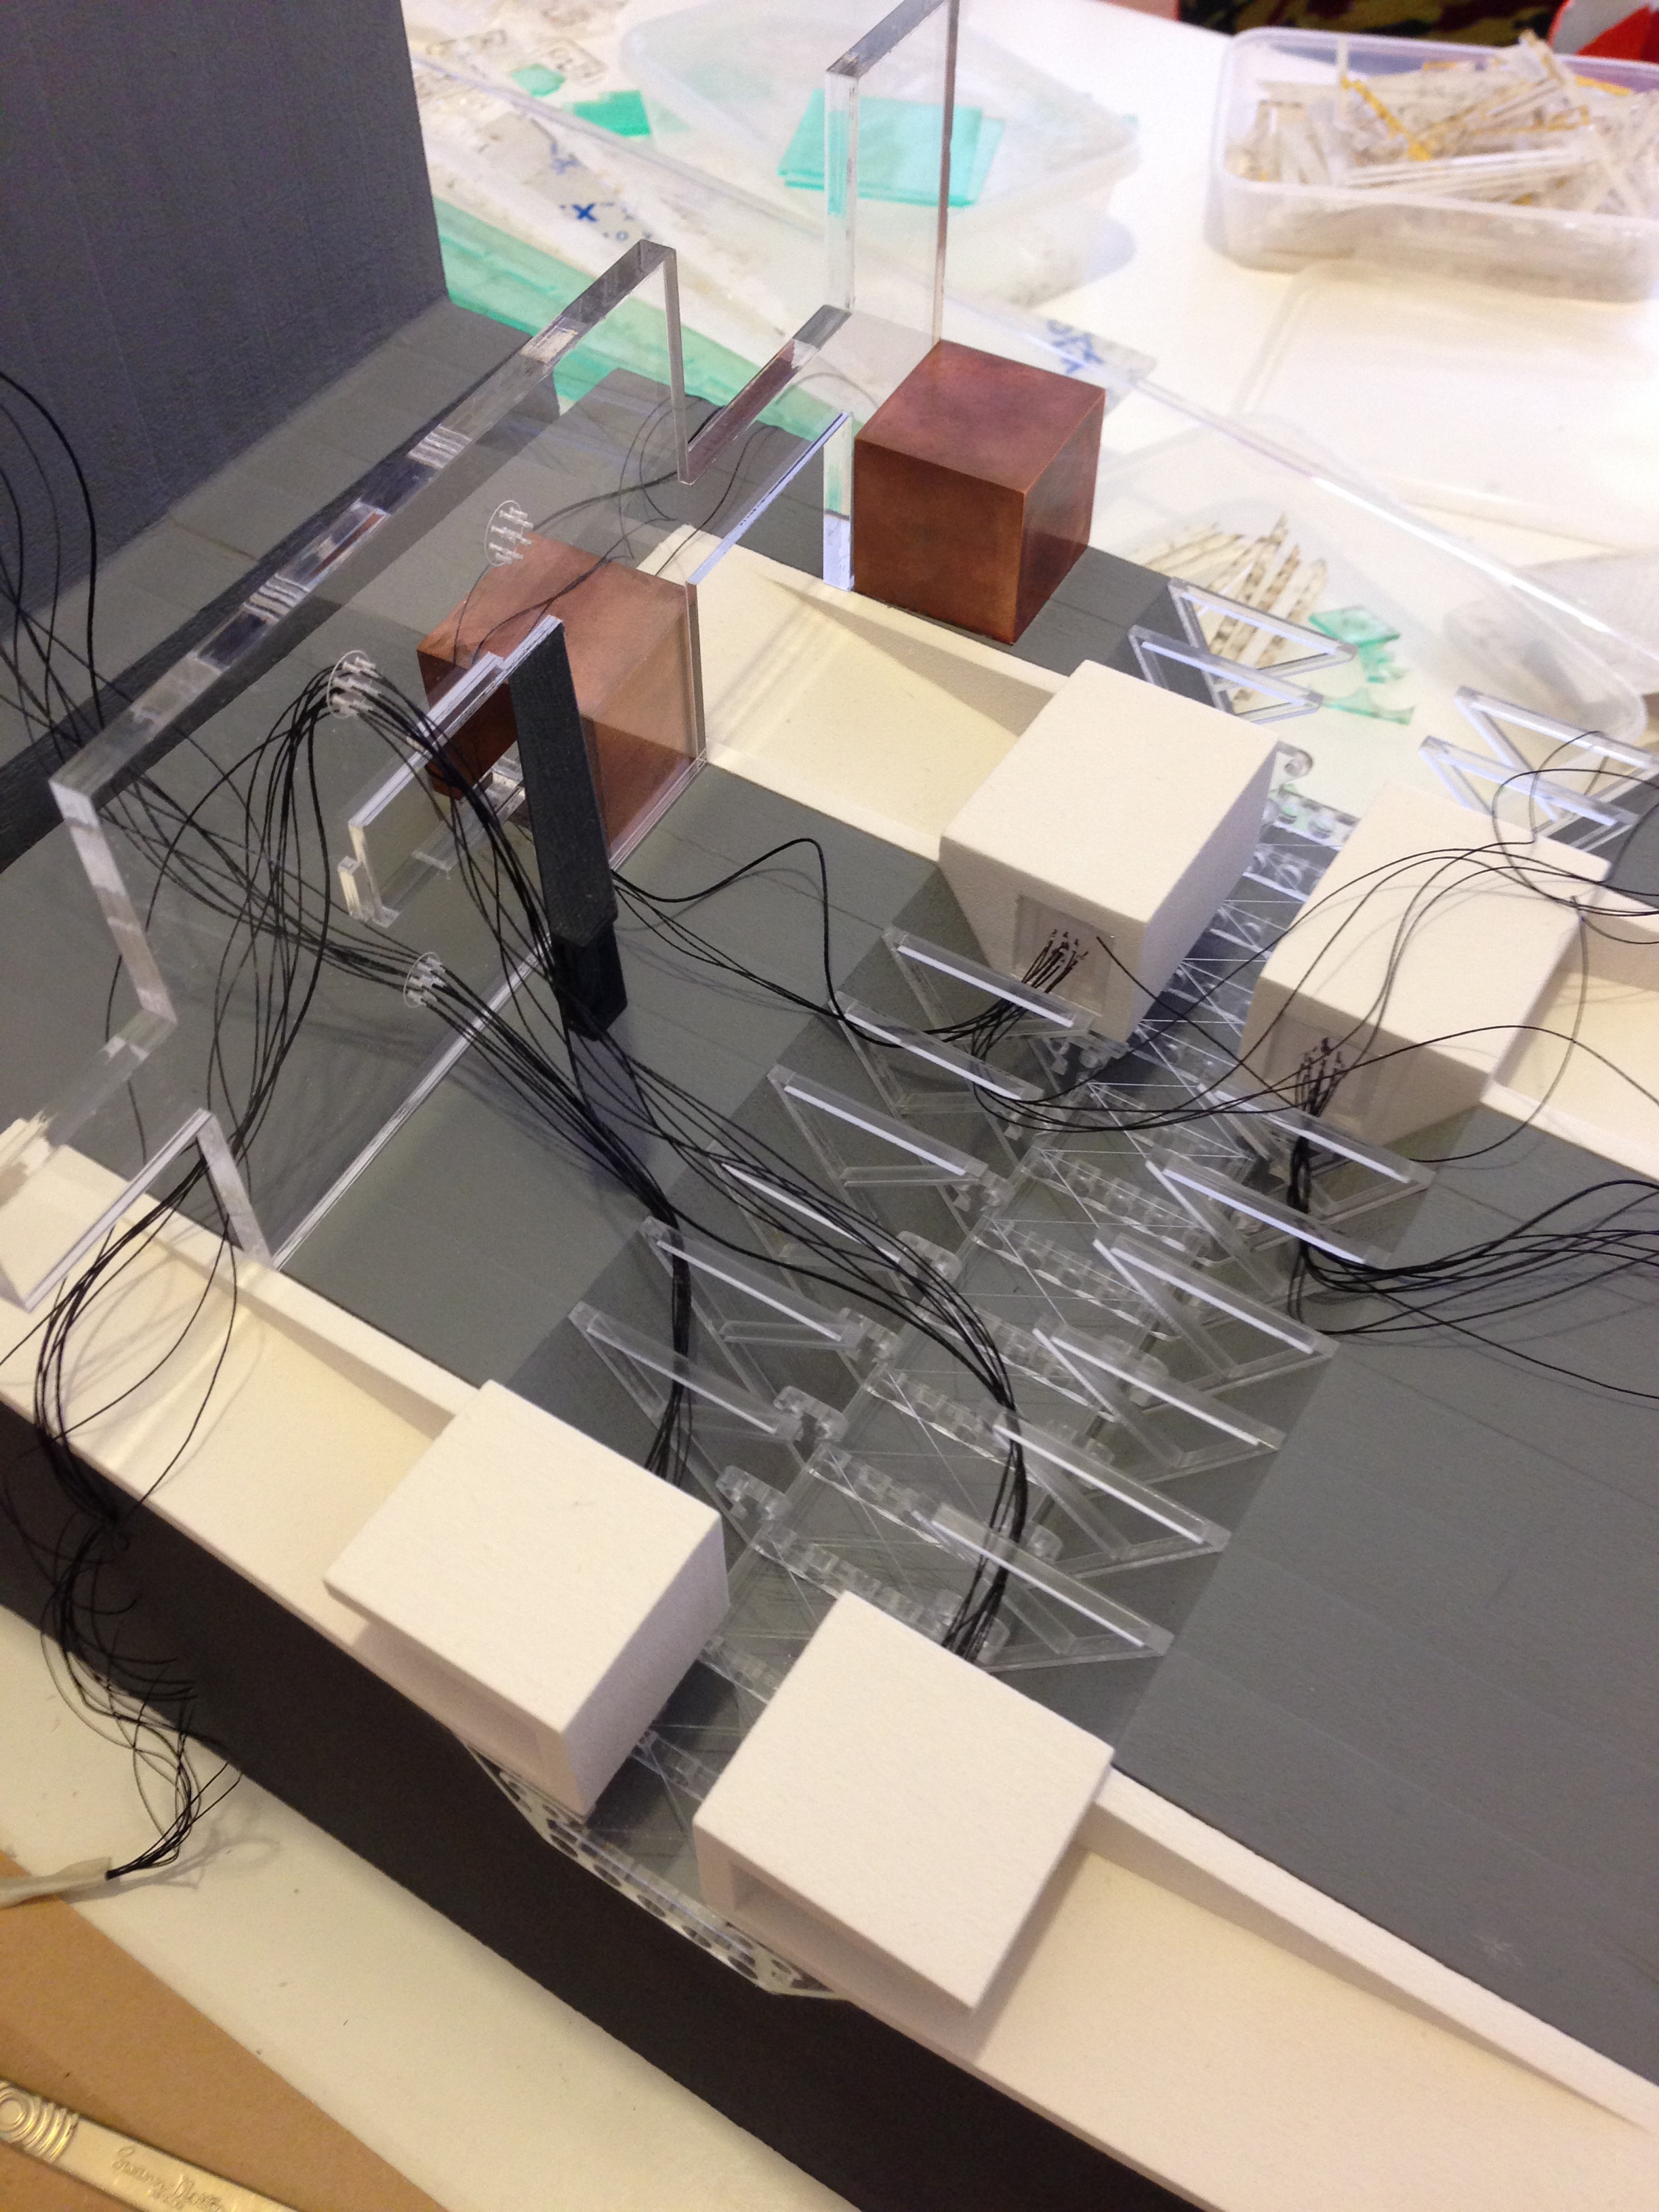
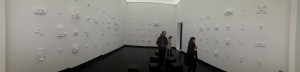
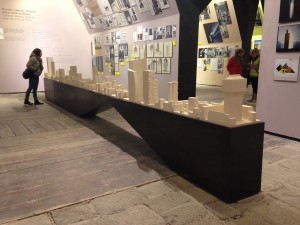
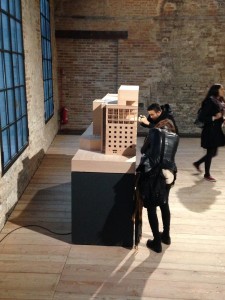
Austria – Now as popular as they are amongst established architects I’ve never been a huge fan of the ‘White Model’. I’m not sure why but I suppose it feels like a stark and almost clinical representation of a form which in reality has much more texture and thought behind its finish. That said, I’ve made many of these for clients and of course pursue the whitest of white finish to meet their brief. The Austrian pavilion presented a bright white room dotted with white block models of every one of the worlds parliament buildings (above left and below). I thought it was fantastic and enticing as did so many other visitors who spent a substantial amount of time examining the many models on display. This was an interesting subject matter to study in model form due to the ‘god’ like decisions that come from each of these buildings across the globe. One of my favourite displays of the show.
Projection Models – There was a noticeable buzz around the use of projectors to animate aspects of otherwise static models from the students I was with. Whilst this is something we have looked into before there were several good examples used across the Biennale.
 The Canadian pavilion made extensive use of the projection model with micro projectors mounted above white site models. Each model showed traffic flow trends and potential variants in the environment around the site. Anyone wanting to attempt a similar project should start by looking at the type of projector you want to use as they can be expensive and planning their set up in relation to the model is crucial.
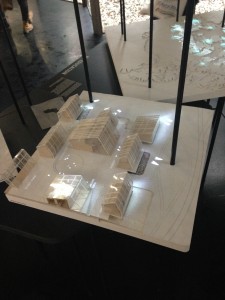
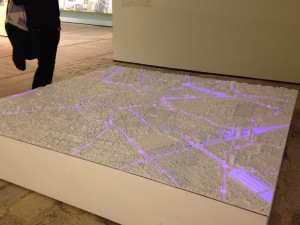
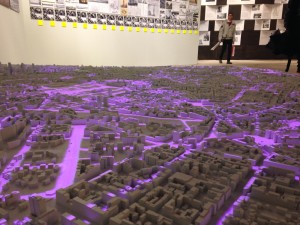
The Italian pavilion made use of a similar projection set up but was across a master plan model showing city routes toward and around particular hubs of activity.
Also on display in the Italian Pavilion was a host of plaster cast models (right) each with a high level of finish and detail that guaranteed a closer inspection from anyone who walked into the room.
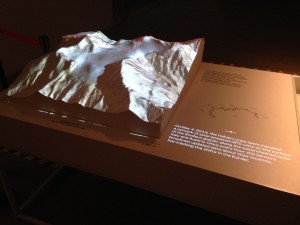
This alpine mountain range model (left) made using a CNC router worked fantastically when OS maps were projected on the the model from directly above. the contouring matched perfectly and appeared almost hologram like in front of the viewer.
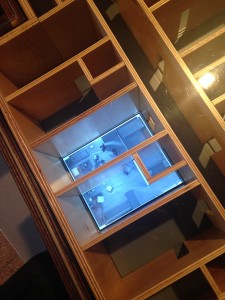
Russia – In the Russian pavilion there was an interesting model on show that combined digital animation with a physical model. The basic walls and elevations of the model were built up out of plywood and overlaid on top of screens with animated environments of the proposed interior spaces (left).
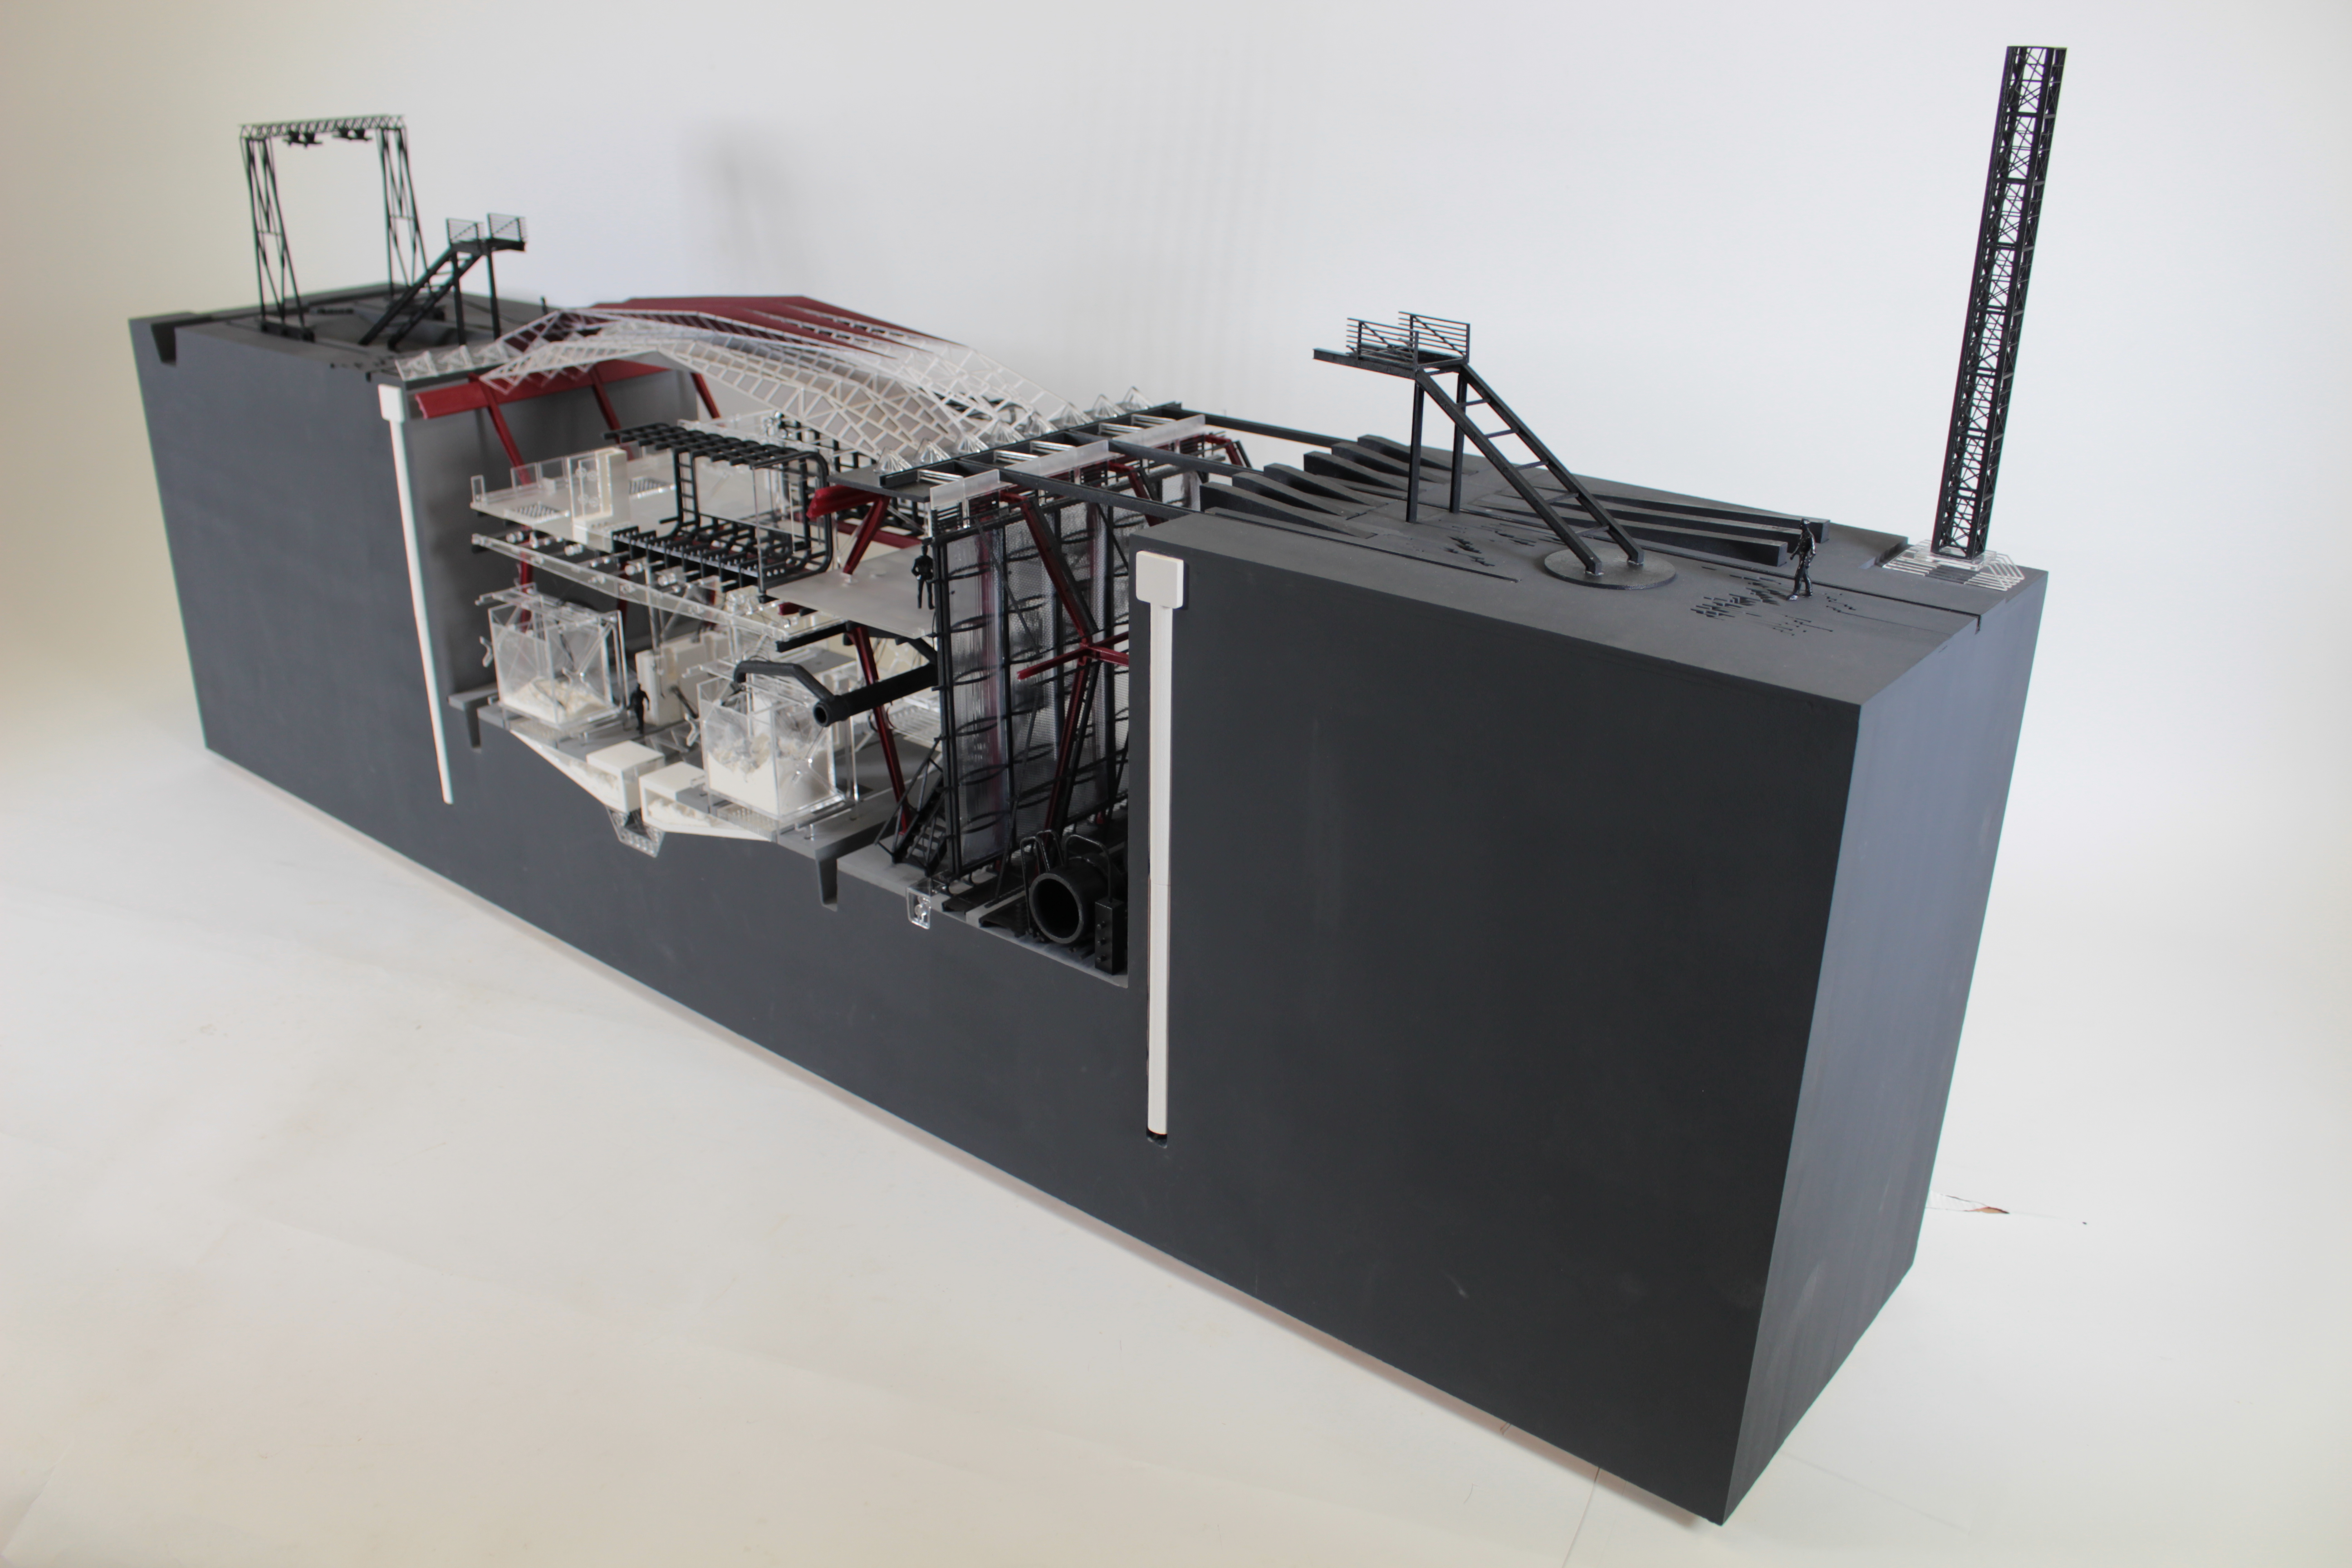
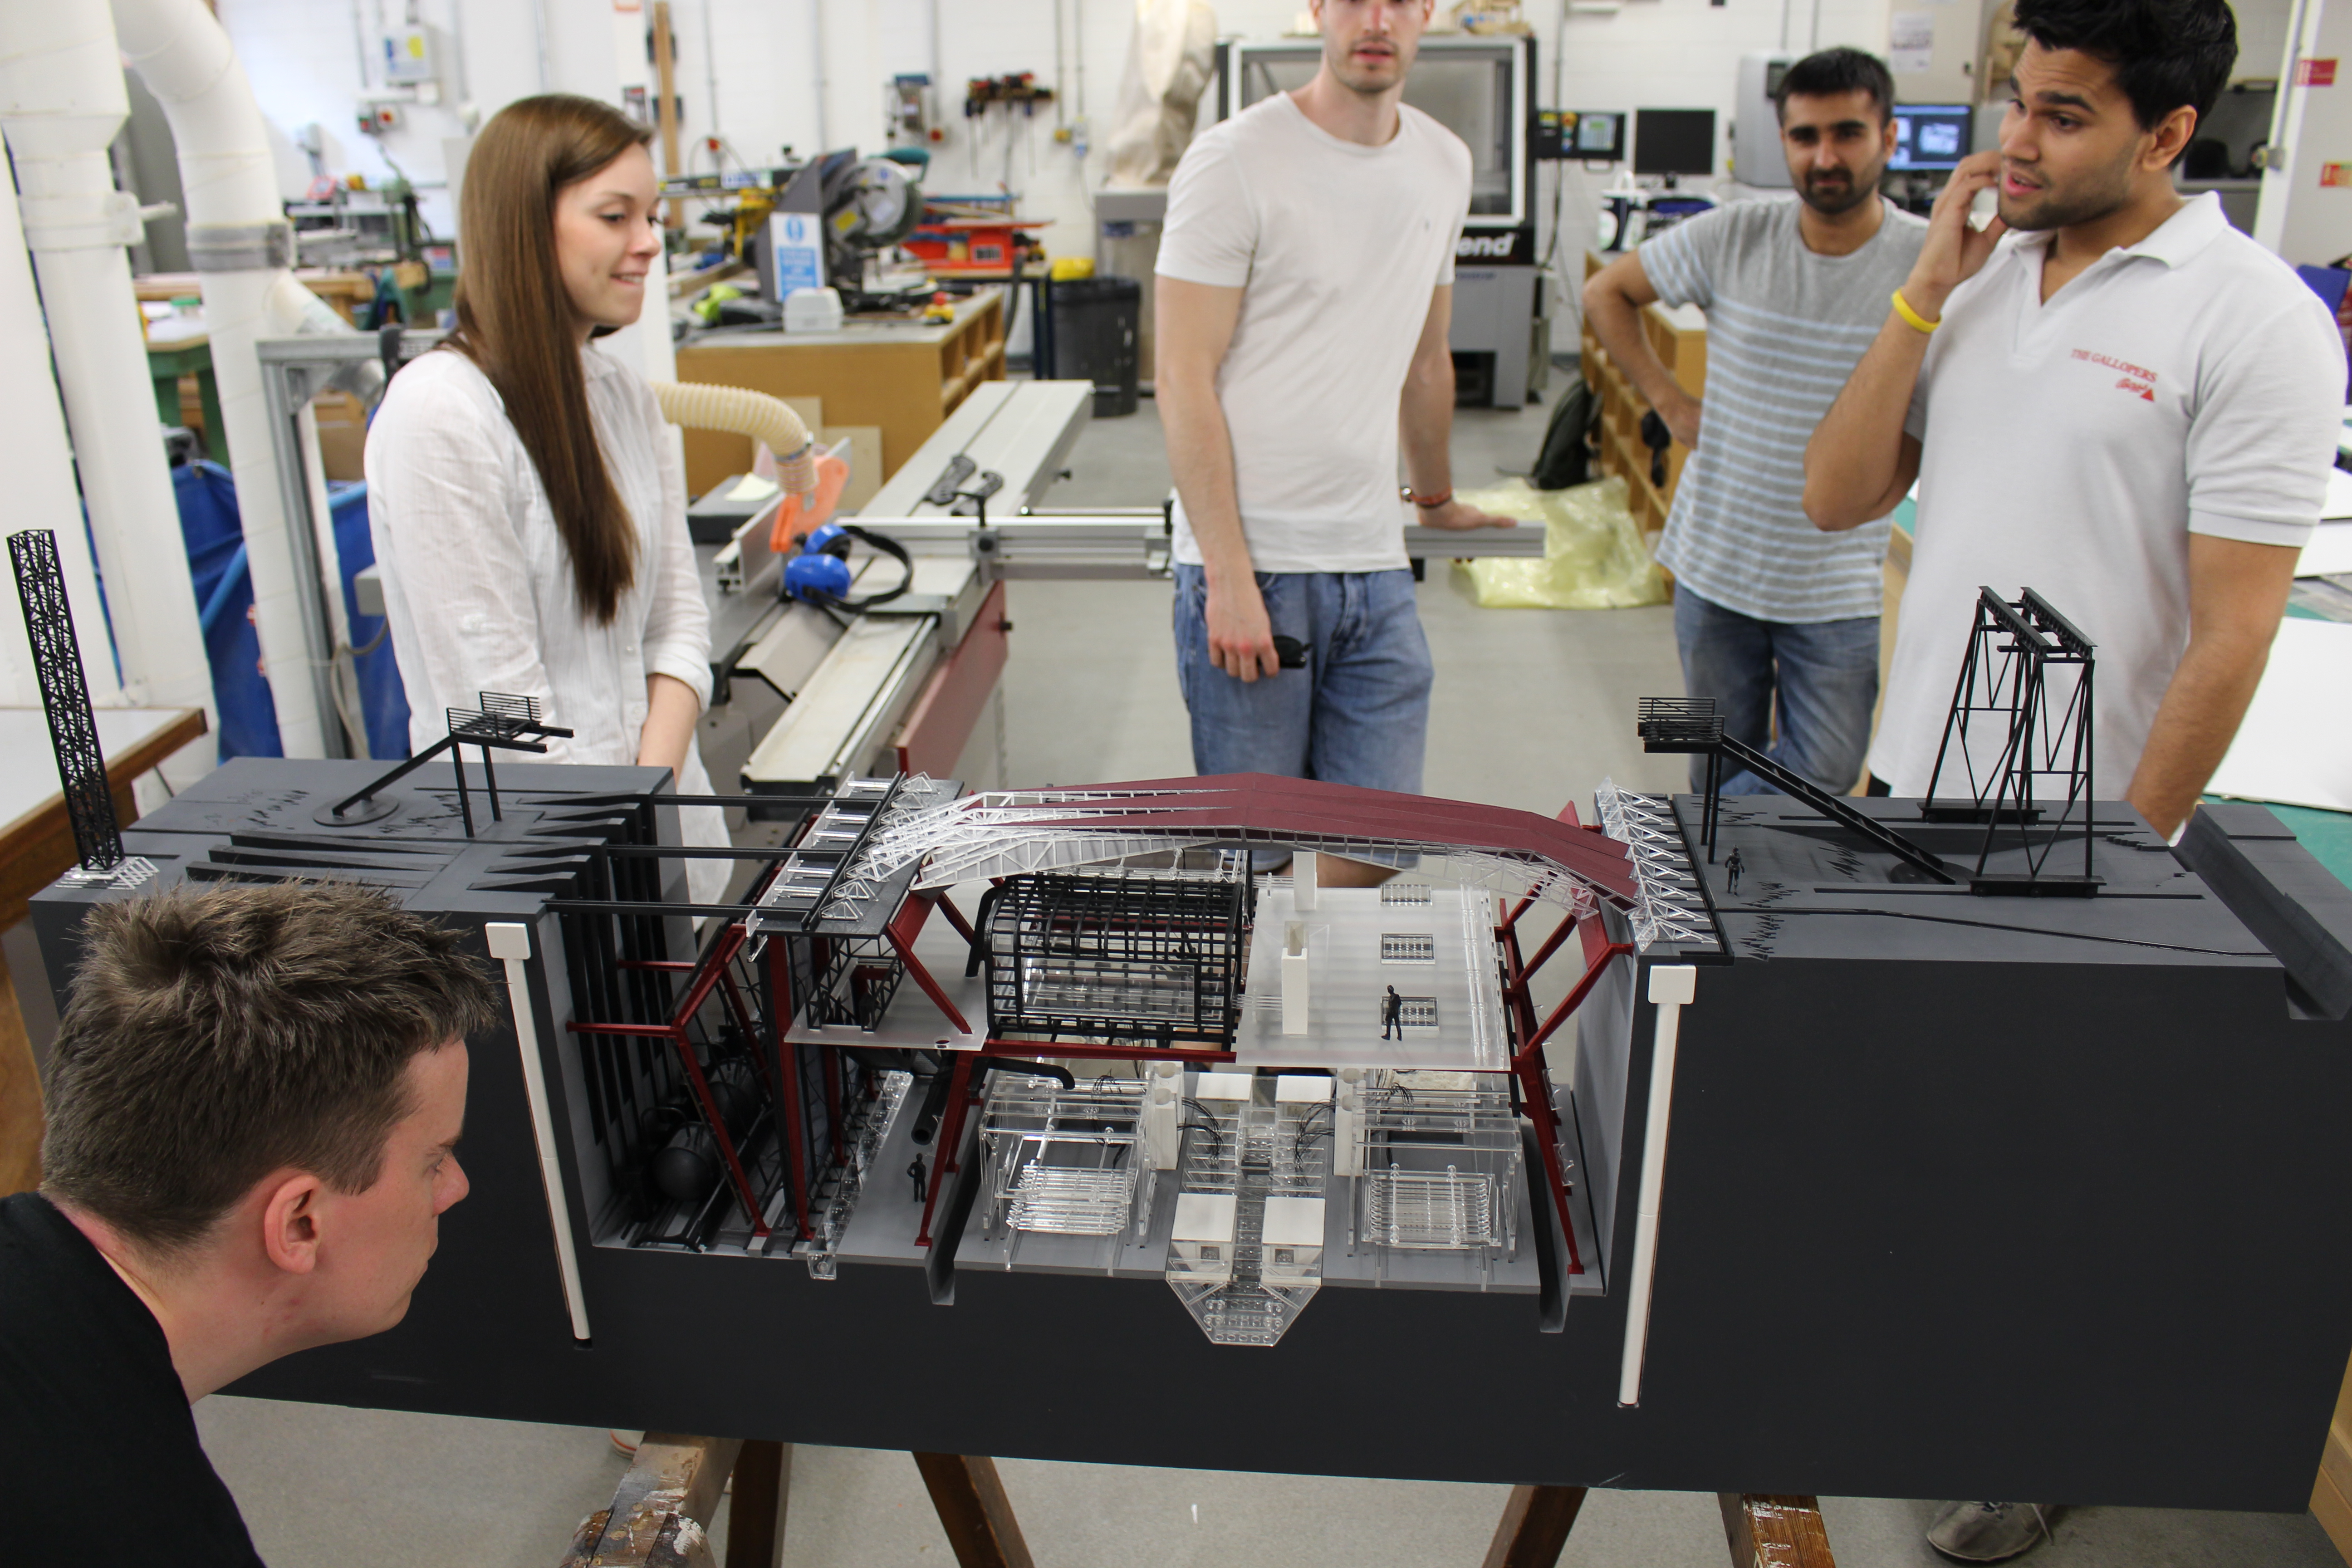
Turkey – There was a fantastic presentation cross section model of a theatre which was finished in veneer and full lighting (below). As is usually the case with models of this size they invite you to almost get inside the building and view different perspectives as you choose. This model was one of the best in show in terms of attention to detail and finish quality.

 Japan – This display reminded me of a studio workspace with samples from different stages of the design process on display all over the room. Amongst the items were plaster casts (left) and perhaps interesting for our second and third year students at the moment, 1:1 structural details such as this fantastic timber joint detail below.
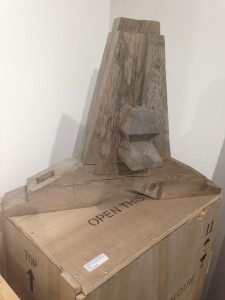
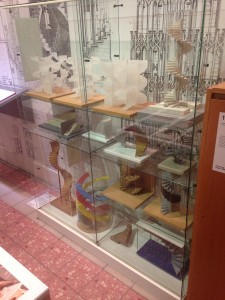
The main ‘Fundamentals of Architecture’ display by Rem Koolhass contained a fantastic array of different design and building components split it to groups and stages of production. One of the rooms featured a wide range of concept models from spiral stair cases (right). These were produced in different materials and at varied levels of finish but all as intriguing to see as each other.
The Hungarian Pavilion featured a number of great drawings and subsequent sketch models (left). These were made from a variety of materials and almost 100% using traditional analogue methods – that means no laser cutting guys! 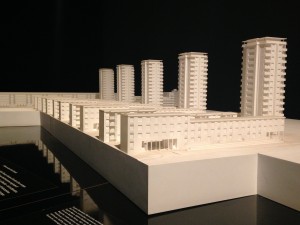
A huge part of the display in the French Pavilion looked at the tower block housing development called Cite De La Muette. The site was a modernist development that became synonymous with sadness after it was converted into a major internment camp for persecuted French Jews awaiting deportation during WW2.
 The exhibition looked at the values and goals the development originally set out to achieve that were unfortunately very short lived. The center piece of the display was a white presentation model of the site with a romanticized film vision of modernist living projected behind (left).
Conceptual presentation model on display in the Costa Rican Pavilion (below)
 I can’t say I’m a huge fan of the design but this Korean hotel model was finished to a high standard from beech veneer and timber (below). Very nice.
 One of the 3d printed models from the Moroccan Pavilion display (below). A series of site models were displayed under spotlights in a sand filled dark room. Quite a strange experience to walk around.
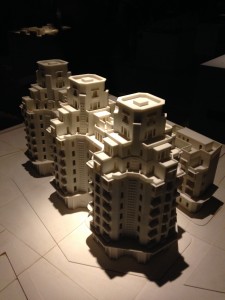
Interestingly, despite its increasing prominence in people’s consciousness both professional and public, the use of 3D printing was thankfully kept to an appropriate level in most cases. I was particularly glad of this as the repeated use of this method of model production can become somewhat boring!

 As well as the endless exploring of exhibitions across Venice the visiting students did manage to get a tutorial or two in and a presentation session of their proposed ideas.
The show was a fantastic display and I would encourage anyone to visit and see as much of it as possible next time around. The city is, without really needing to say, a fantastic inspiration and learning experience in itself.
Scott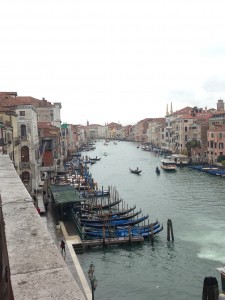

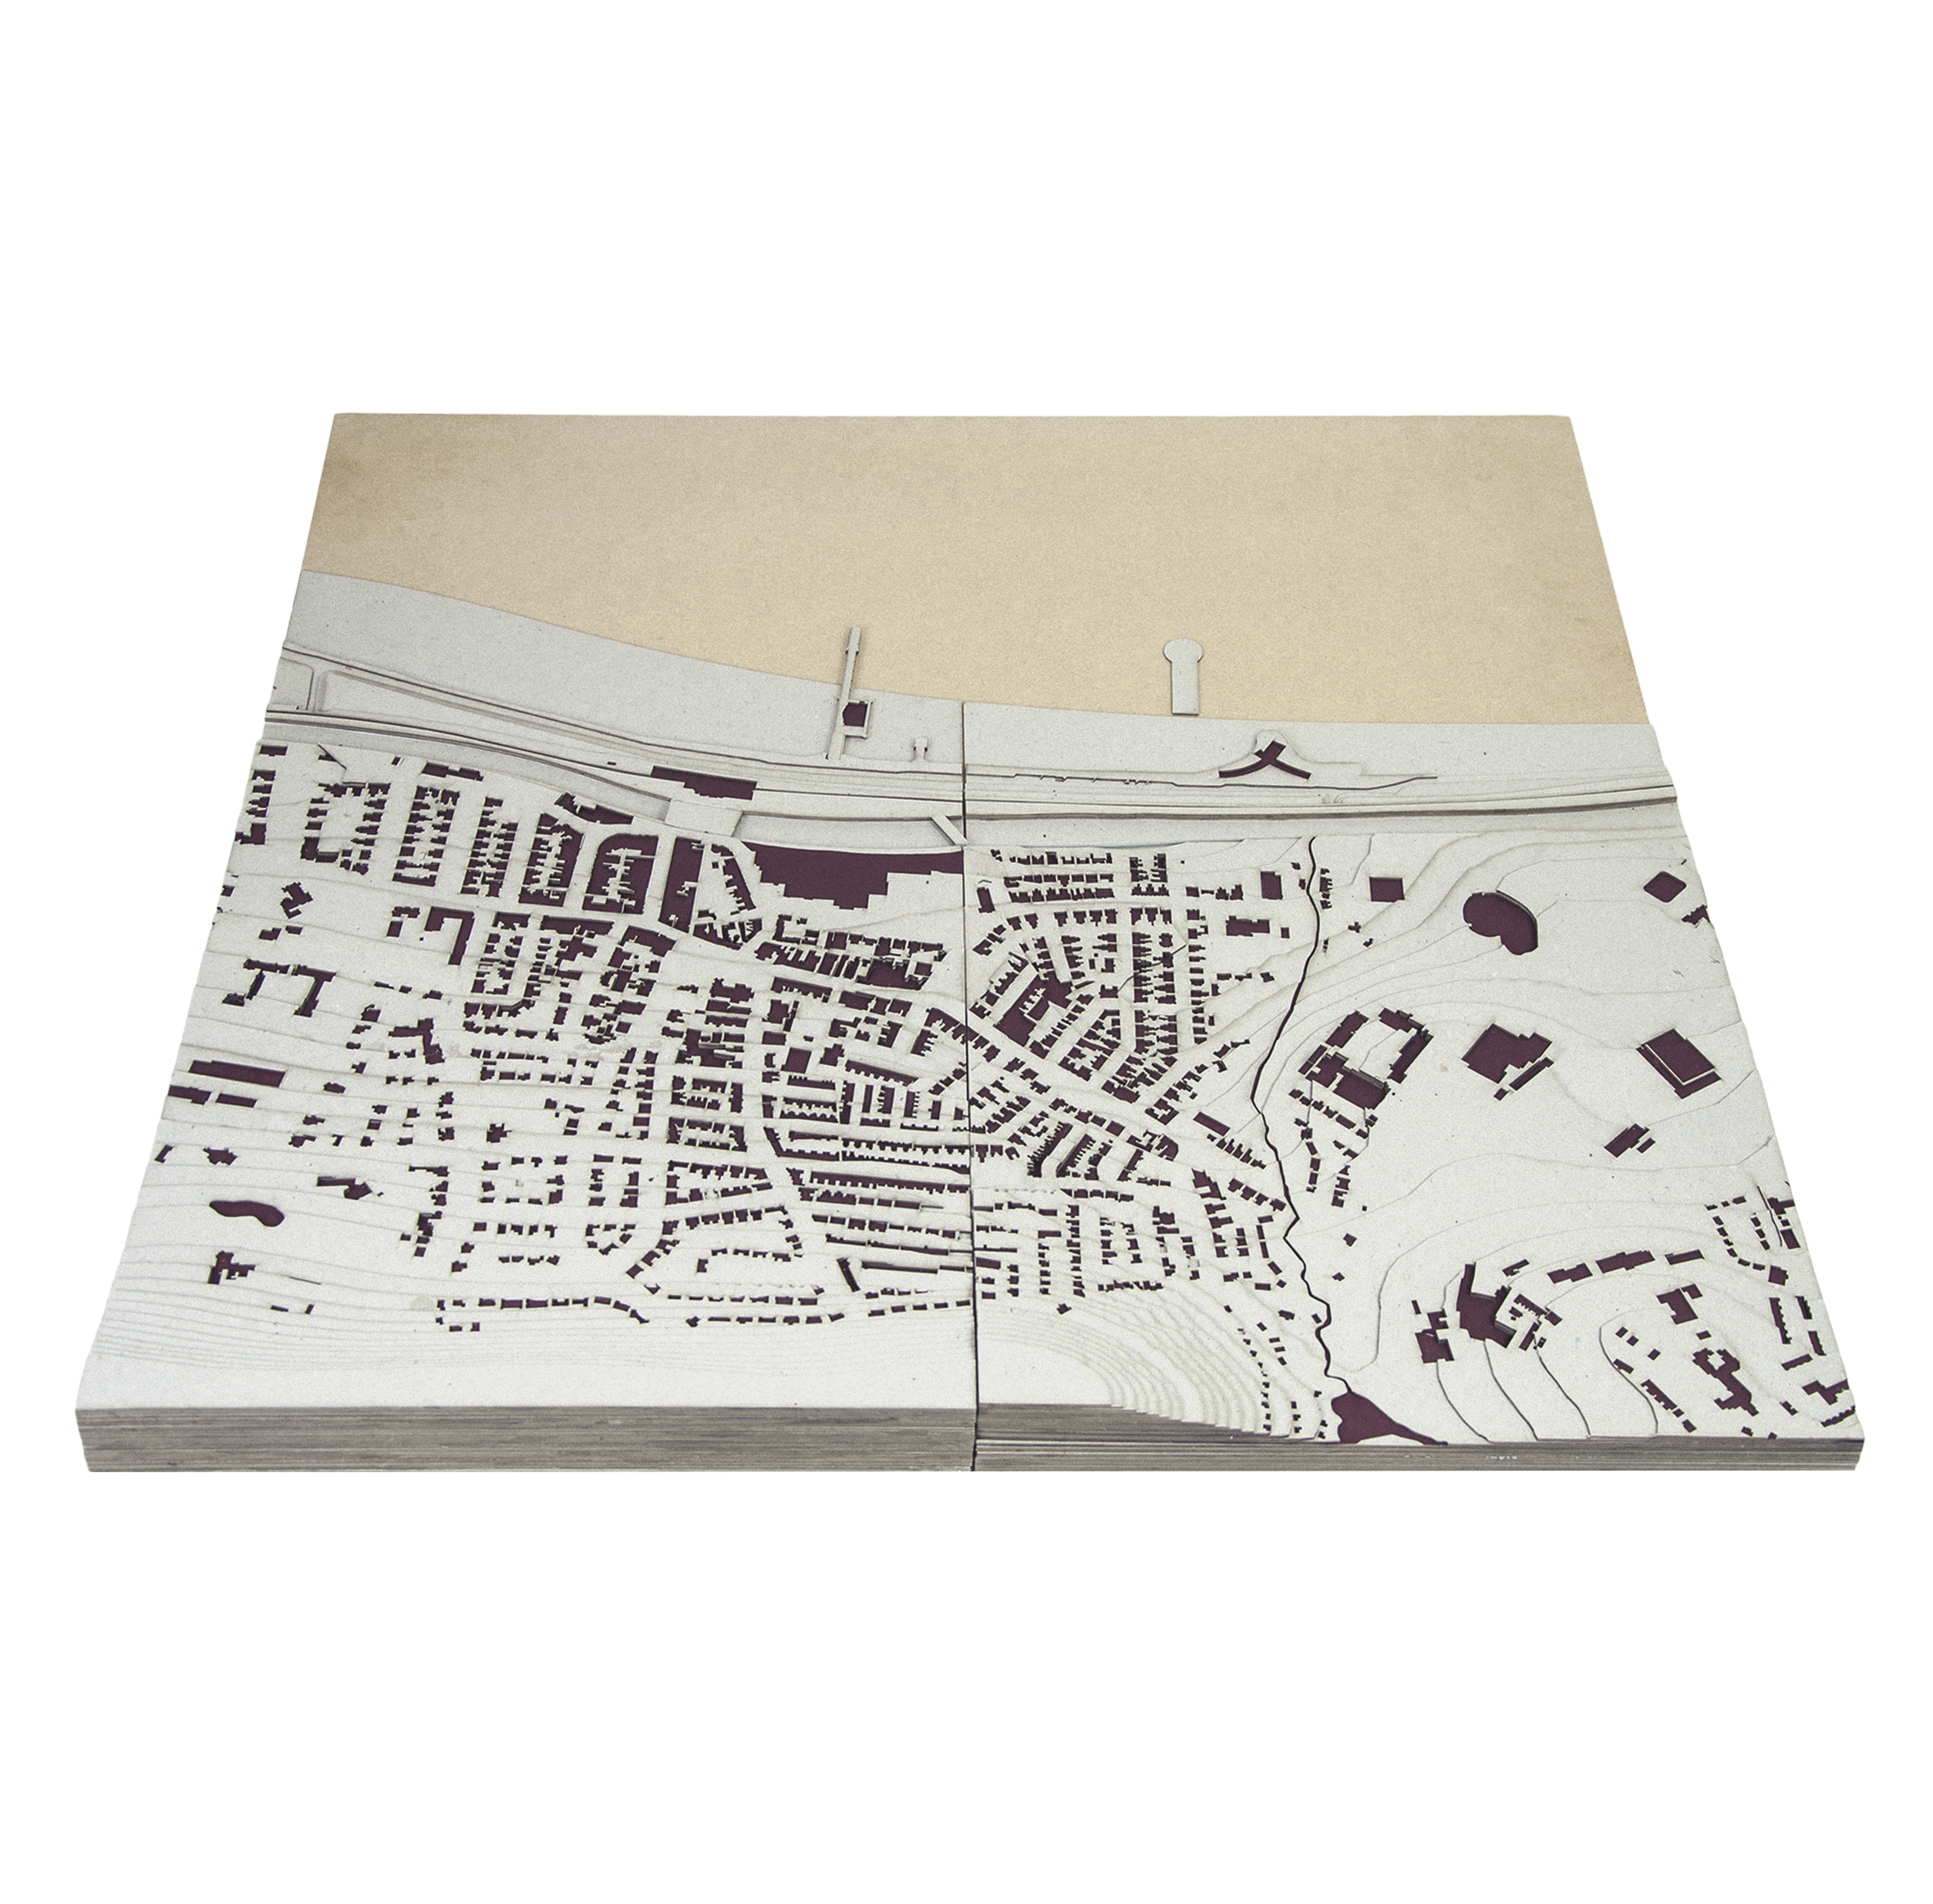
 Rather than using heavy and considerably more expensive wood to make their contour model, Continuity in Architecture students Ketil and Kristian opted to use grey board which saved them considerable time in cutting and money on materials.