The focus of this year’s U.S.E. atelier is the city of Dortmund, Germany. I was fortunate to be able to take part in the study trip that saw the group, both 5th and 6th years, exploring and documenting the proposed site along with several post industrial sites. It was agreed early on in the trip that a masterplan model should be created for group discussions throughout the year and as a center piece for the end of year show taking place next June.


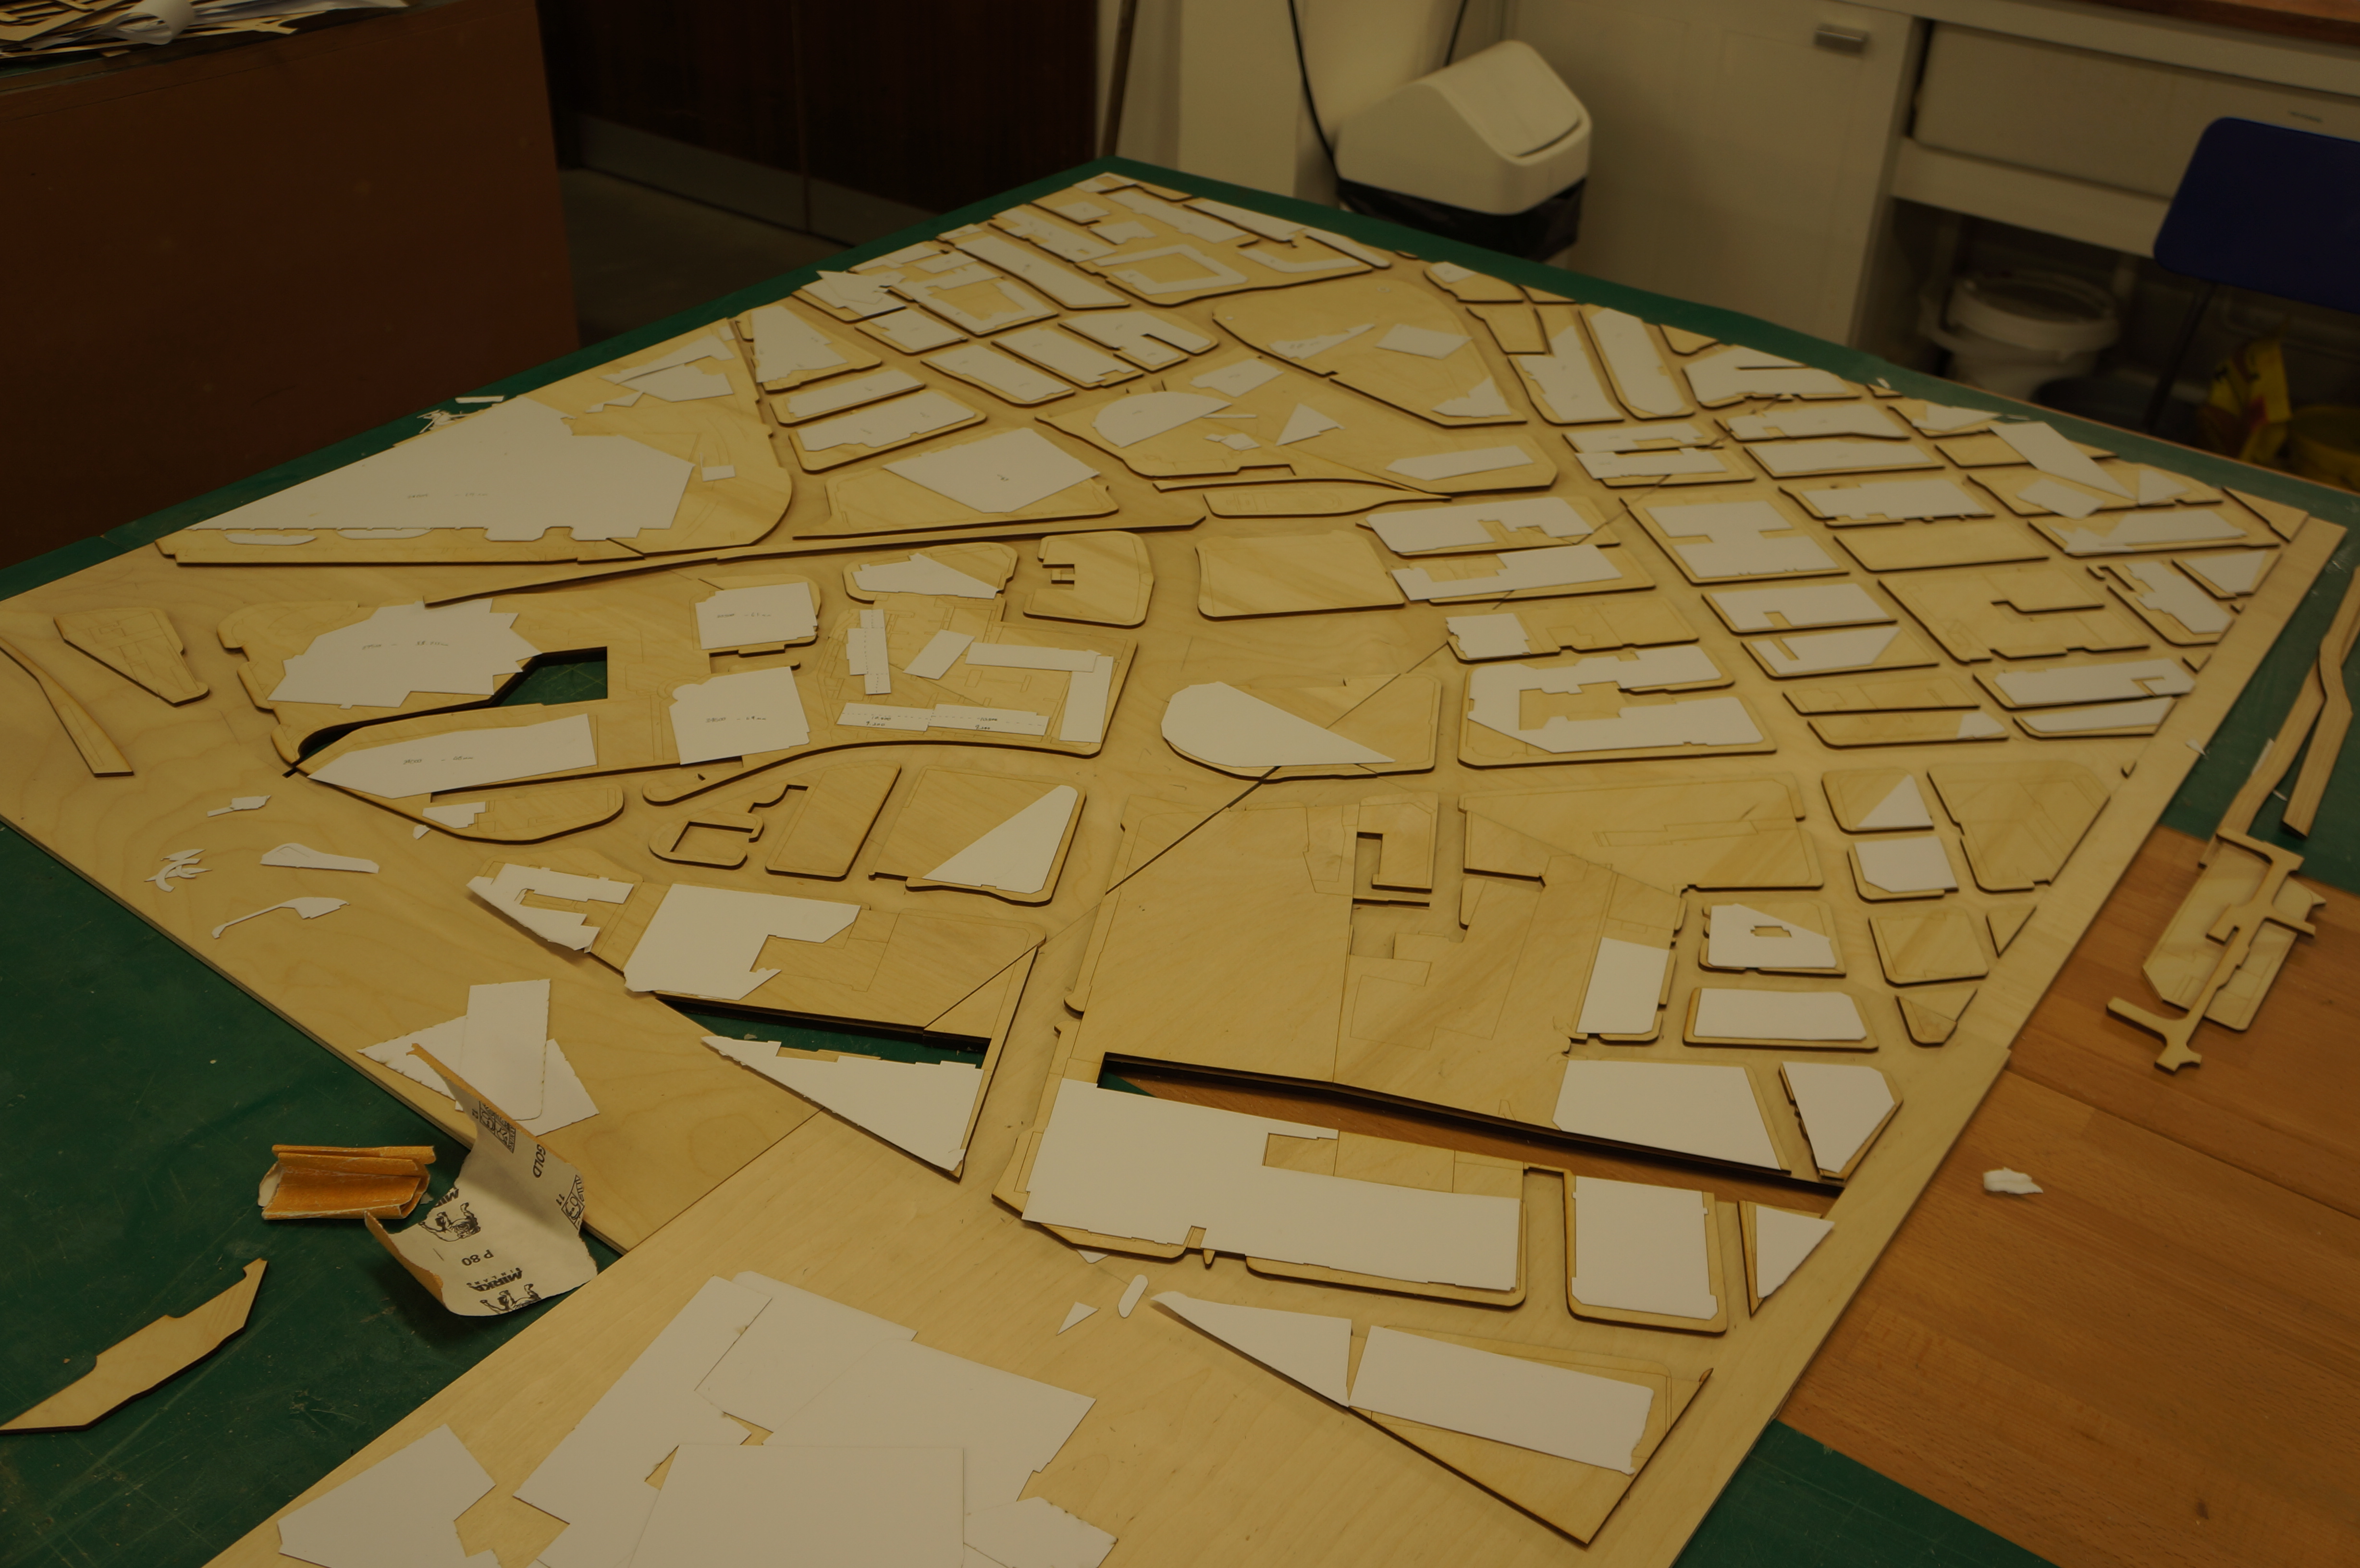
A scale of 1:1250 was chosen due to material constraints, fitting the width of a 2440x1220mm MDF sheet. For an appropriate portrayal of information at this scale, we largely focused on the massing and blocking whilst acknowledging the railway lines, running at a lower level to the rest of the site and splitting the Union Quarter into three parcels. Other than this drastic level change, we chose to ignore other topographical features of the area; whilst the site features a gradual incline towards the westpark, this would be largely negligible at 1:1250 and would have added considerable time and effort to the construction process.

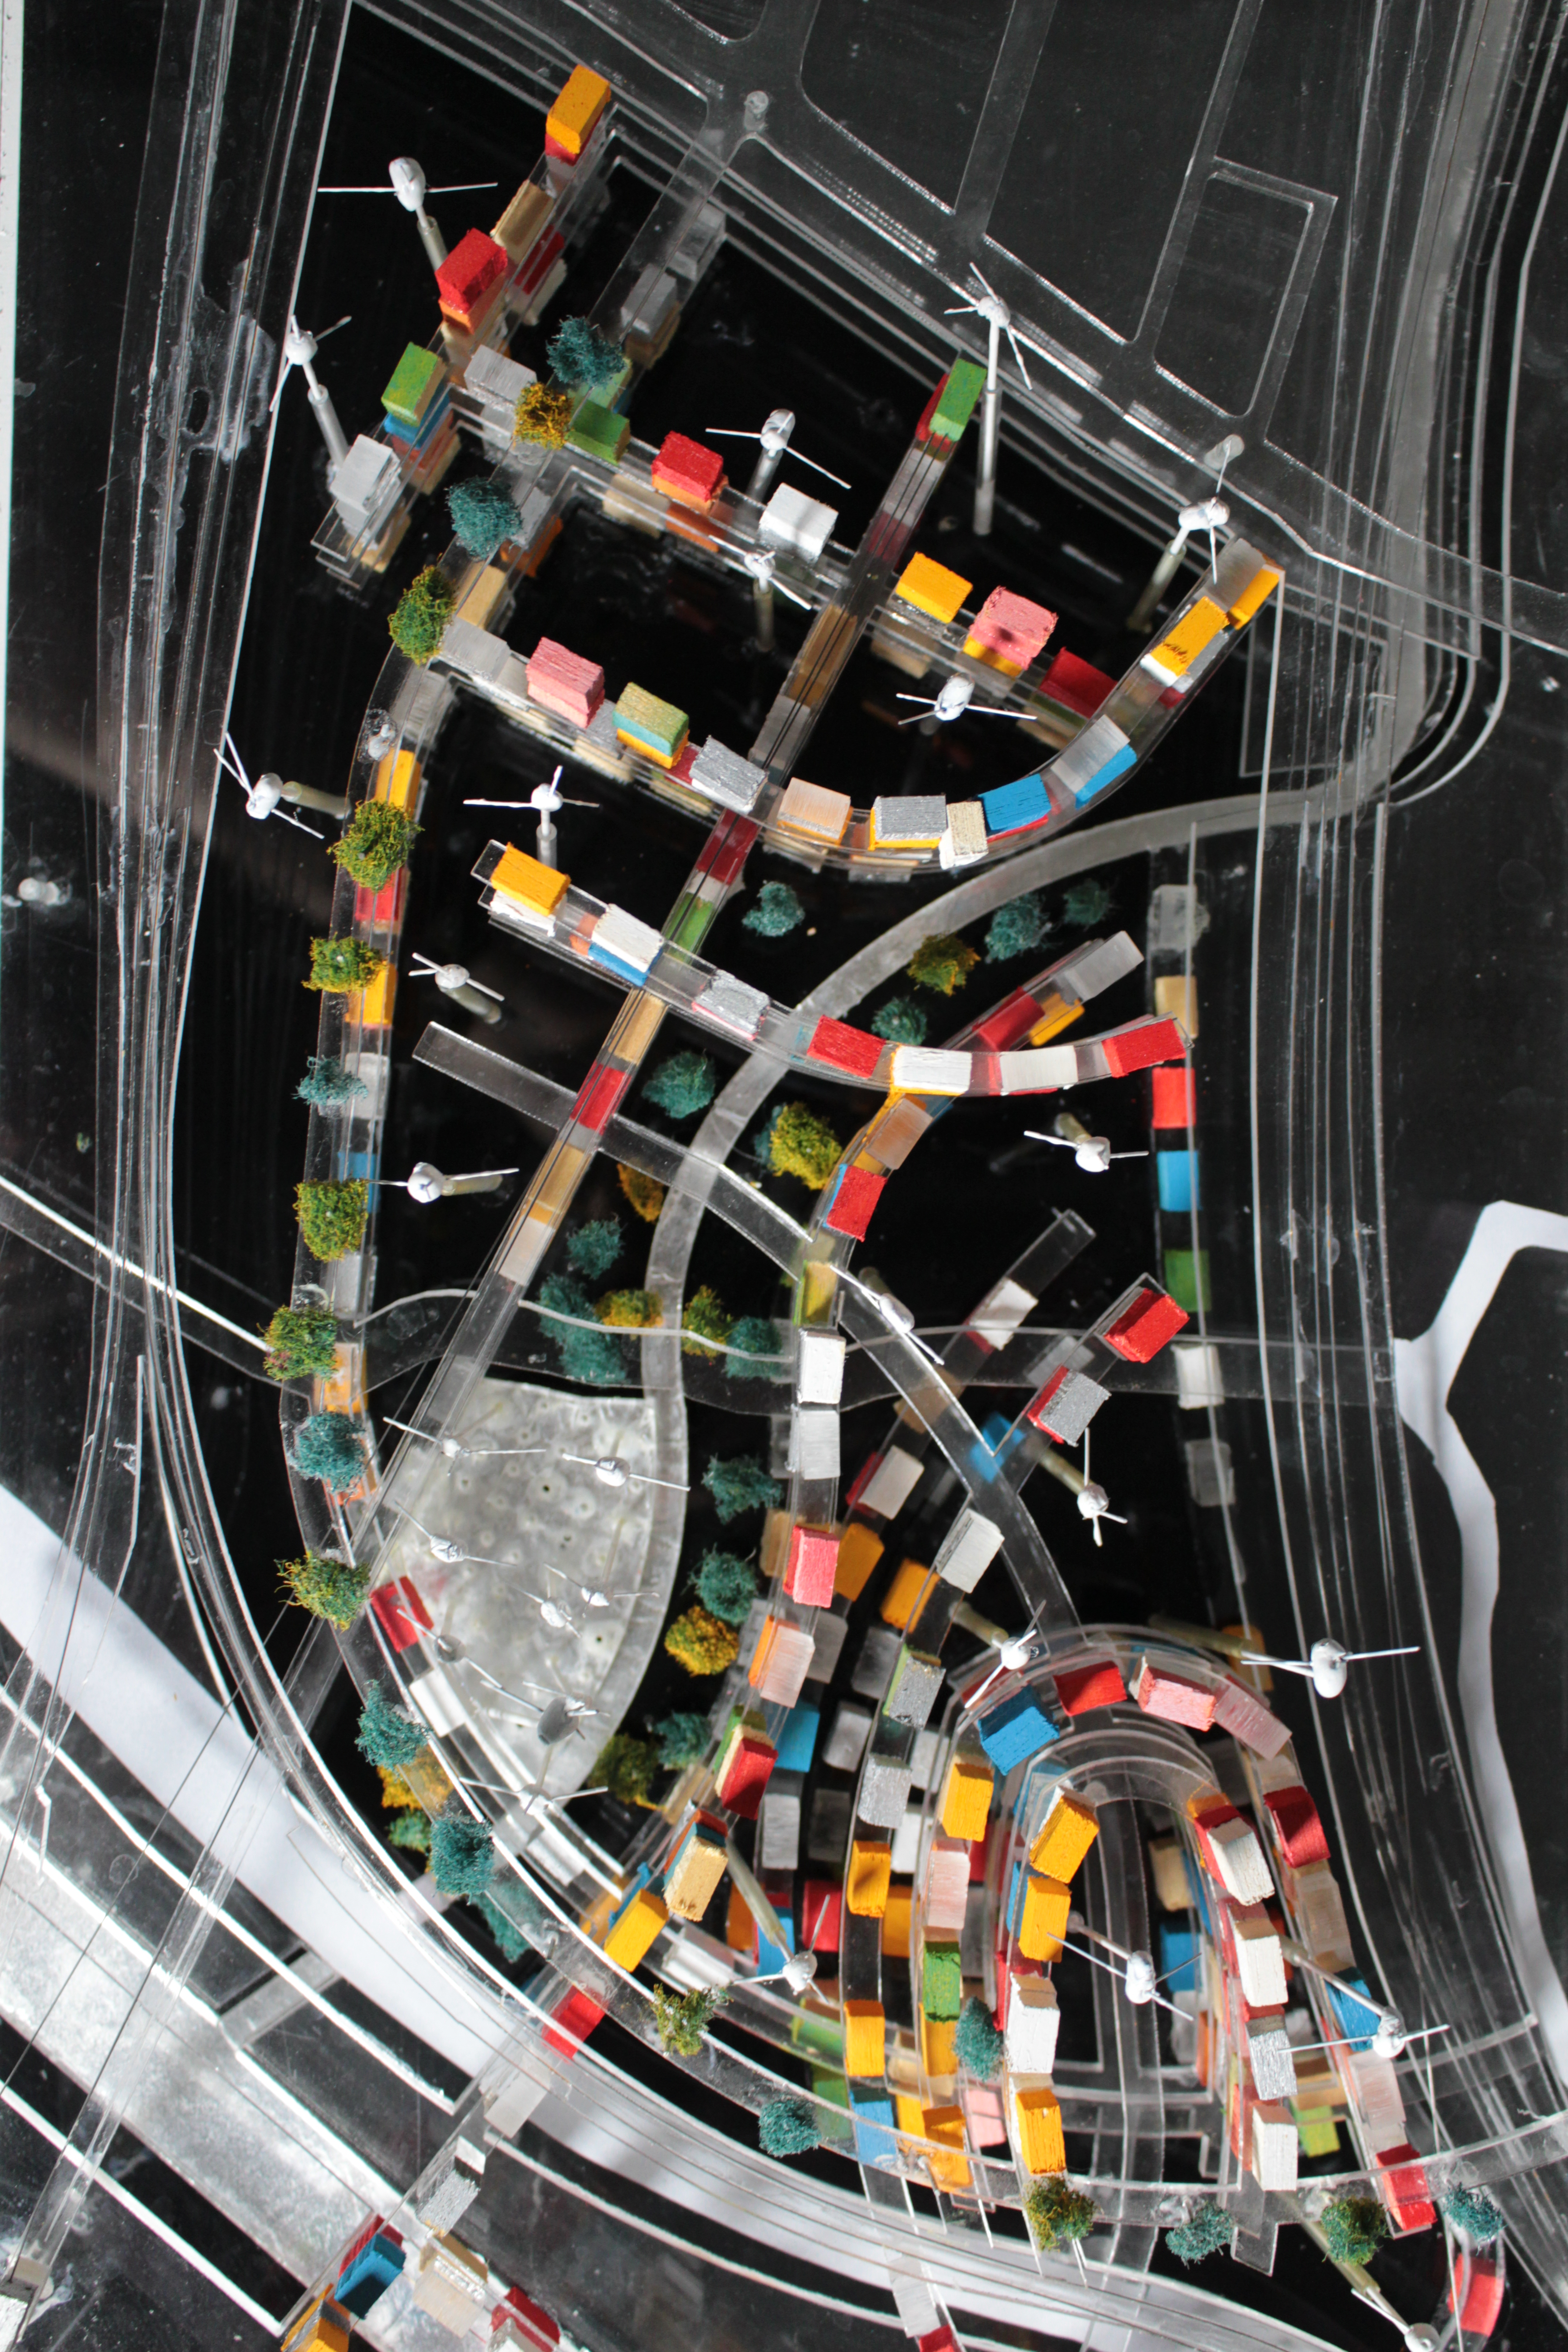
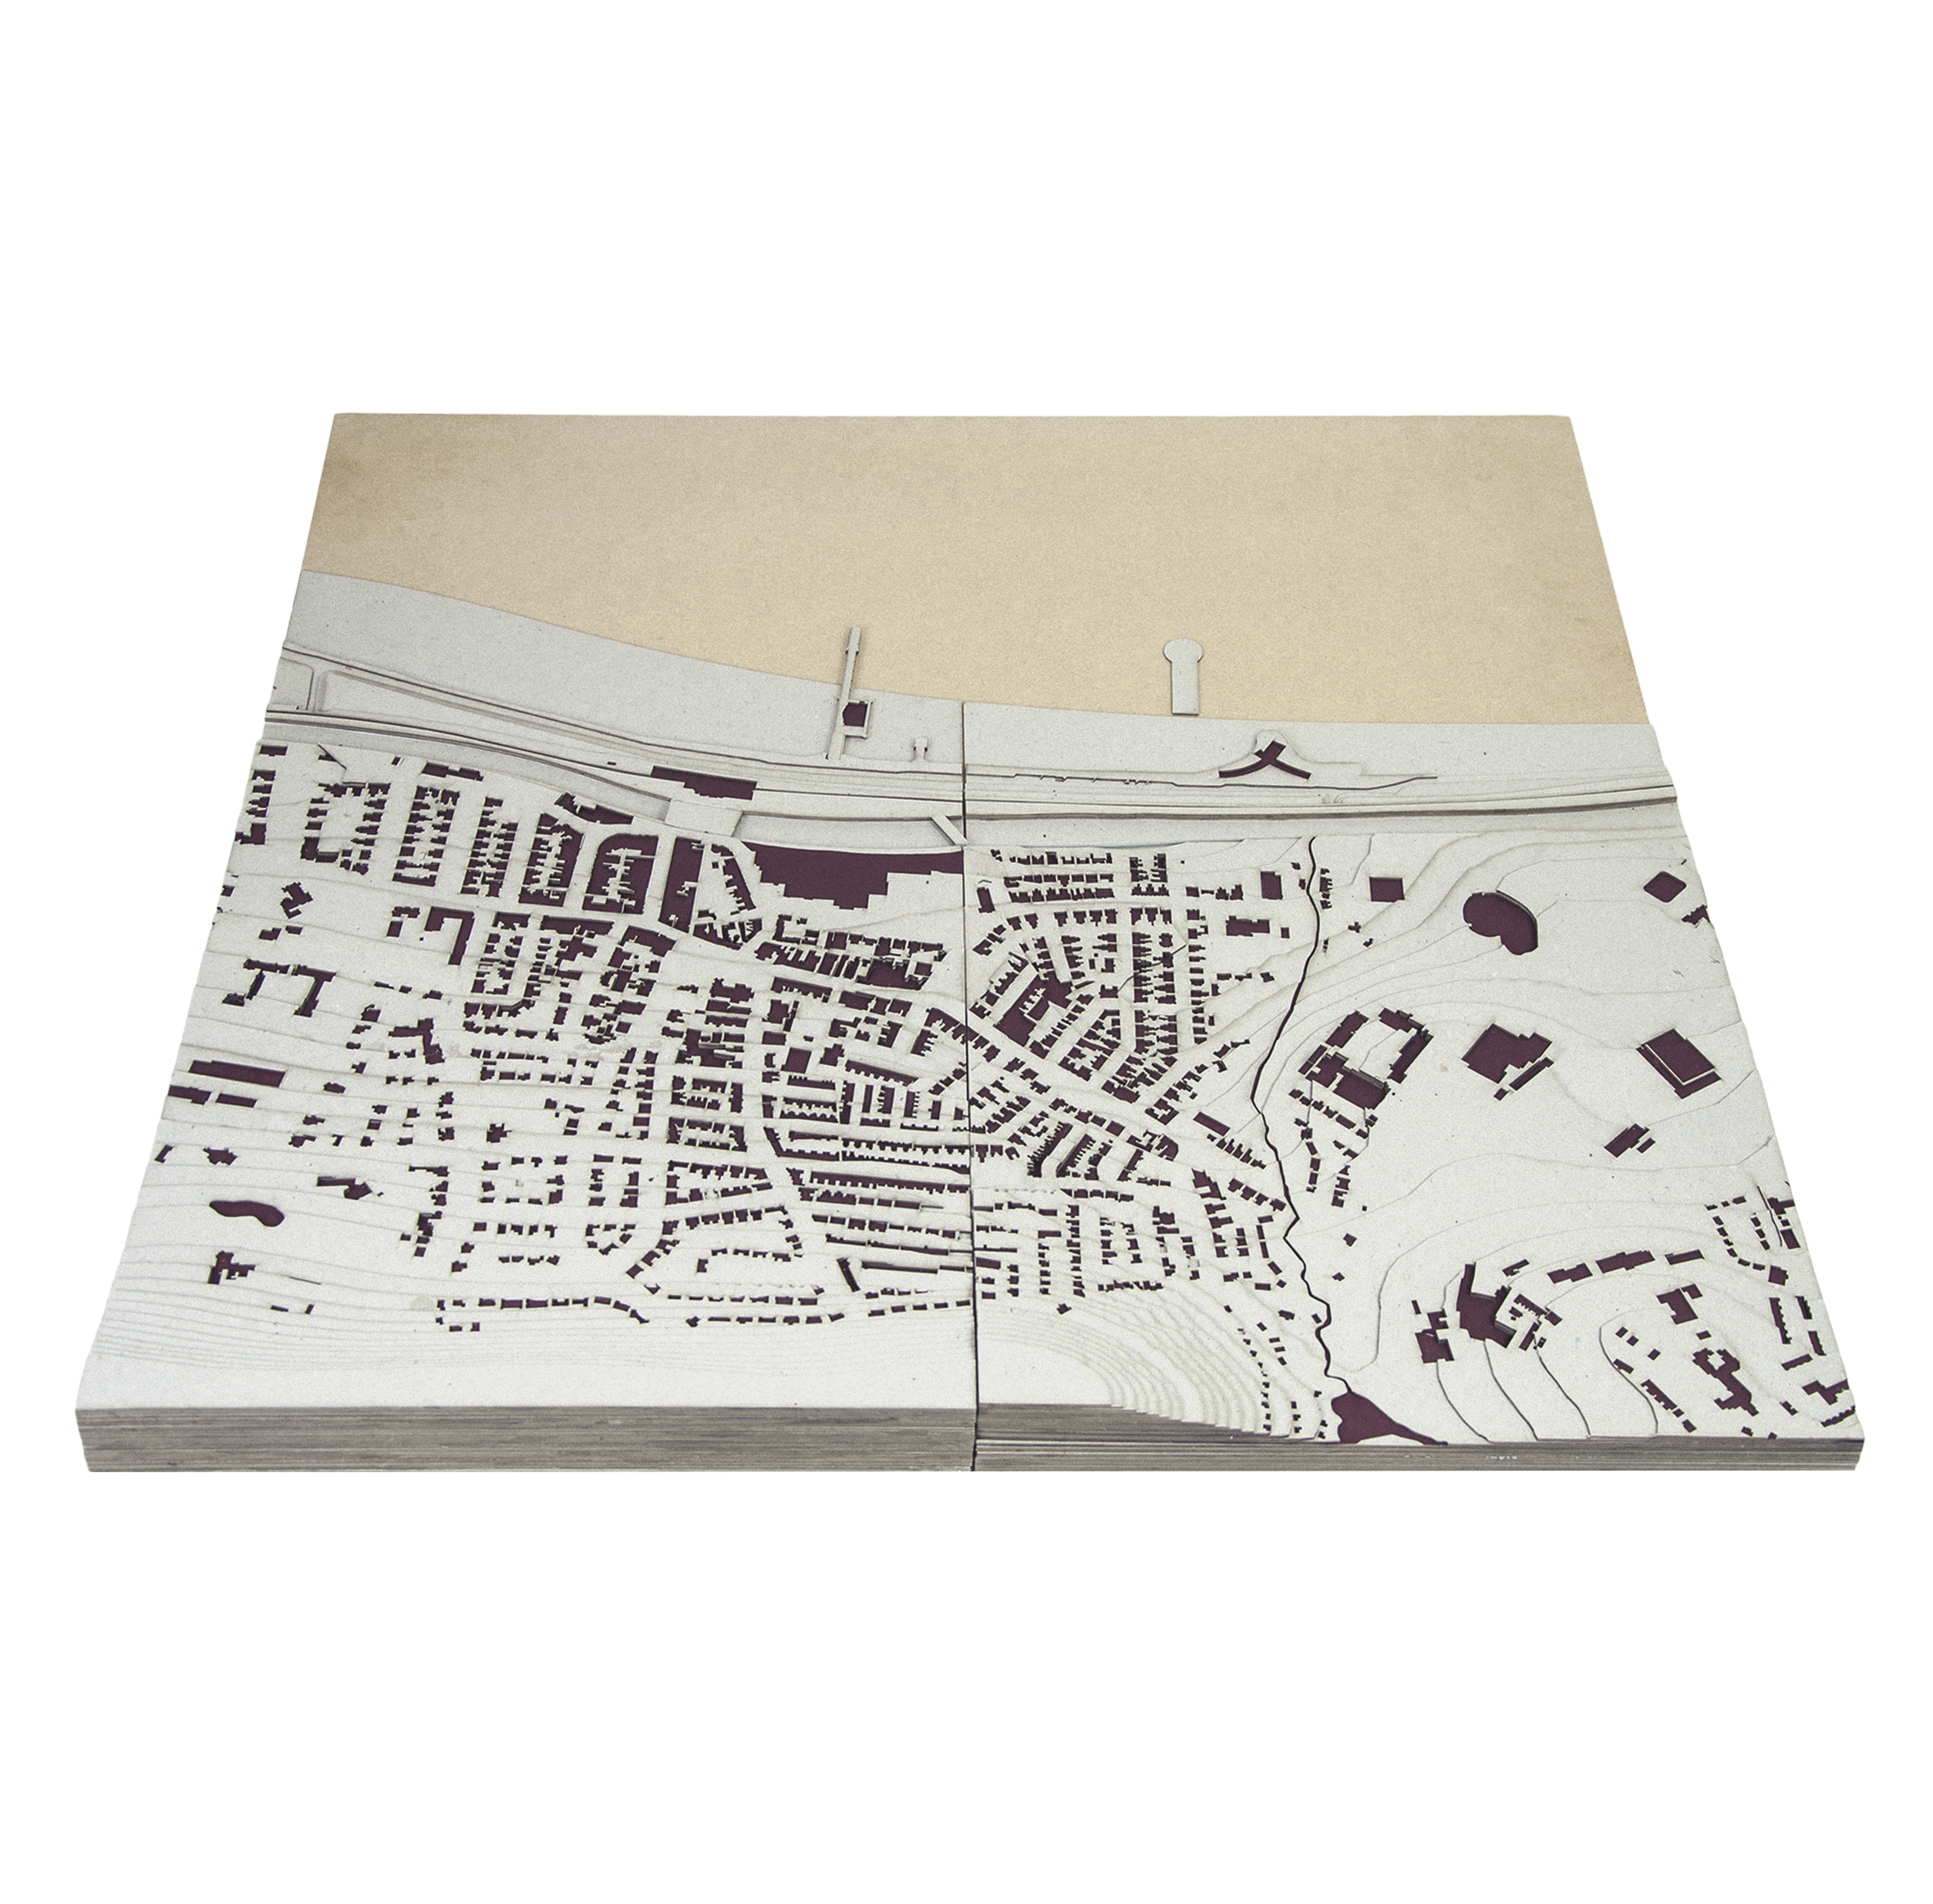
To demarcate the site boundary, we chose to raise the union quarter on a plinth above the main model base. To economise on time, we also chose only to build massing on this plinth; outside the site boundary, roads and buildings are indicated by engravings on a plasma cut mild steel sheet. This was left outside over a weekend to rust, acting as a material metaphor for Dortmund’s steel heritage, which is highly prominent on site.


The raised Union Quarter plinths are produced from 12mm clear acrylic recycled from display cabinets at the Manchester Museum. laser cut polystyrene sheeting was plastic welded on top, forming pavements and streets, before being spray painted white. the plinths were originally constructed from cnc’d MDF, though these were scrapped as we were not satisfied with the finish or the joining with the polystyrene sheets, which did not stick well to the timber.


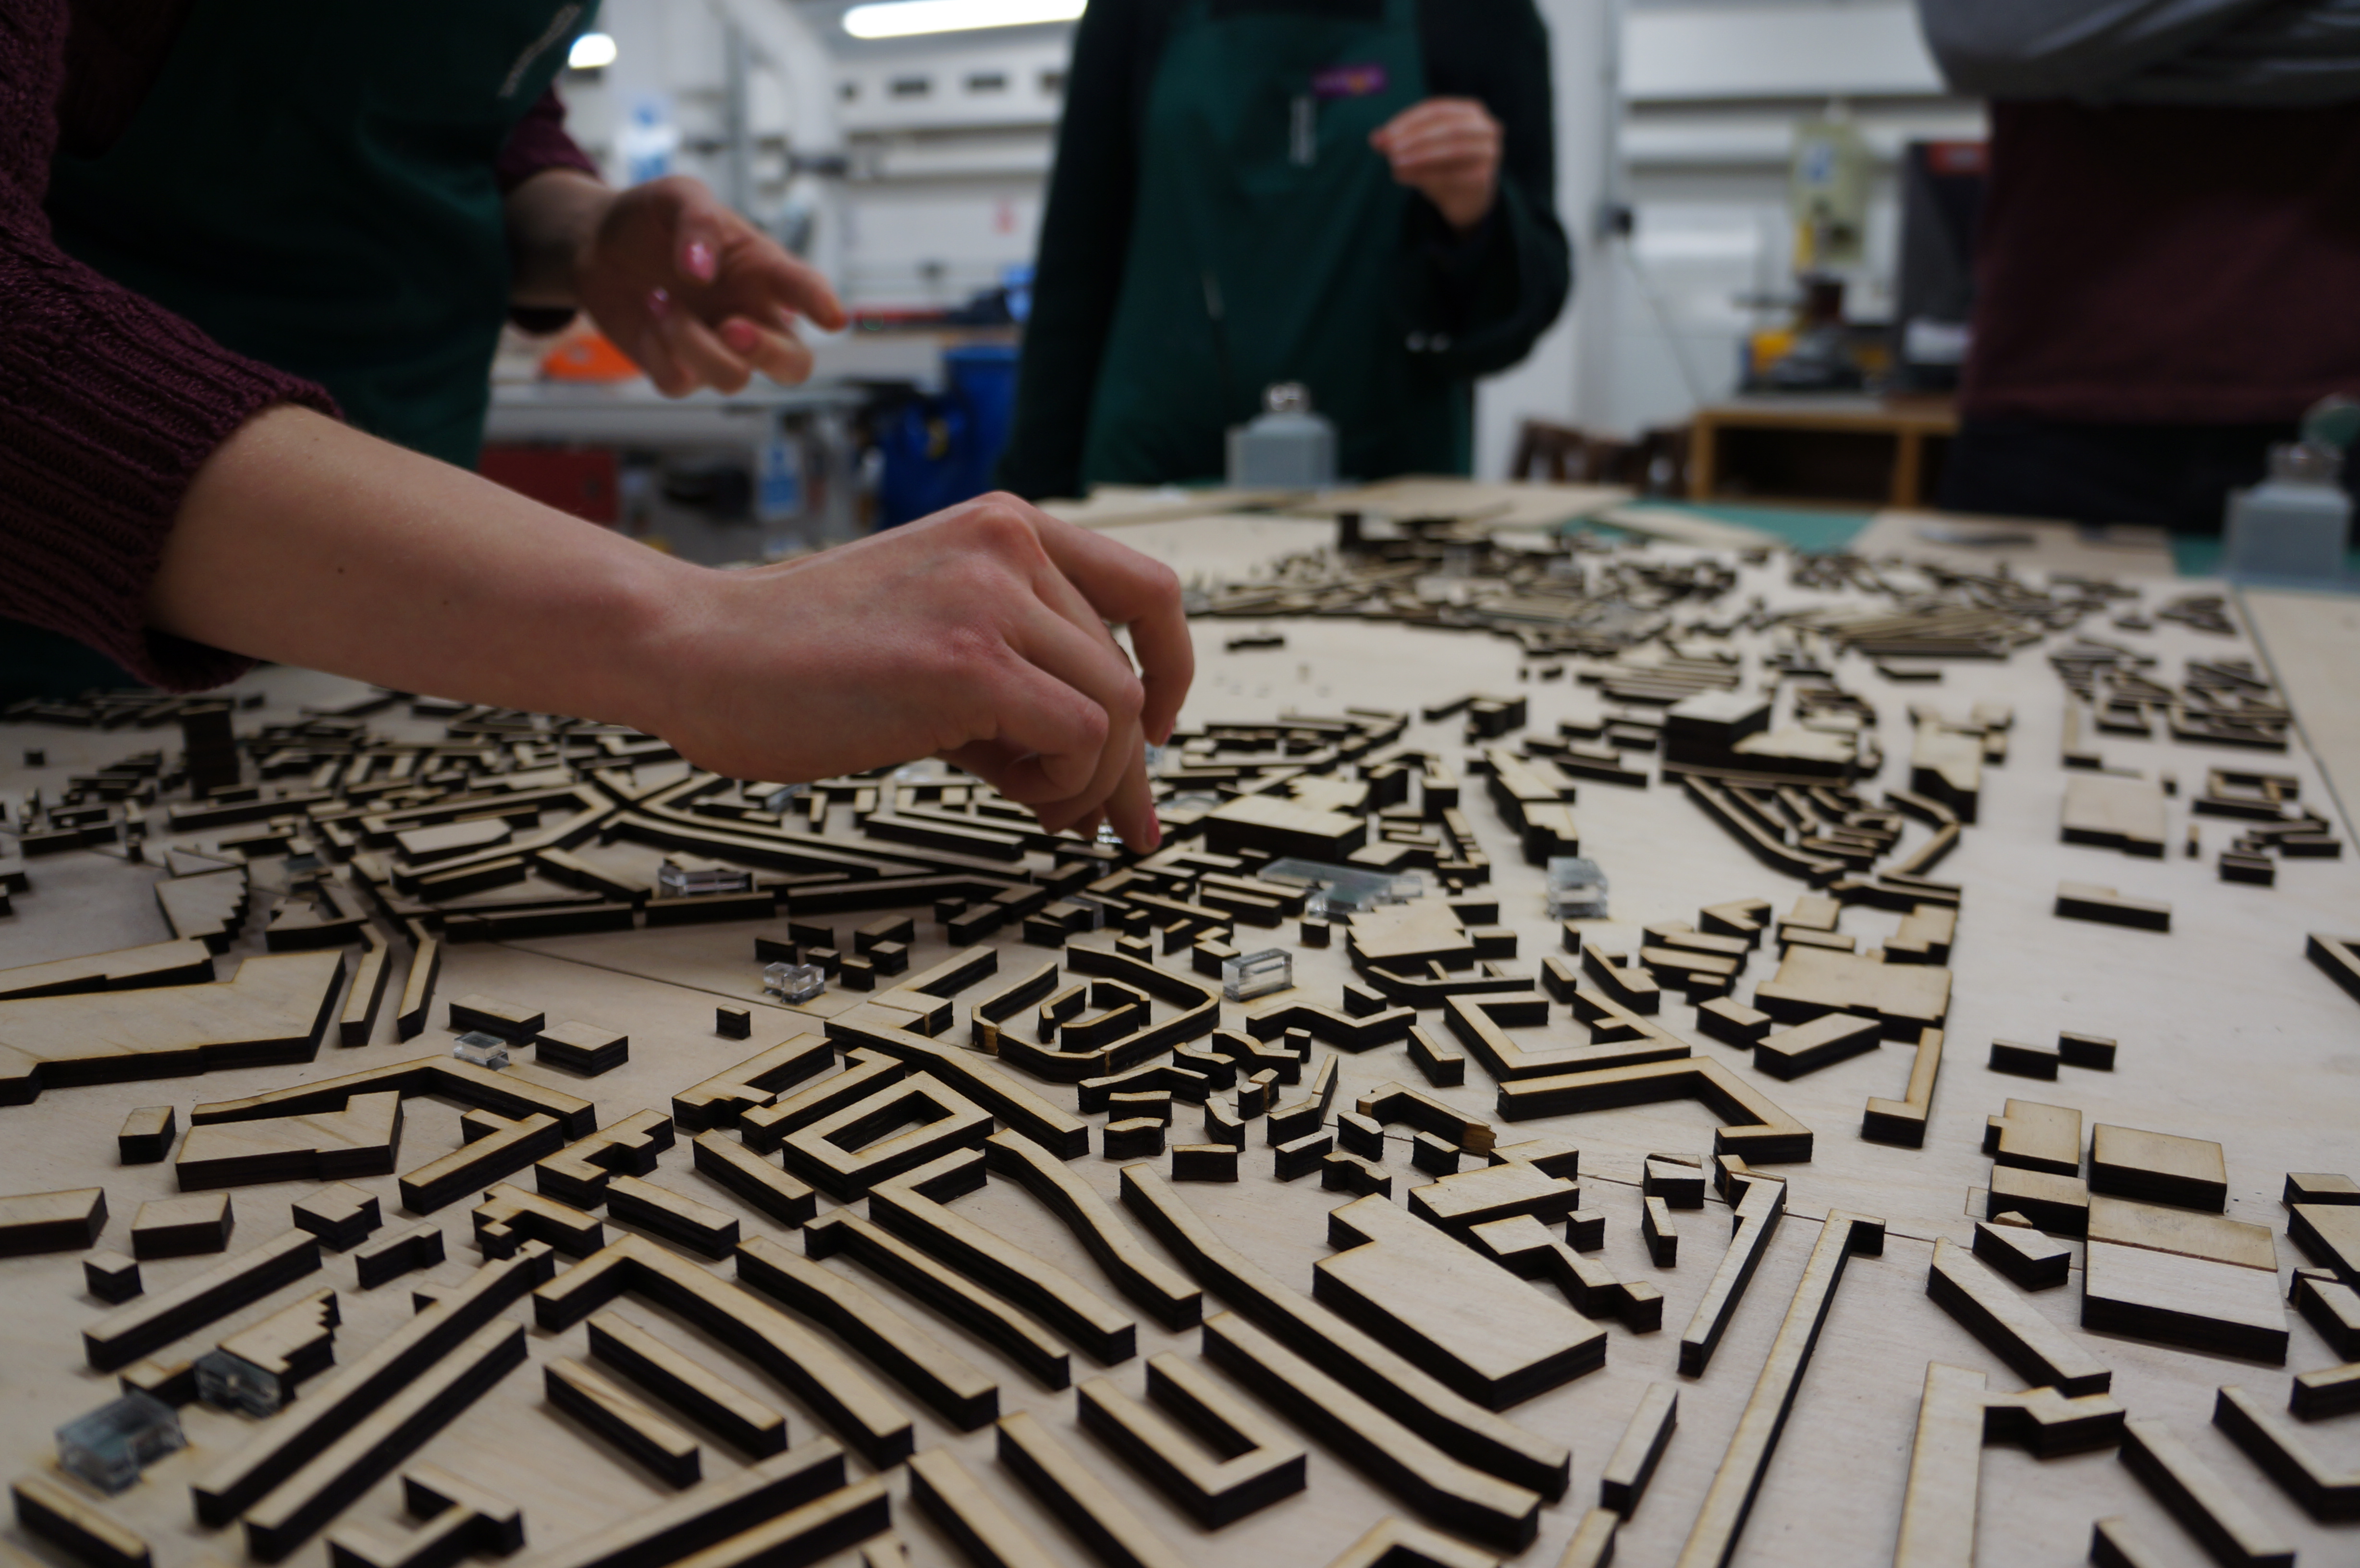
 For the massing, we were advised by workshop staff to use chemi-wood, a resin-based material known for its ease of cutting and crisp finish. buildings were hand cut; whilst being a lengthy process, we were able to add a greater level of complexity to blocking than would normally be possible with the laser cutter, such as pitched roofs.


Blocks were then spray painted with shades of white and grey to identify their general usage, broken down into residential, public, commercial and industrial. though nearly finished to a presentation-quality standard, in future we are looking to add trees to the model as the union quarter is a particularly green urban area.”
The main base feature of this model was the engraved 2mm thick steel sheet. On it’s arrival the steel had a light coating of oil to prevent rust which, unusually when it comes to the use of metal, was exactly the finish the group didn’t want!
 There were several discussions about how to best subtly age the steel which were all trial and error with regard to retaining the engraved detail. It was decided to clean the oil from the face of the steel and leave it outside over the weekend having been lightly sprayed with Epsom salts.
 At best we thought it may have started to surface rust by Monday morning. To our surprise and temporary horror the rust had completely coated the sheet in the heavy rain that had ensued. Thankfully the group were able to rub back the rust with fine grade sandpaper and the effect turned out to be better than was hoped for.


 The buildings were fixed to the floor plates and the arranged in position on the steel base. Only trees remain to emphasis the green spaces across the site but have been left off for now until the final assembly closer to the end of the year. – Scott