‘Retrofit’ Structural Study Model by Paul Thornber

Paul Thornber Structural Dteail (6)

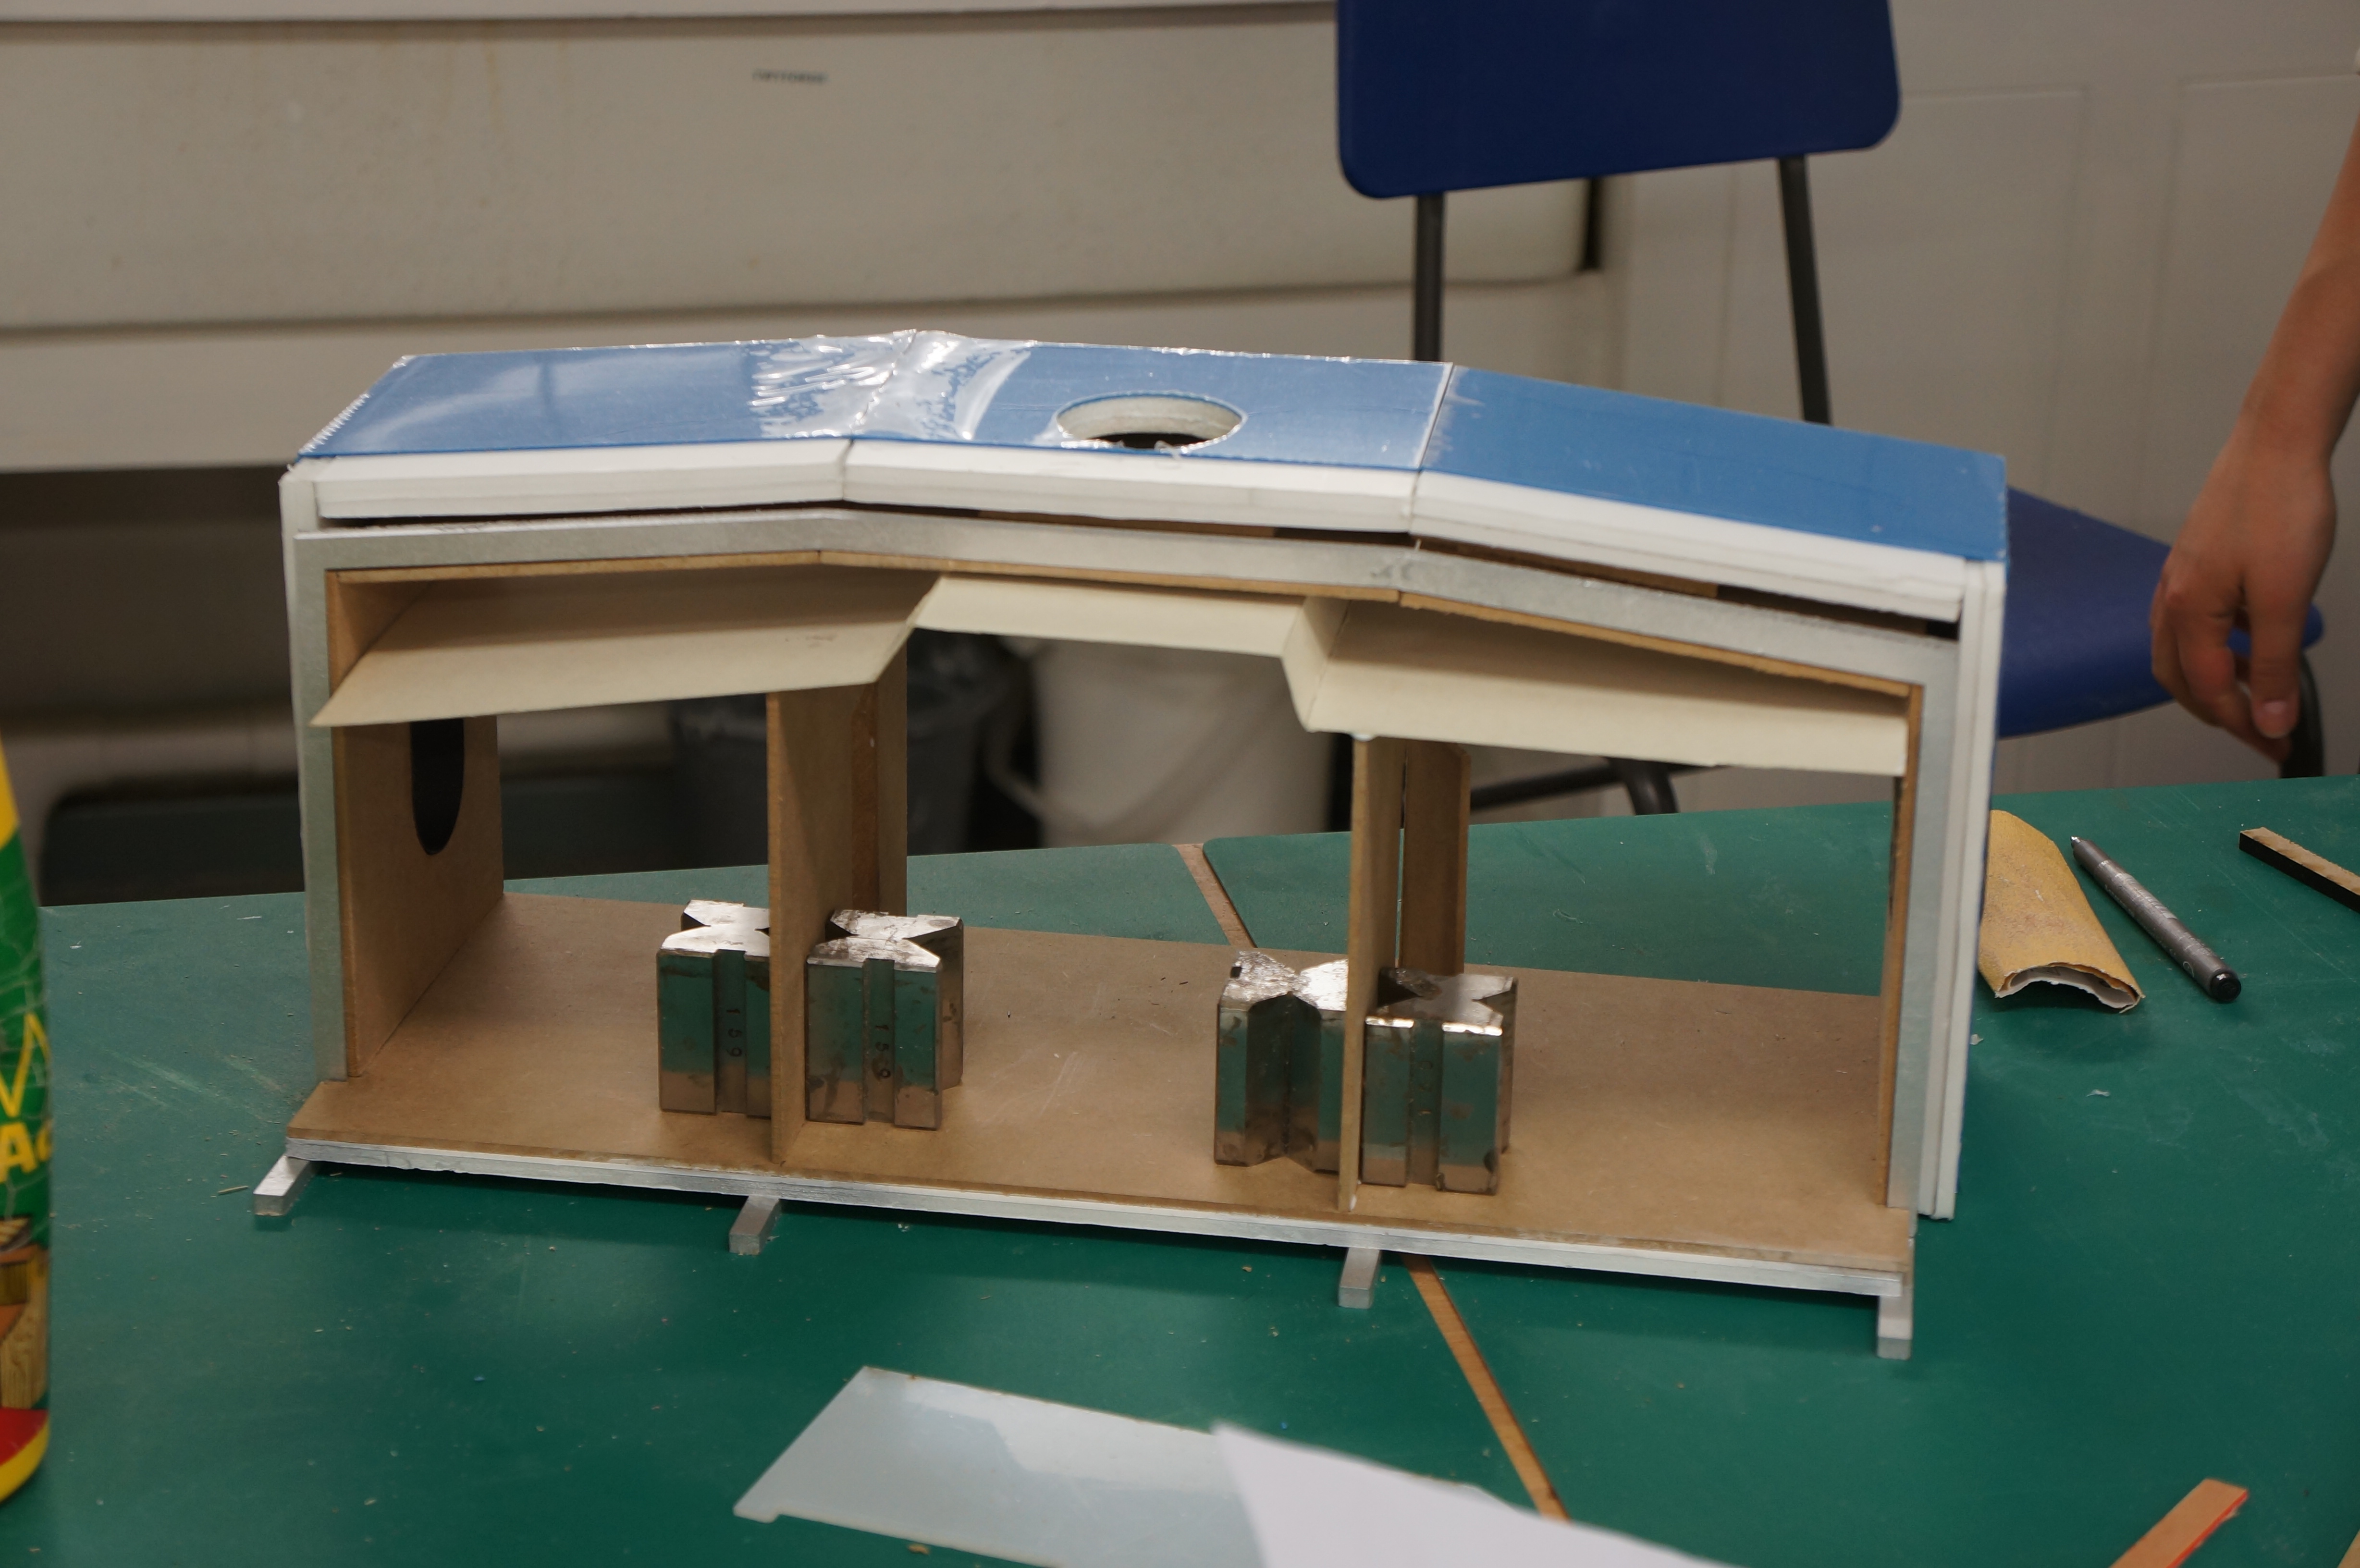
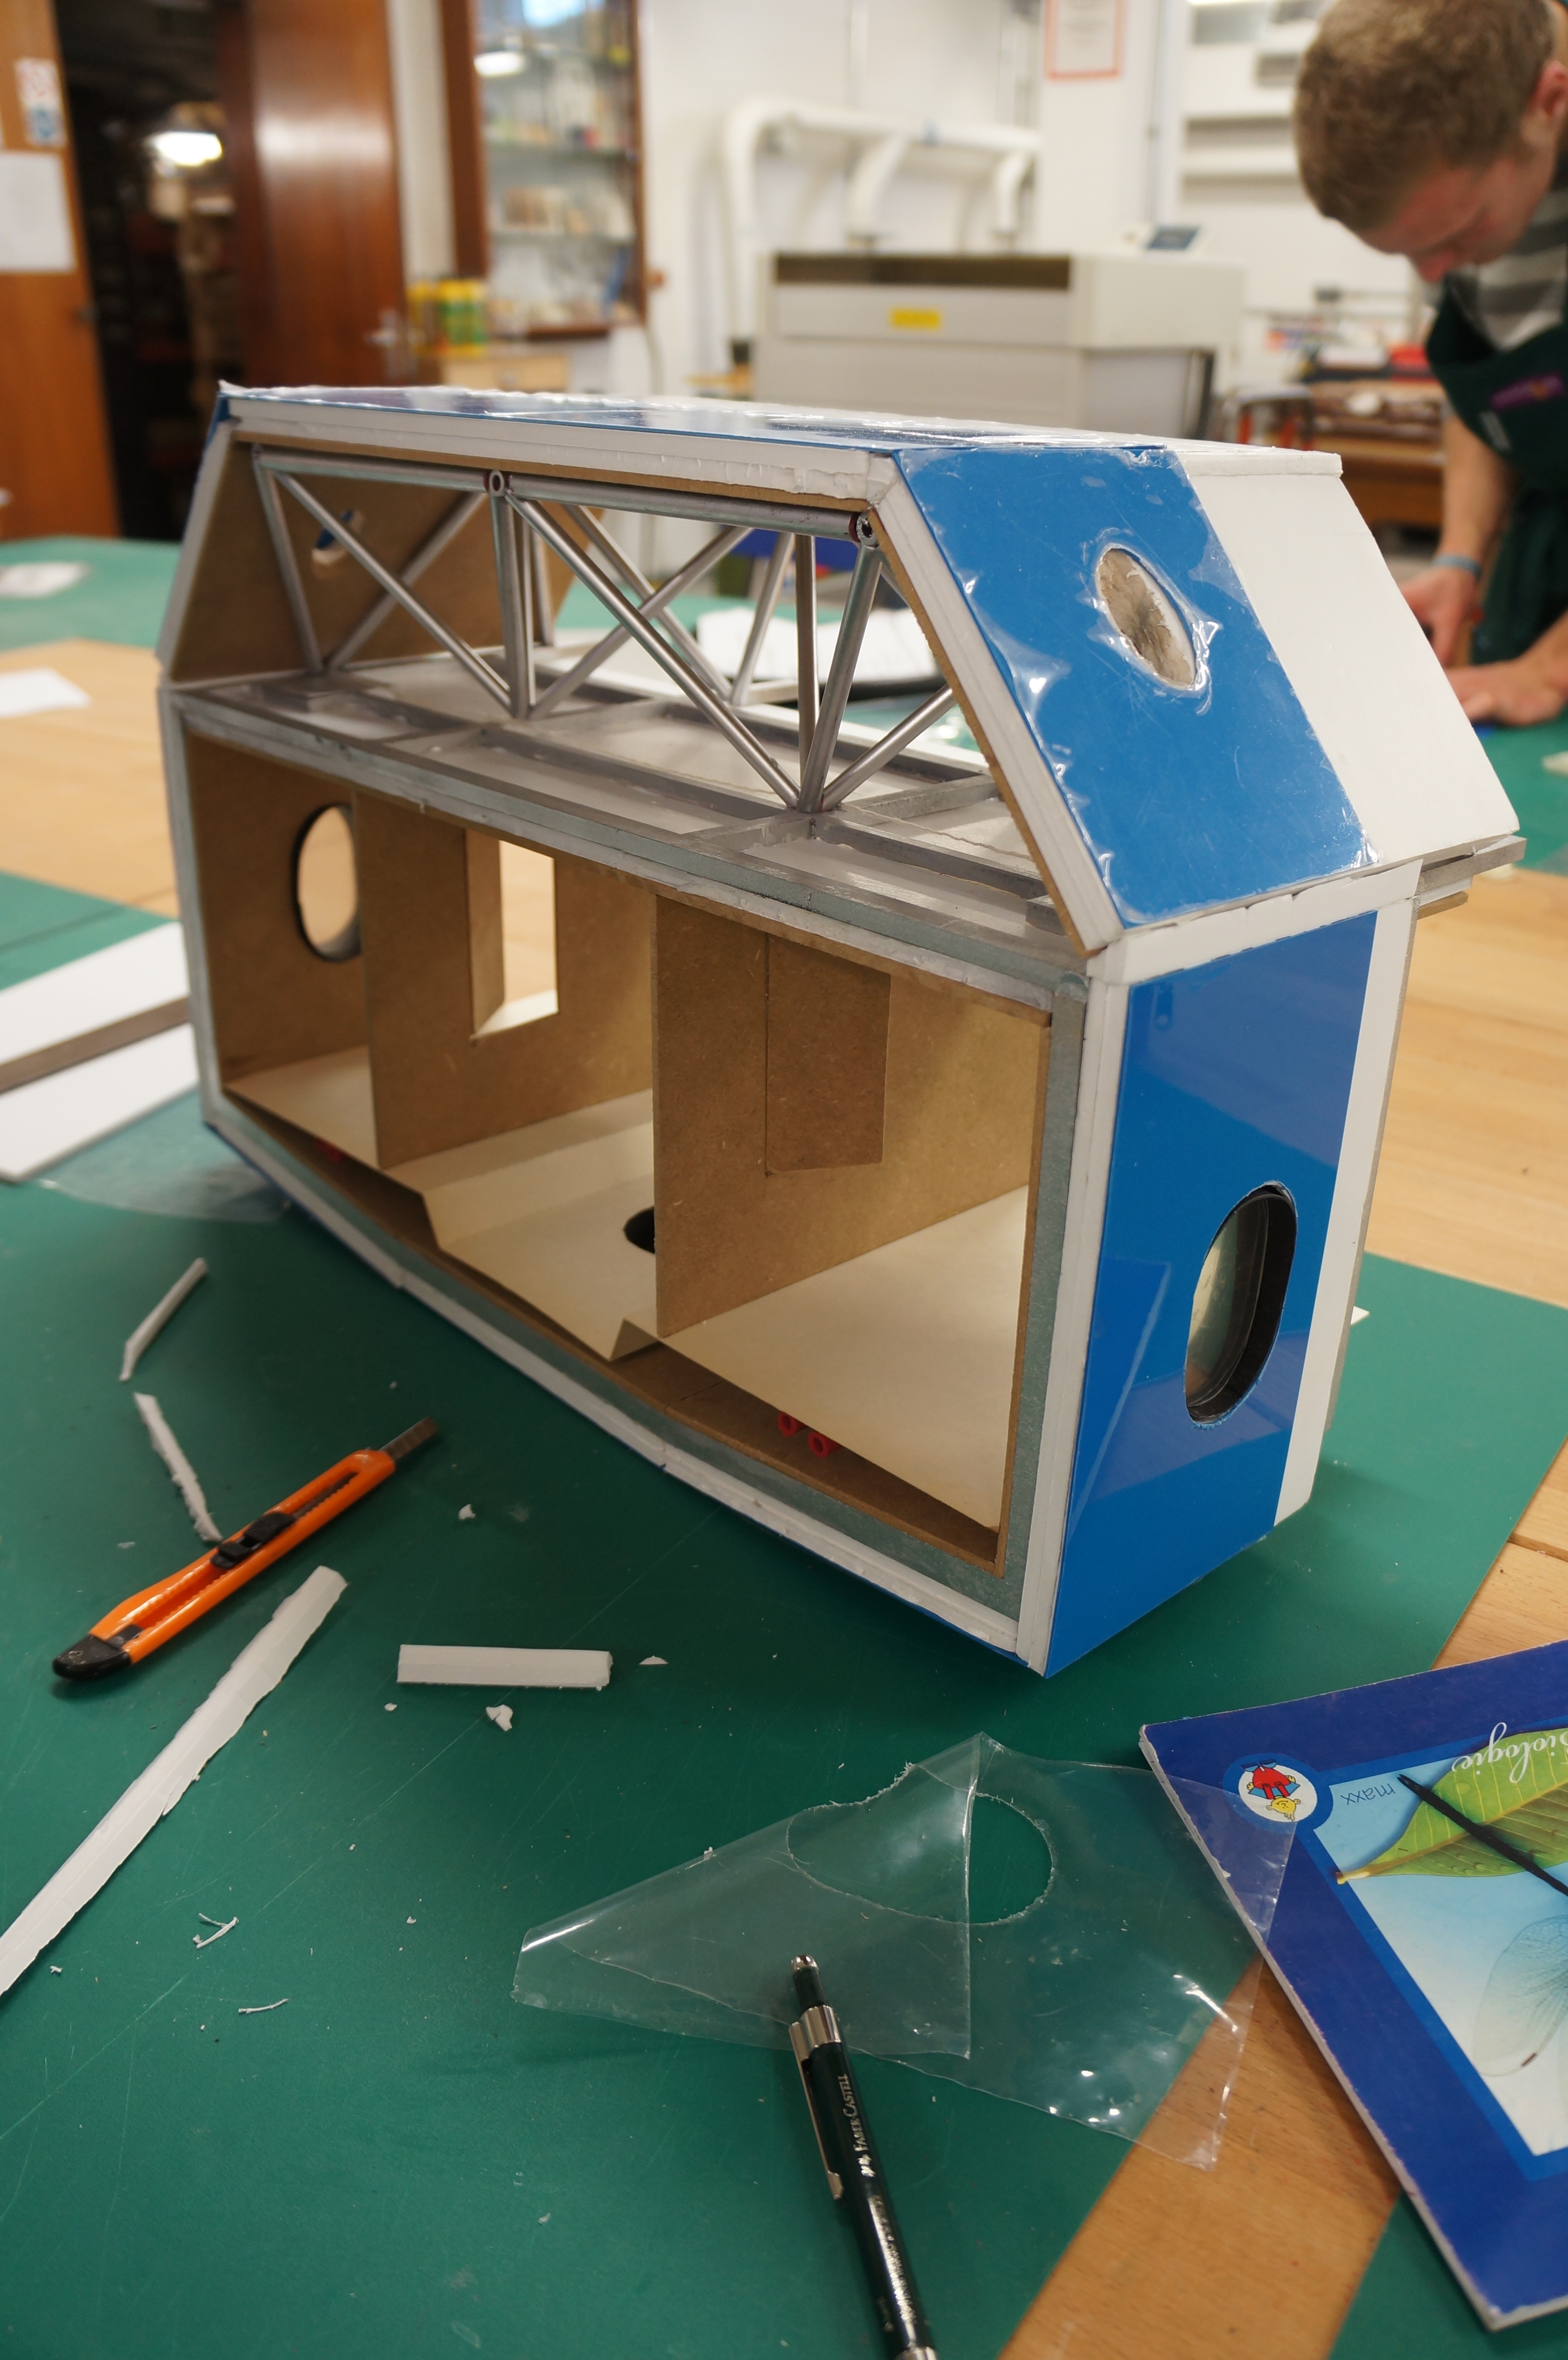
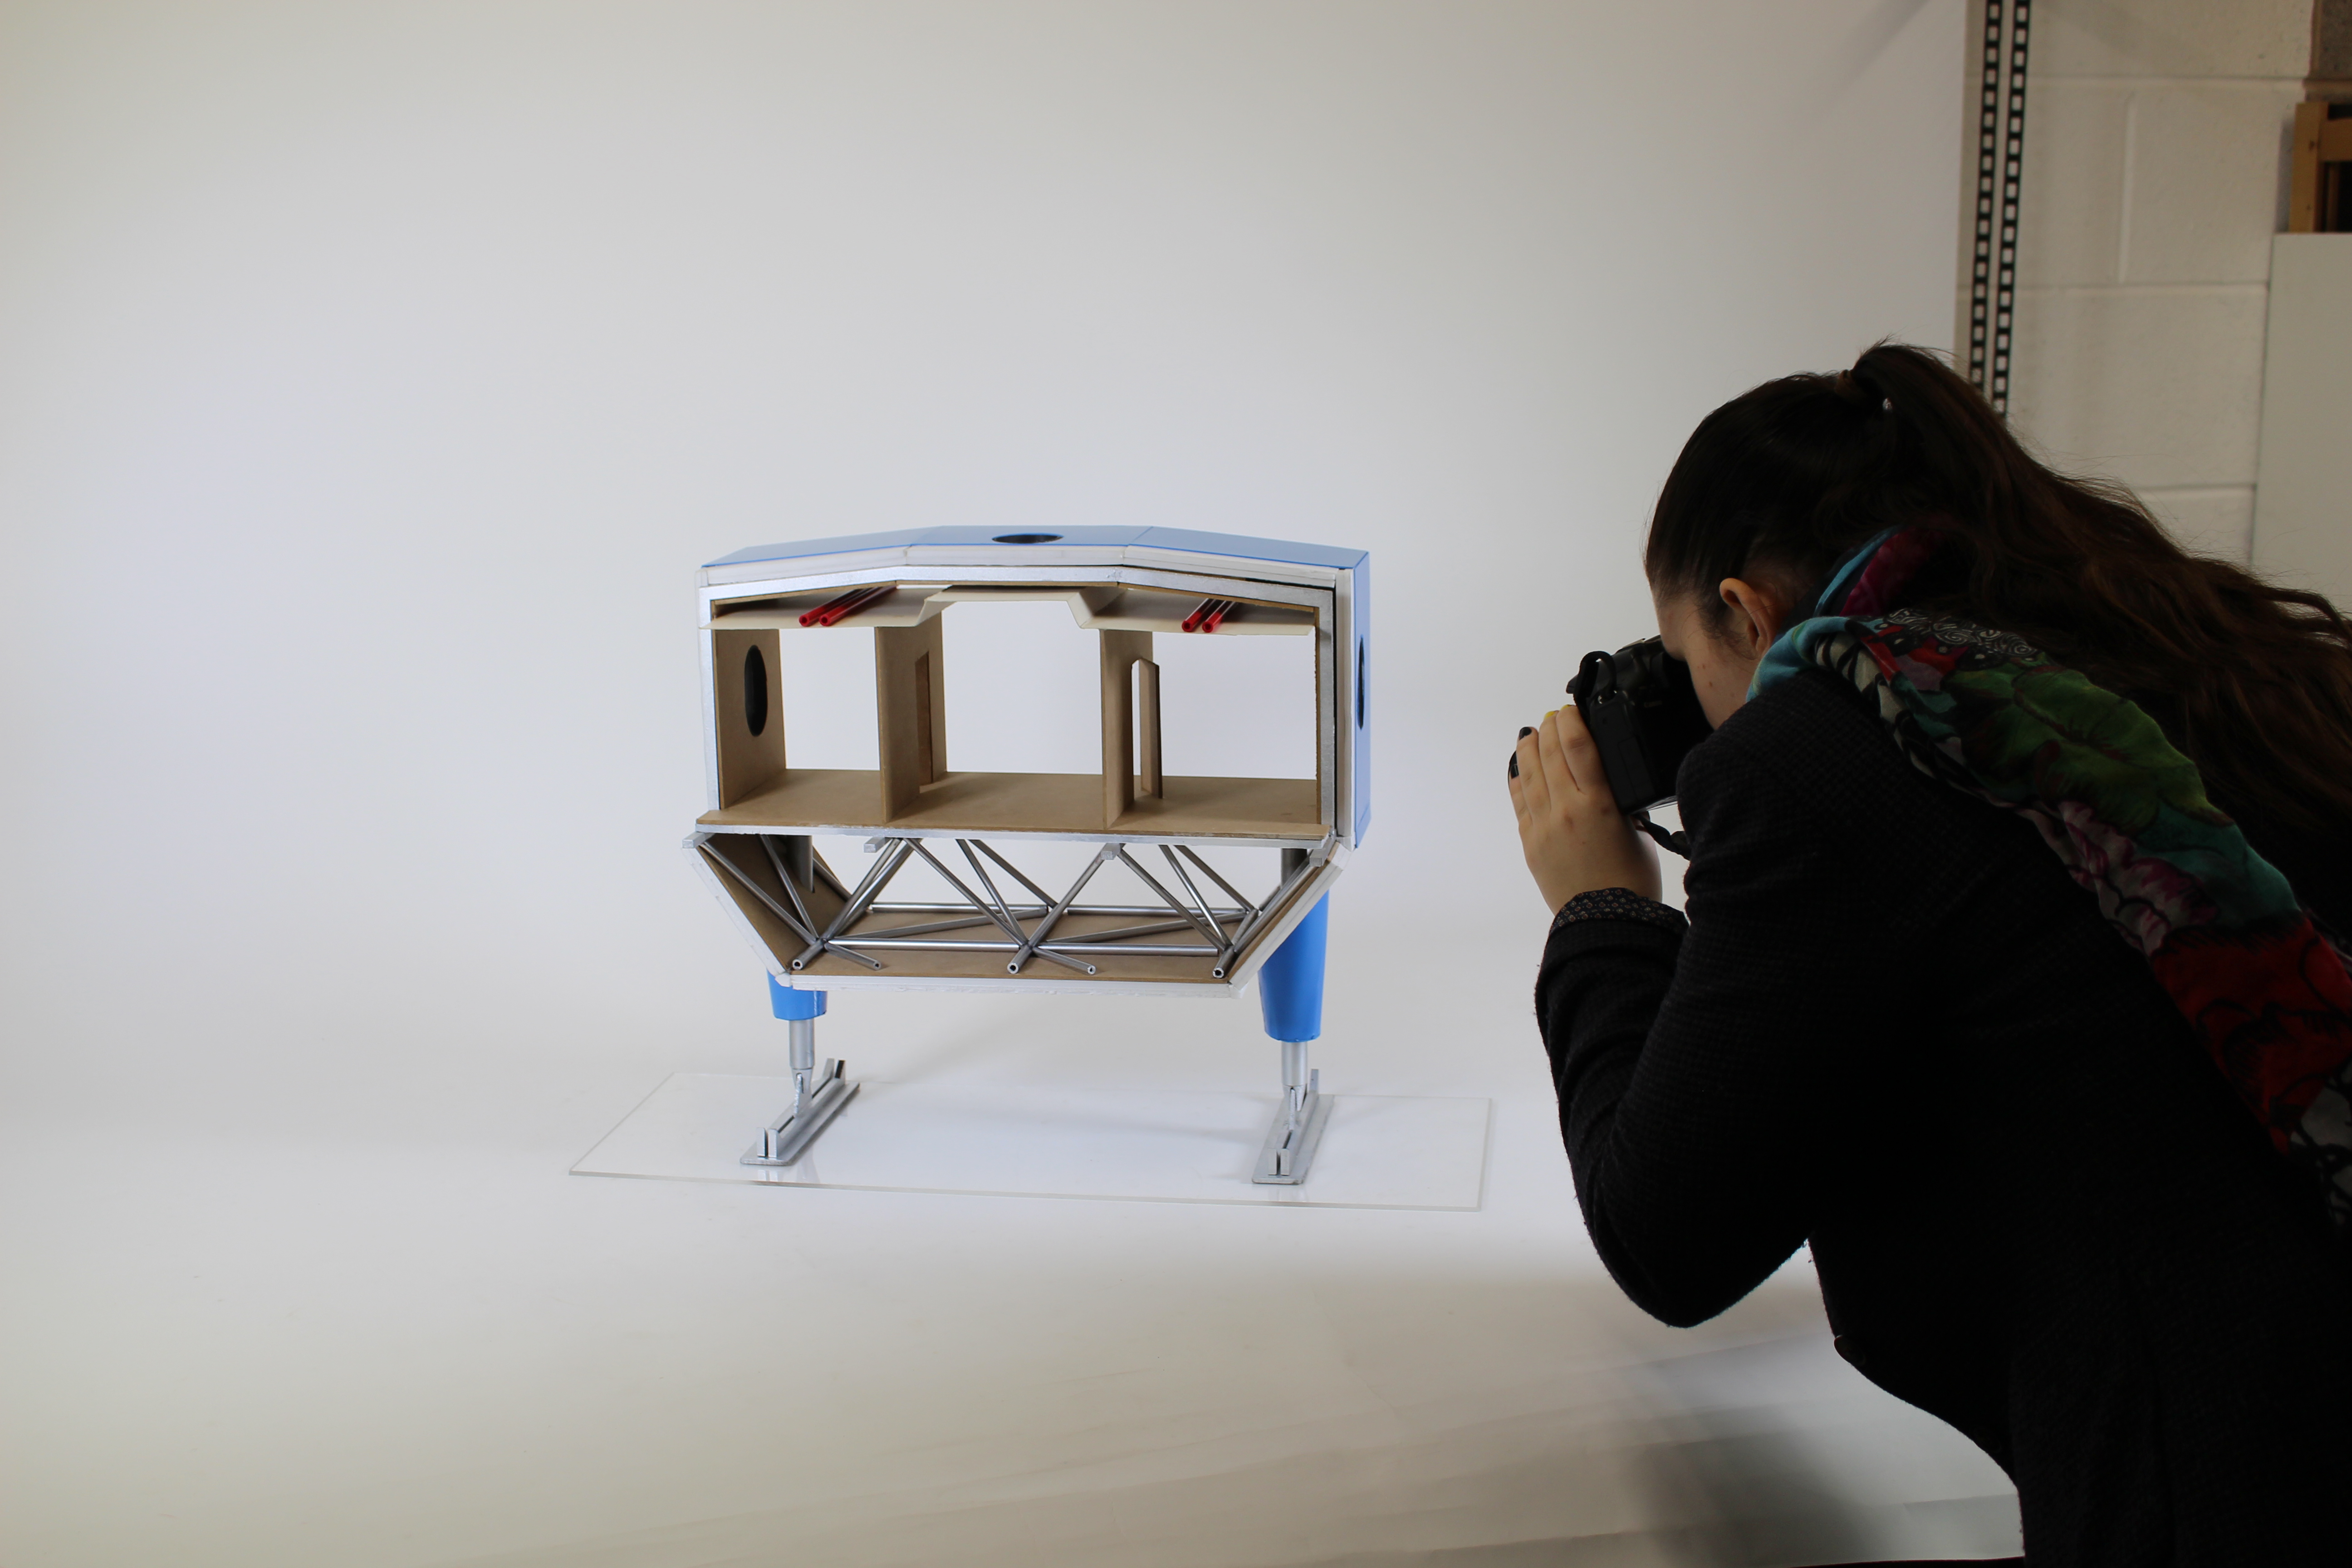
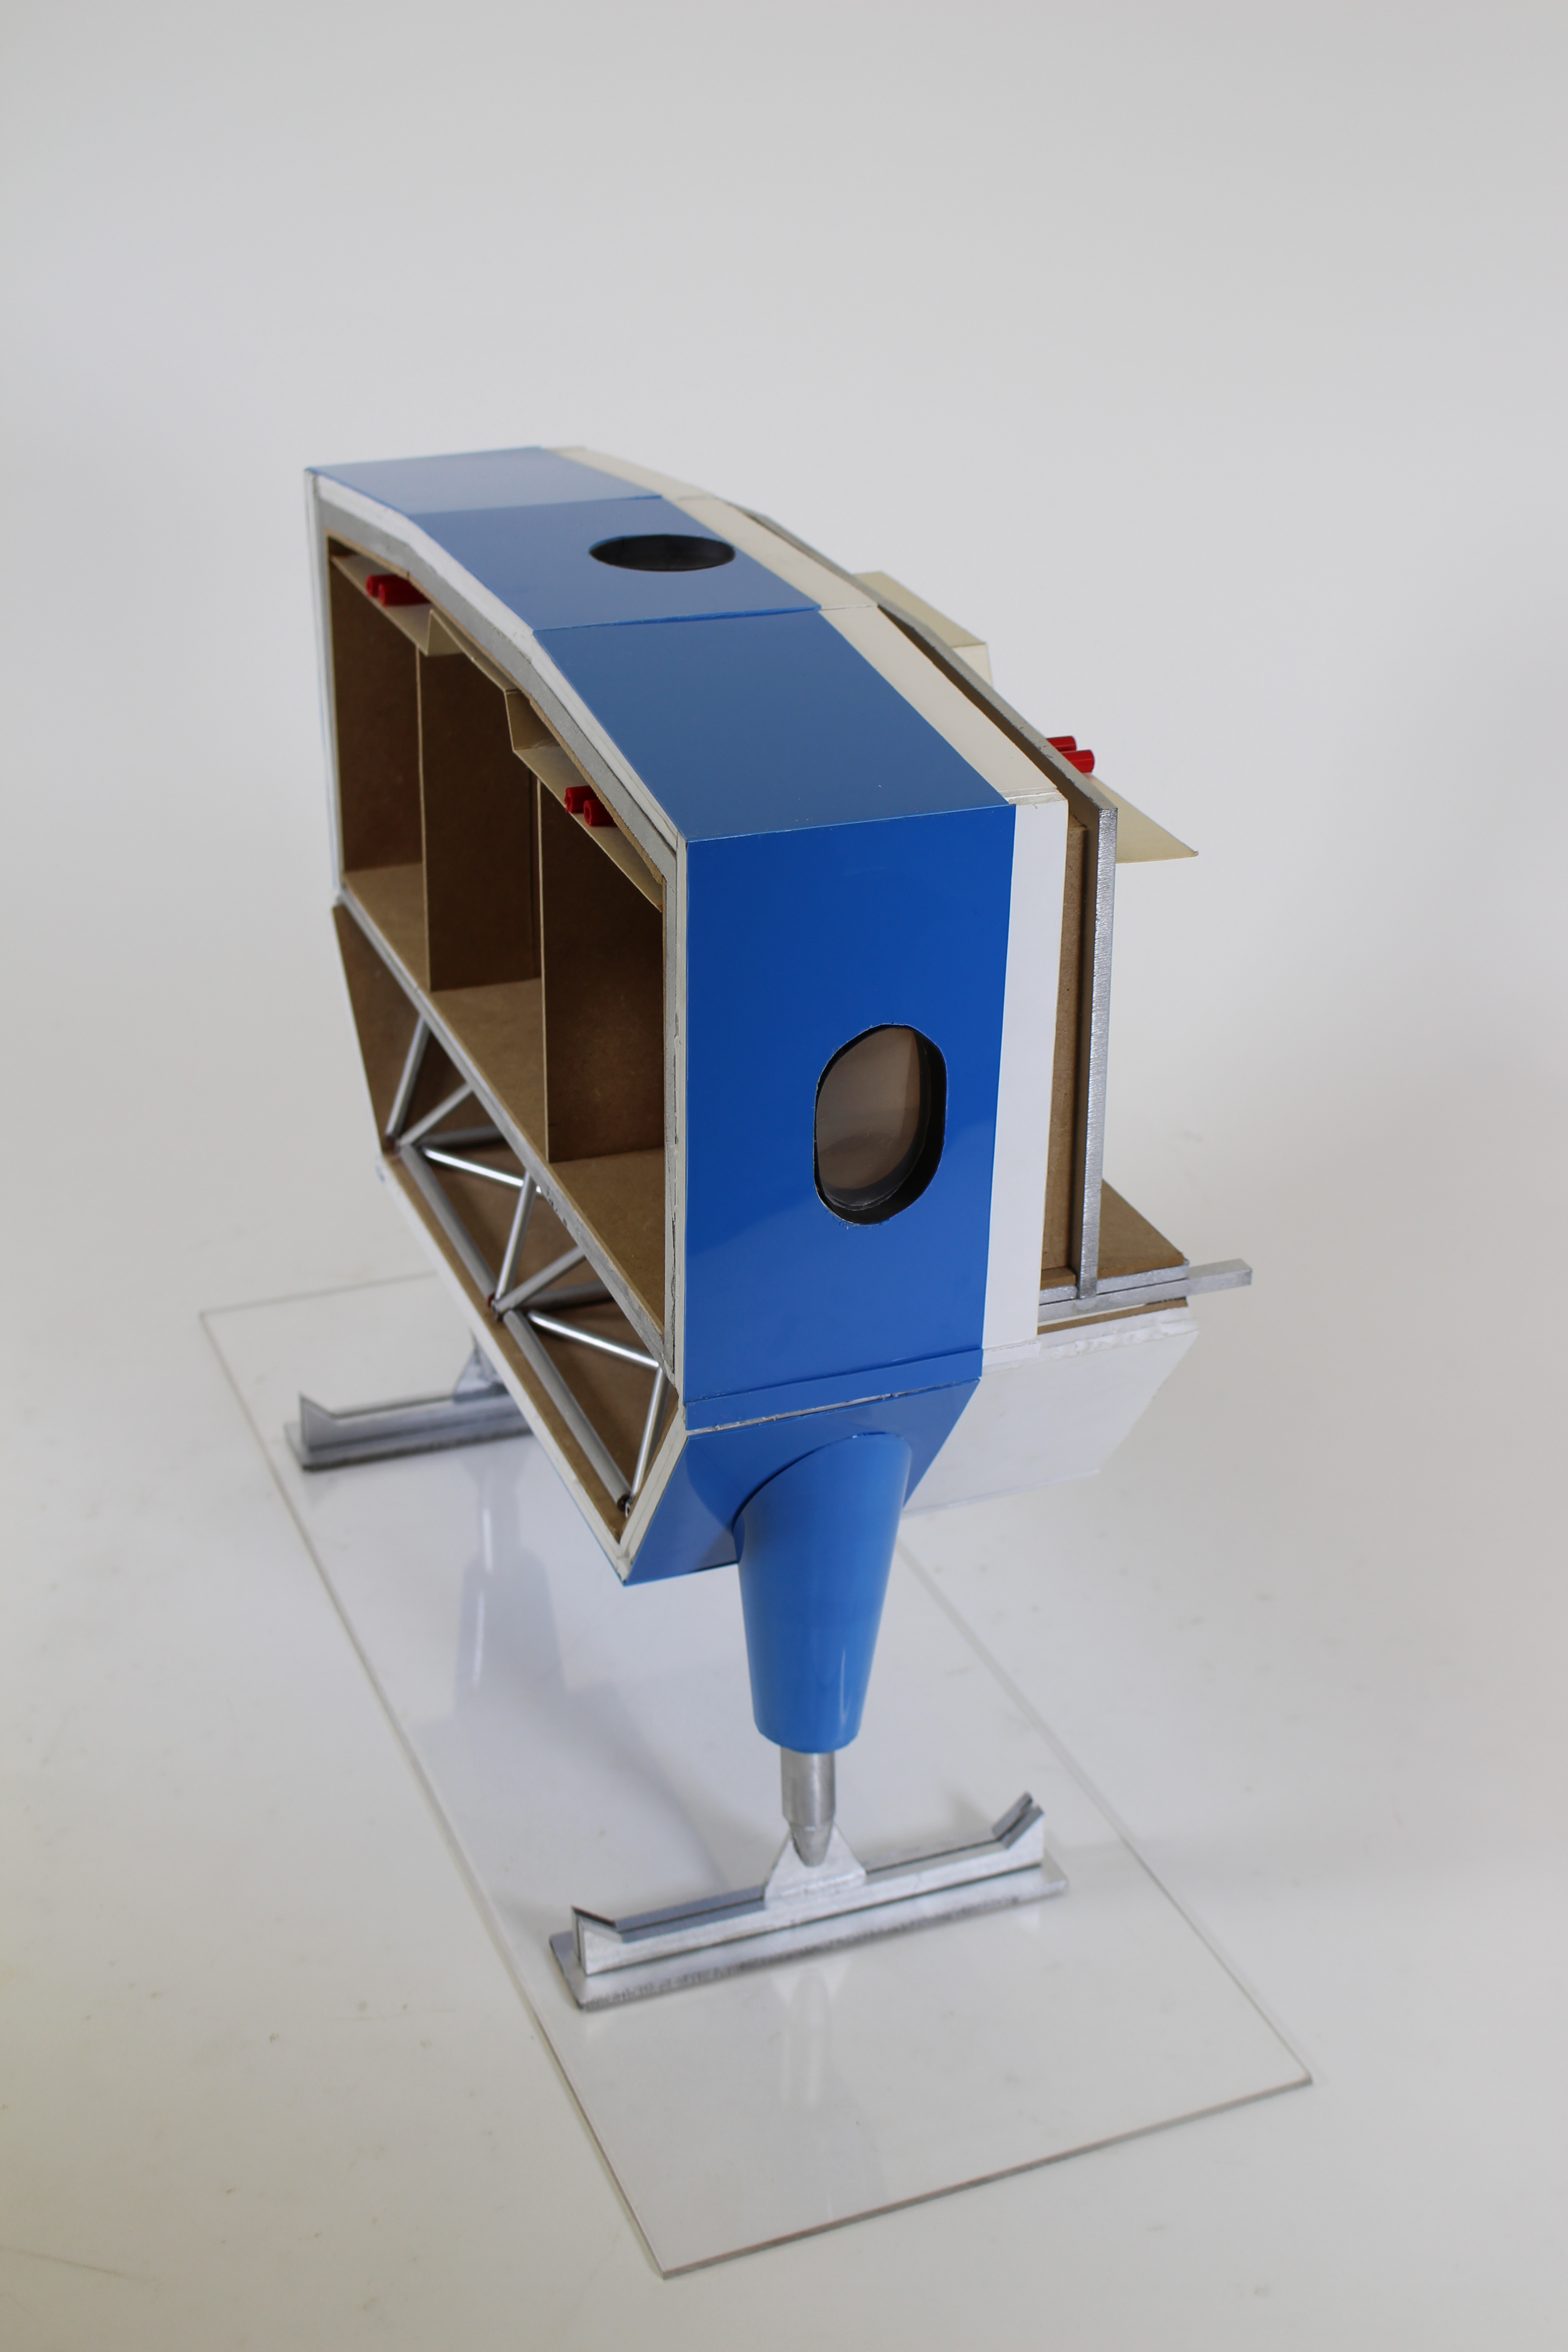
MSA Praxis student Paul Thornber produced this ‘rough and ready’ sketch model in just 6 hours and cost him the grand total of £0! Made entirely from waste scraps this model clearly conveys the structural arrangement of Pauls project without need for expense or time consuming methods. More importantly the process of planning, marking out and making the model has been a learning experience as Paul describes below:

“I intend to use the model to explore how structural decisions affect spatial conditions.
The model was used to help make decisions, in the development stages, regarding structure through experimentation.I was able to economise on structure through building at scale and assembling the model by hand.It also helped me prove that I understood how the buildings structural strategy worked.

Paul Thornber Structural Dteail (10)

Through making this model I have learnt how to form and develop the plan of a building through a process of experimentation in both 2D and 3D.
Quickly switching from plan to section to model and back again helped me rapidly develop ideas that worked both on paper and in 3D.

Paul Thornber Structural Dteail (56)

This model gave me an insight into the next stage of model making for the final output of the next project. I will now know what works and what doesn’t before starting a more refined version of this model.”

Paul Thornber Structural Dteail (40) Paul Thornber Structural Dteail (23) Paul Thornber Structural Dteail (12)

This is how the medium of modelmaking should be used in my opinion. By employing making as a tool to develop your ideas you are opening up yourself to technical processes, material constraints and lessons that can be directly transferred to your design decisions when working at to 1:1 scale design.

You can see more of Pauls work here: http://www.paulthornber.com/

Scott

2nd Year Creative Constructs: In Isolation Brief

Second Year Structural Studies (25)

The last two weeks have been extremely busy in the workshop thanks to the 2nd year Creative Constructs briefs. By producing a series of models, each taking the idea to a more defined level of explanation, students are expected to demonstrate their understanding of aspects of structural design. These should include understanding of scale, junction detailing, overall strength of the structure and their ability to be repeated to work in conjunction with identical components.

Second Year Structural Studies (3) Second Year Structural Studies (14) Second Year Structural Studies (34) Second Year Structural Studies (33) Second Year Structural Studies  (1)Second Year Structural Studies  (3)Second Year Structural Studies (13)

Second Year Structural Studies (31)

Many of the projects we’ve seen for this brief have followed the trends of others in the group who have made a quick start. This has been an issue for latecomers due to the time restraints and capacity of the workshops both here and Chatham.

Second Year Structural Studies (5) Second Year Structural Studies (27)

For students taking part in this project in future it’s worth noting the time involved in producing these projects. Many of you have been surprised at the amount of thought required to make your models a reality though really this shouldn’t come as a shock as that thought is essential to your learning. By taking the time early on to think about the different aspects of your idea and defining them accurately you can then take your information and apply those defined ideas to the creation of your model.

Second Year Structural Studies (19) Second Year Structural Studies (8)


Without defined constraints you are simply guessing or making aspects of your project up on the spot which isn’t really helping you to learn anything. You should be able to explain the use of particular joints of construction methods based on research rather than their aesthetic or convenience to make as a model. There have been some interesting ideas appearing so far and I’m sure they’ll be more to come!

Scott

A reimagining of slums, QED, Alexandr Valakh

concept 1

6th year Alexandr Valakh has been researching the anatomy of slum functionality in Rio De Janeiro. Slum areas typically develop due to inadequate employment opportunities and the necessity to live resulting in the irregular and somewhat chaotic appearance of the constructions.

Alex module study (1)Alex module study (2)Alex module study (6)

To reinvent this Alex is proposing a loose set of structural rules that bring some much needed order the the slum idea. By implementing this theory Alex’s idea will allow a basic industry infastructure to help support formal employment opportunities as well as making efficient use of the same geographical footprint.

concept 2

Alex’s bold ‘plug-in-city’ concept involved units that can be adapted and extended to suit their purpose in the community. Units can be extended in any direction thus allowing the construction to climb and create a towering peak. Alex has called the project the ‘Stacked City Prototype’.

Alex module study (8)

Alex produced this 1:100 scale structural flow model to study variable layouts and in turn the conditions it would create for the people using the site. The model was extensively designed in CAD and made using laser cut acrylic and ply wood components to represent different material elements.

Alex (17) IMG_2850 PS IMG_2878 PS IMG_2841 PS IMG_2851ps

2nd Year 1:20 Detail Section ‘Halley 6’ Project

Second year groups were asked to produce a 1:20 detailed section model of their construction pack which was provided by another group in the year. The objective of the project was to use the model to demonstrate their understanding of the buildings construction in terms of its technical details, services and environmental performance.

This groups building, known as ‘Halley 6’ is the British Antarctica research station. The chosen section featured two supporting legs and look at internal structural elements in relation to the outer facade as well as ducting voids.

The submission was given in alongside a report including a 3D Digital structural model that also showed the main structural components.

The model was made using plastic tubing for structural space frame components, vac forming plastic sheets to form the leg supports and clad the exterior. In order to make the leg shape a former was made to wrap the plastic around which was heated and glued into shape. The leg assembly and skis were represented with laser cut elements that were spray painted. Flooring and interior walls were made using 3mm MDF.

Andra Calin Group. Halley 6 project (3)

Venice Plaster Detail Model, Becky Prince

Made using an MDF mold this detail model aimed to demonstrate the window detail Becky was focussing on at her site. The mold proved to be the most time consuming aspect of the model but turned out successfully. It is always worth spending longer on mold design to ensure a good cast.


The mold was made using MDF which can absorb moisture from the plaster mix and therefore needs to be well sealed before pouring. Becky used Vaselene to act as barrier and release agent for the cast.

The internal void was made by using blue foam to allow for contracting of the cast as it cured and then be removed. This too was well coated in Vaselene to aid removal.

Once cured the MDF was unscrewed and removed before cutting out the internal blue foam. Additional window details were added using initially laser cut and then modified components.


Pavilions…..

Danielle Foster and Patrick Gorman have begun making their moulds for concrete casting which will take place at the Sheds over the coming weeks. The actual concrete casting process will be time consuming and potentially costly so spending time to get the moulds right is essential.  Myself and Jim spent almost two days cutting components on our circular saw to make the moulds for the blocks. each mould will produce a positive and a negative indent to allow each brick to fit together. Each brick will also be numbered using the rubber number profiles the group tested at the previous stage of development. Cutting this material takes a little practice before going ahead to cut hundreds of components. The rubber had a tendency to melt and blacken as it was cut meaning that cleaning was required post cutting.

Hopefully we’ll start to see some of the finished components coming in the next few weeks. We’ll post an update when we do.

Further testing was required in Alexander Valakh and Lorena Chan’s design following some material and assembly issues.  Once the main structural form was complete Alex and Lorena were able to test the ‘skin’ components that started life being inspired by poppies. At this stage they are still unsure about the exact material that will be used to create this component. This project has been given the green light along with the concrete blocks so we can expect more posts from both of these projects in the next weeks/months.

3rd Year Structural Detail Models

Designing a building requires attention to every detail. This attention must take into account the limits of construction materials and how they can be managed an assembled in reality.

The only way to do this well is to have a good understanding of construction and material mechanics. Structural detail study models allow us to focus on specific junctions of framework and often bring potential problems with assembly to our attention.

Whilst it is very important that you, as an architect in training, have a thorough understanding of building materials. These models should not focus too much on the 1:1 ‘real world’ materials. Your area of study is in understanding how components interact or don’t interact with each other in terms of their physical shape. Testing material strengths, weaknesses and compatibility for a particular role requires much more in depth study and often more space than our workshop can provide.

The models shown on this post are made to mimic real materials to reduce weight and construction restrictions whilst still conveying their assembly effectively.

2nd Year Structural Models Continued

Moving on from the first stage of this assignment the second year students have been refining their designs and fitting them to context. Scaled down models (above) were made to fit into bigger site plan showing them in context to surrounding buildings and landmasses.  As was discovered in this case, fixing components or rather the design of the fixings on the components requires in depth thought. Whilst this structure was made to hold its form using adhesive, in reality a strong proven junction would be required and therefore this design requires more refinement. This site plan block model featured a removable contoured section made from cardboard where the various sample structures could be placed to demonstrate their relationship with the site.

Structural Detail Models, Year 2 BA Architecture

DSC01345
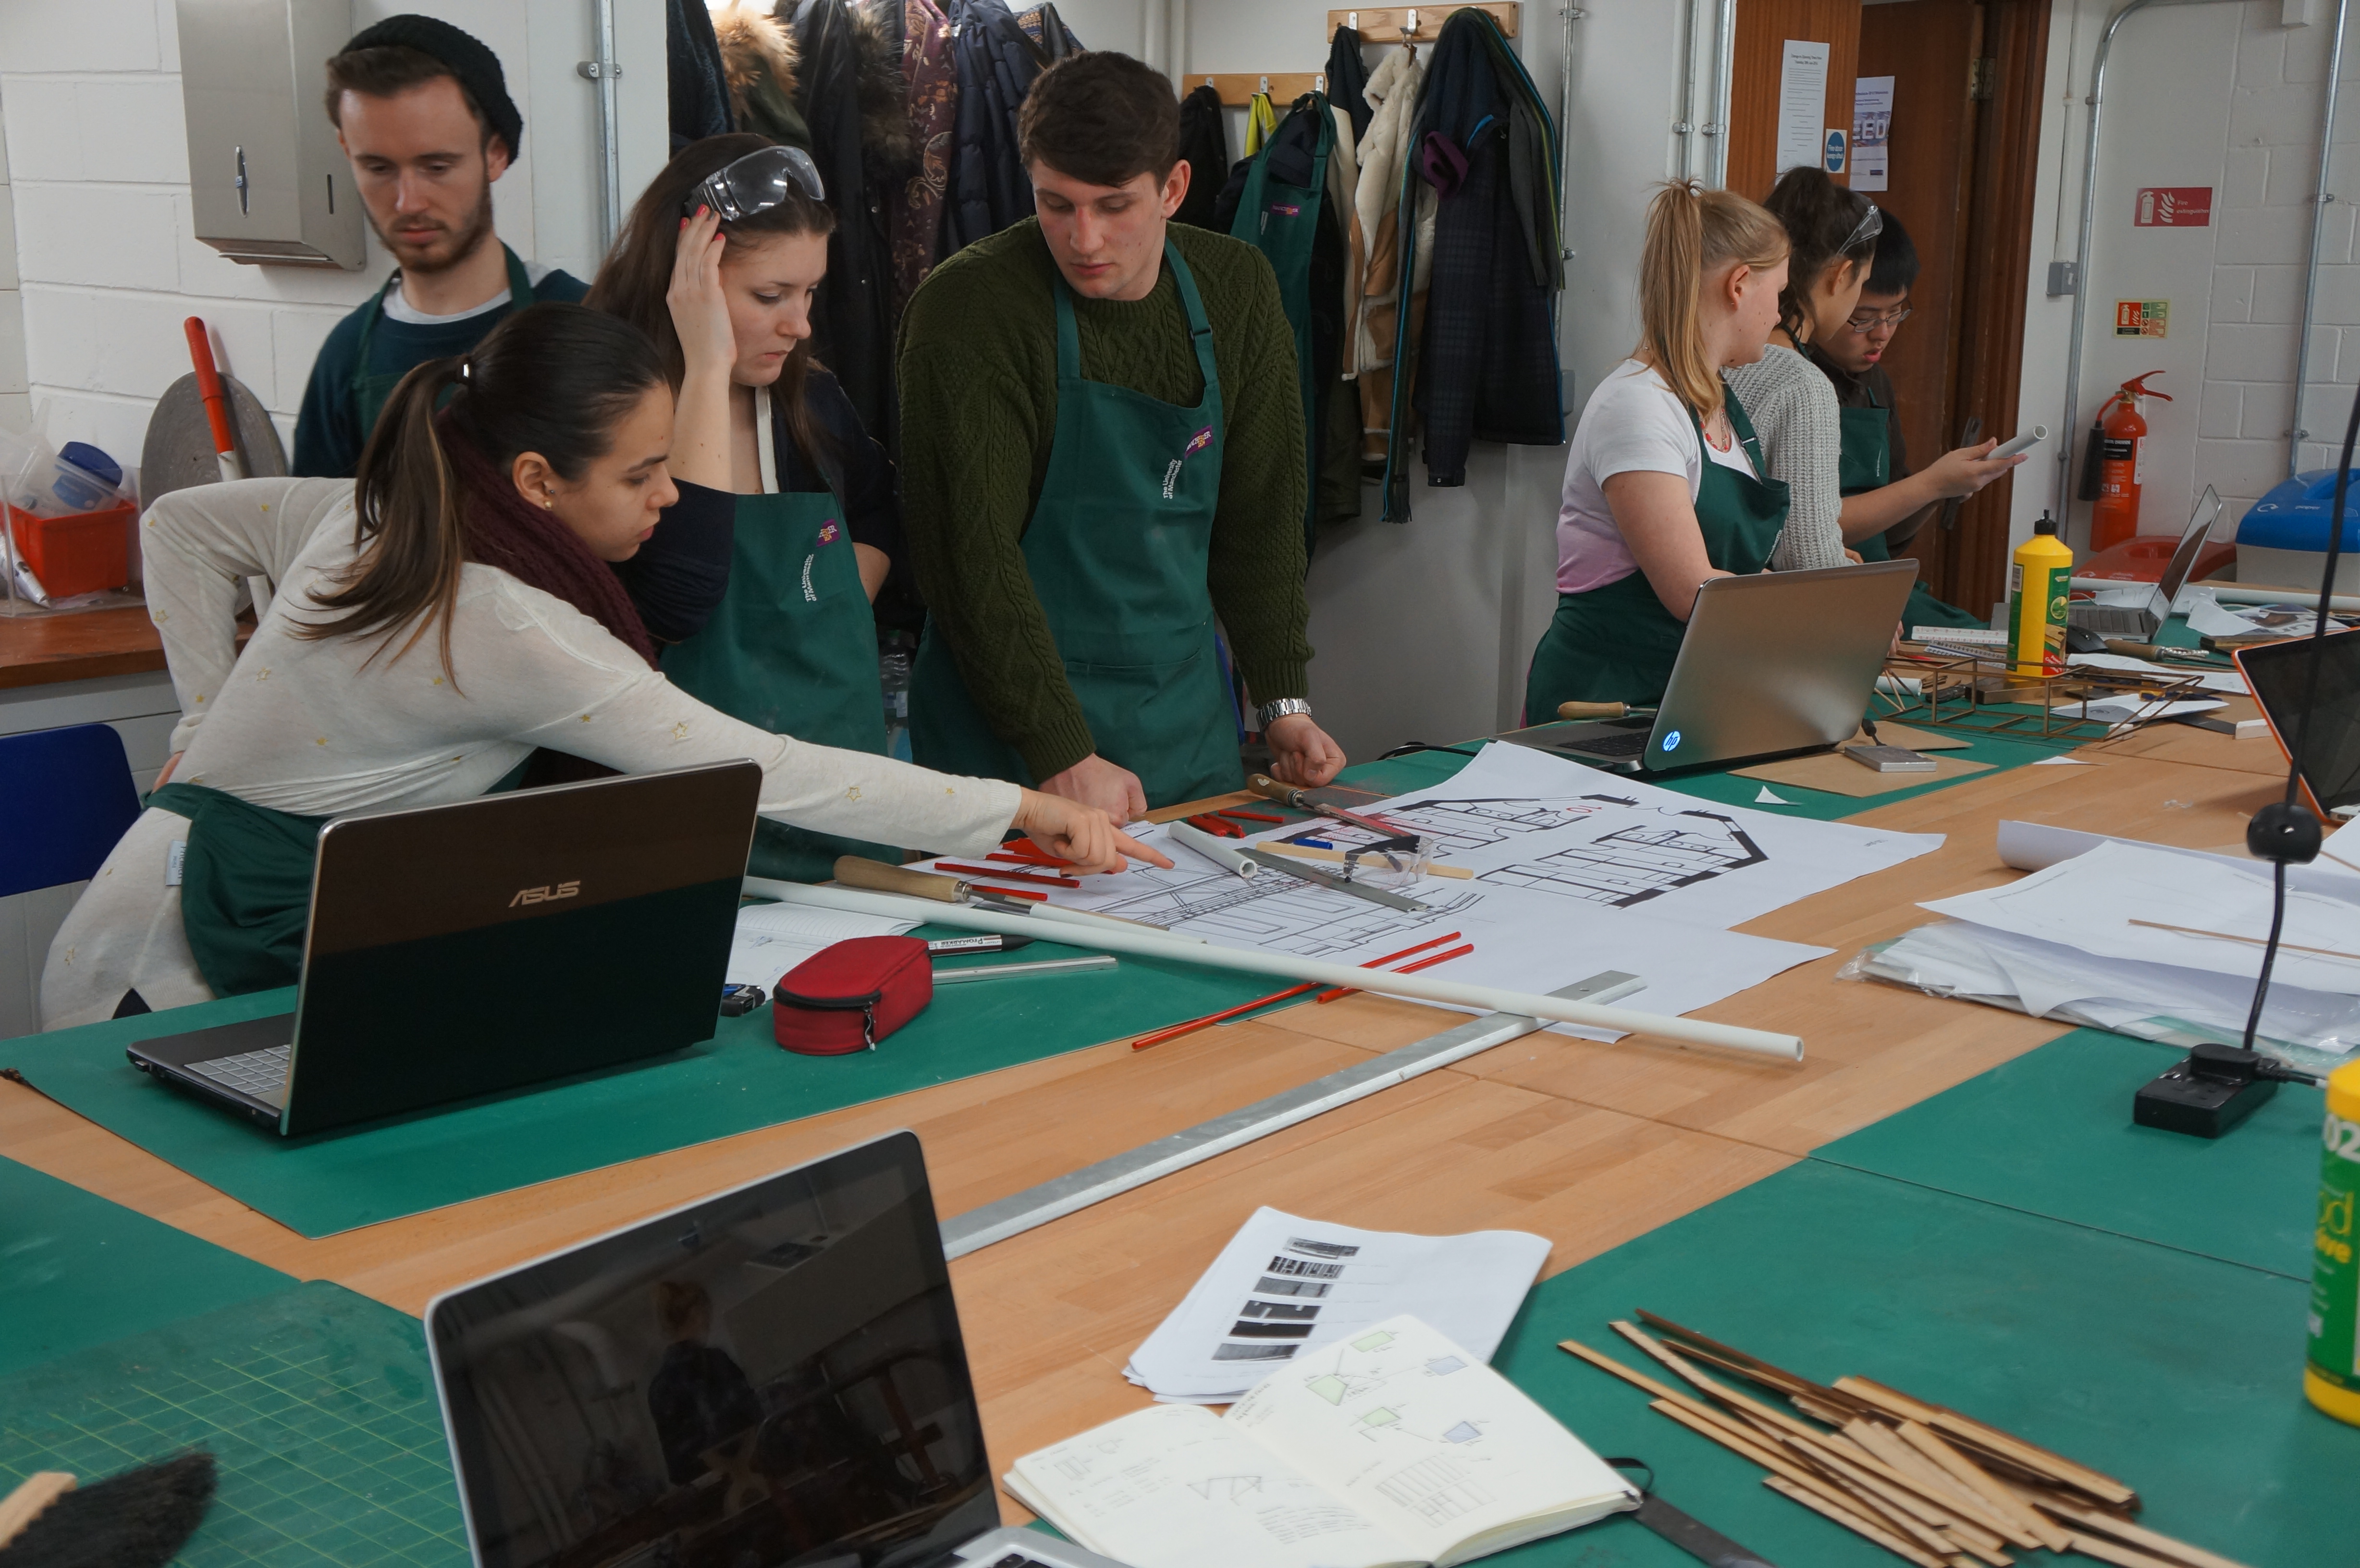
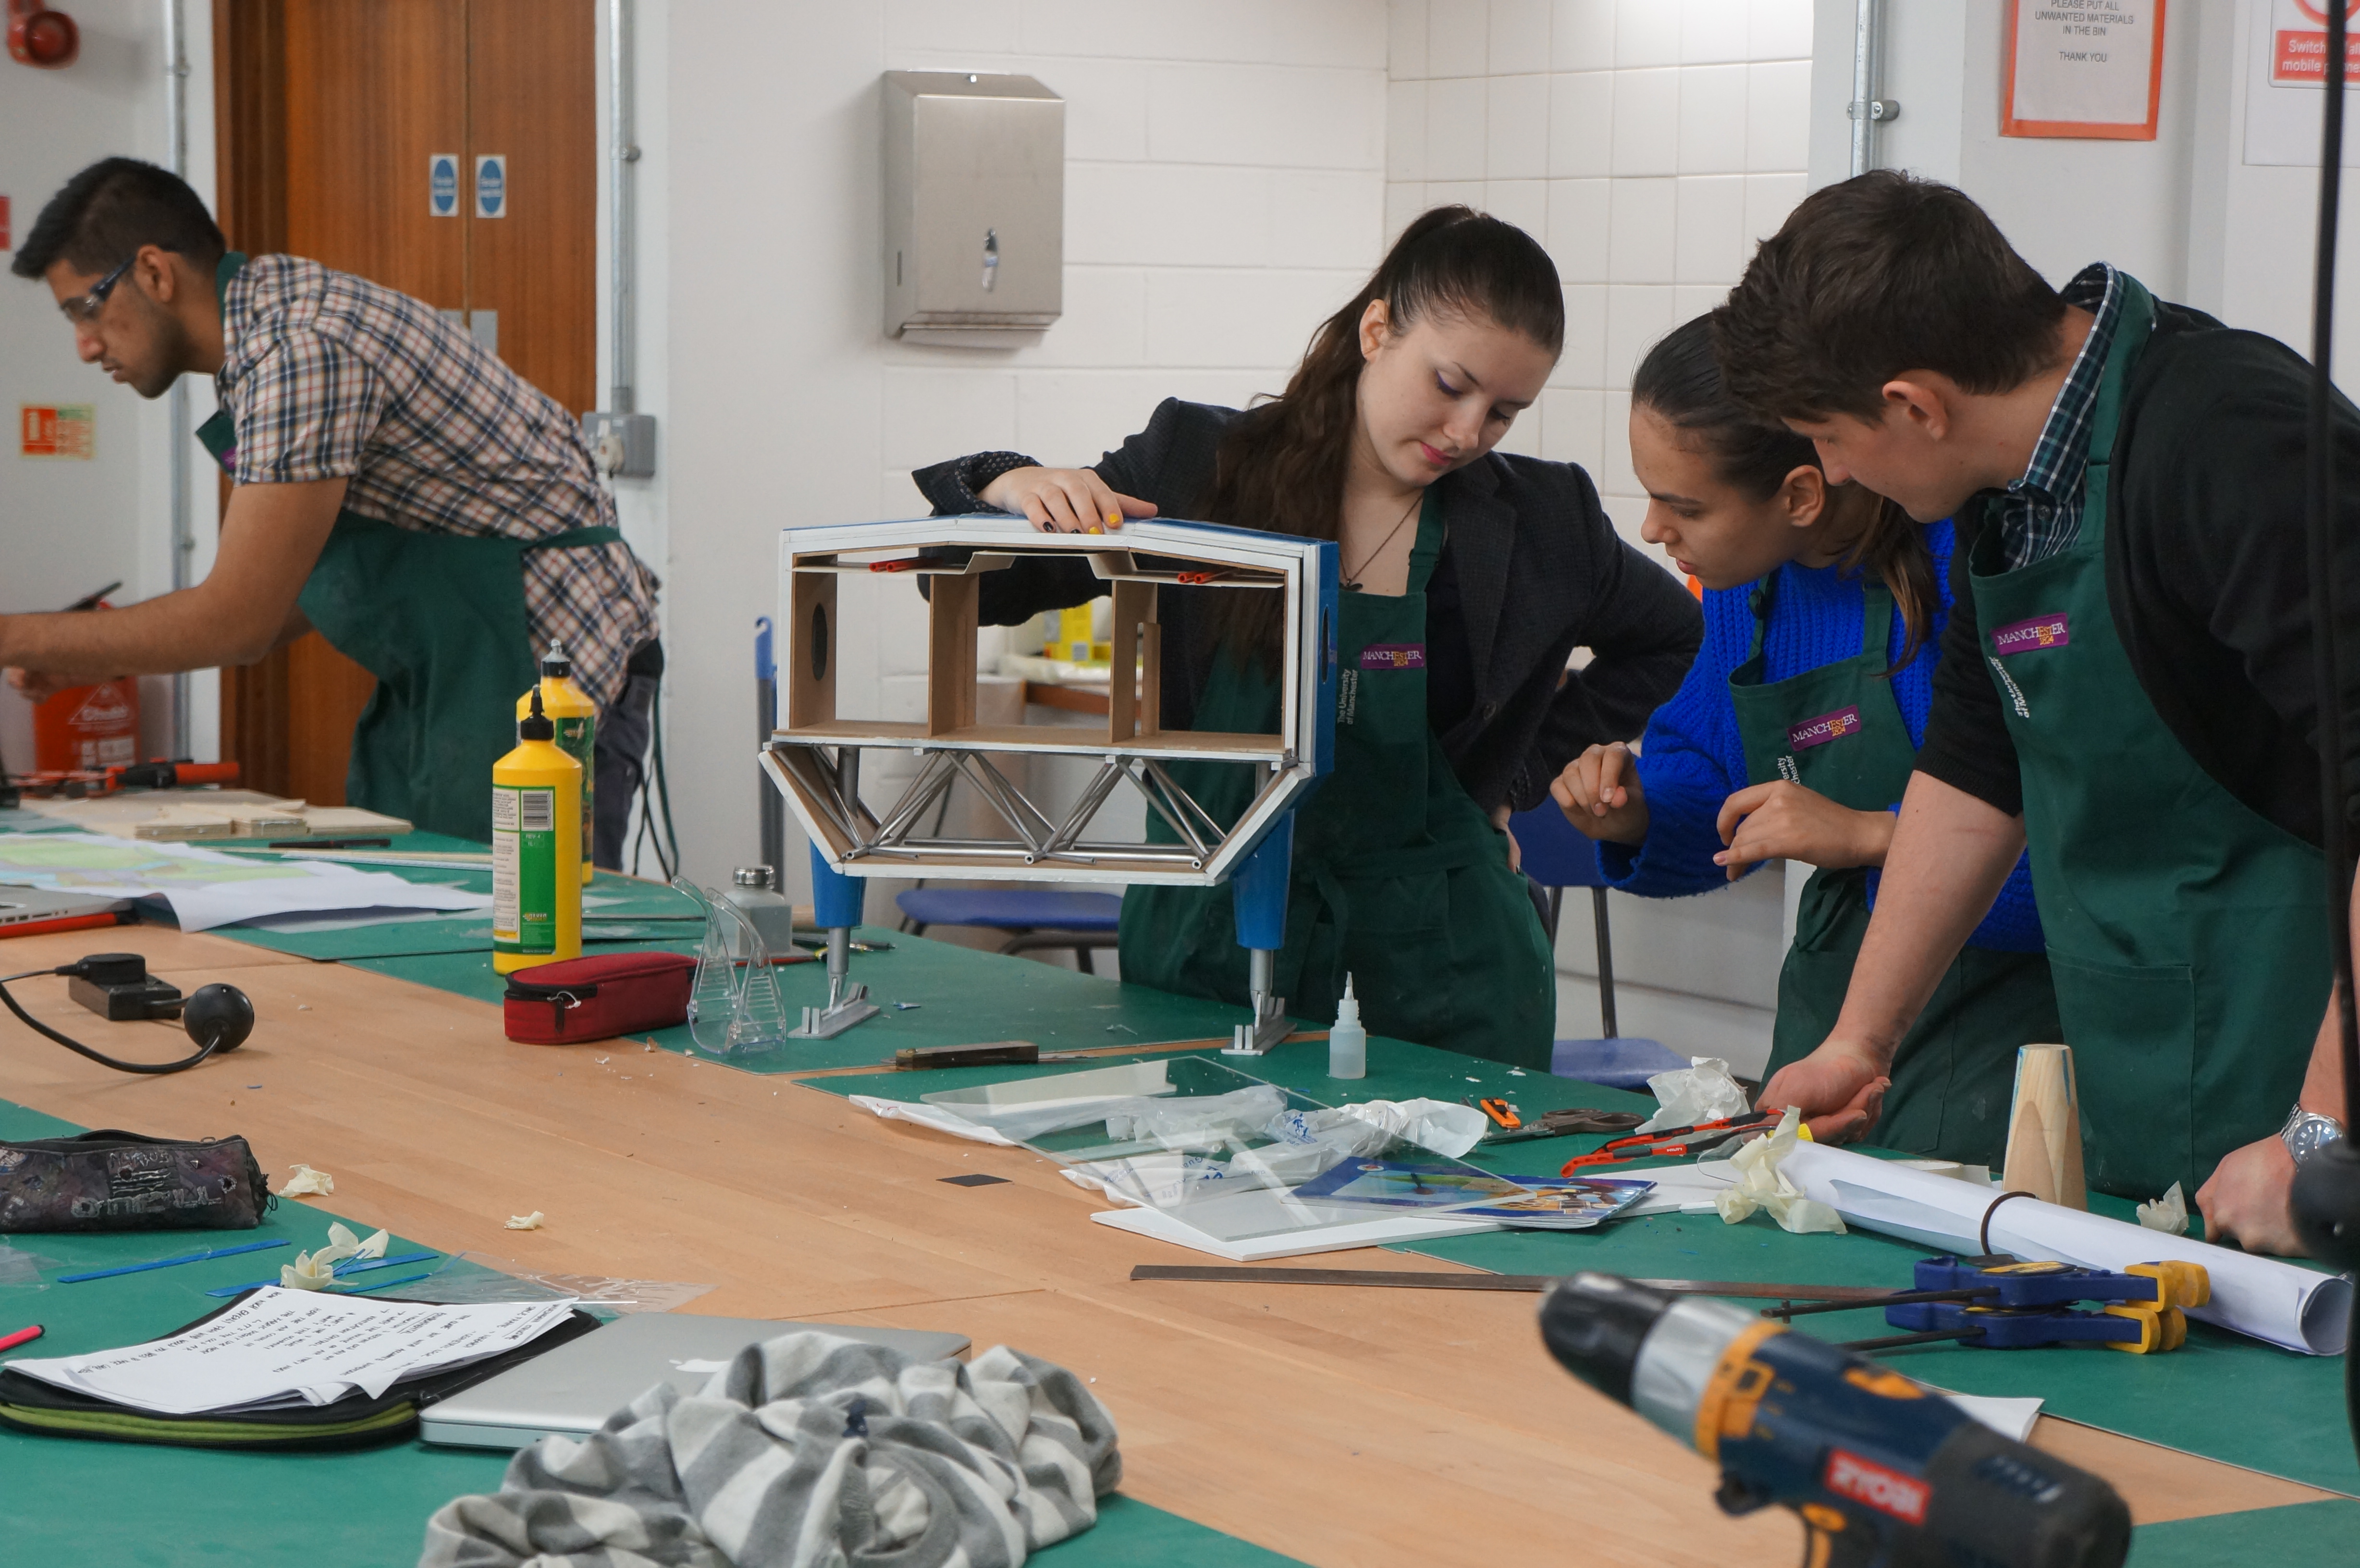
Last week 2nd year students were given the task of further refining their designs for structural elements. By taking their initial ideas to the next stage they came up against many more problems to solve in particular how joining replicated components would work in practice as they made seven identical units to work with one another towards supporting a structure or forming a building form. DSC01314 DSC01315 DSC01317 DSC01325DSC01319In many cases designs will test the limits of the machines available anda degree of initiative will be required to solve the problem. In Georgia Govan’s case the angle she required for her components to fit together was too sharp to be machined and the profile nature of the laser cutter meant she had to use a ‘Jig’ to get the job done. This side of a task can often be time consuming and should not be underestimated. A lot of thought is required to design an effective jig but it’s worth the effort and the learning curve you will go through.
DSC01310

DSC01323 DSC01335Marco Wan had an interesting approach to creating the curved planes for his design. This process is called ‘glulam’ and as the name hints at, involves laminating sheets together with layers of glue and material whilst clamped in a given shape. This produced a very strong formed shape that can and is used for many 1:1 building applications. Very nice to see a student employing this technique in their model development.

DSC01326 DSC01327 DSC01339DSC01331DSC01329DSC01357DSC01322DSC01333

DSC01312DSC01338DSC01341DSC01344DSC01342DSC01350DSC01347DSC01352DSC01349DSC01353 DSC01320DSC01355 DSC01356DSC01359 DSC01362

Structural Detail Model by Andra Calin

2nd year student Andra Calin has been developing a structural concept model that is expanding on a sketch model inspired by the form of a bird. Initially Andra produced a paper model of her idea which loosely defined what the structure would look like. For this next model she has increased its scale and added more detail. This kind of model will raise questions regarding connection detail and overall practicality of the structure.

2nd Year Andra Calin (1)

DSC01267

DSC01274

For me its these intermediate types of development model that are the most fun to construct as they help clearly define details that can be replicated or improved upon and I hope to see more of these in the coming weeks as these ideas progress! Scott

DSC01269 DSC01273