Experimenting with Modelling in Plasterboard

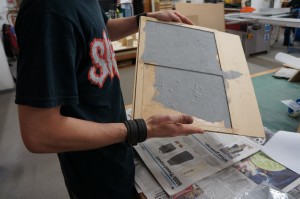
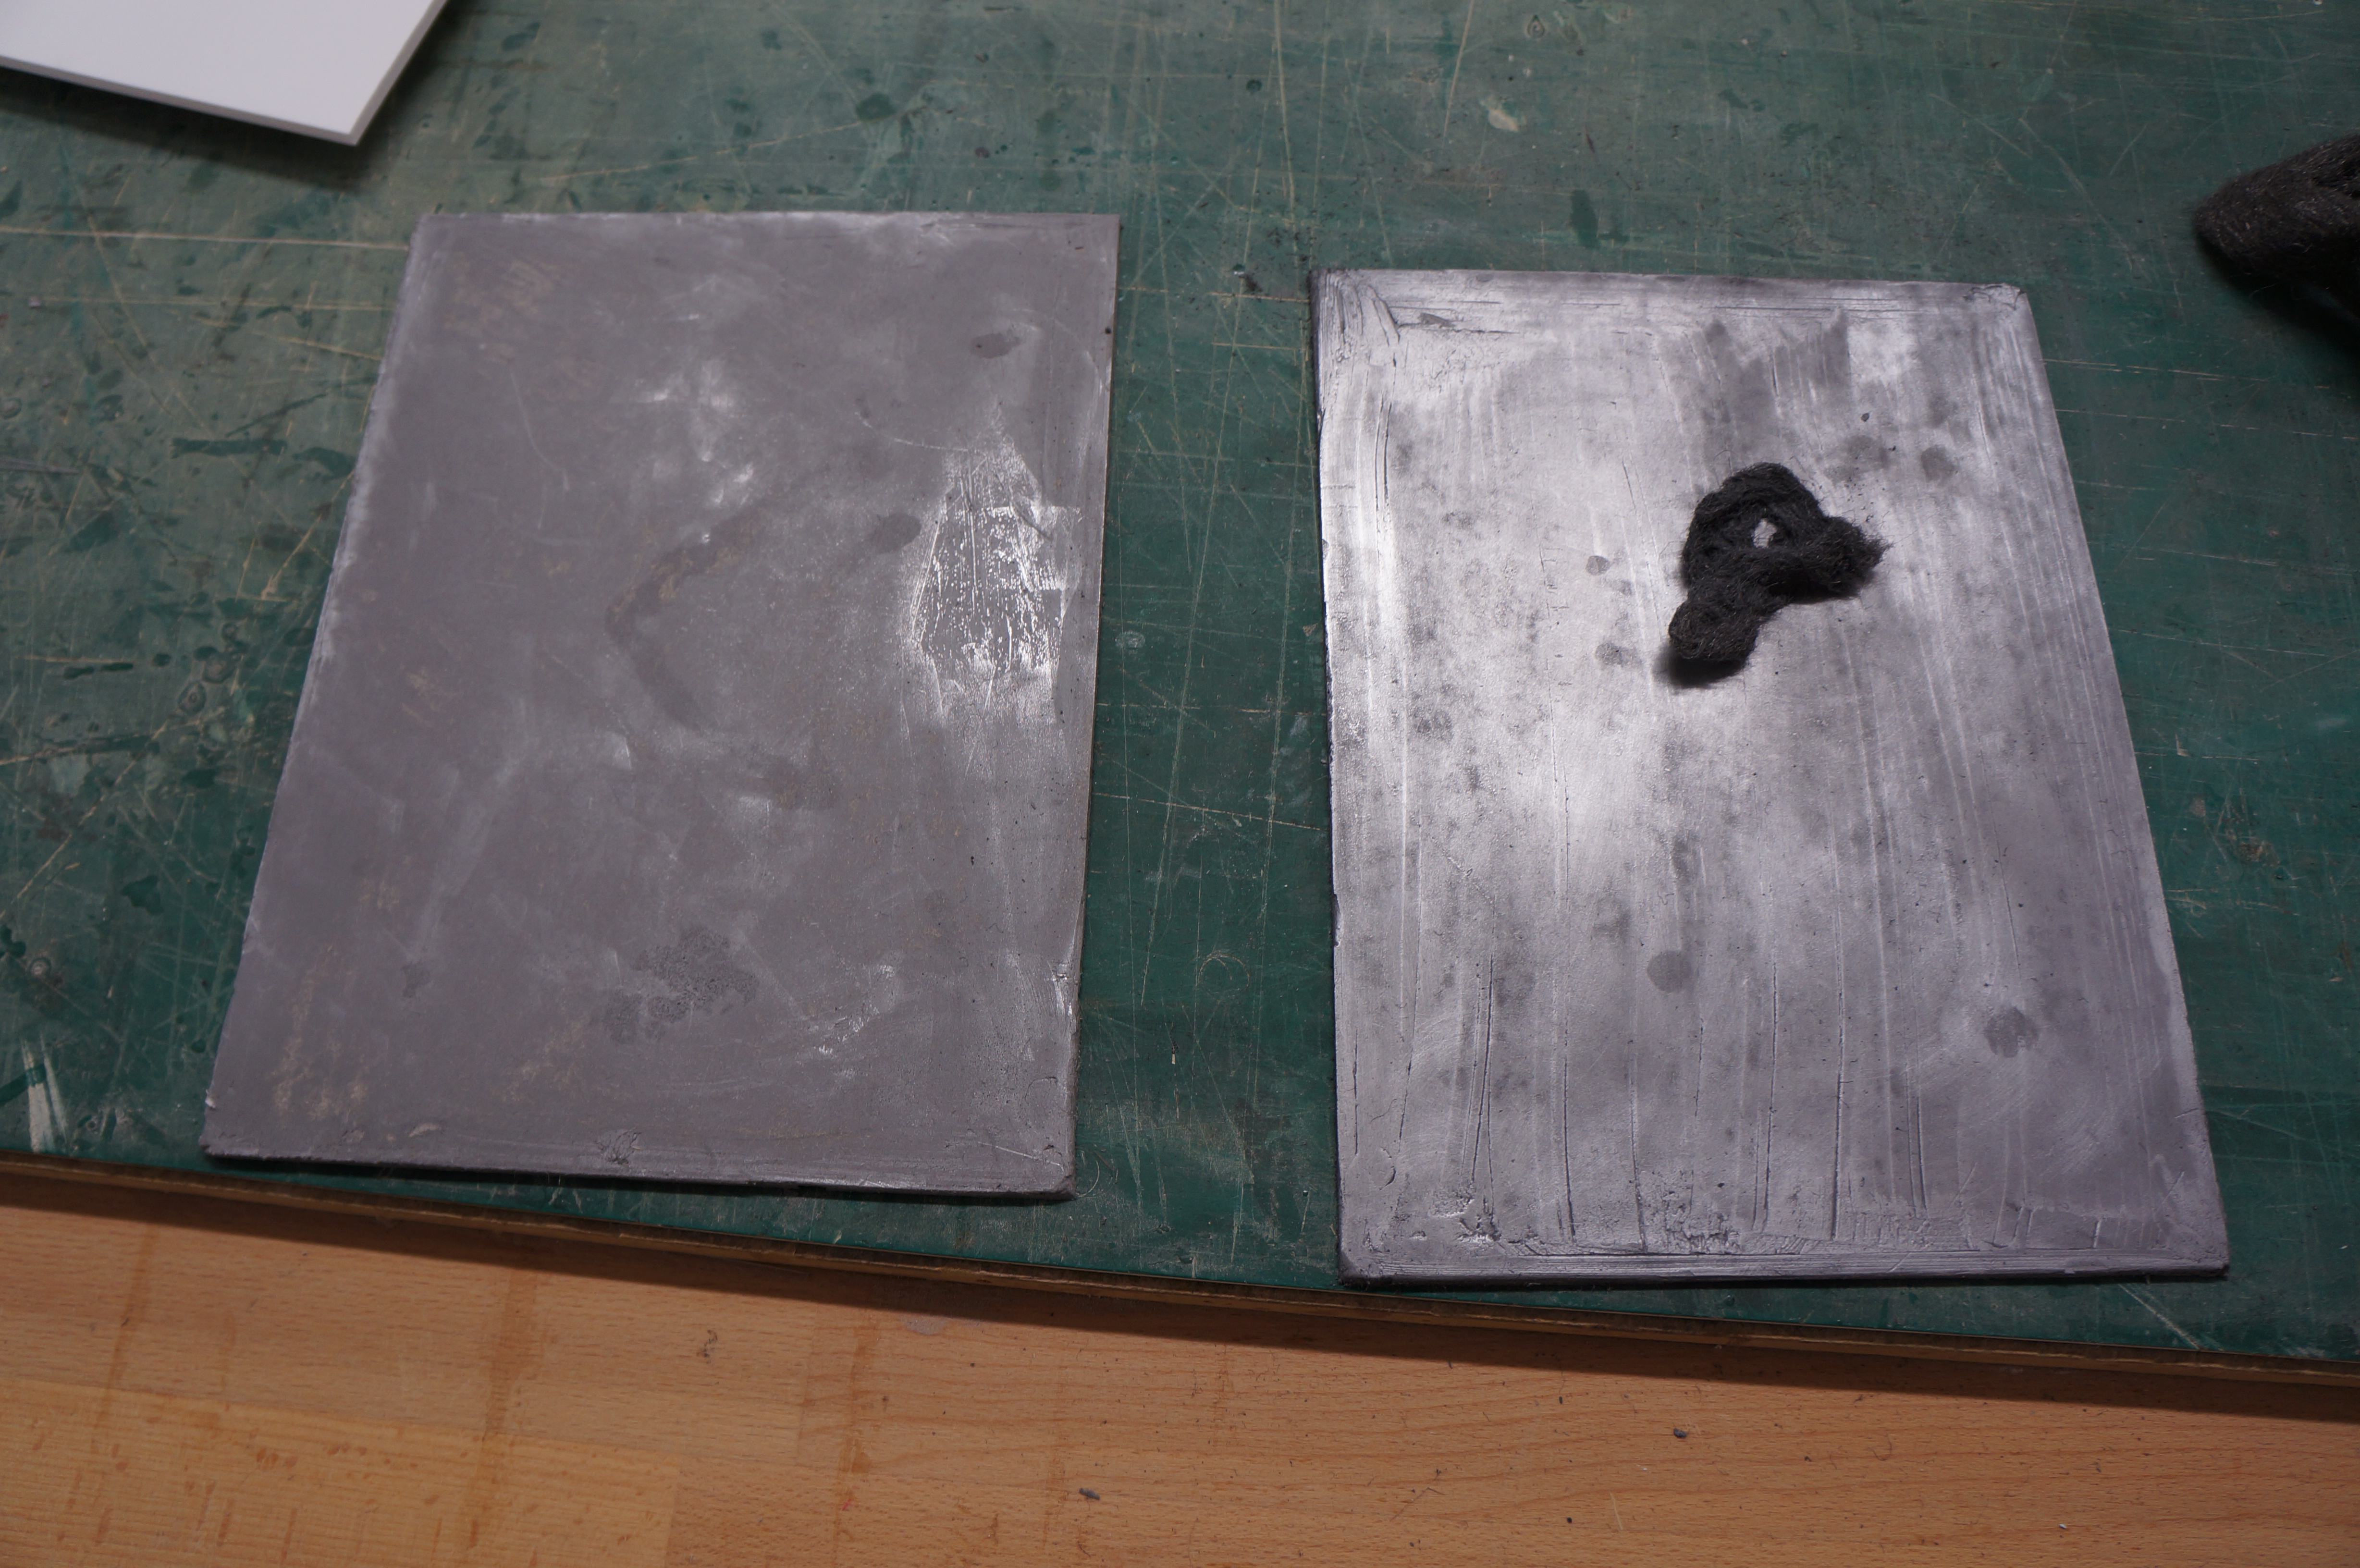
When casting with plaster you always have to contend with mould design, consistency of mixing the plaster and the eventual extraction from the mould. These factors can cause a fairly high fail rate if one or more are carried out incorrectly. One way we can get around the need to mould and cast slabs of plaster is to utilise a ready made substitute in the form of plasterboard. Pre-cast plaster board can be purchased readily and cheaply from most DIY stores. It provides a consistent slab of plaster that can be easily worked using hand tools or machine cutting.

5th Year Lost Spaces (5)

In its bought state plasterboard has a layer of paper adhered to the outside which can be removed using a wet cloth. This is the most laborious aspect of using this material but is a small price to pay for the time and expense of trying to cast slabs from scratch.

DSC05132

5th Year Lost Spaces (2)
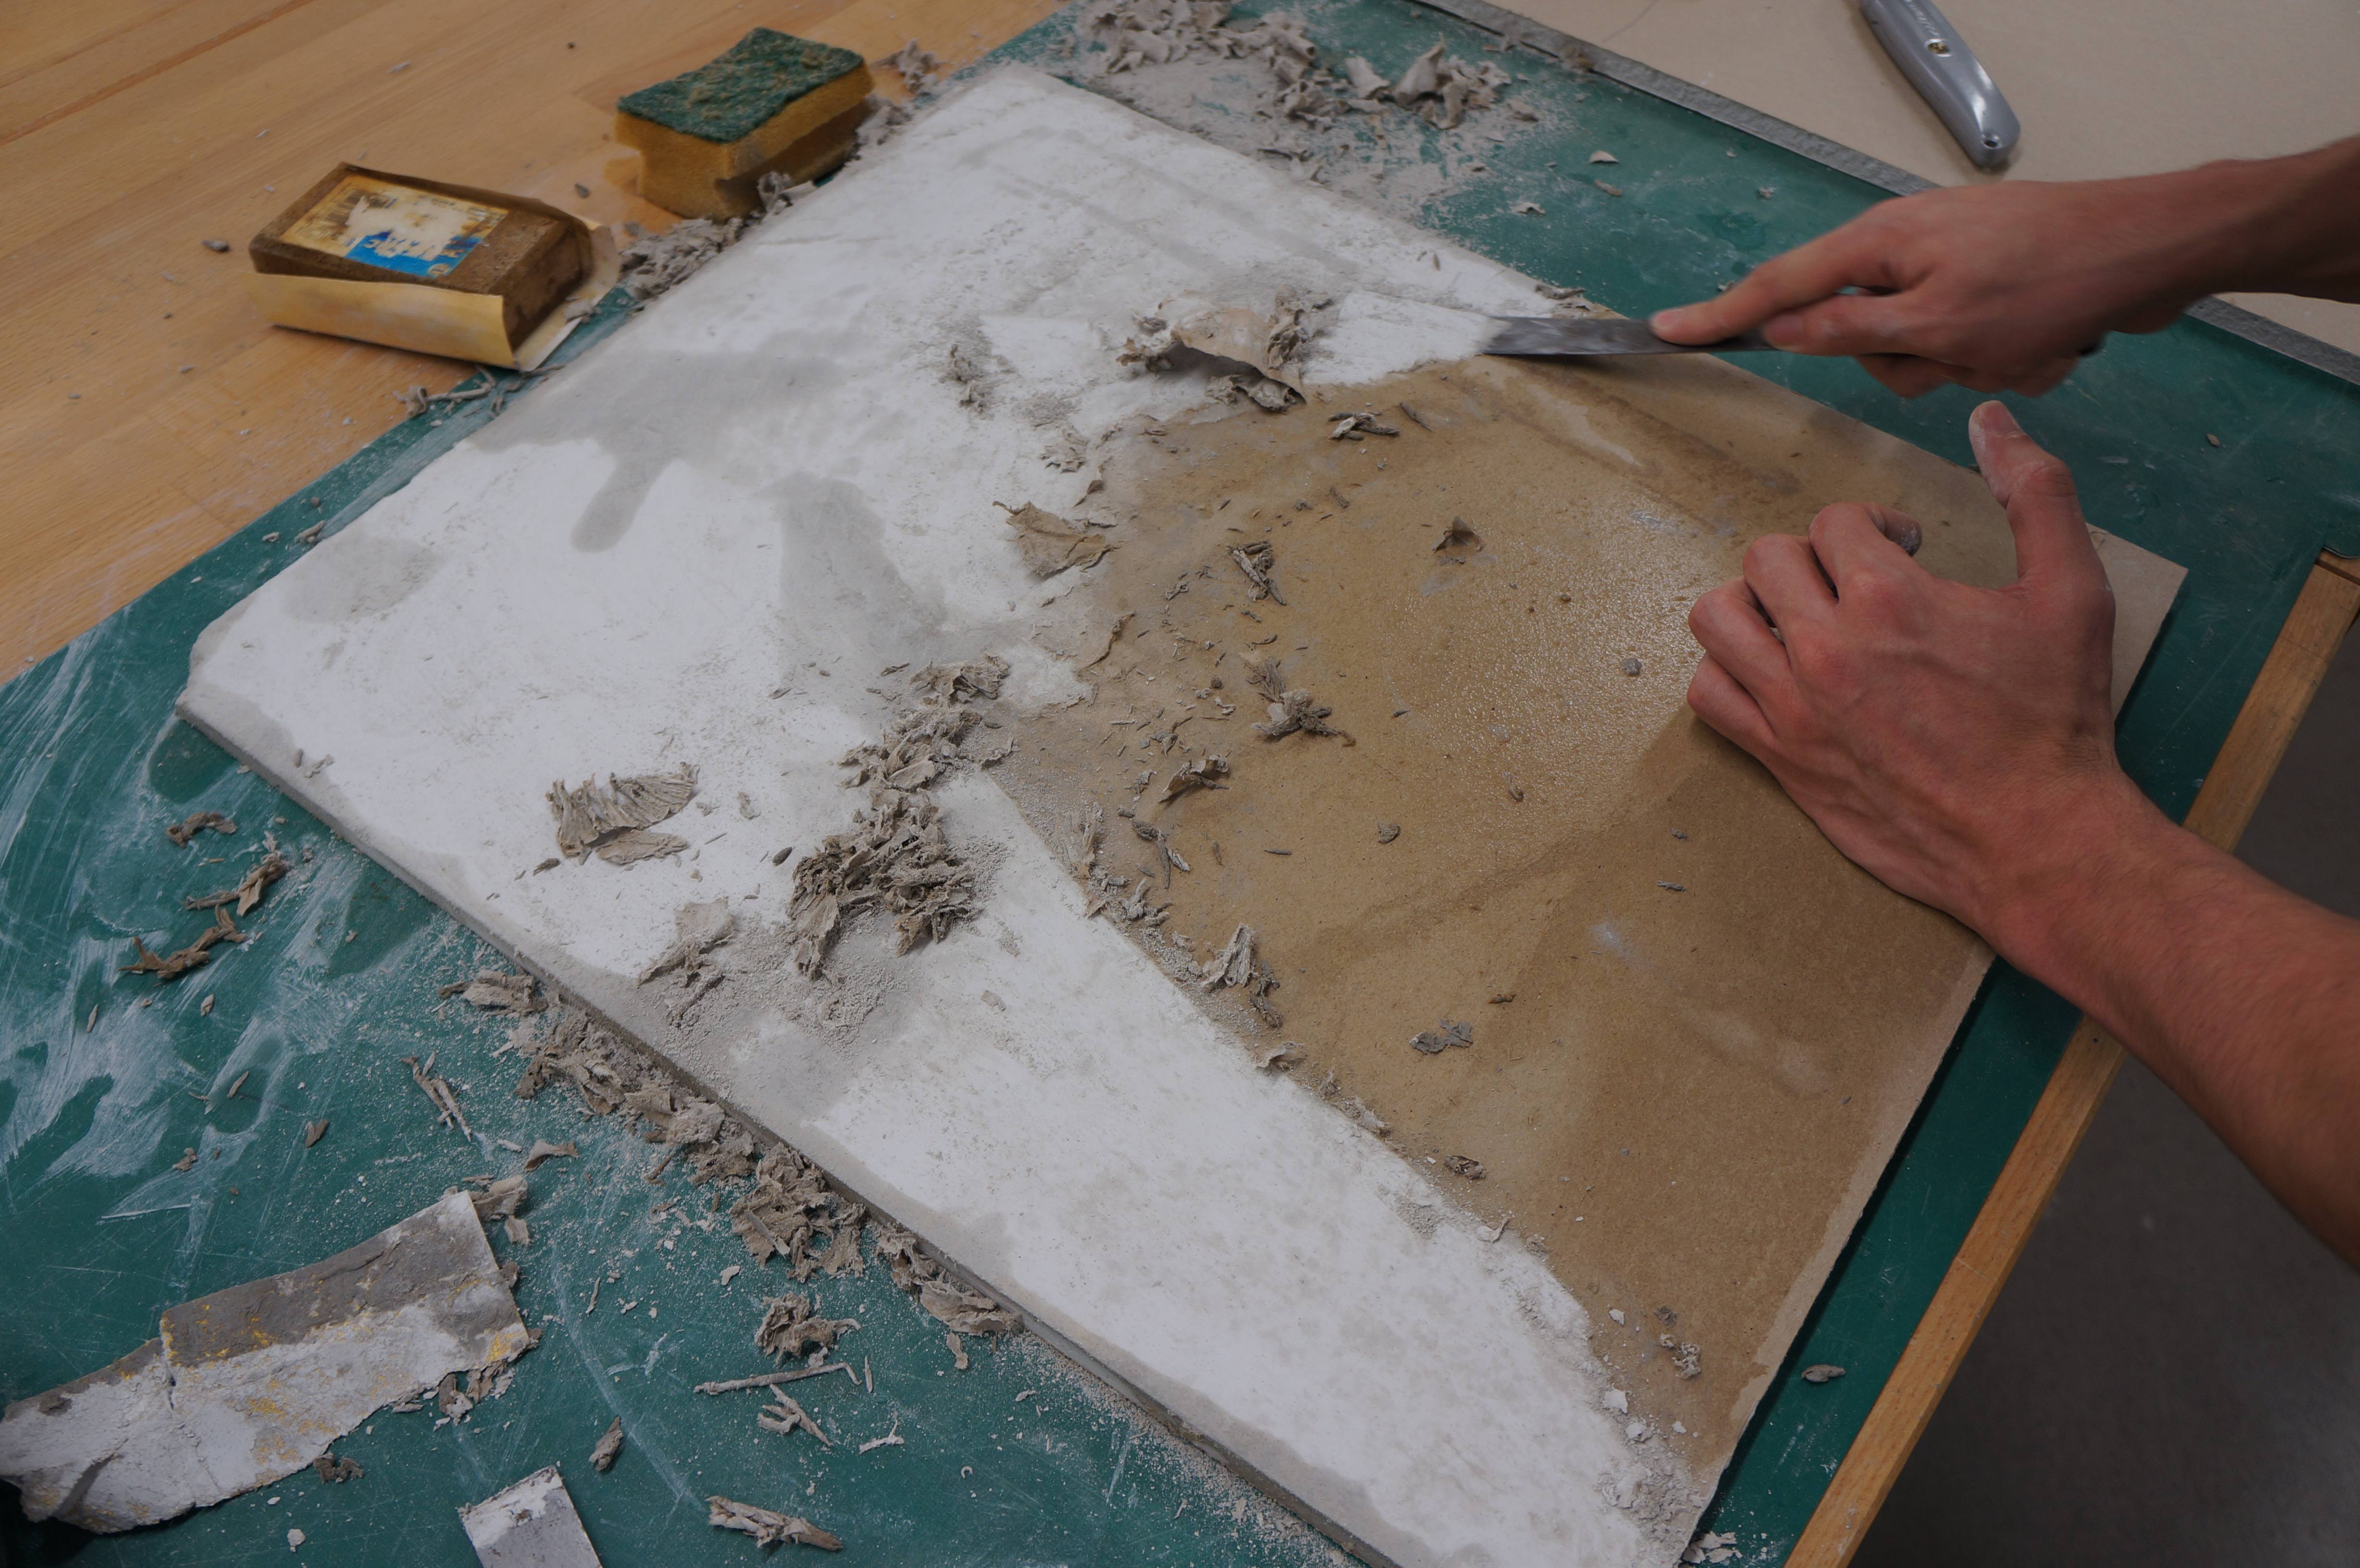
Once clean of paper the board should be left to thoroughly dry before being worked.

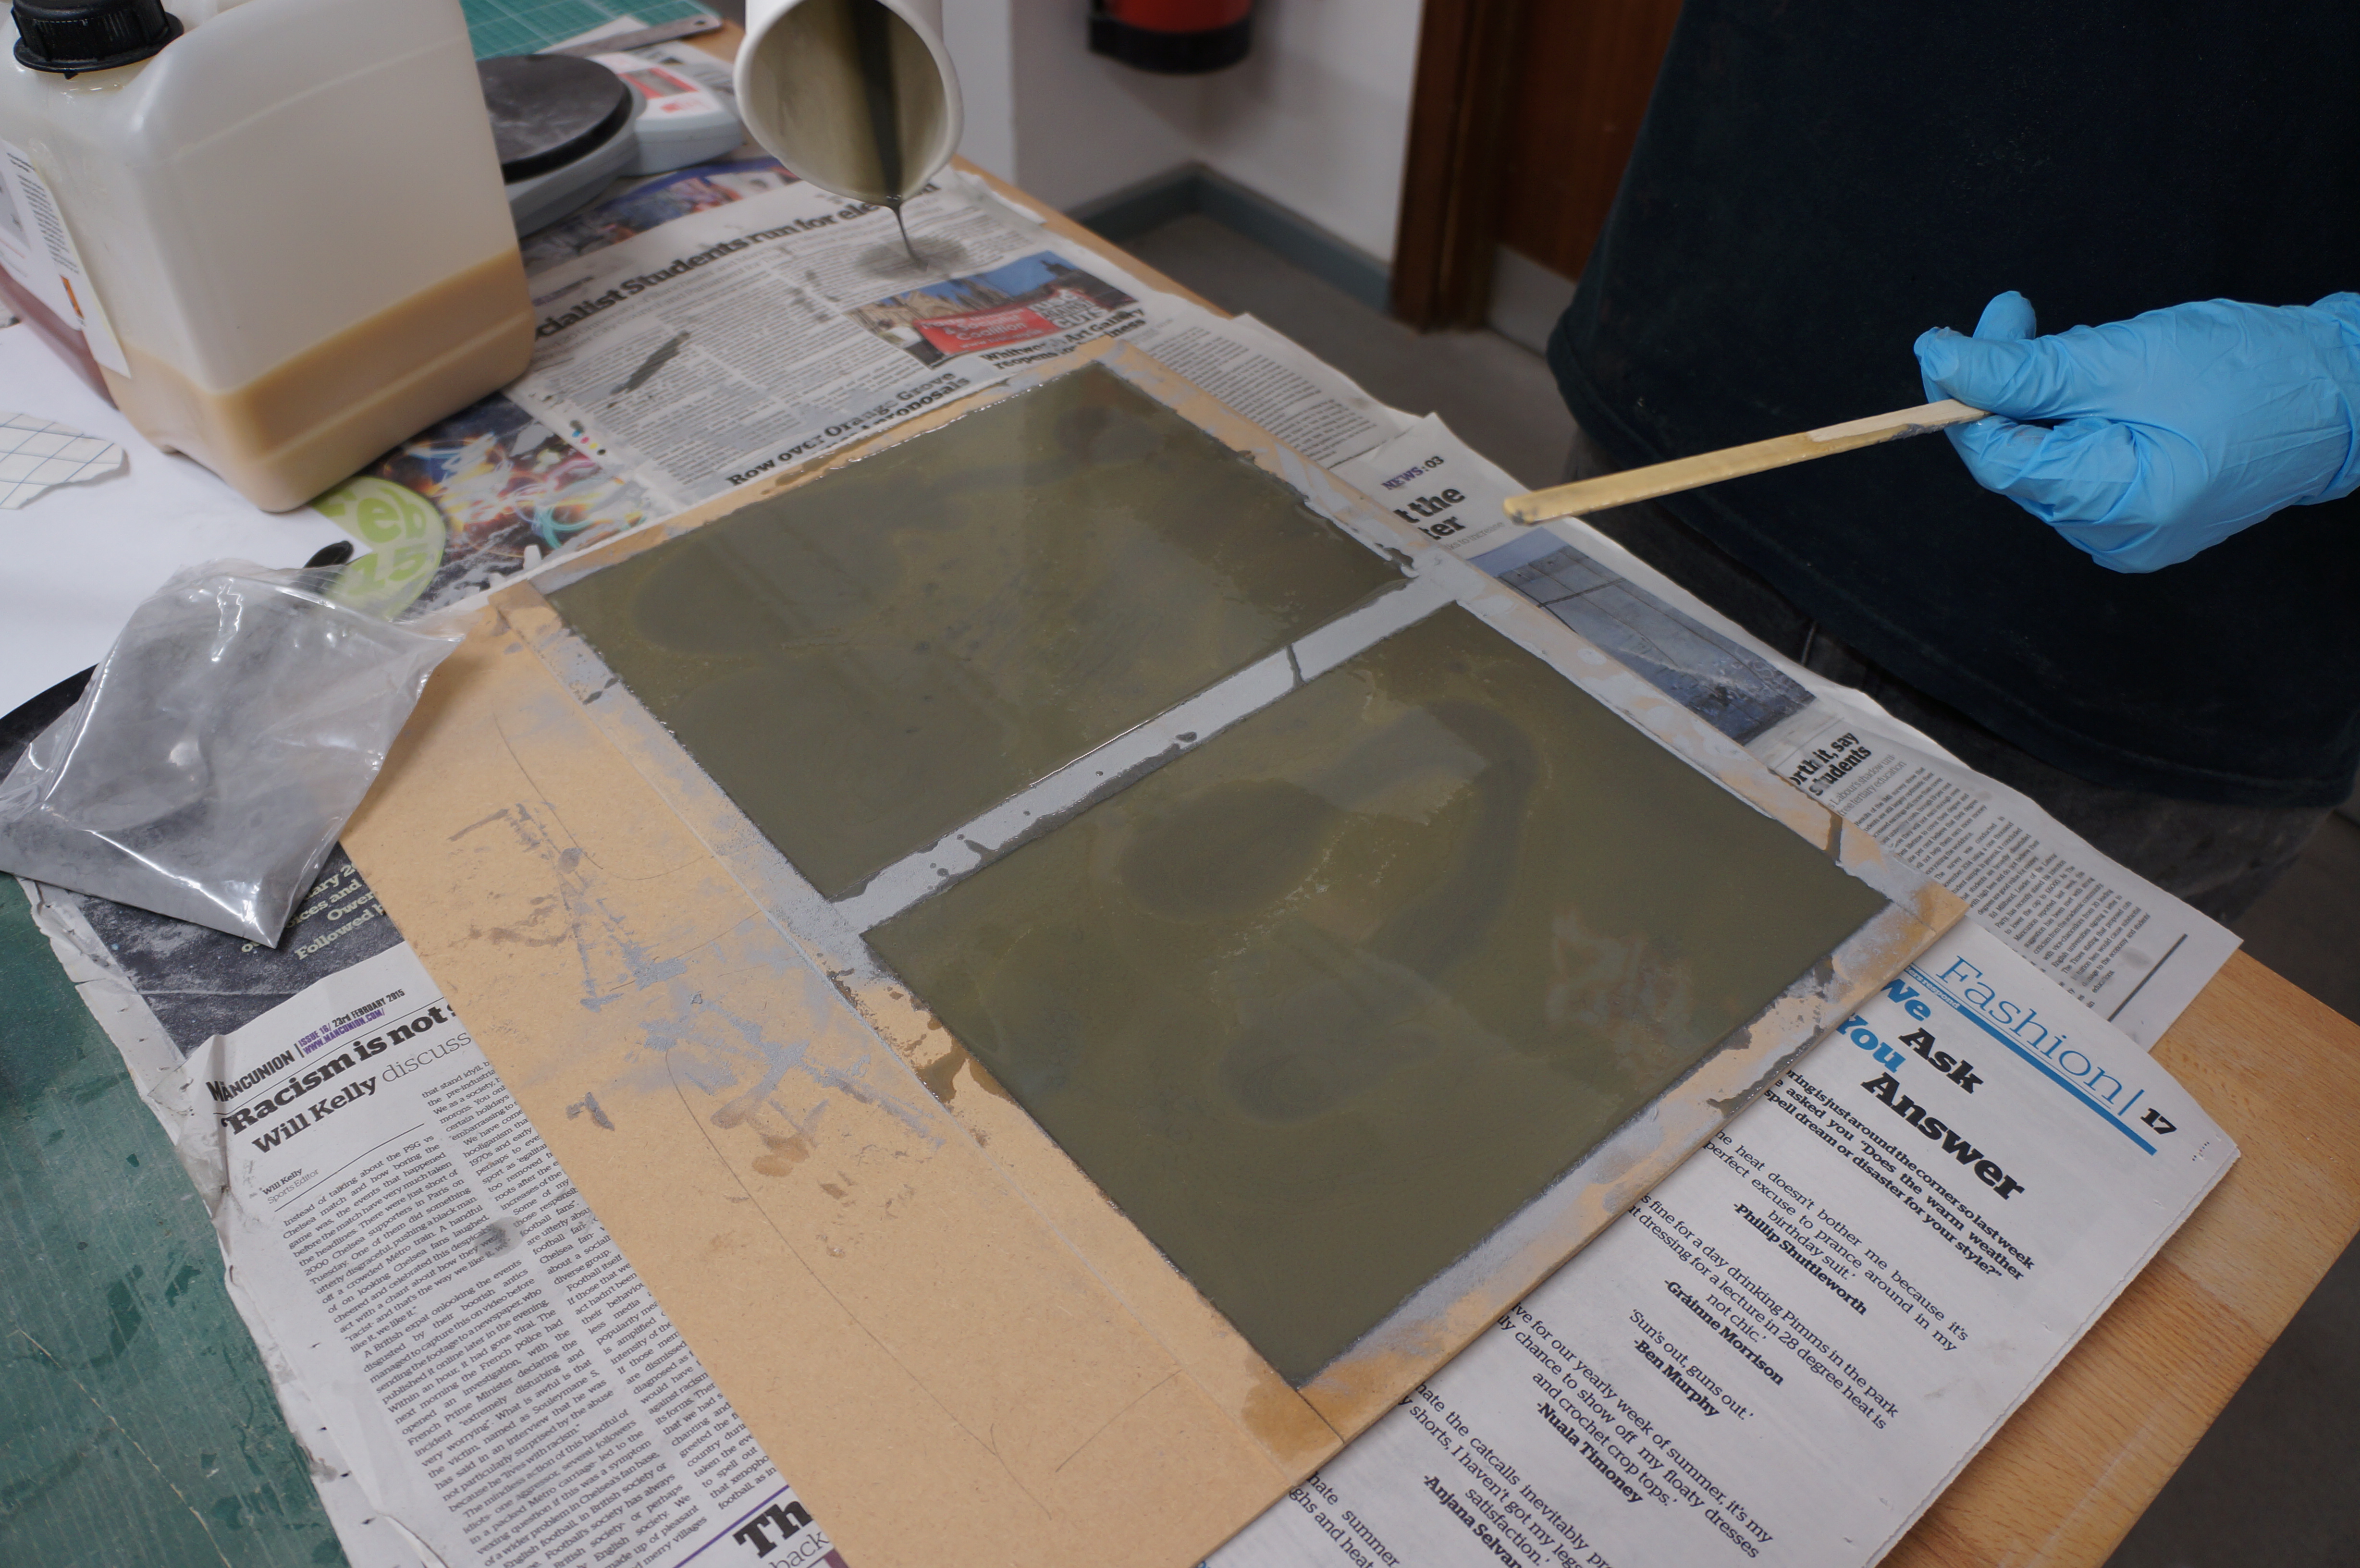
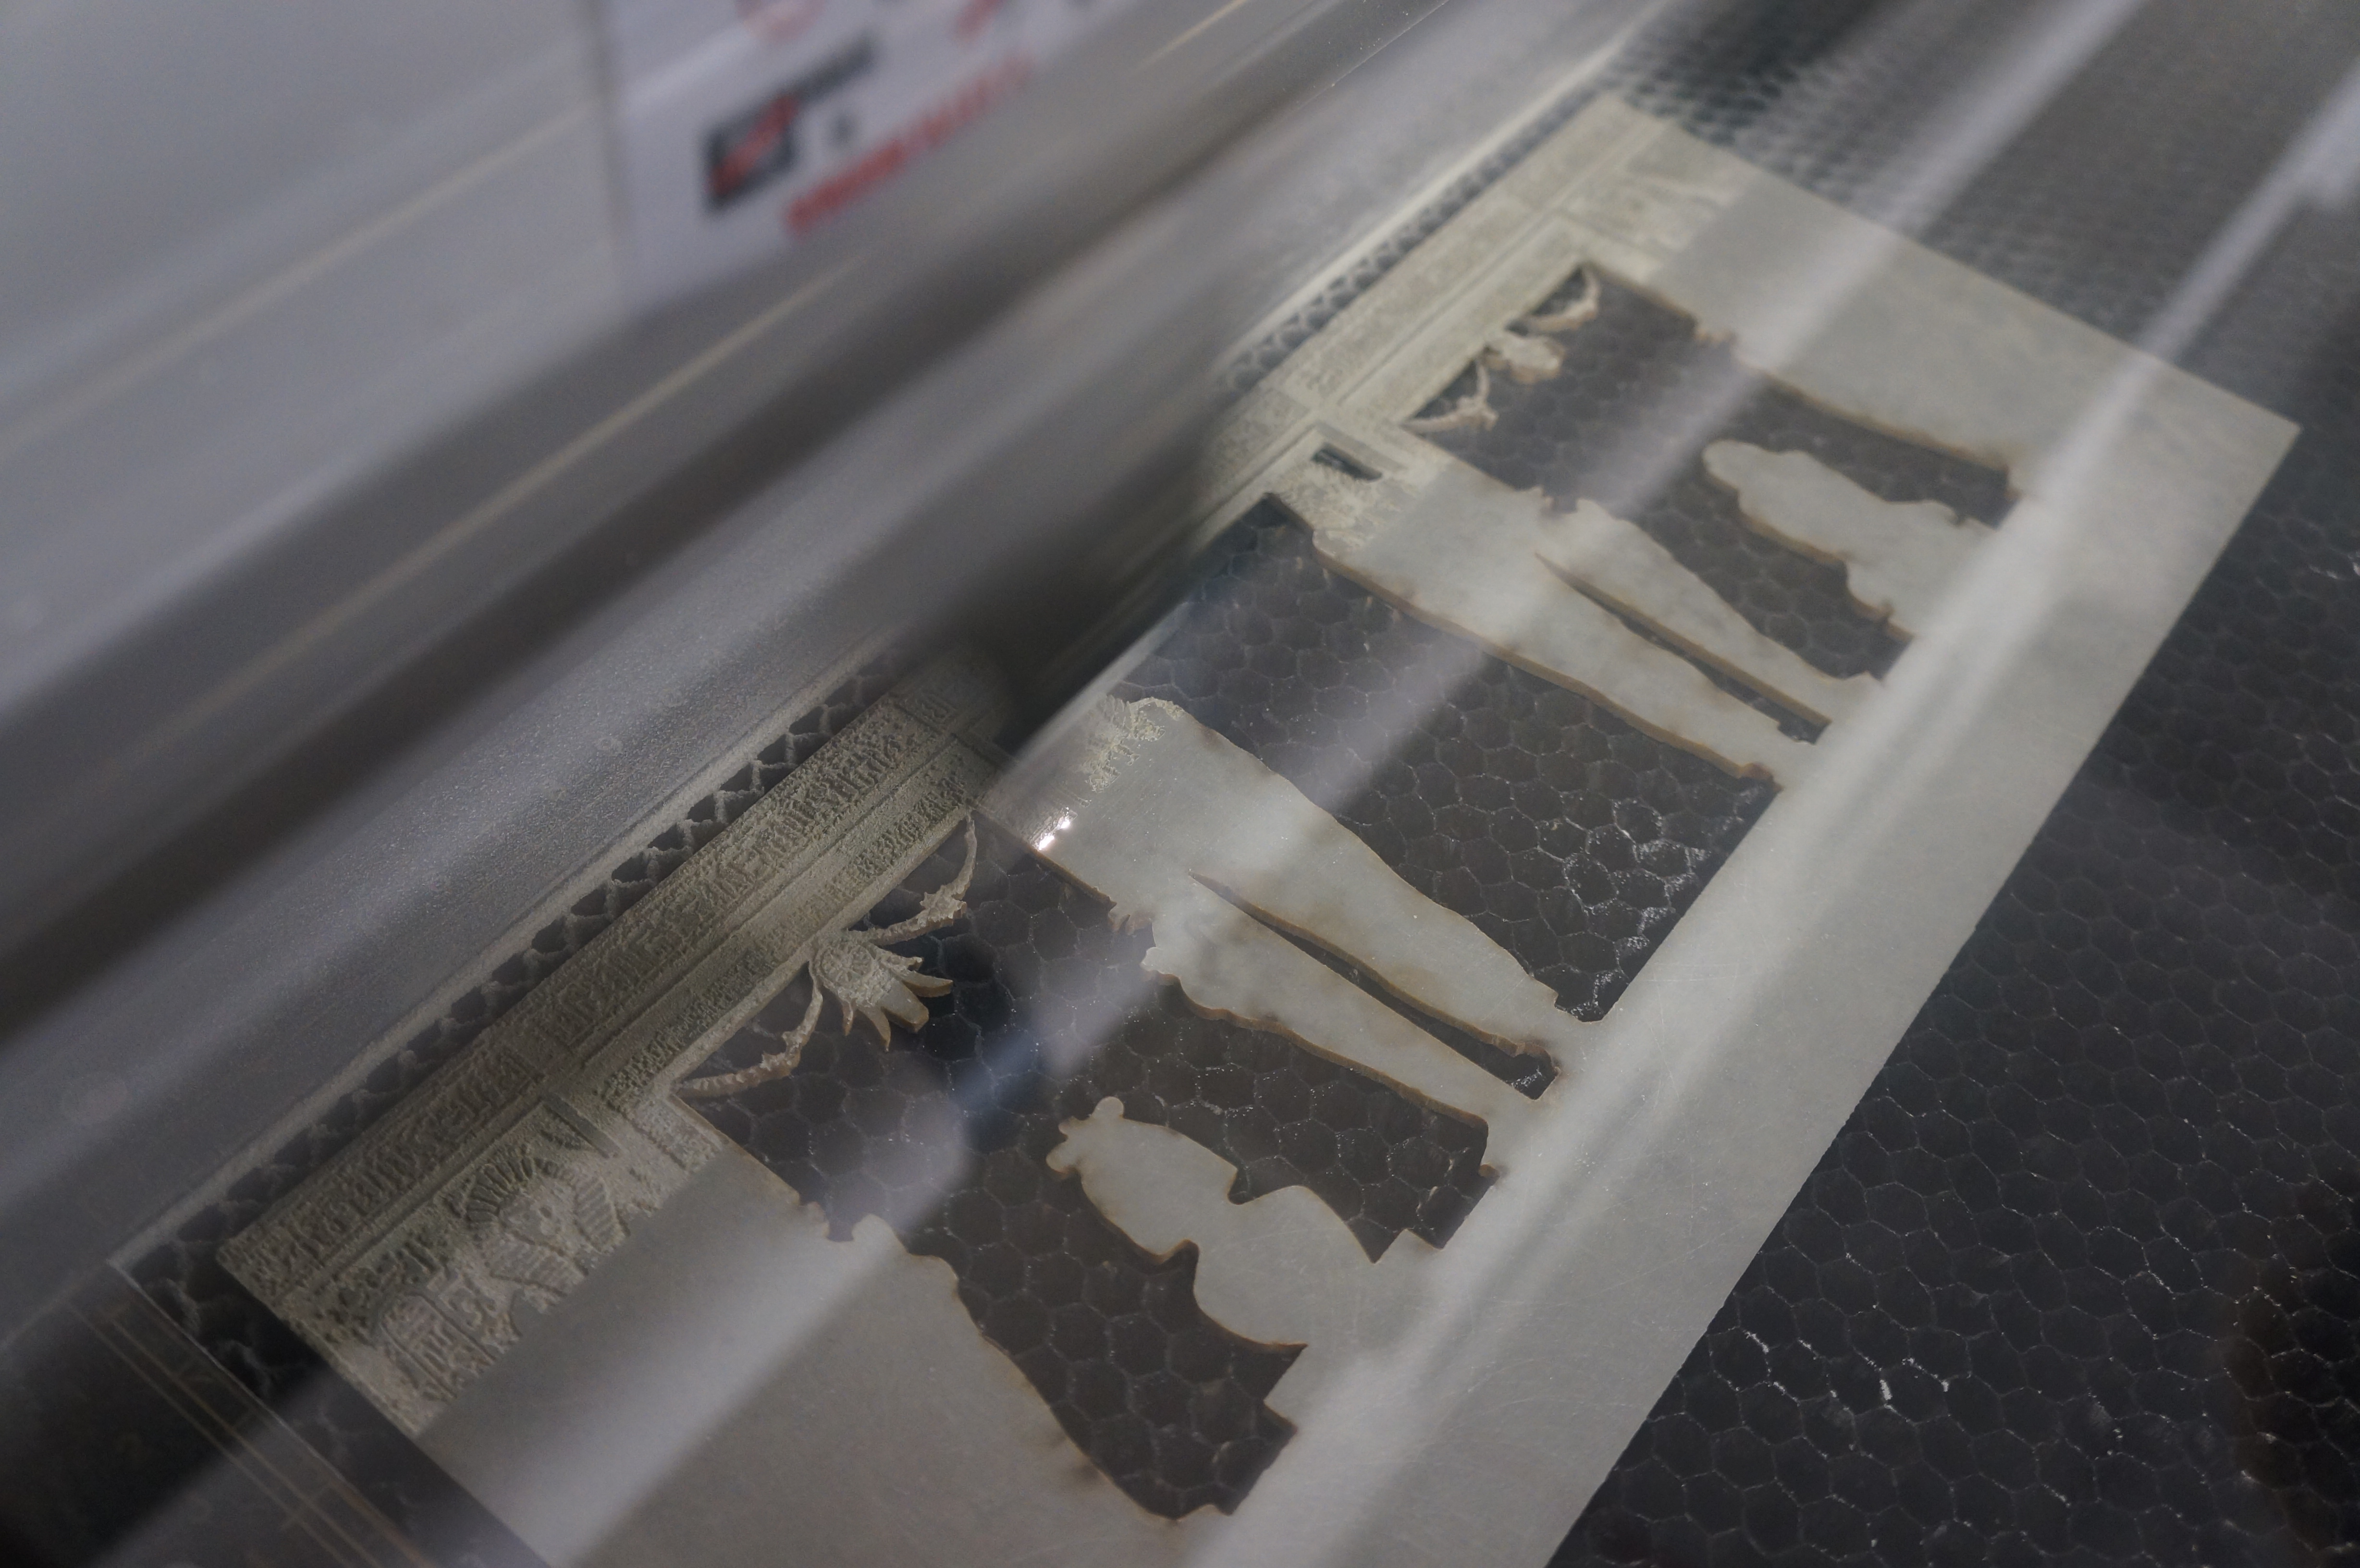
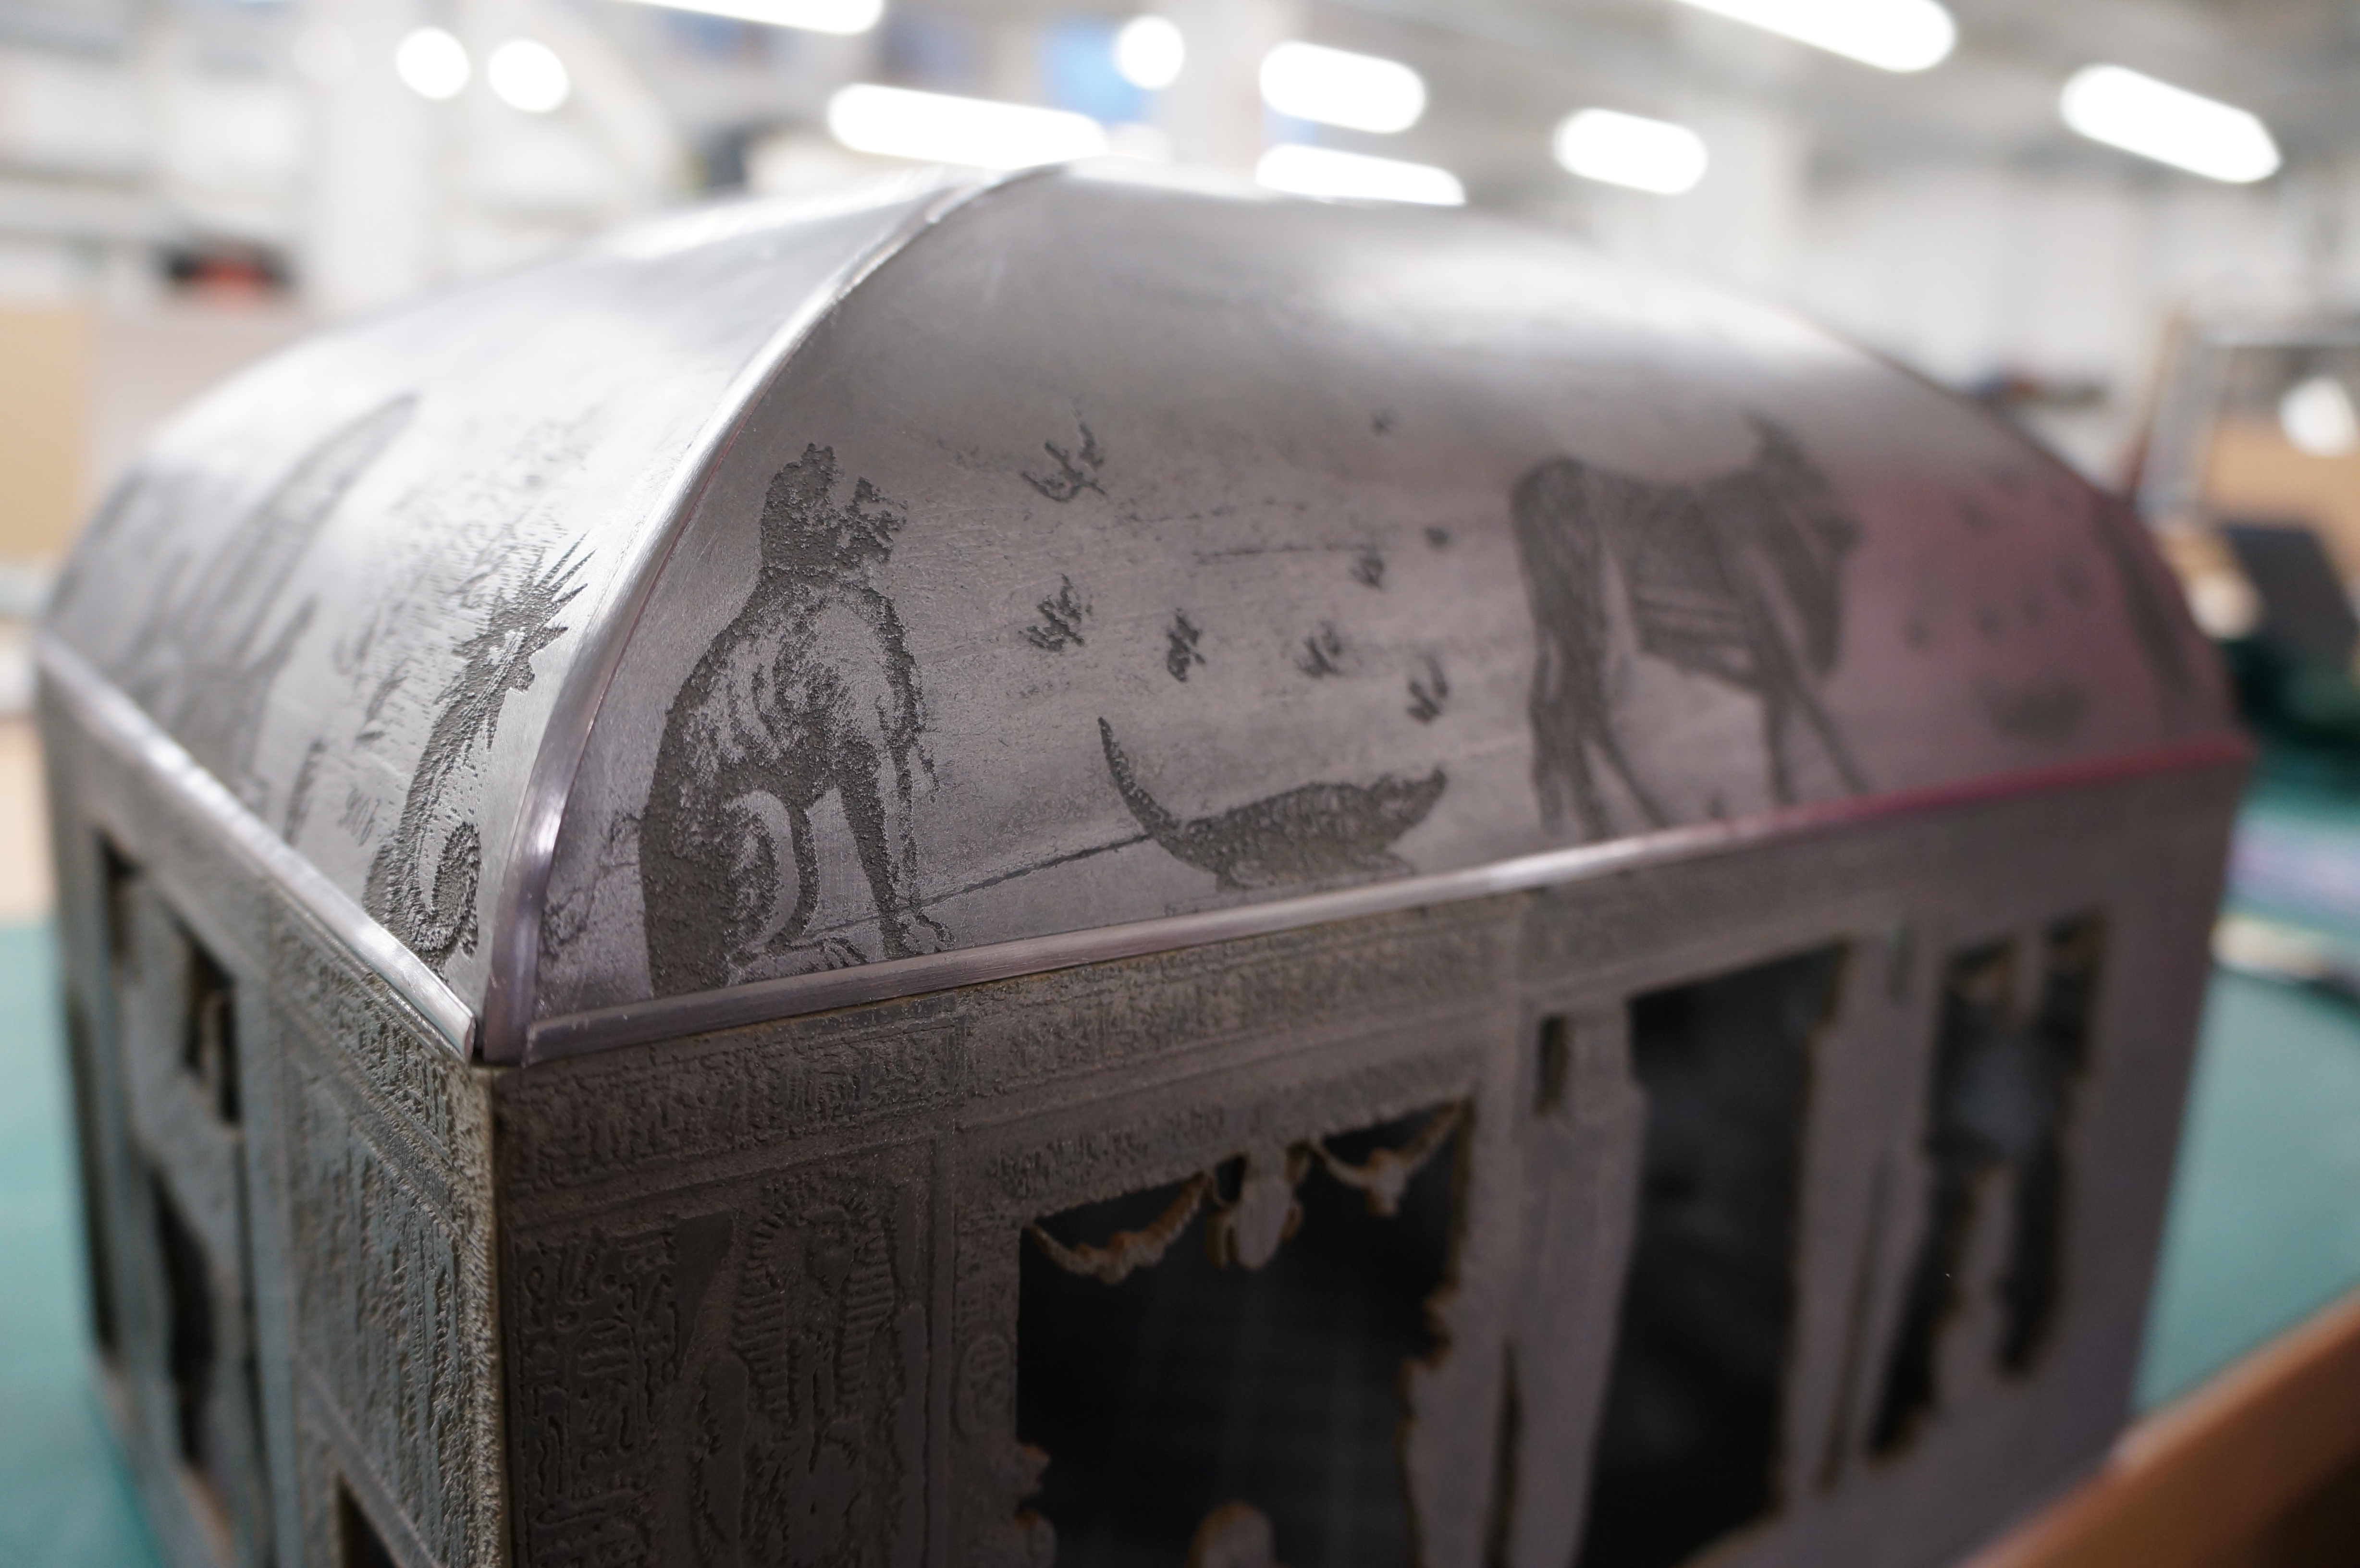
With this particular project slabs of plaster board were cut to size before being engraved with detailing on the laser cutter. This level of detail created a cast concrete imitation that would be very difficult to replicate from a cast piece.
5th Year Lost Spaces (15)
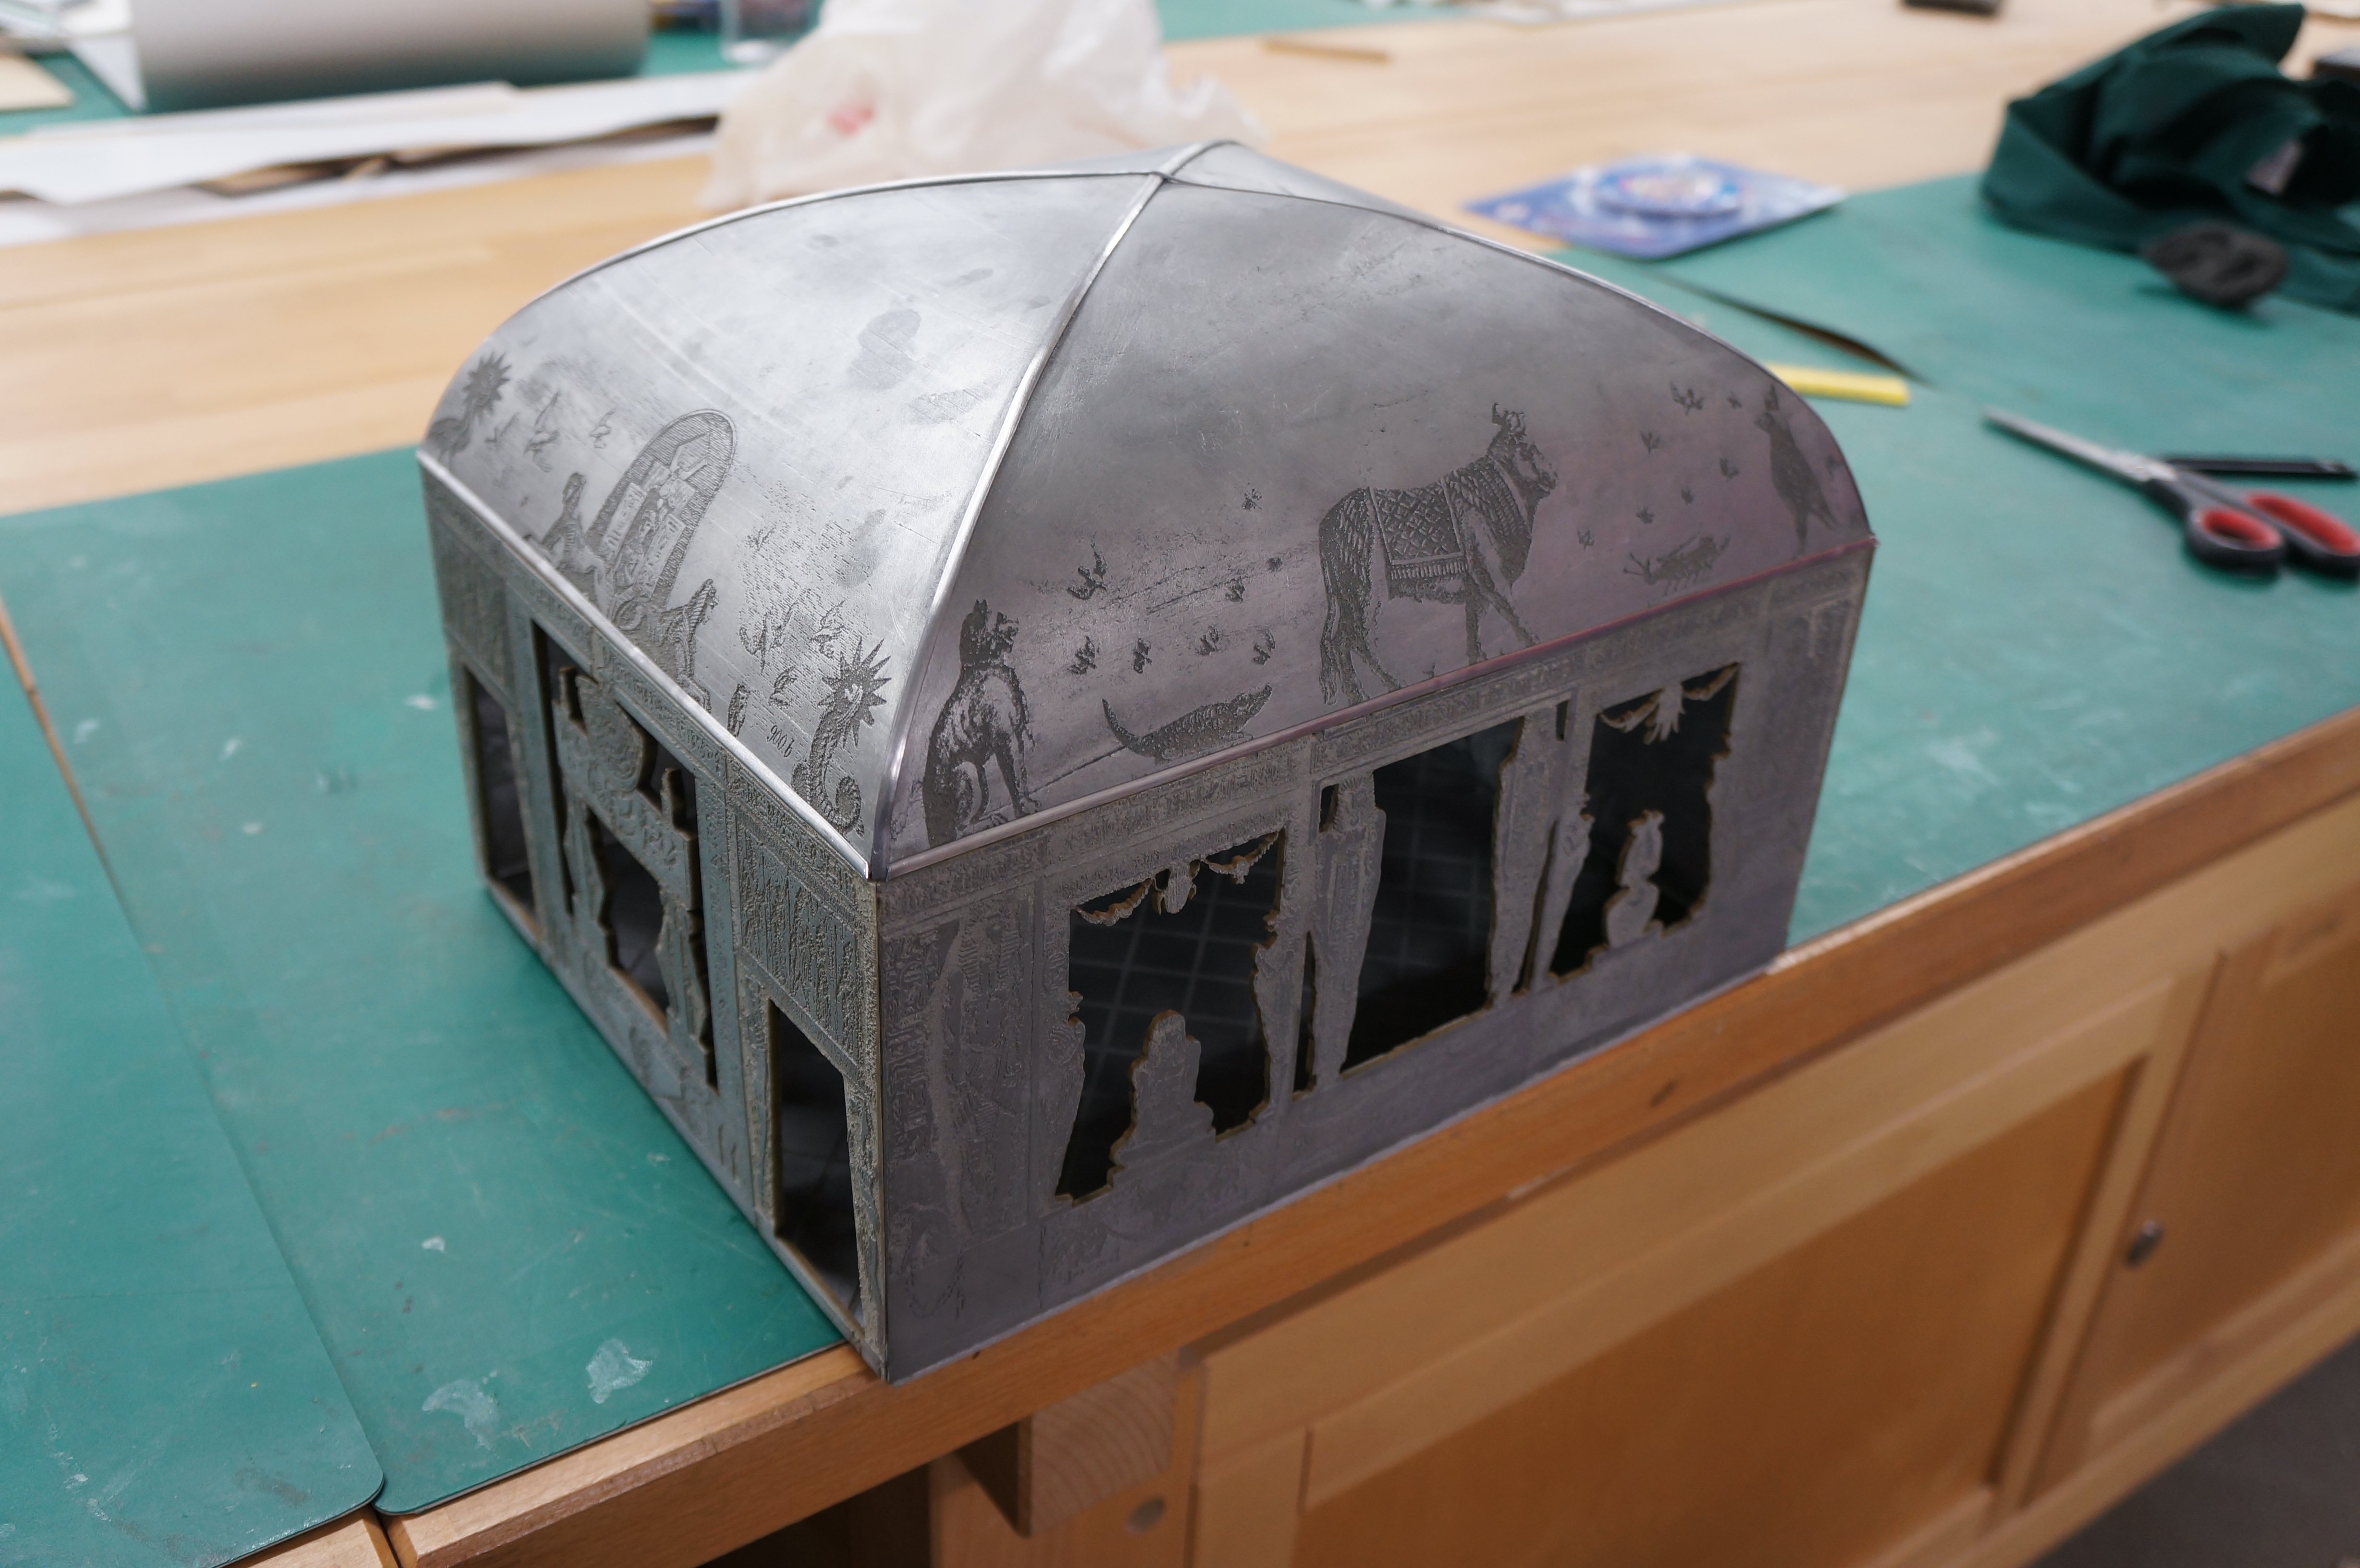
The main disadvantage of this engraved method is in its fragility. Once completed the engraved pieces have to be held with great care to avoid damaging the surface. One method of strengthening the pieces is to spray over a layer of clear lacquer. Even with this coverage the surface can easily be damaged so this process is really for aesthetic purposes and doesn’t lend itself to models that need to be handled.

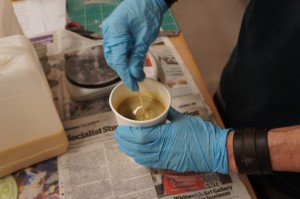
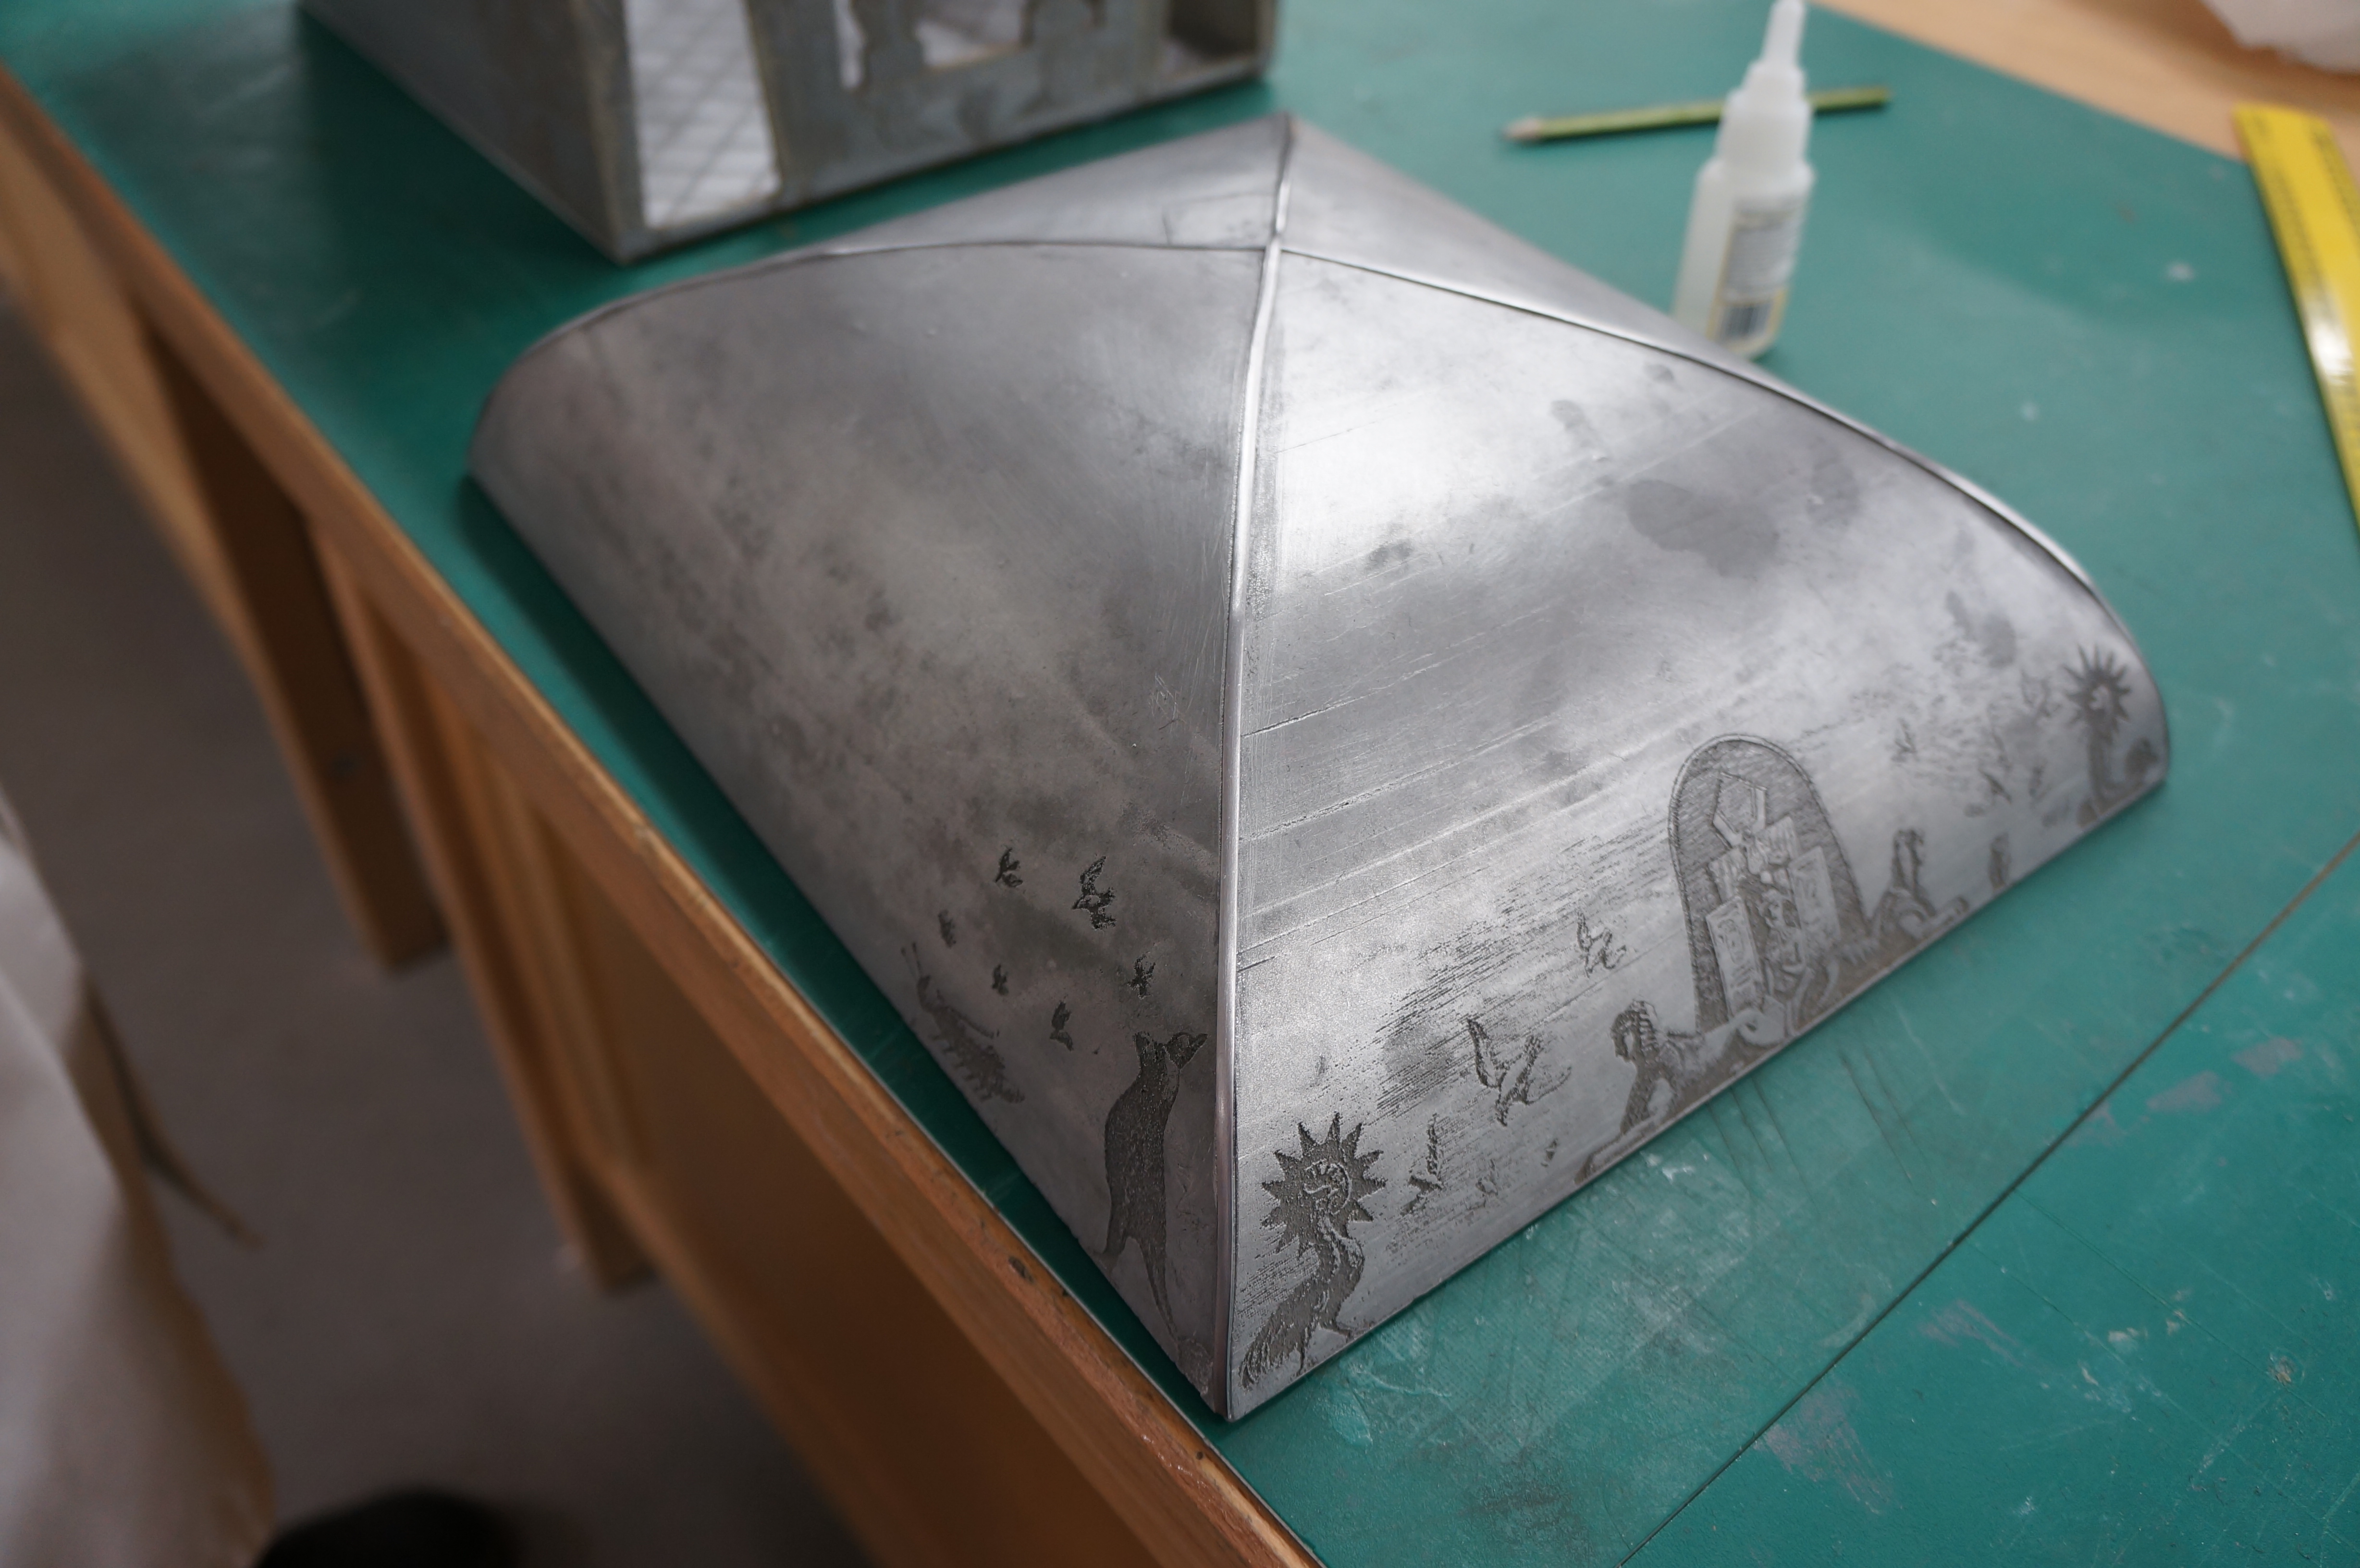
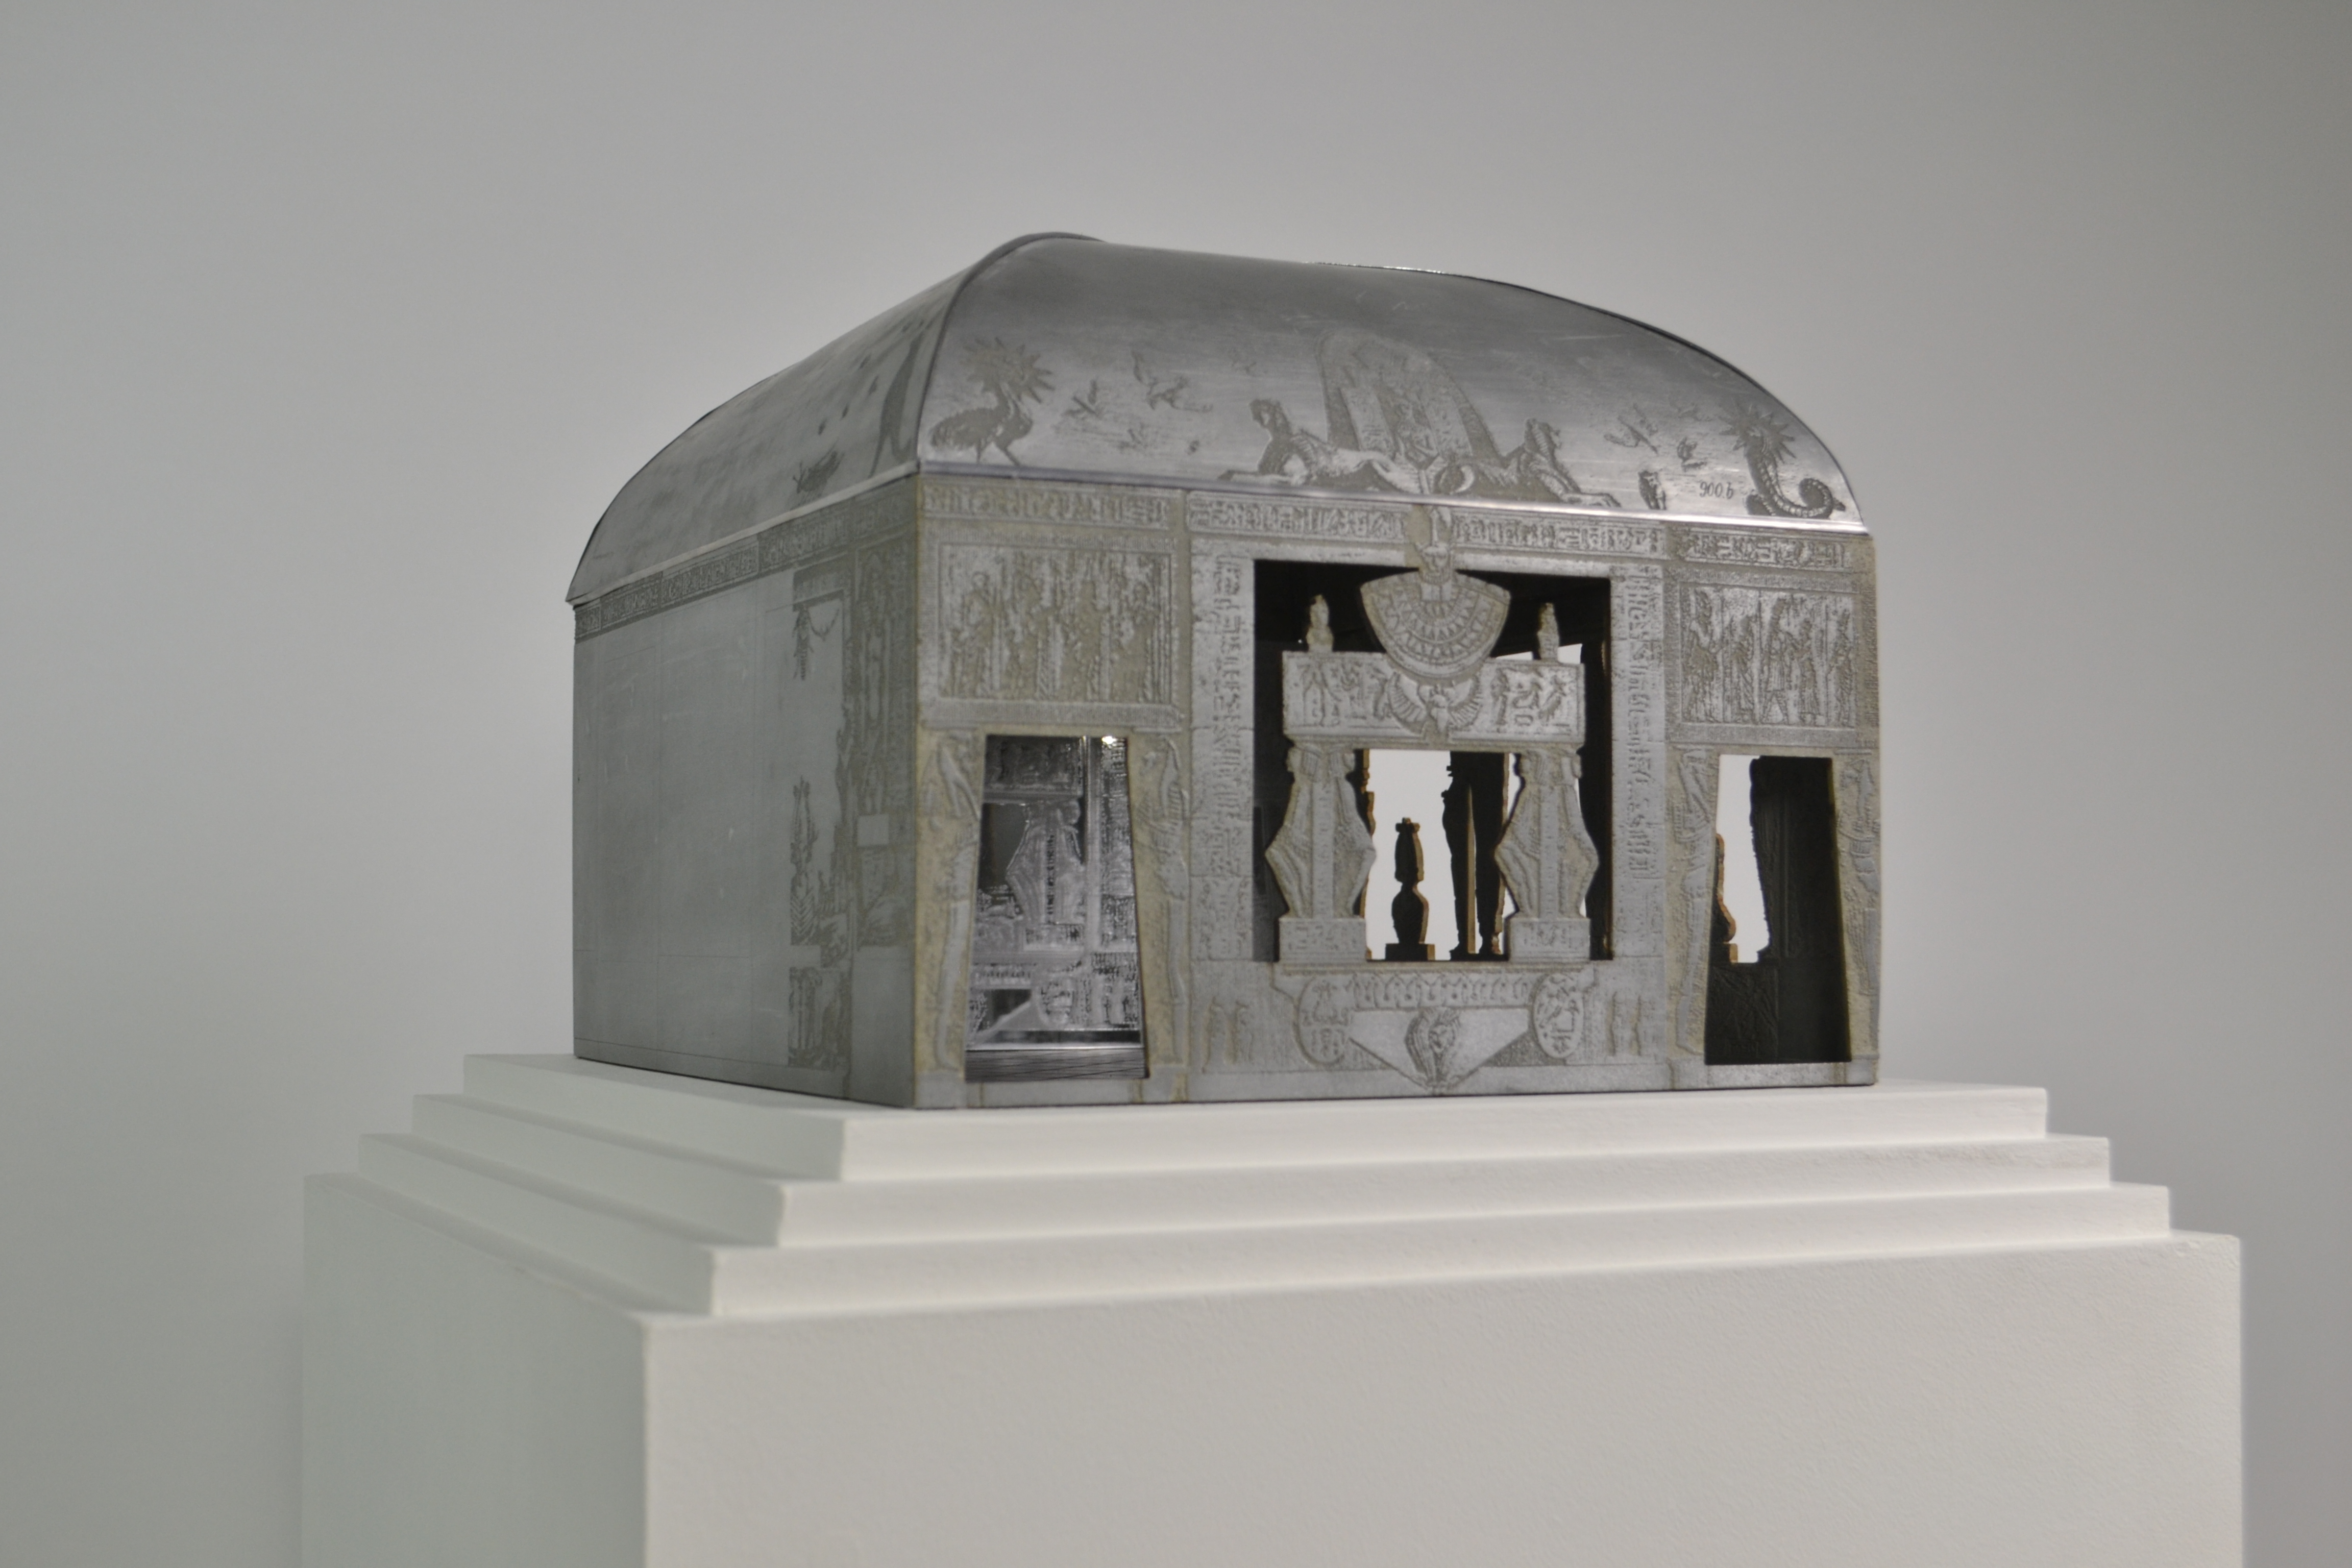
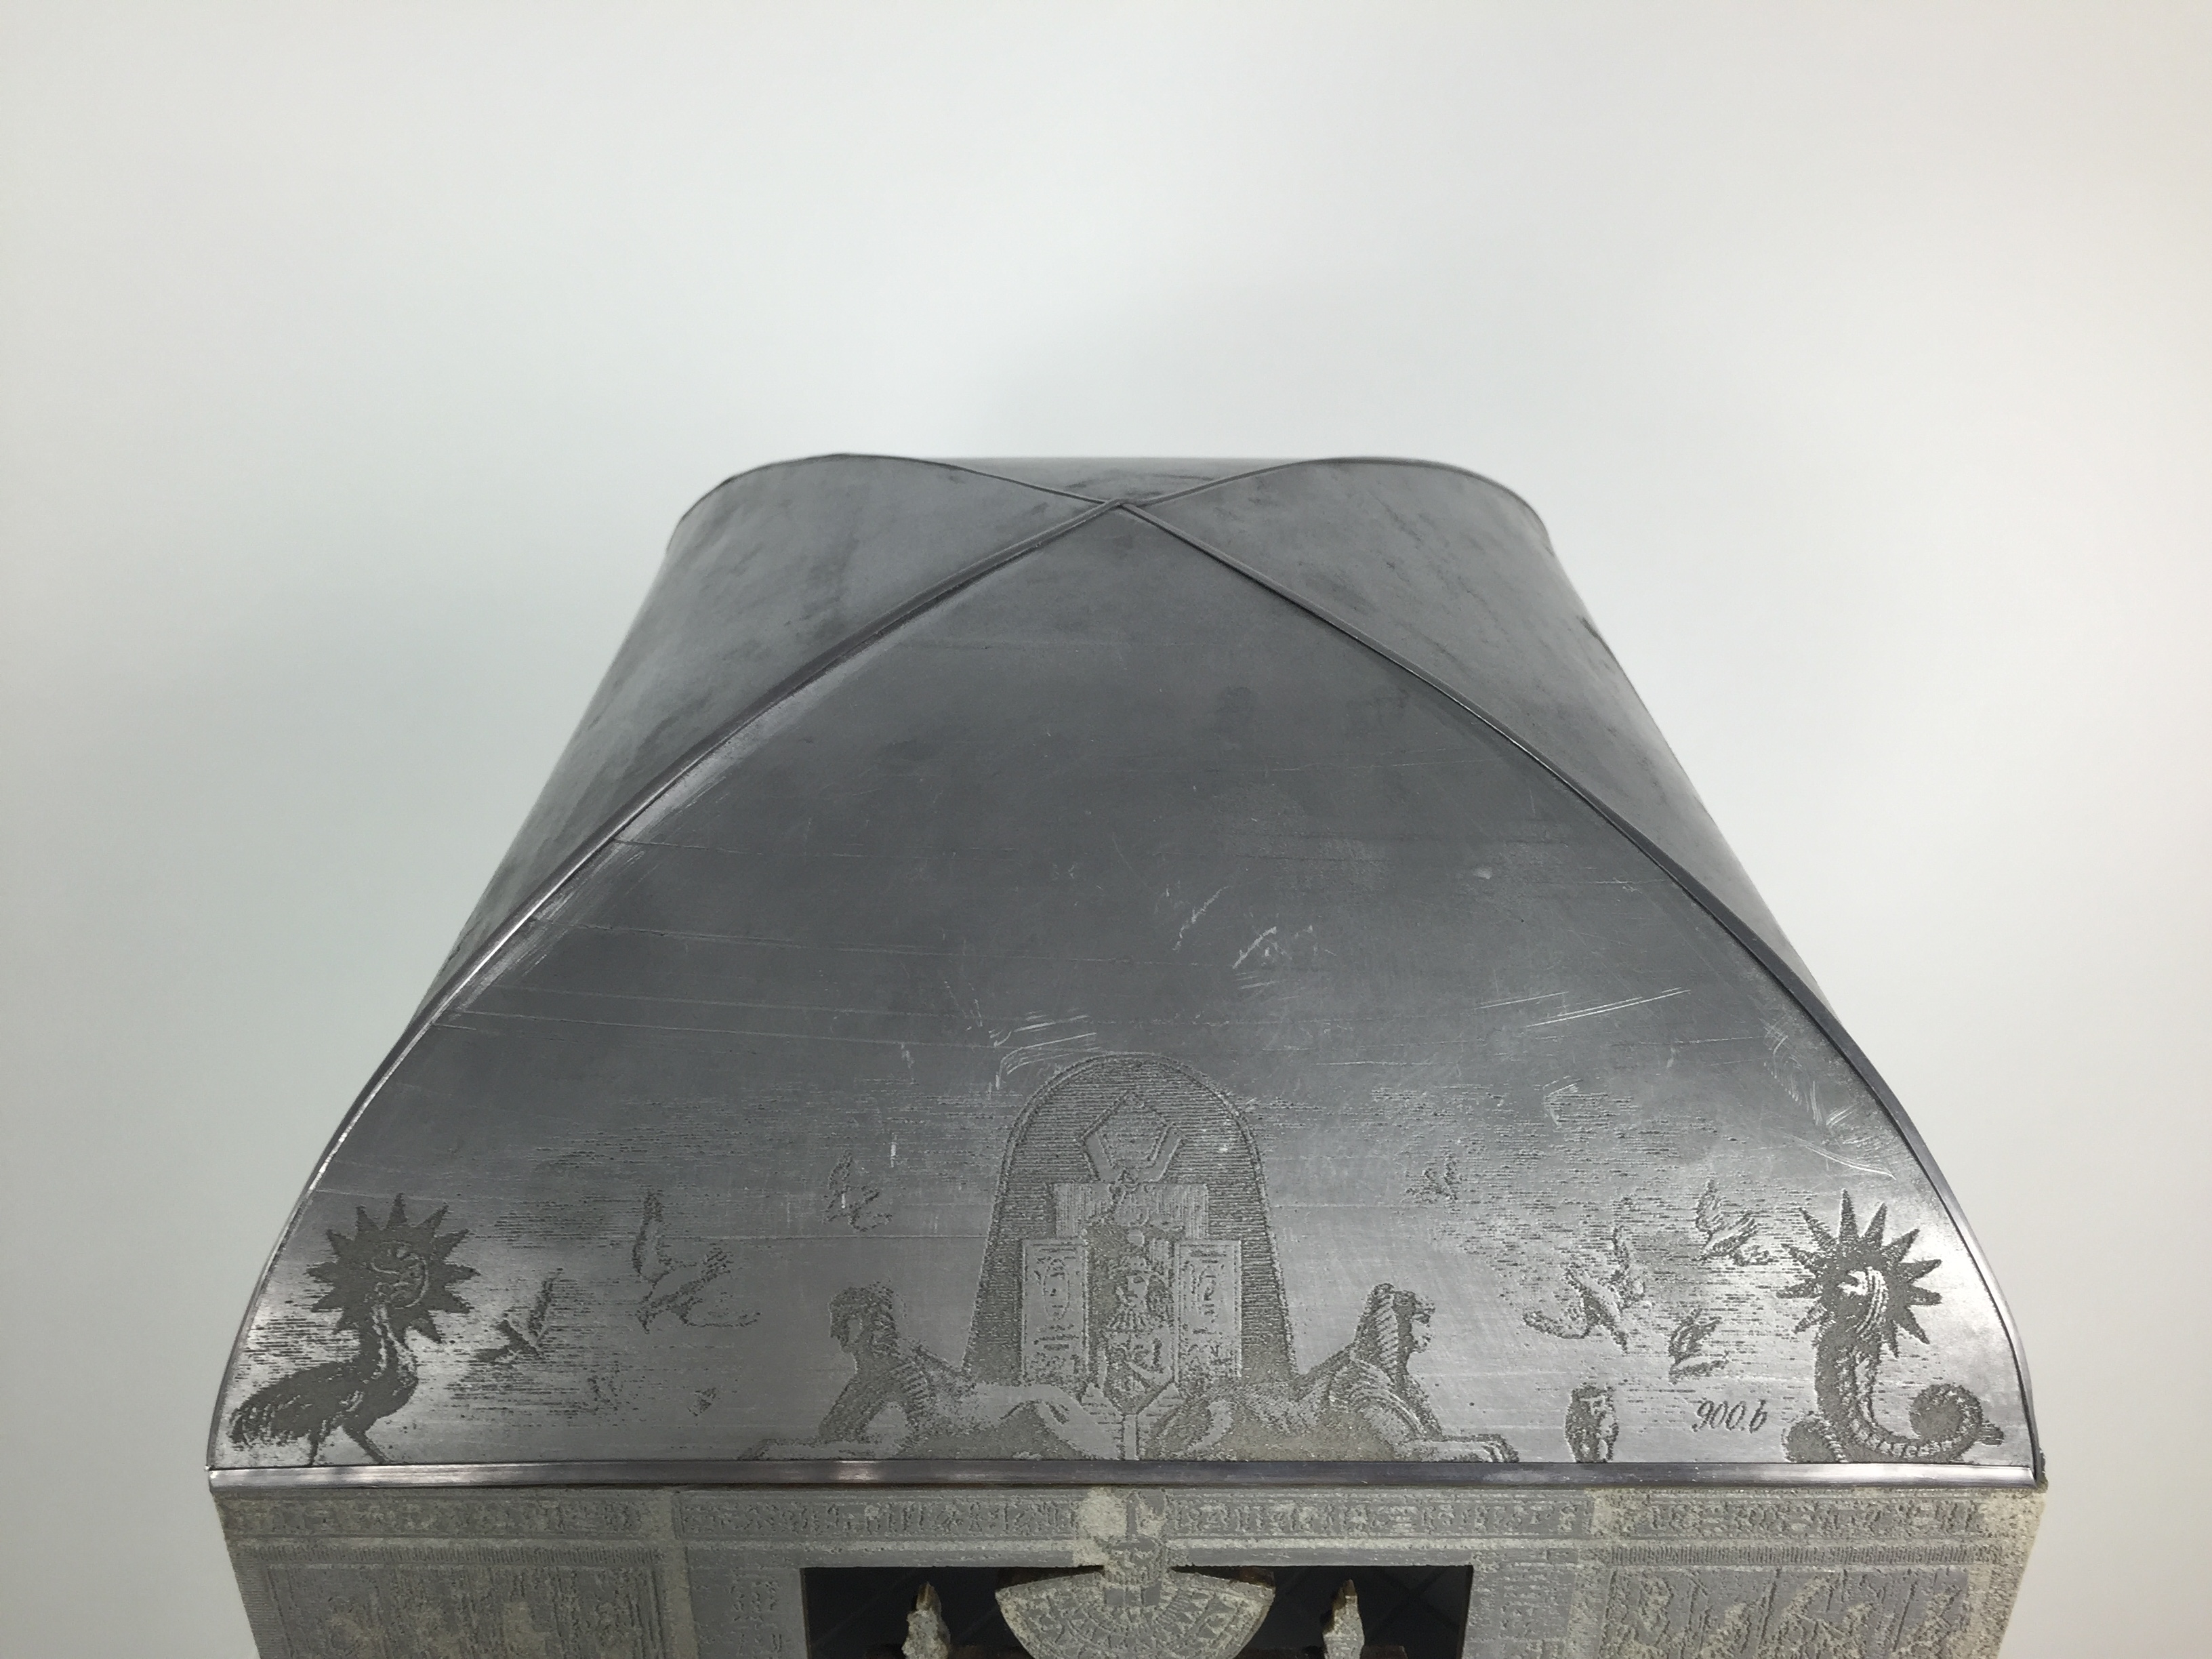
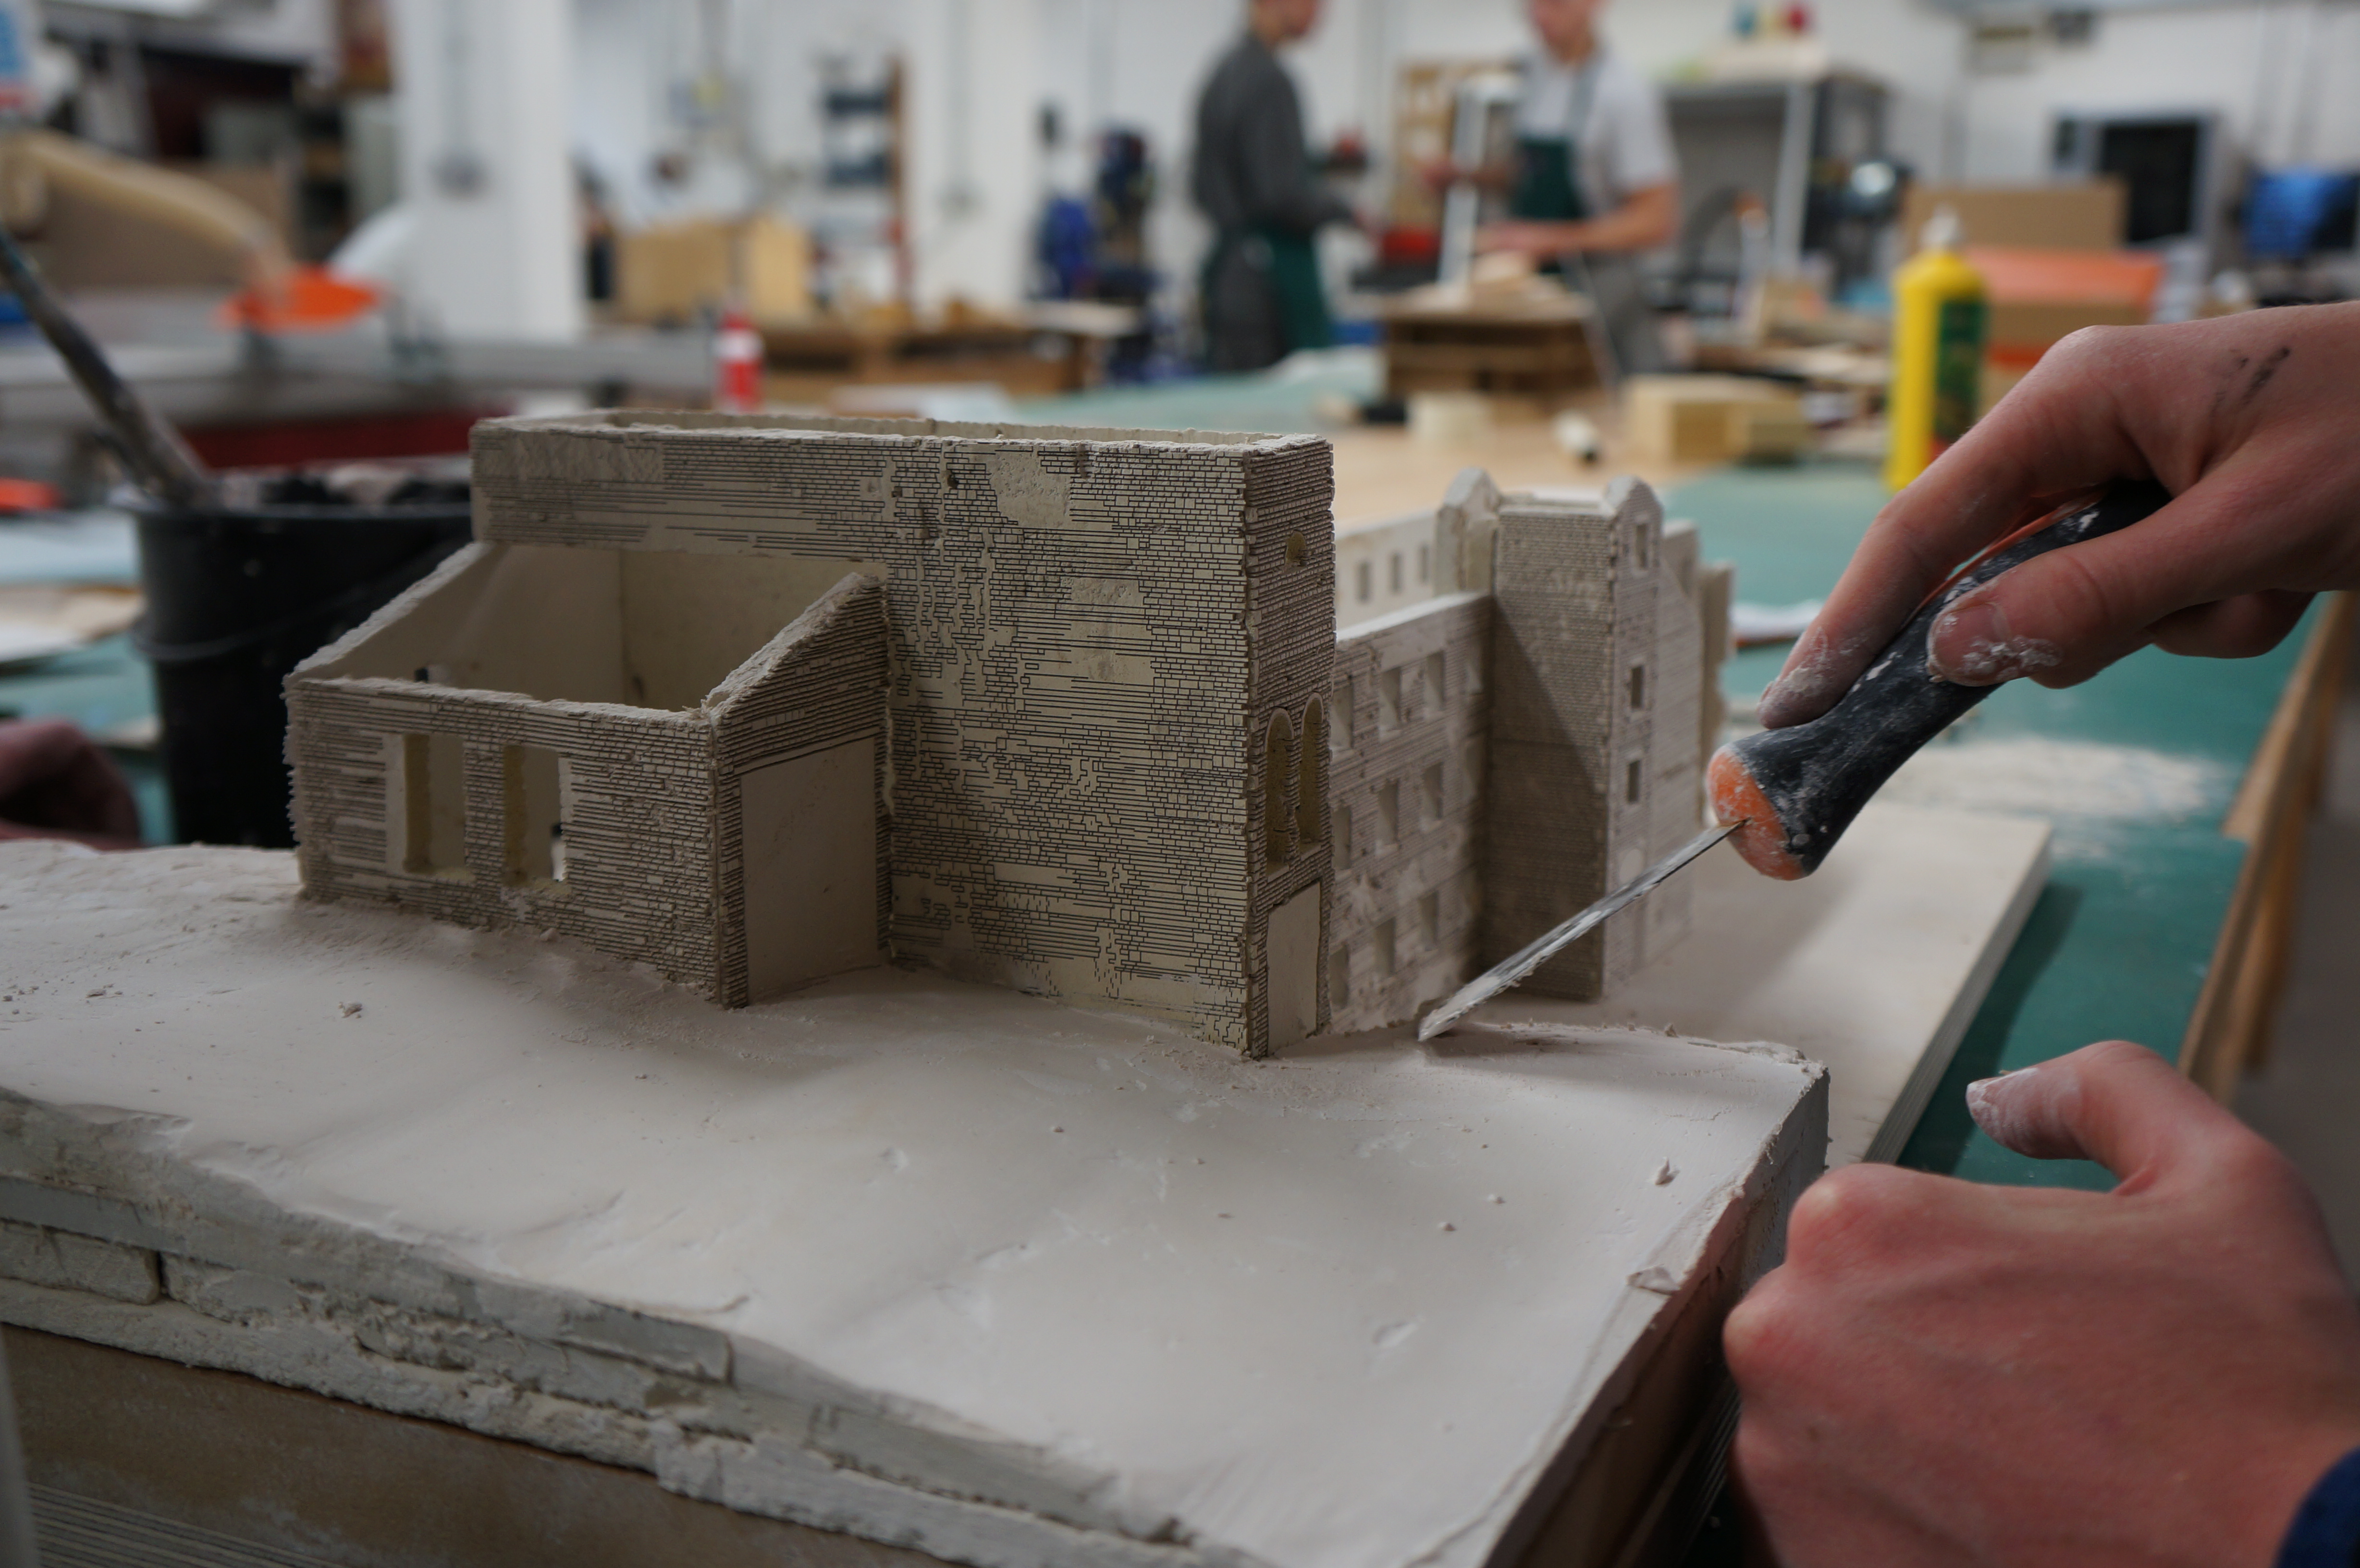
To create the impression of a solid cast block the edges of each piece were mitred prior to being engraved. Mitering the edges made for an even more fragile edge that required filling with a quick drying Poly-filla which was then lightly blended with sand paper.

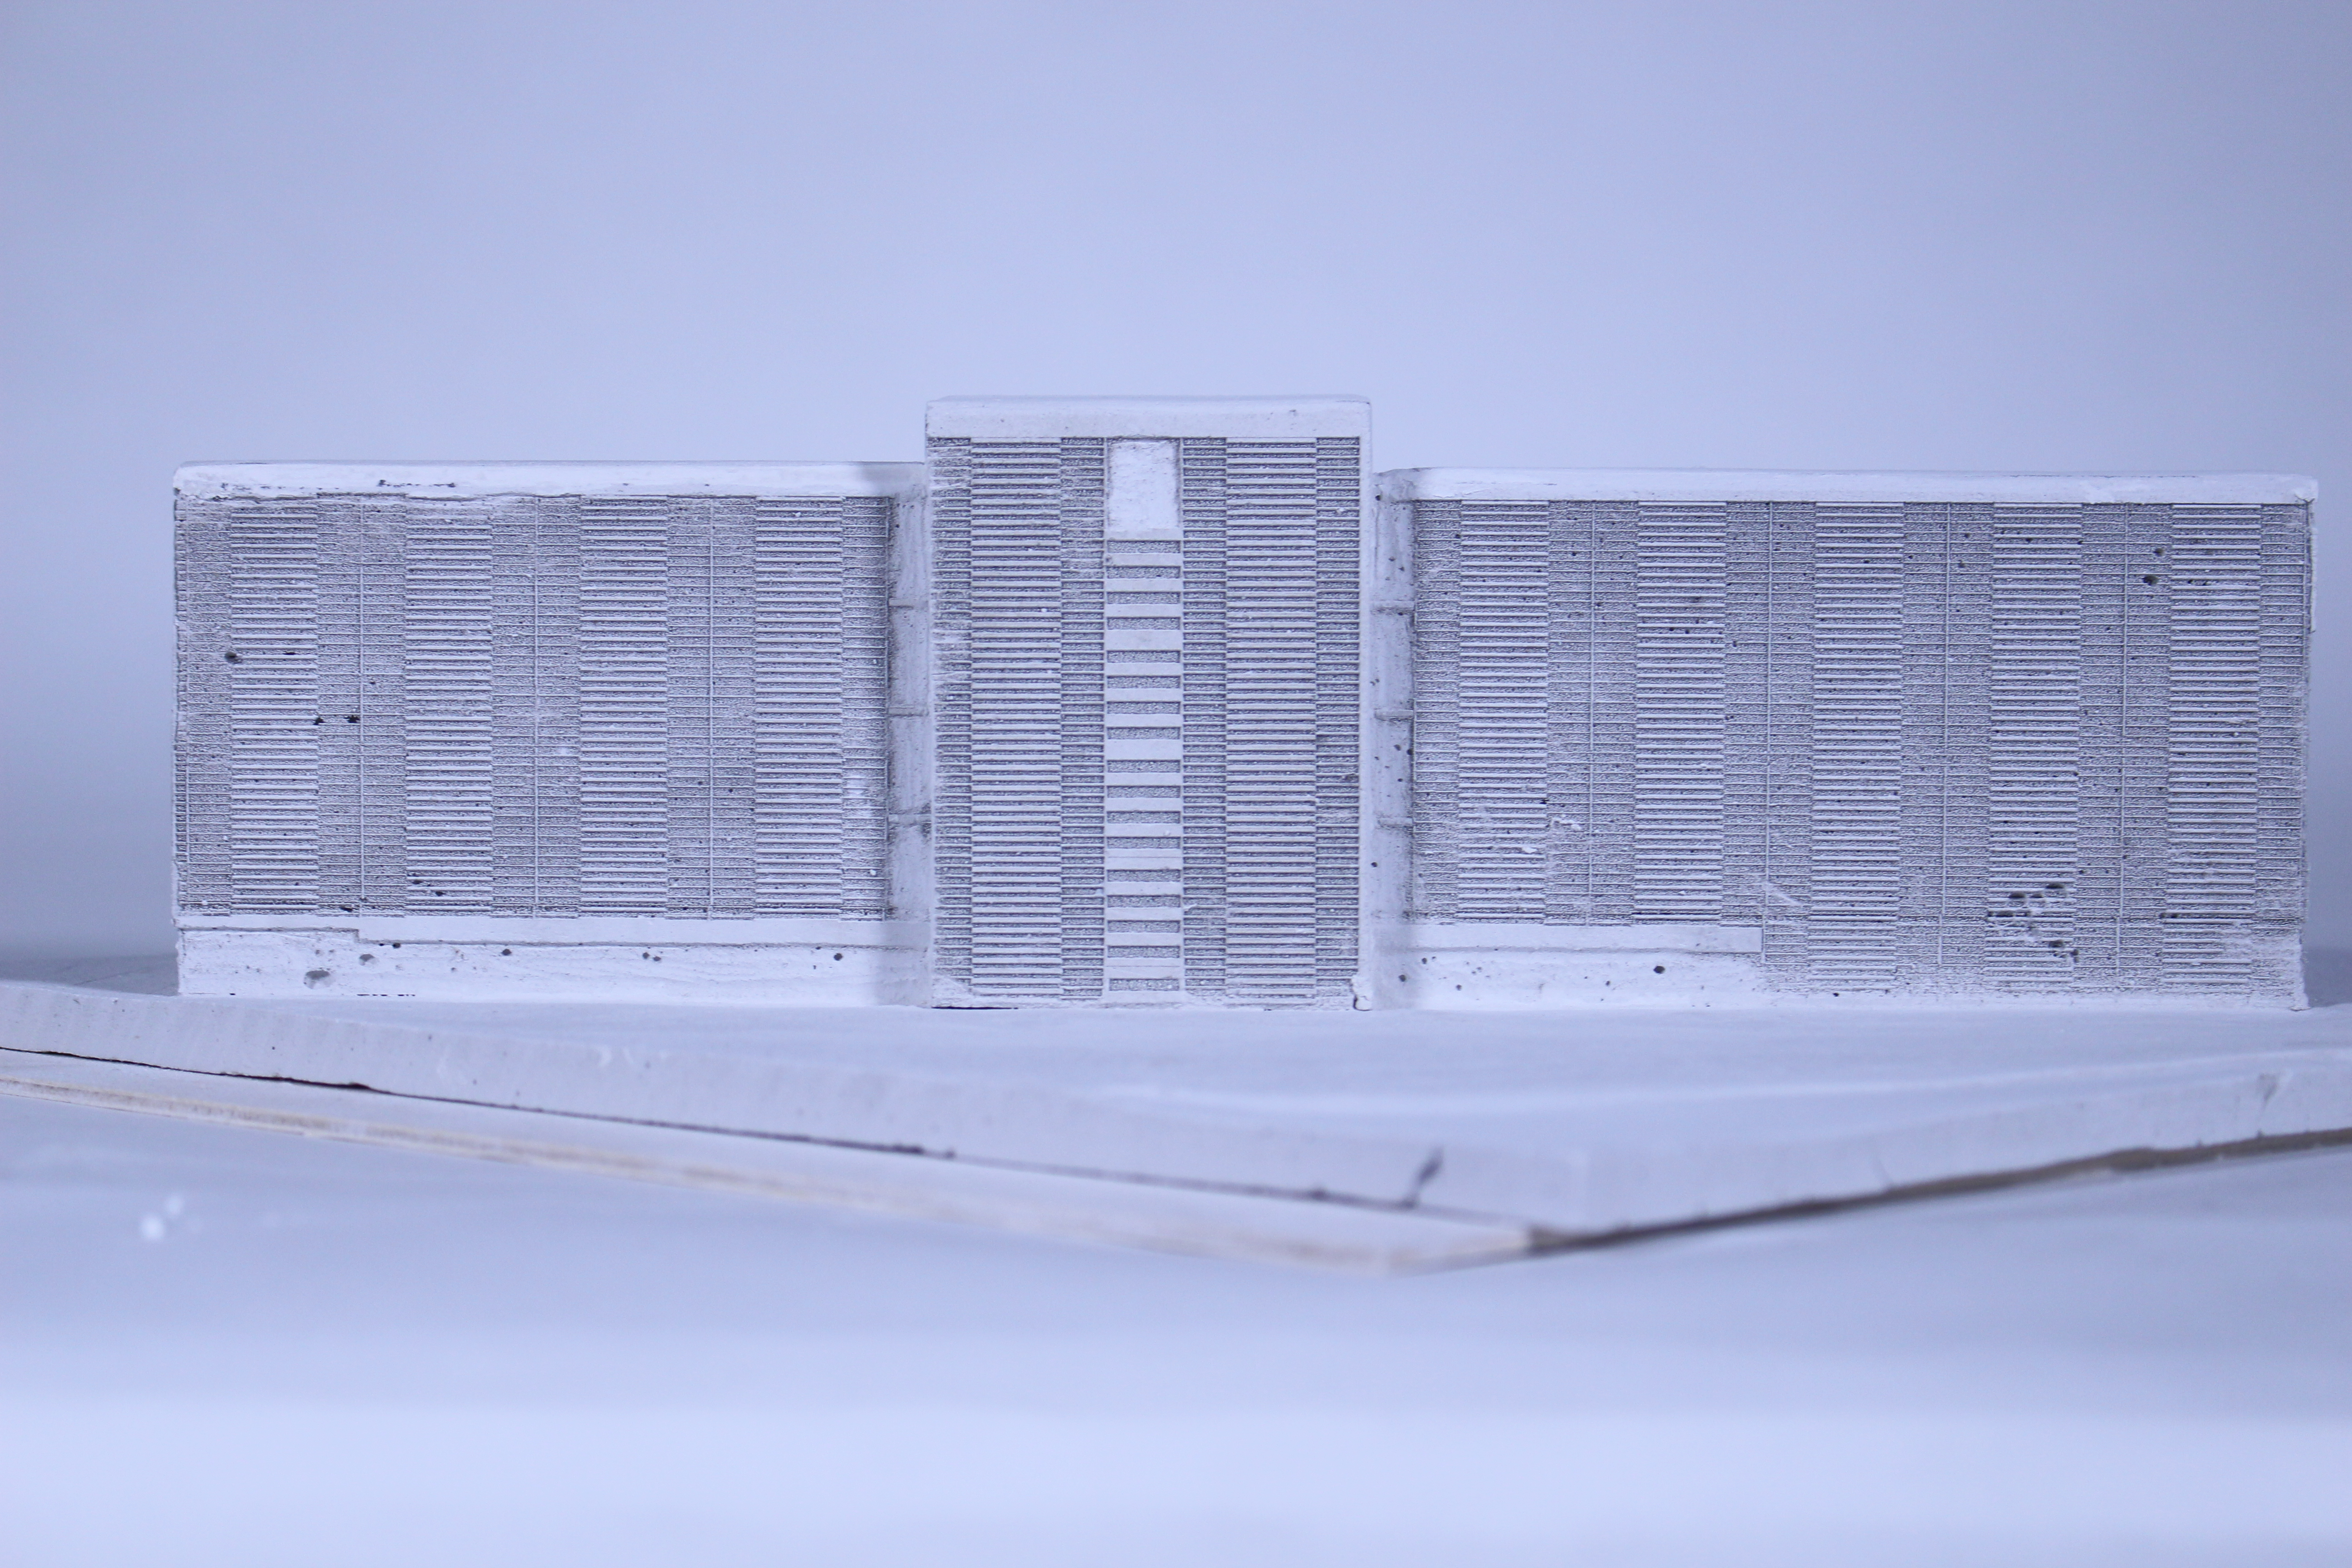
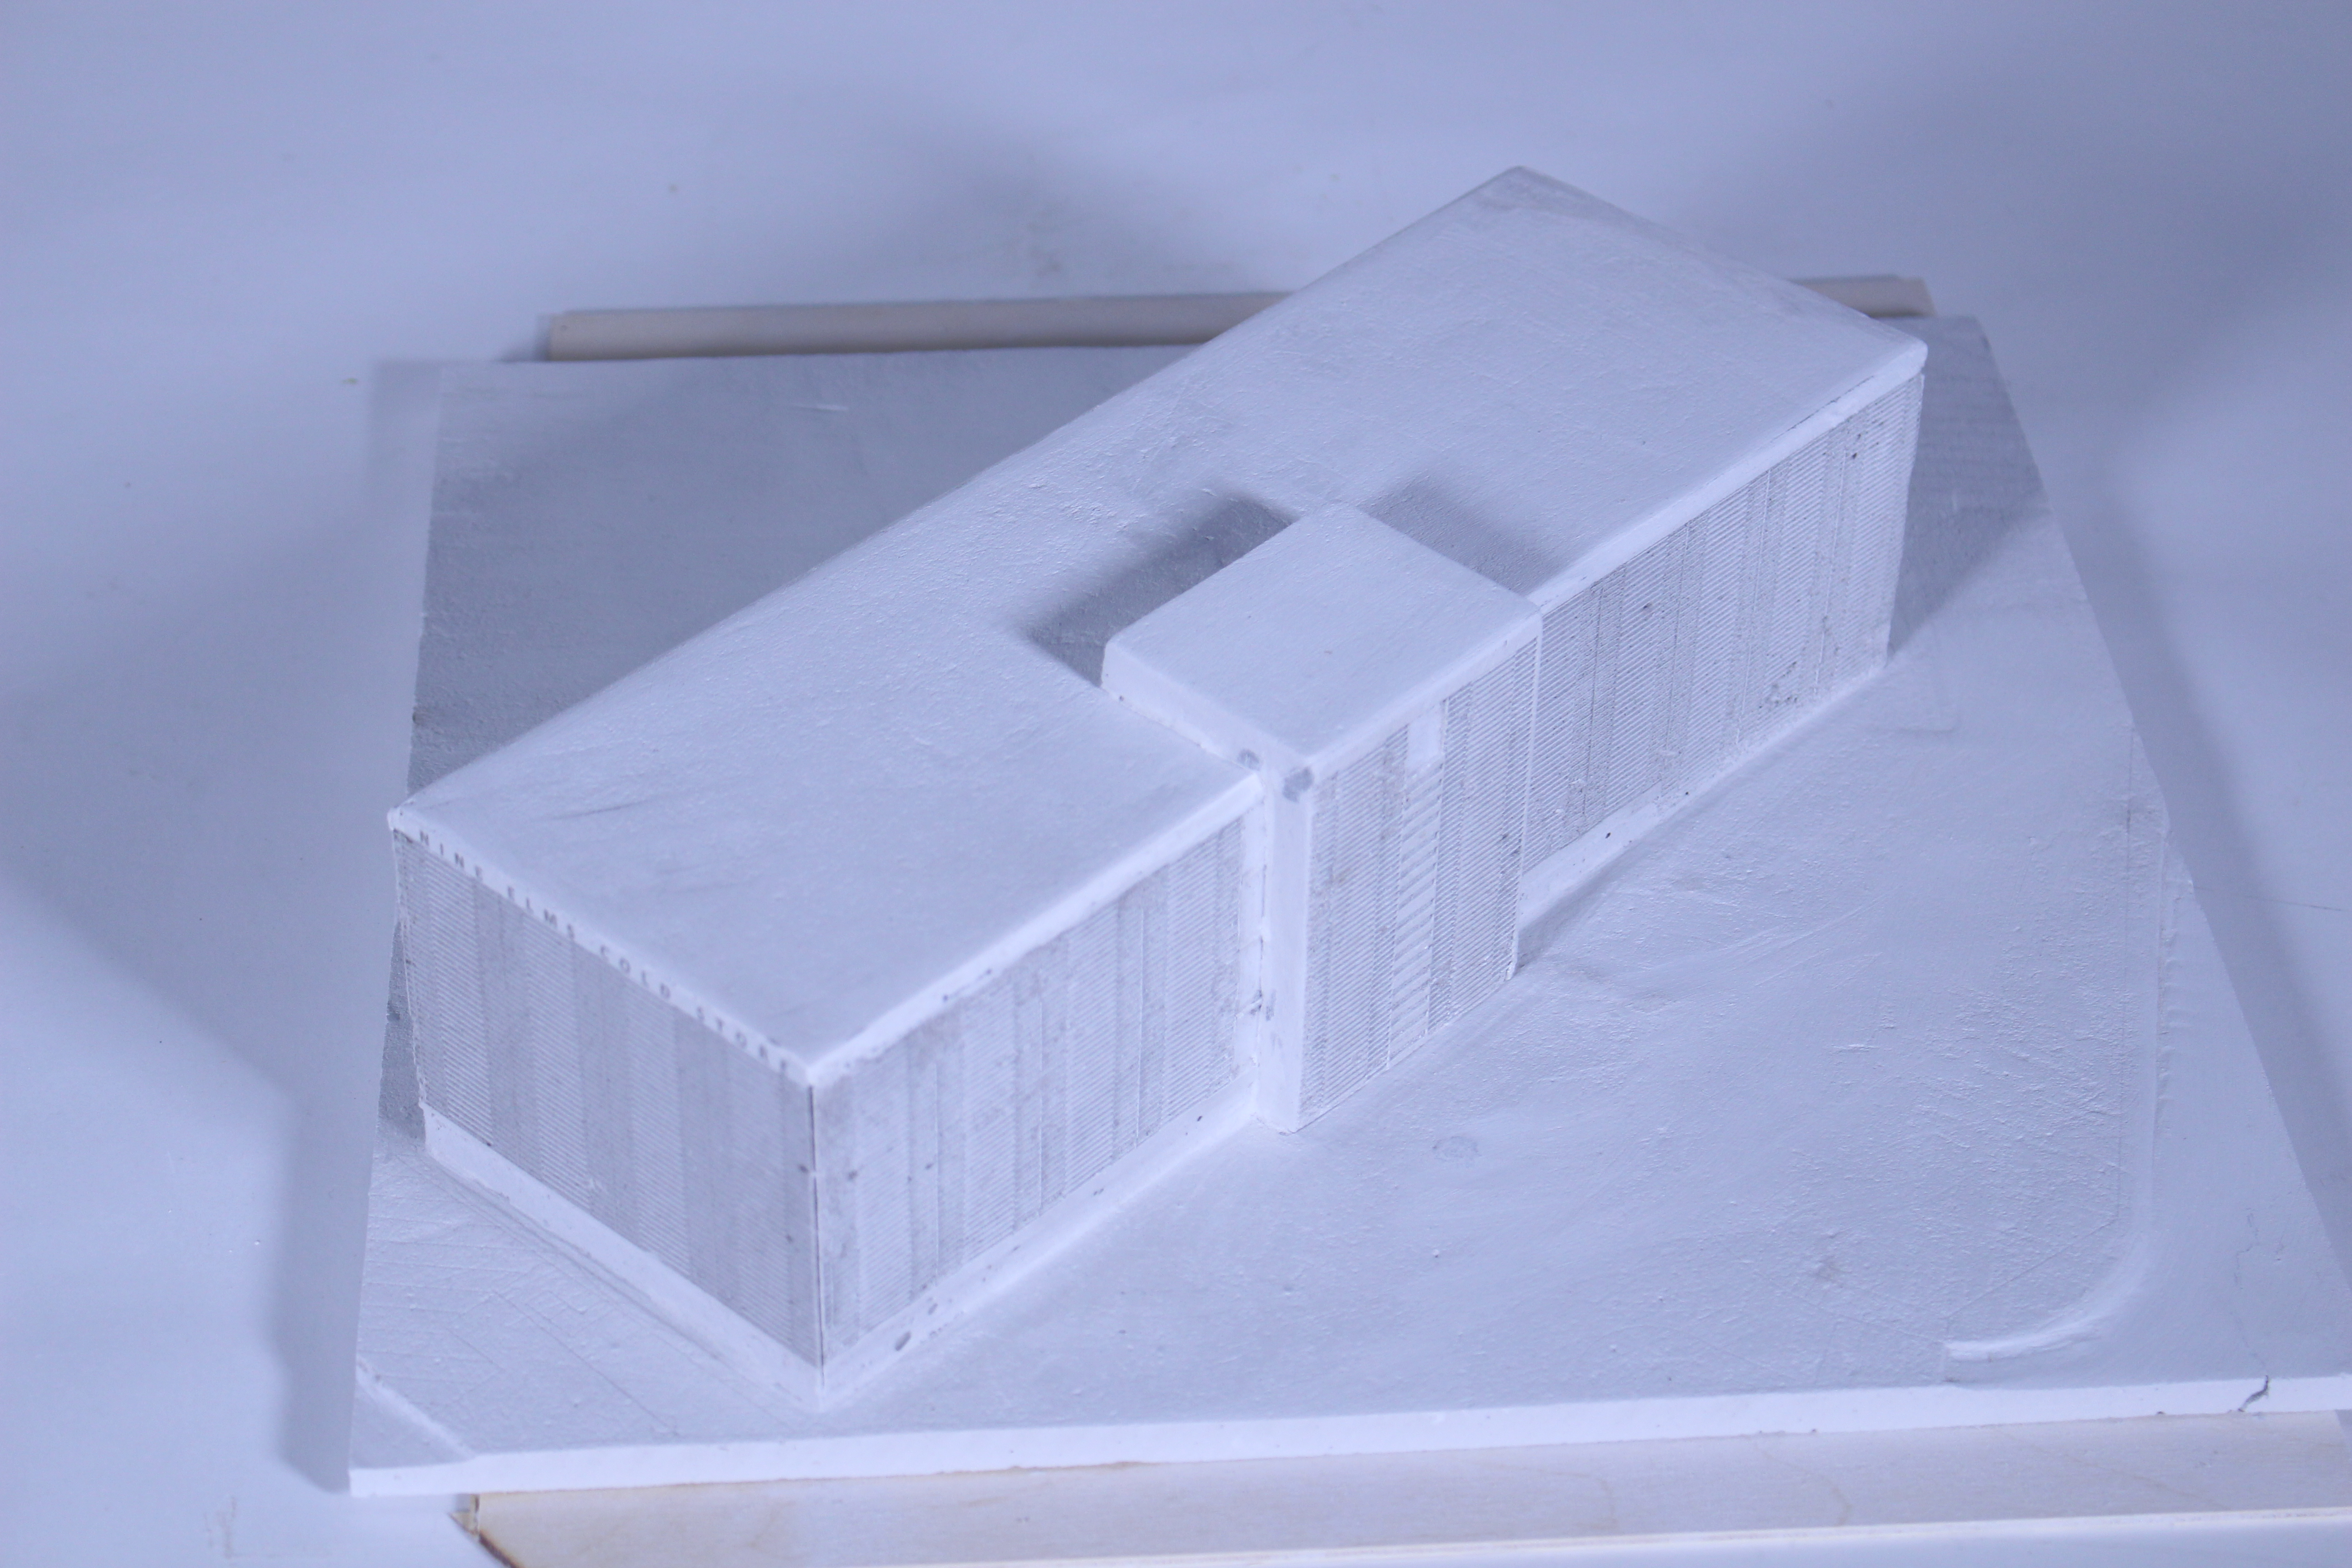
Lost Spaces – Nine Elms Cold Store

Initial experiments with this method were done by George Thomson, Jilly Clifford and Ayo Karim as part of the 5th year Lost Spaces workshop brief. Their project was focussed on the Nine Elms Cold Store.

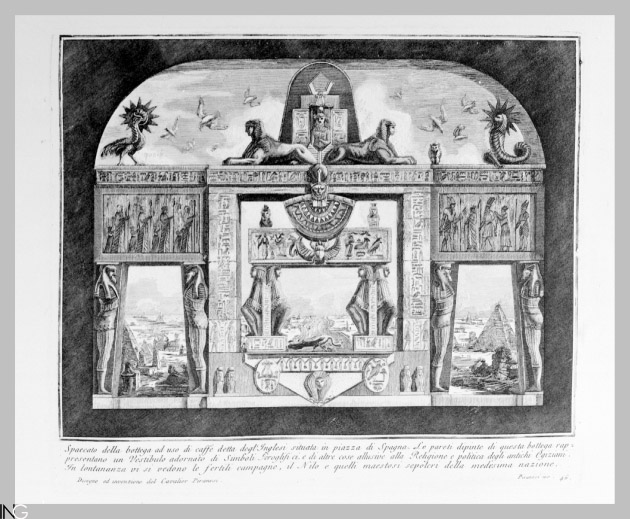
“The choice of using a plasterboard method of construction was derived from our aim to have a scaled model which reflected the materiality of the Nine Elm’s cold store. The cold store was a prominent concrete landmark alongside the River Thames in the 1970’s with no apparent human scale; its only characteristic to the outside world was a repetitive façade detail wrapping the entirety of the building – something we successfully represented on the plasterboard model and by using the laser cutter.”

Nine Elms Cold Store (13) Nine Elms Cold Store (15) Nine Elms Cold Store (25)

Bollington Mill Project – Continuity in Architecture

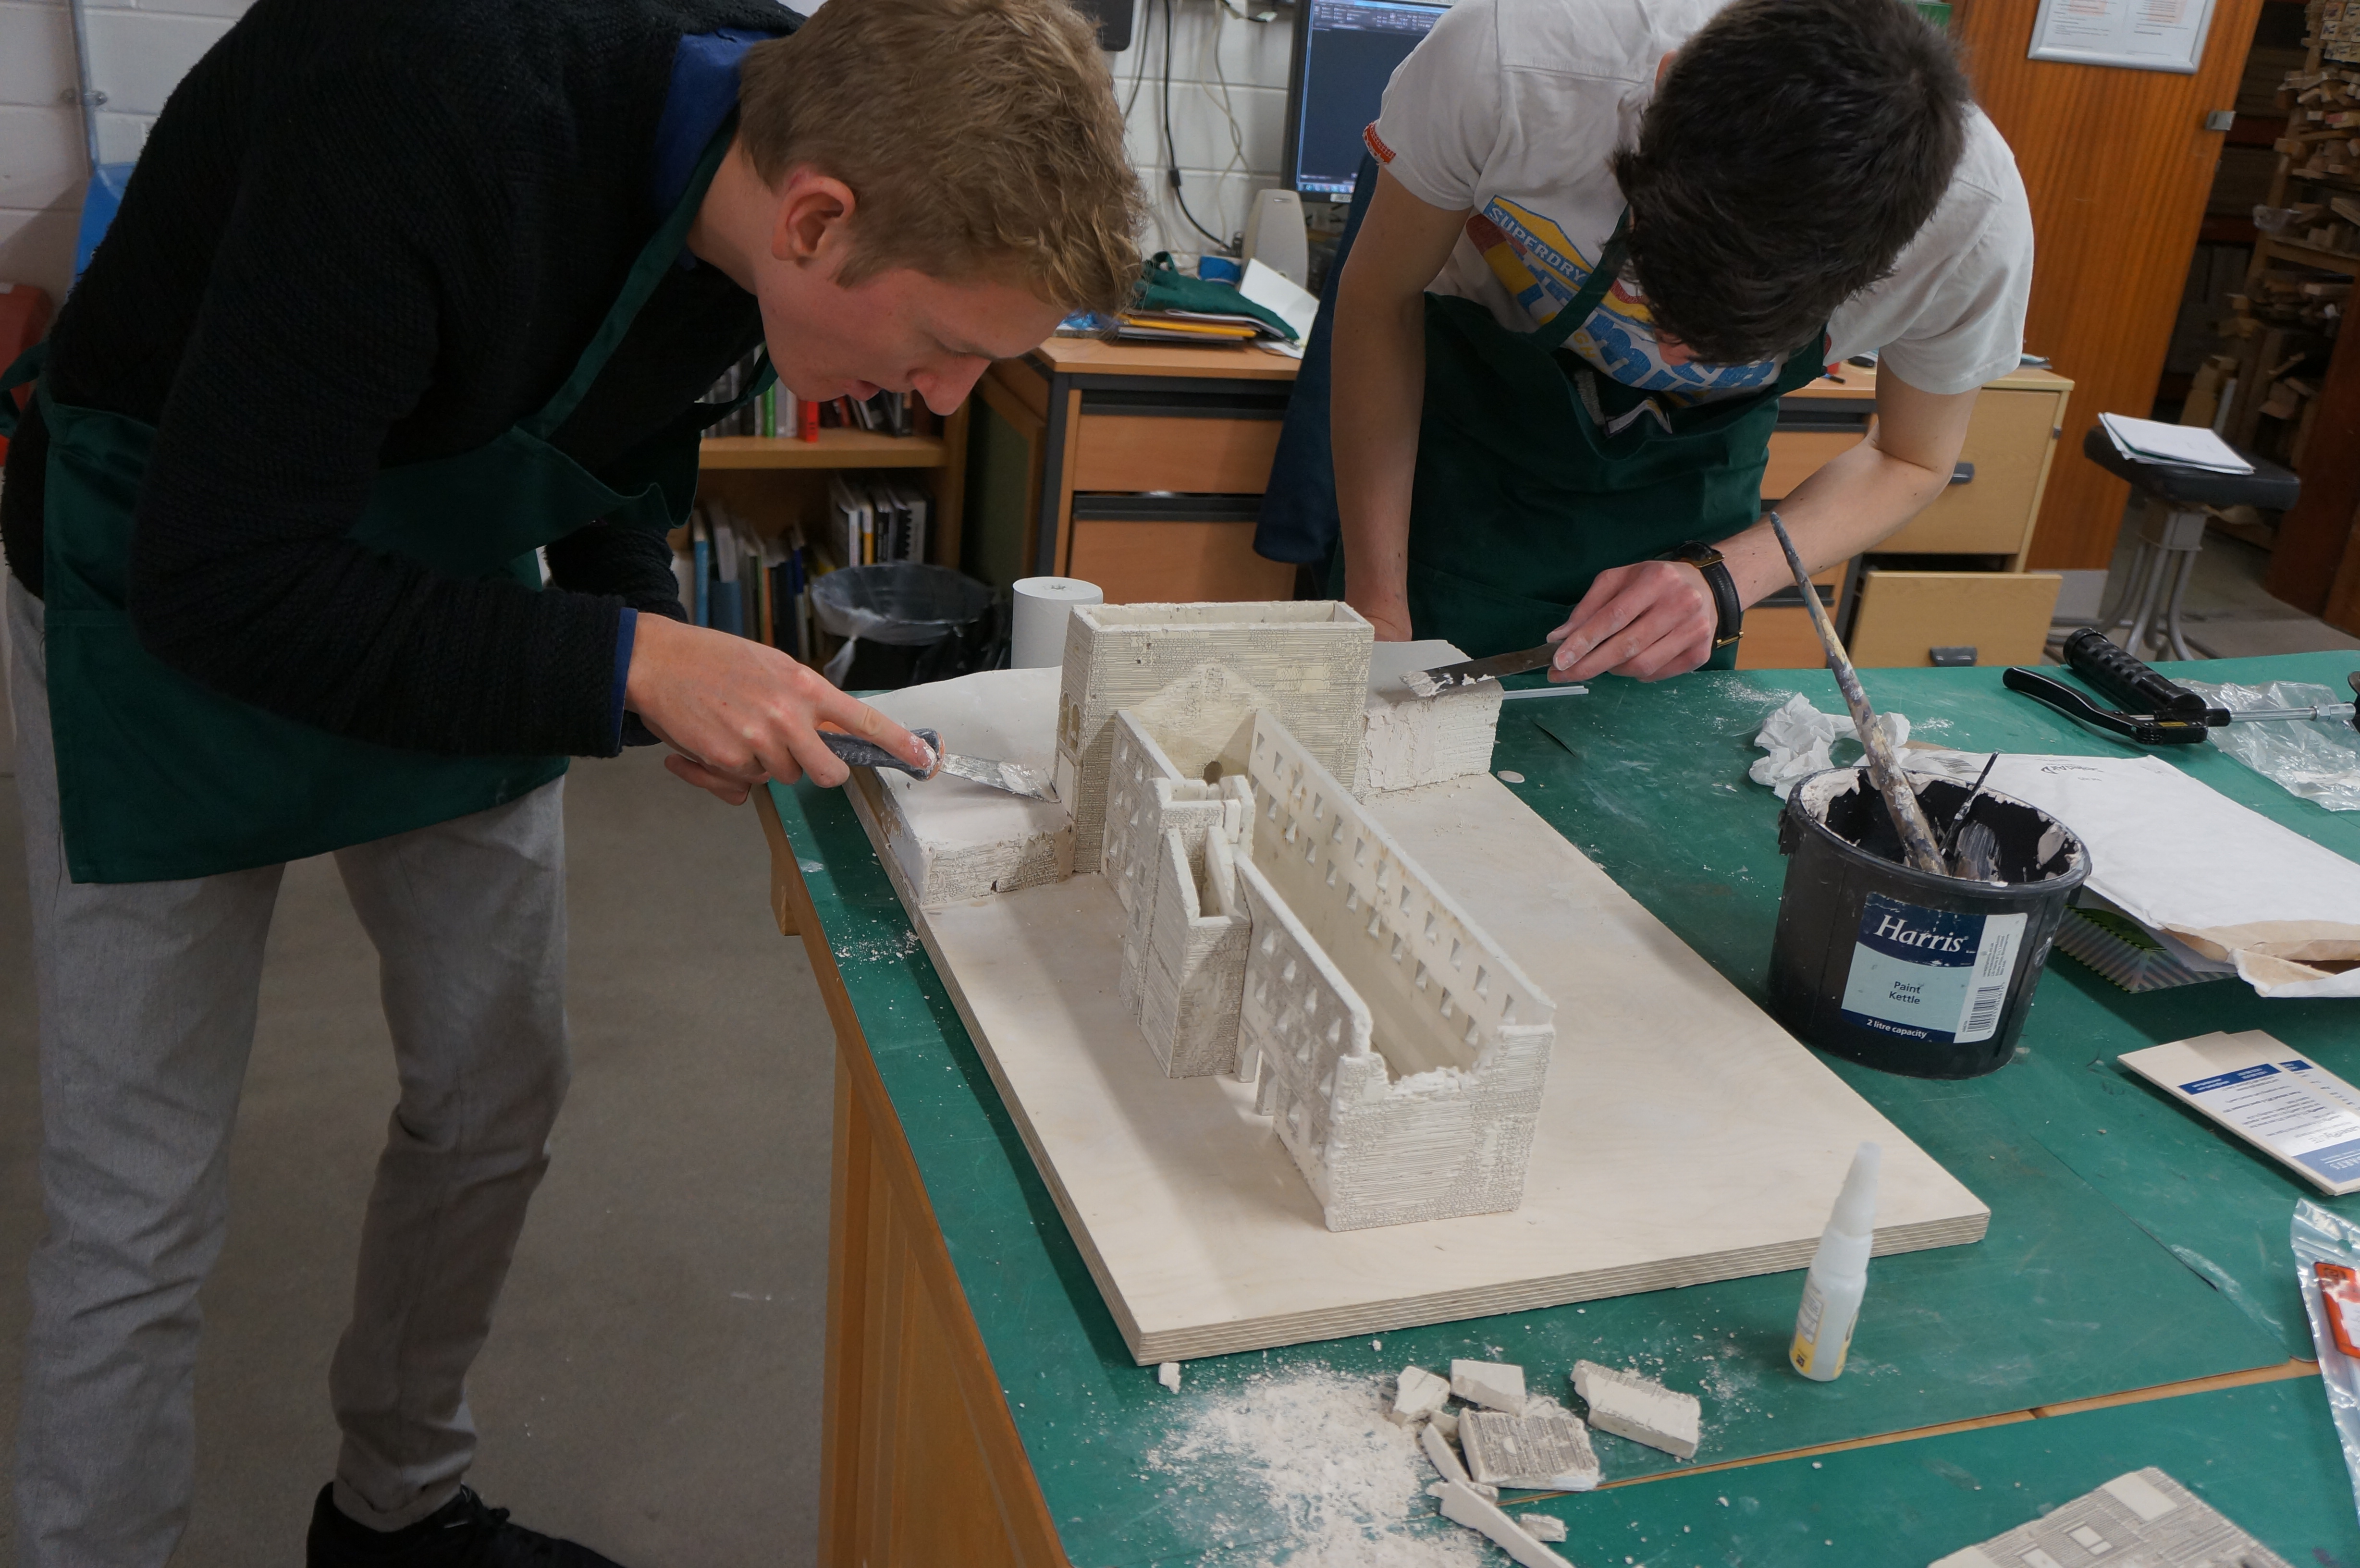
Following on from this project Continuity in Architecture students Robbie Stanton, Sam Stone and Jahan Ojaghi chose to experiment using the same method to represent a derelict Mill in Bollington.5th year Bollington Mill (3)

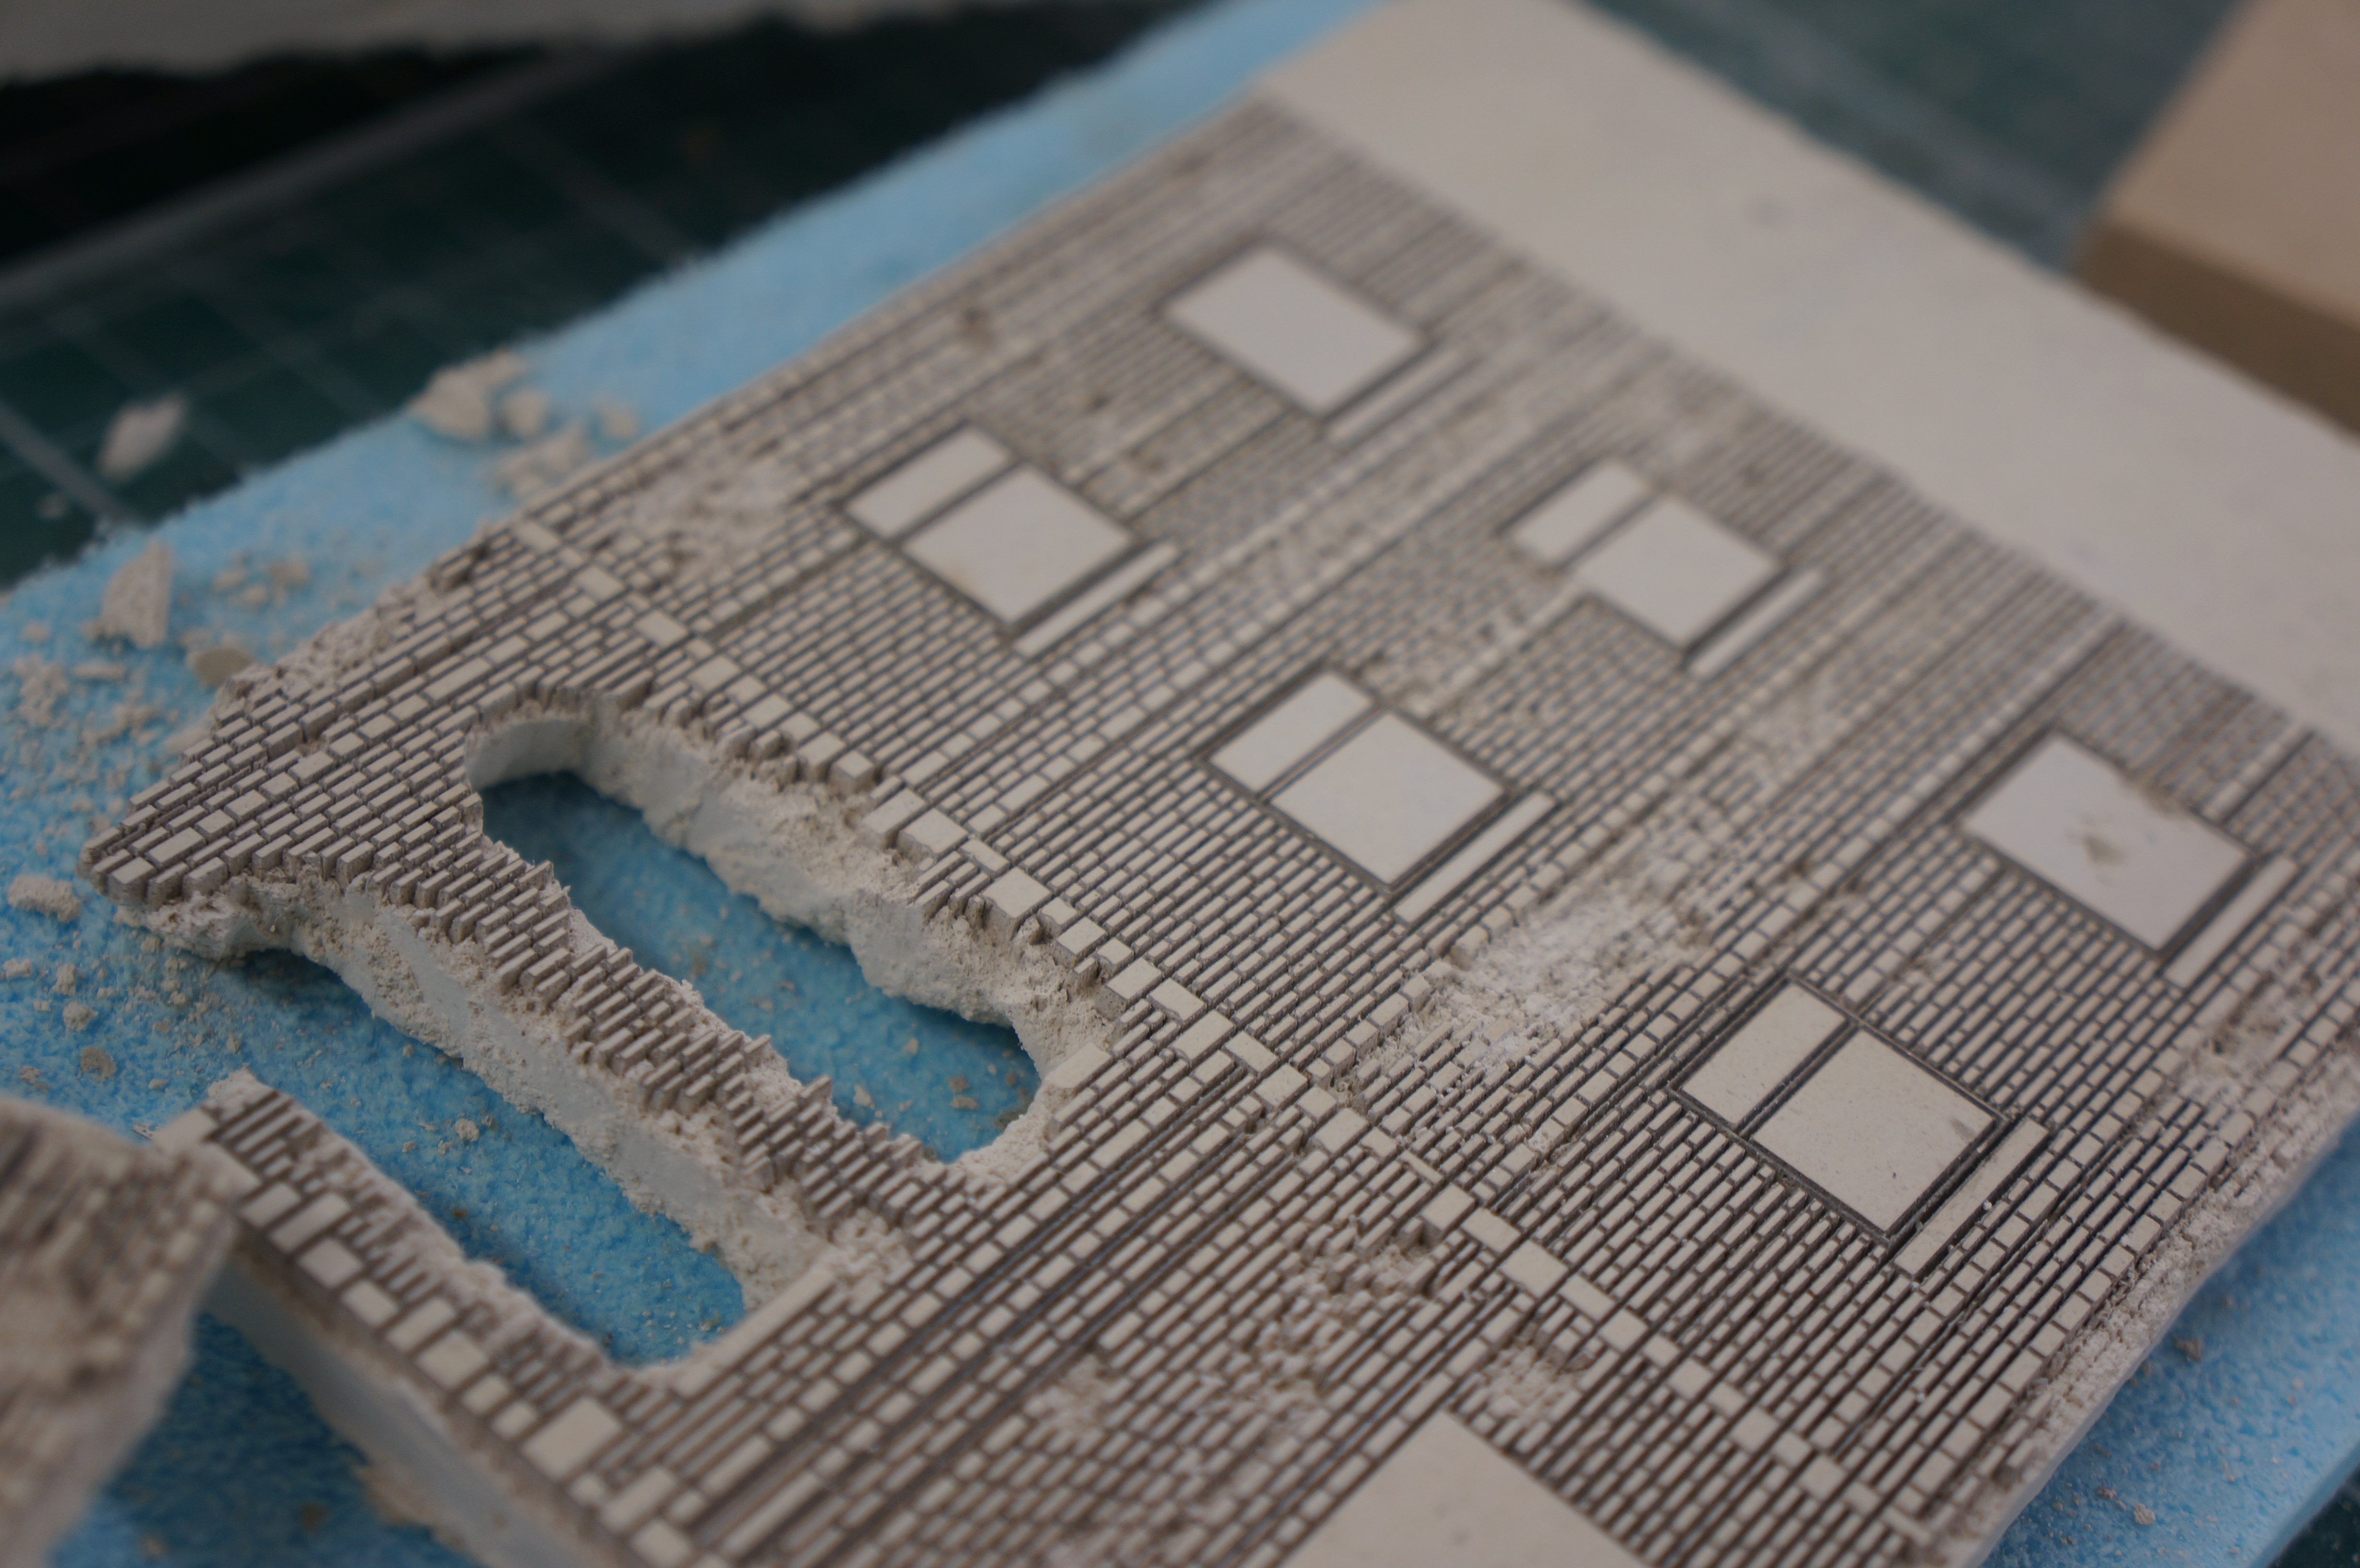
Robbie Stanton explains the project:
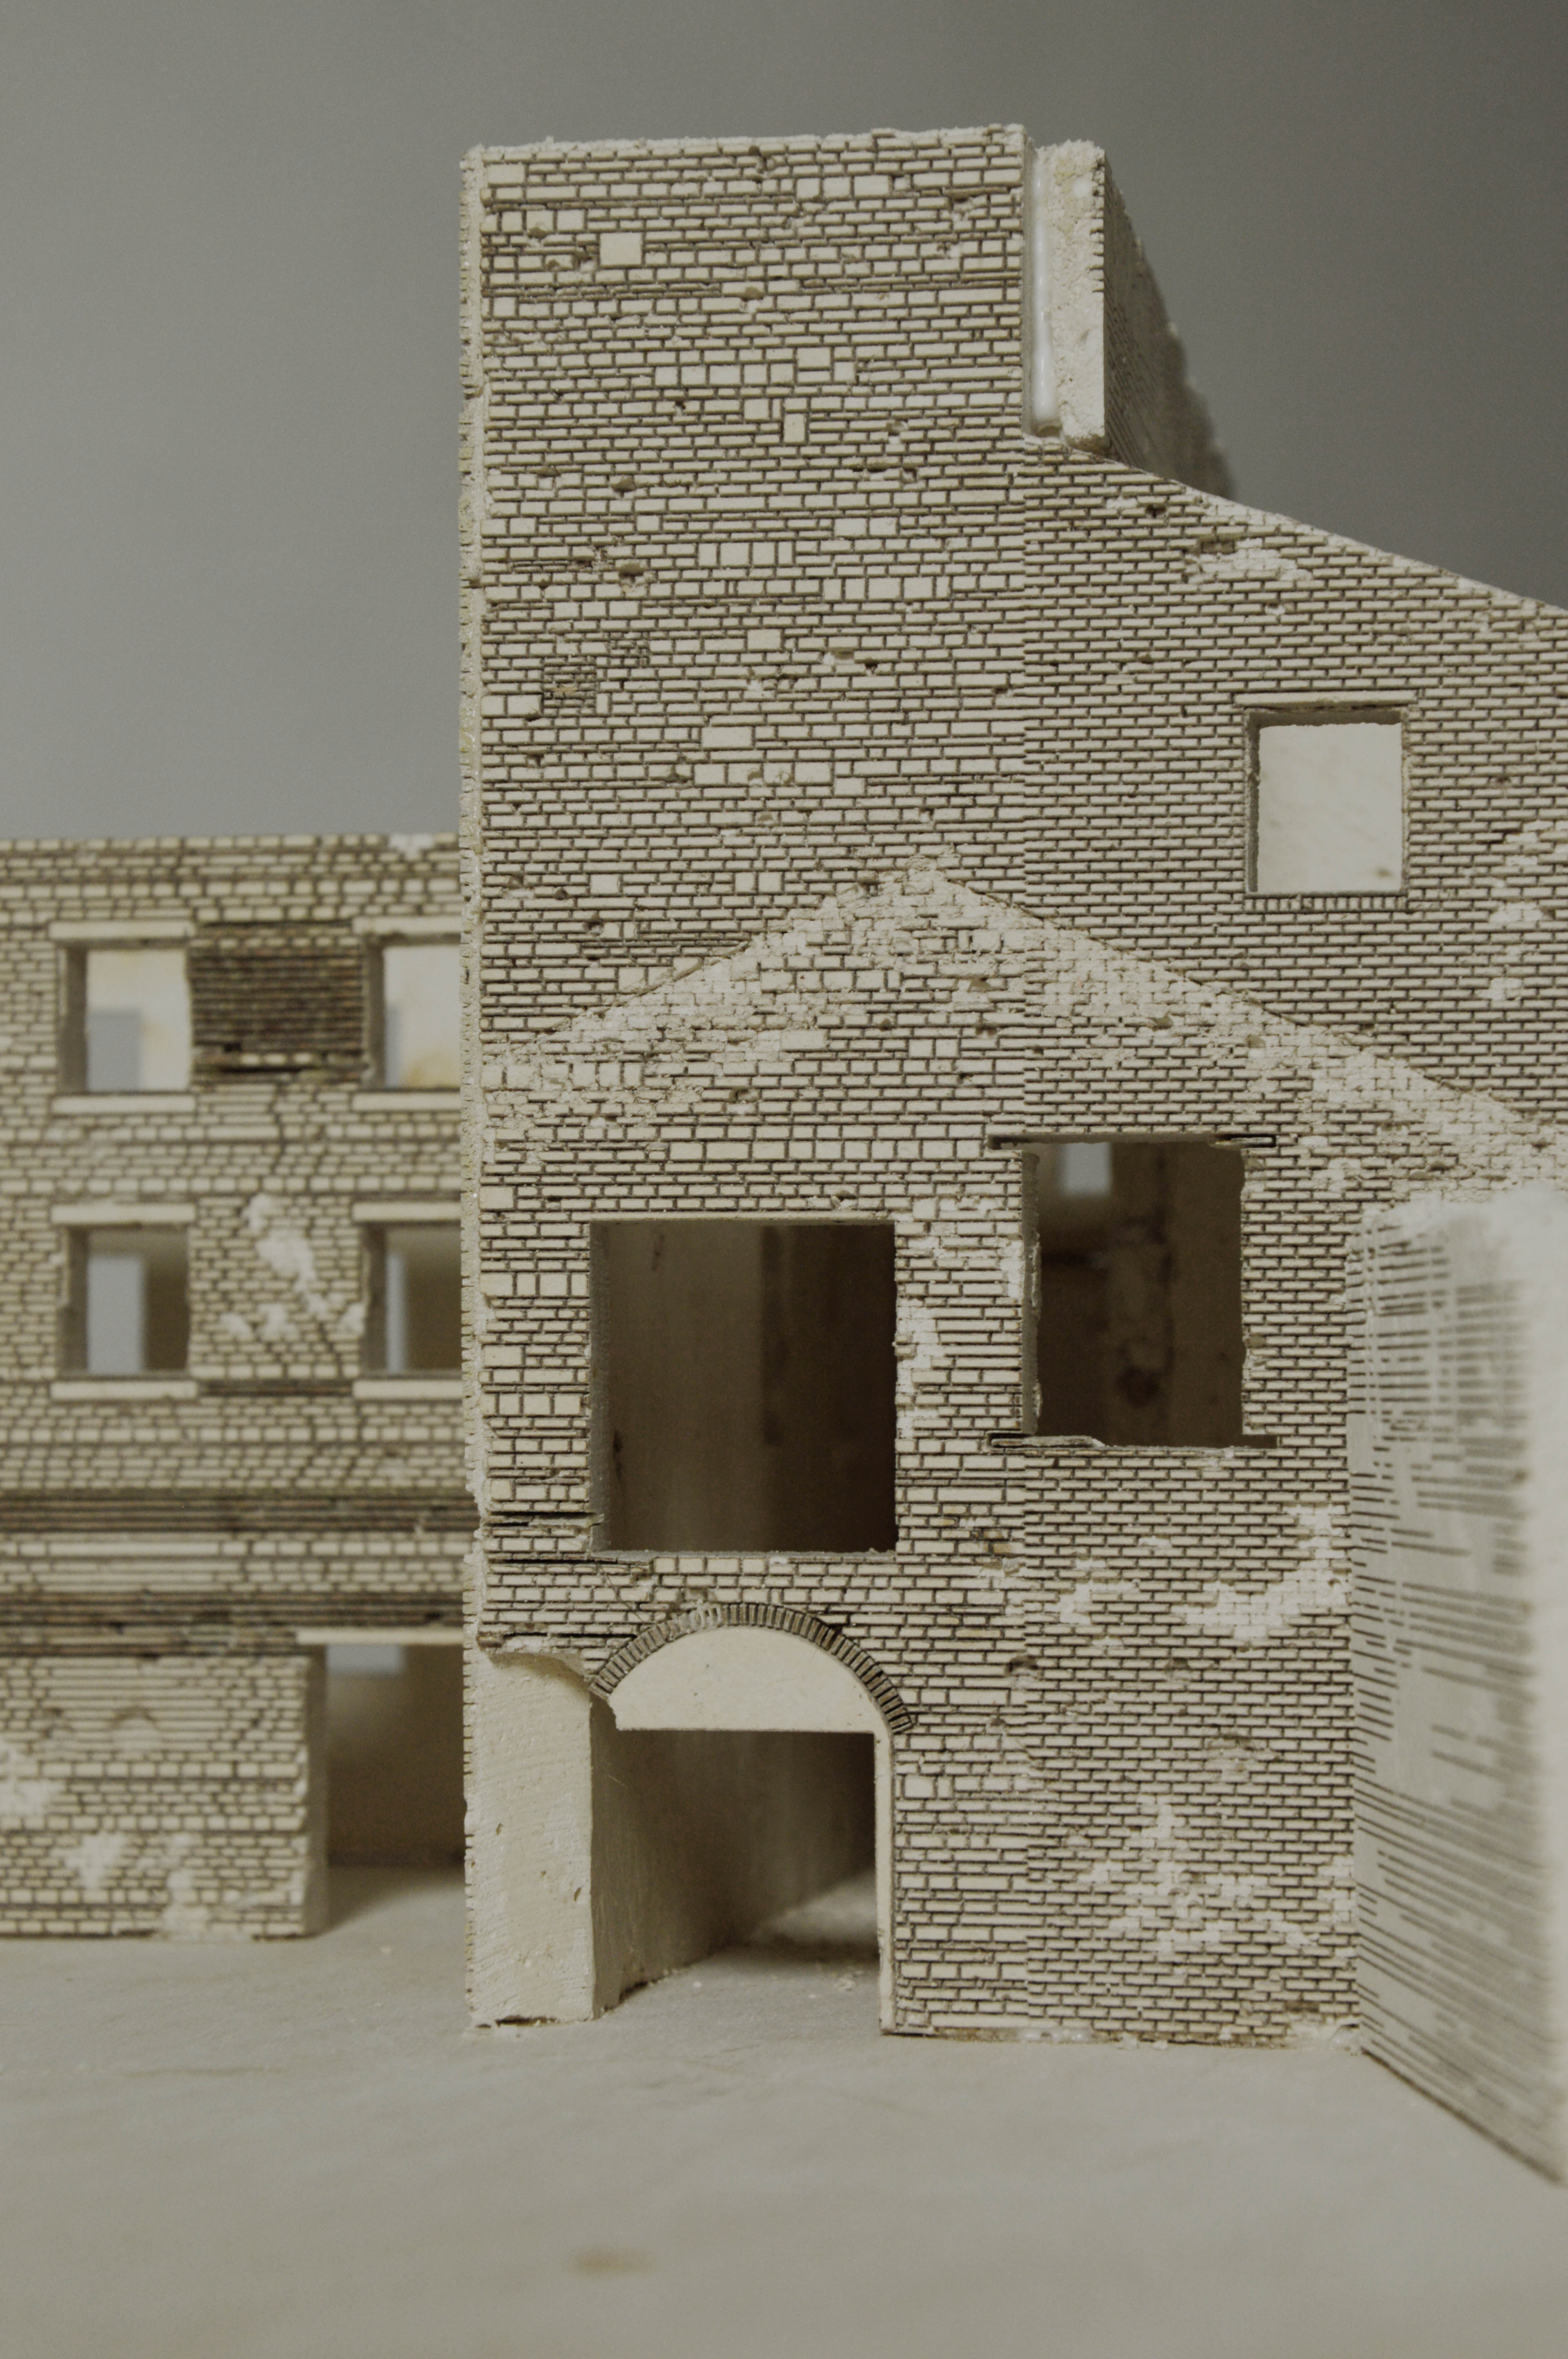
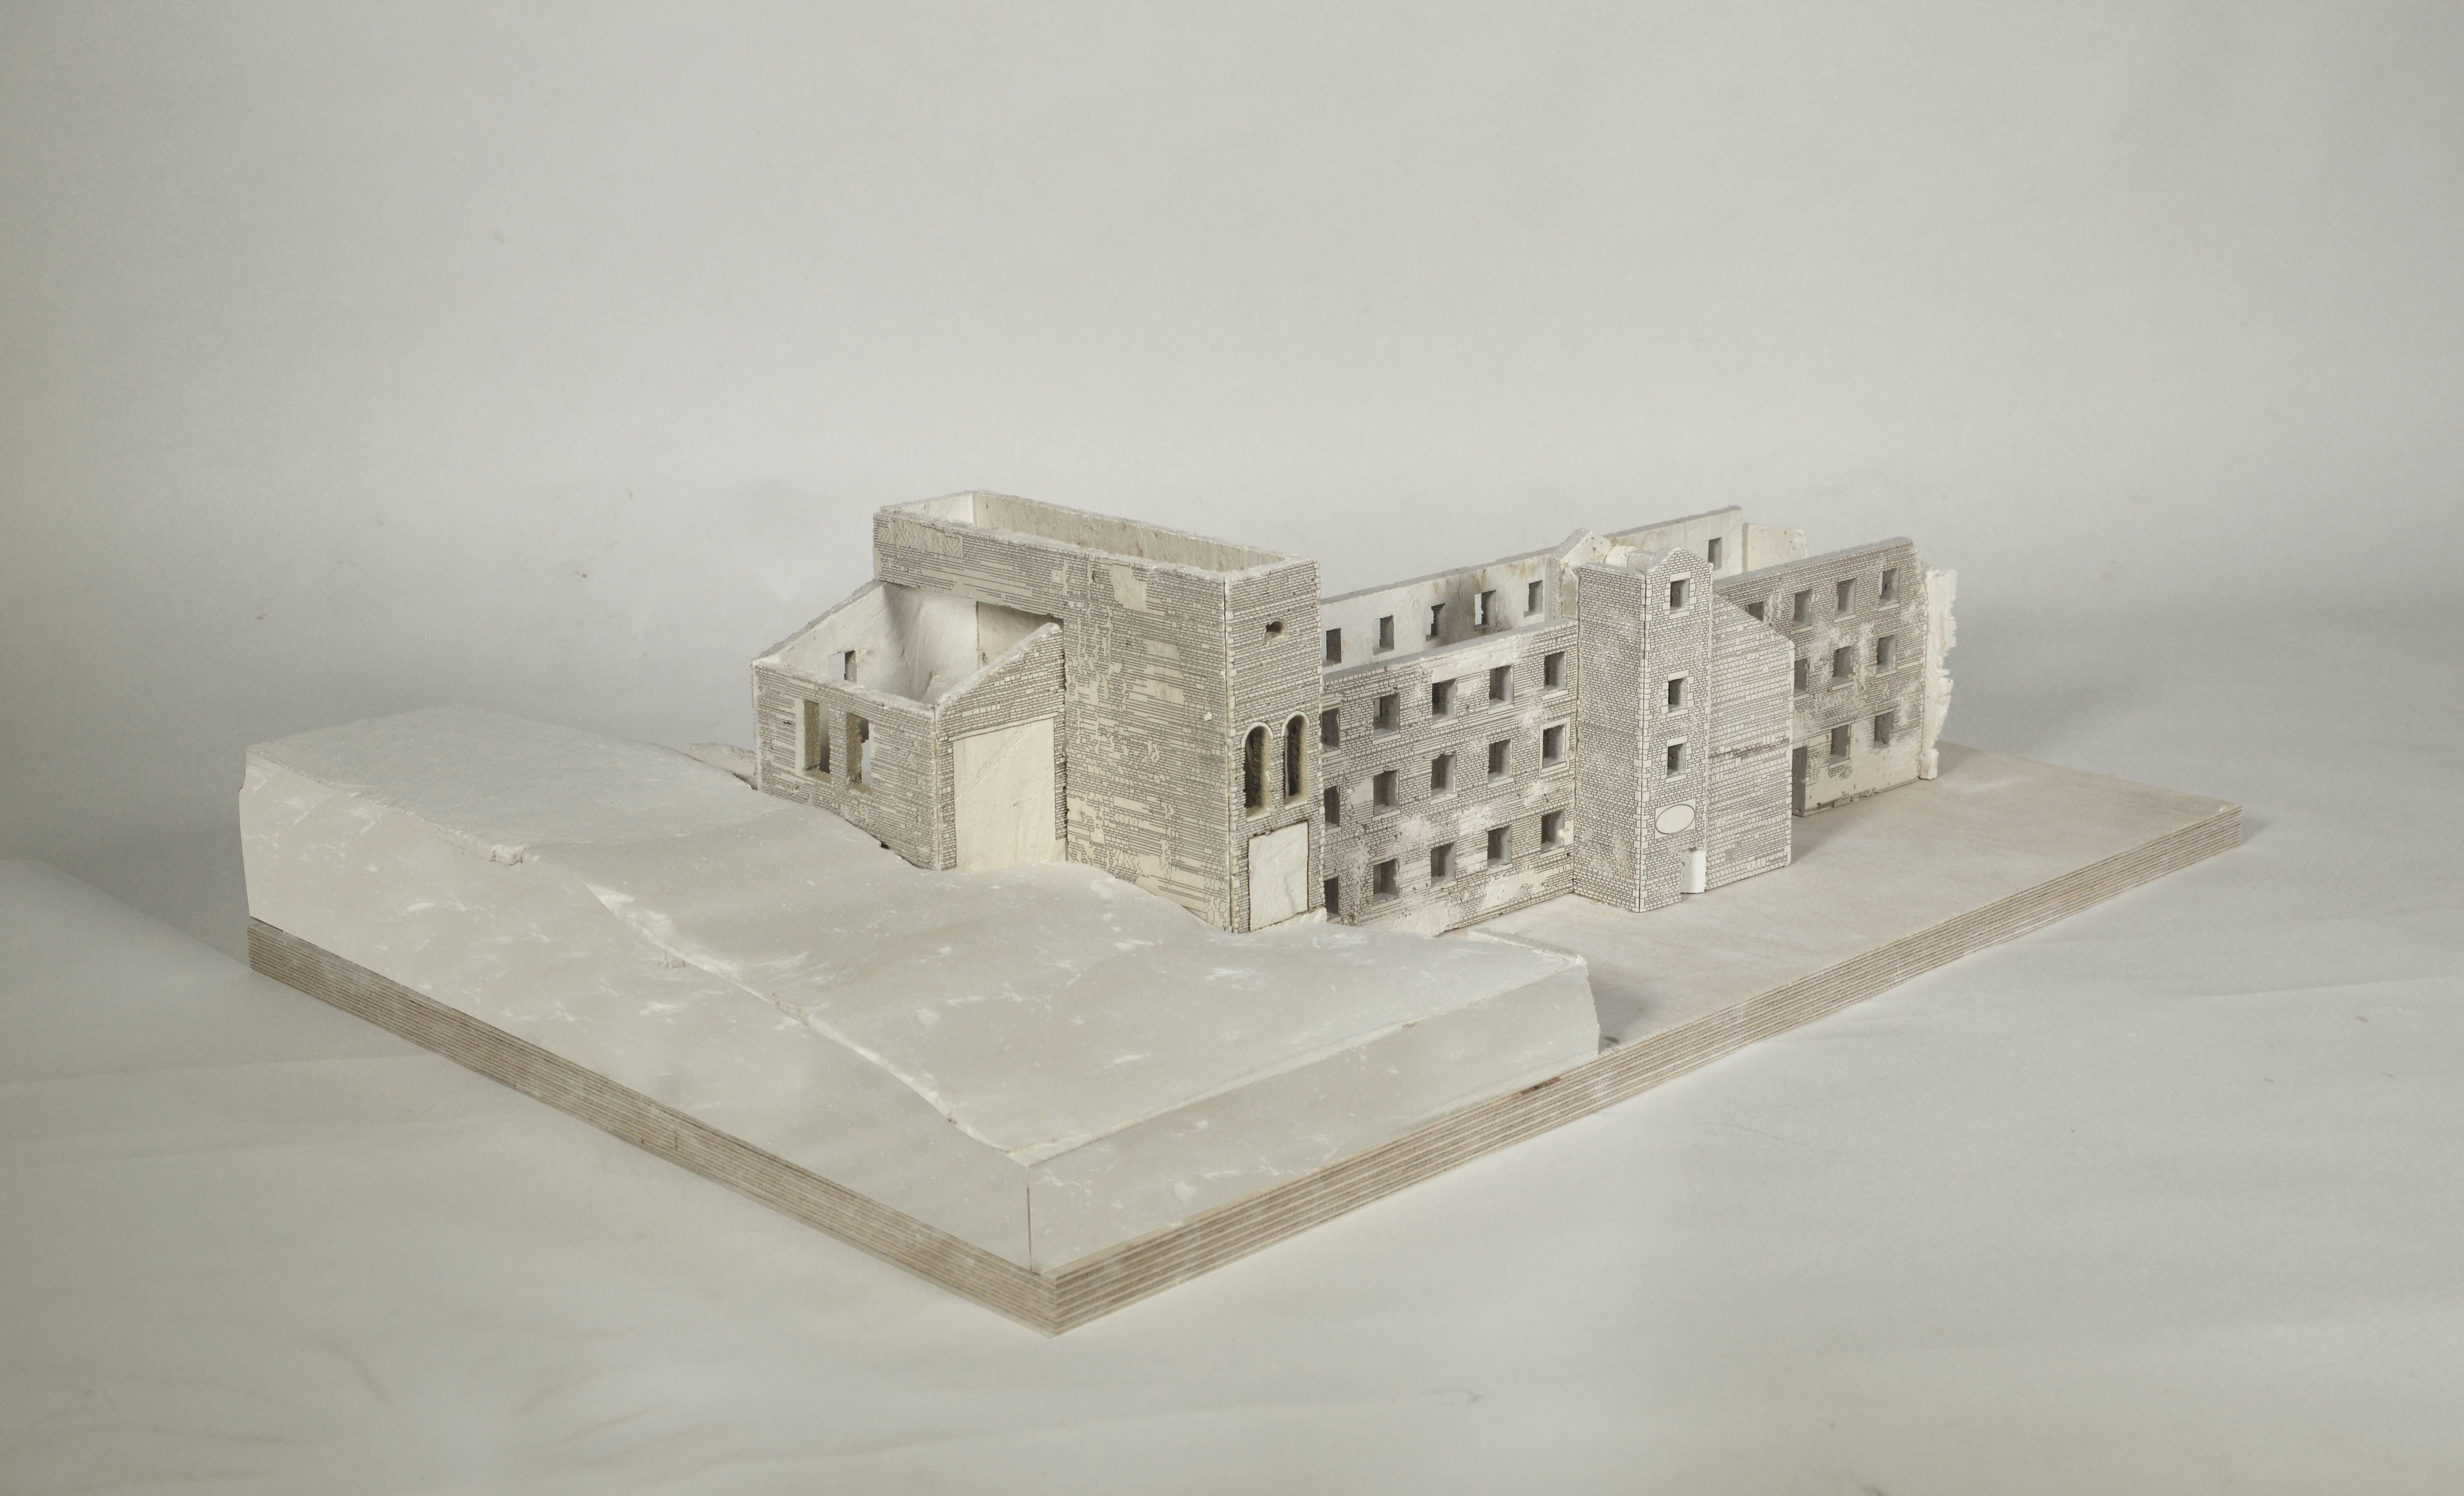
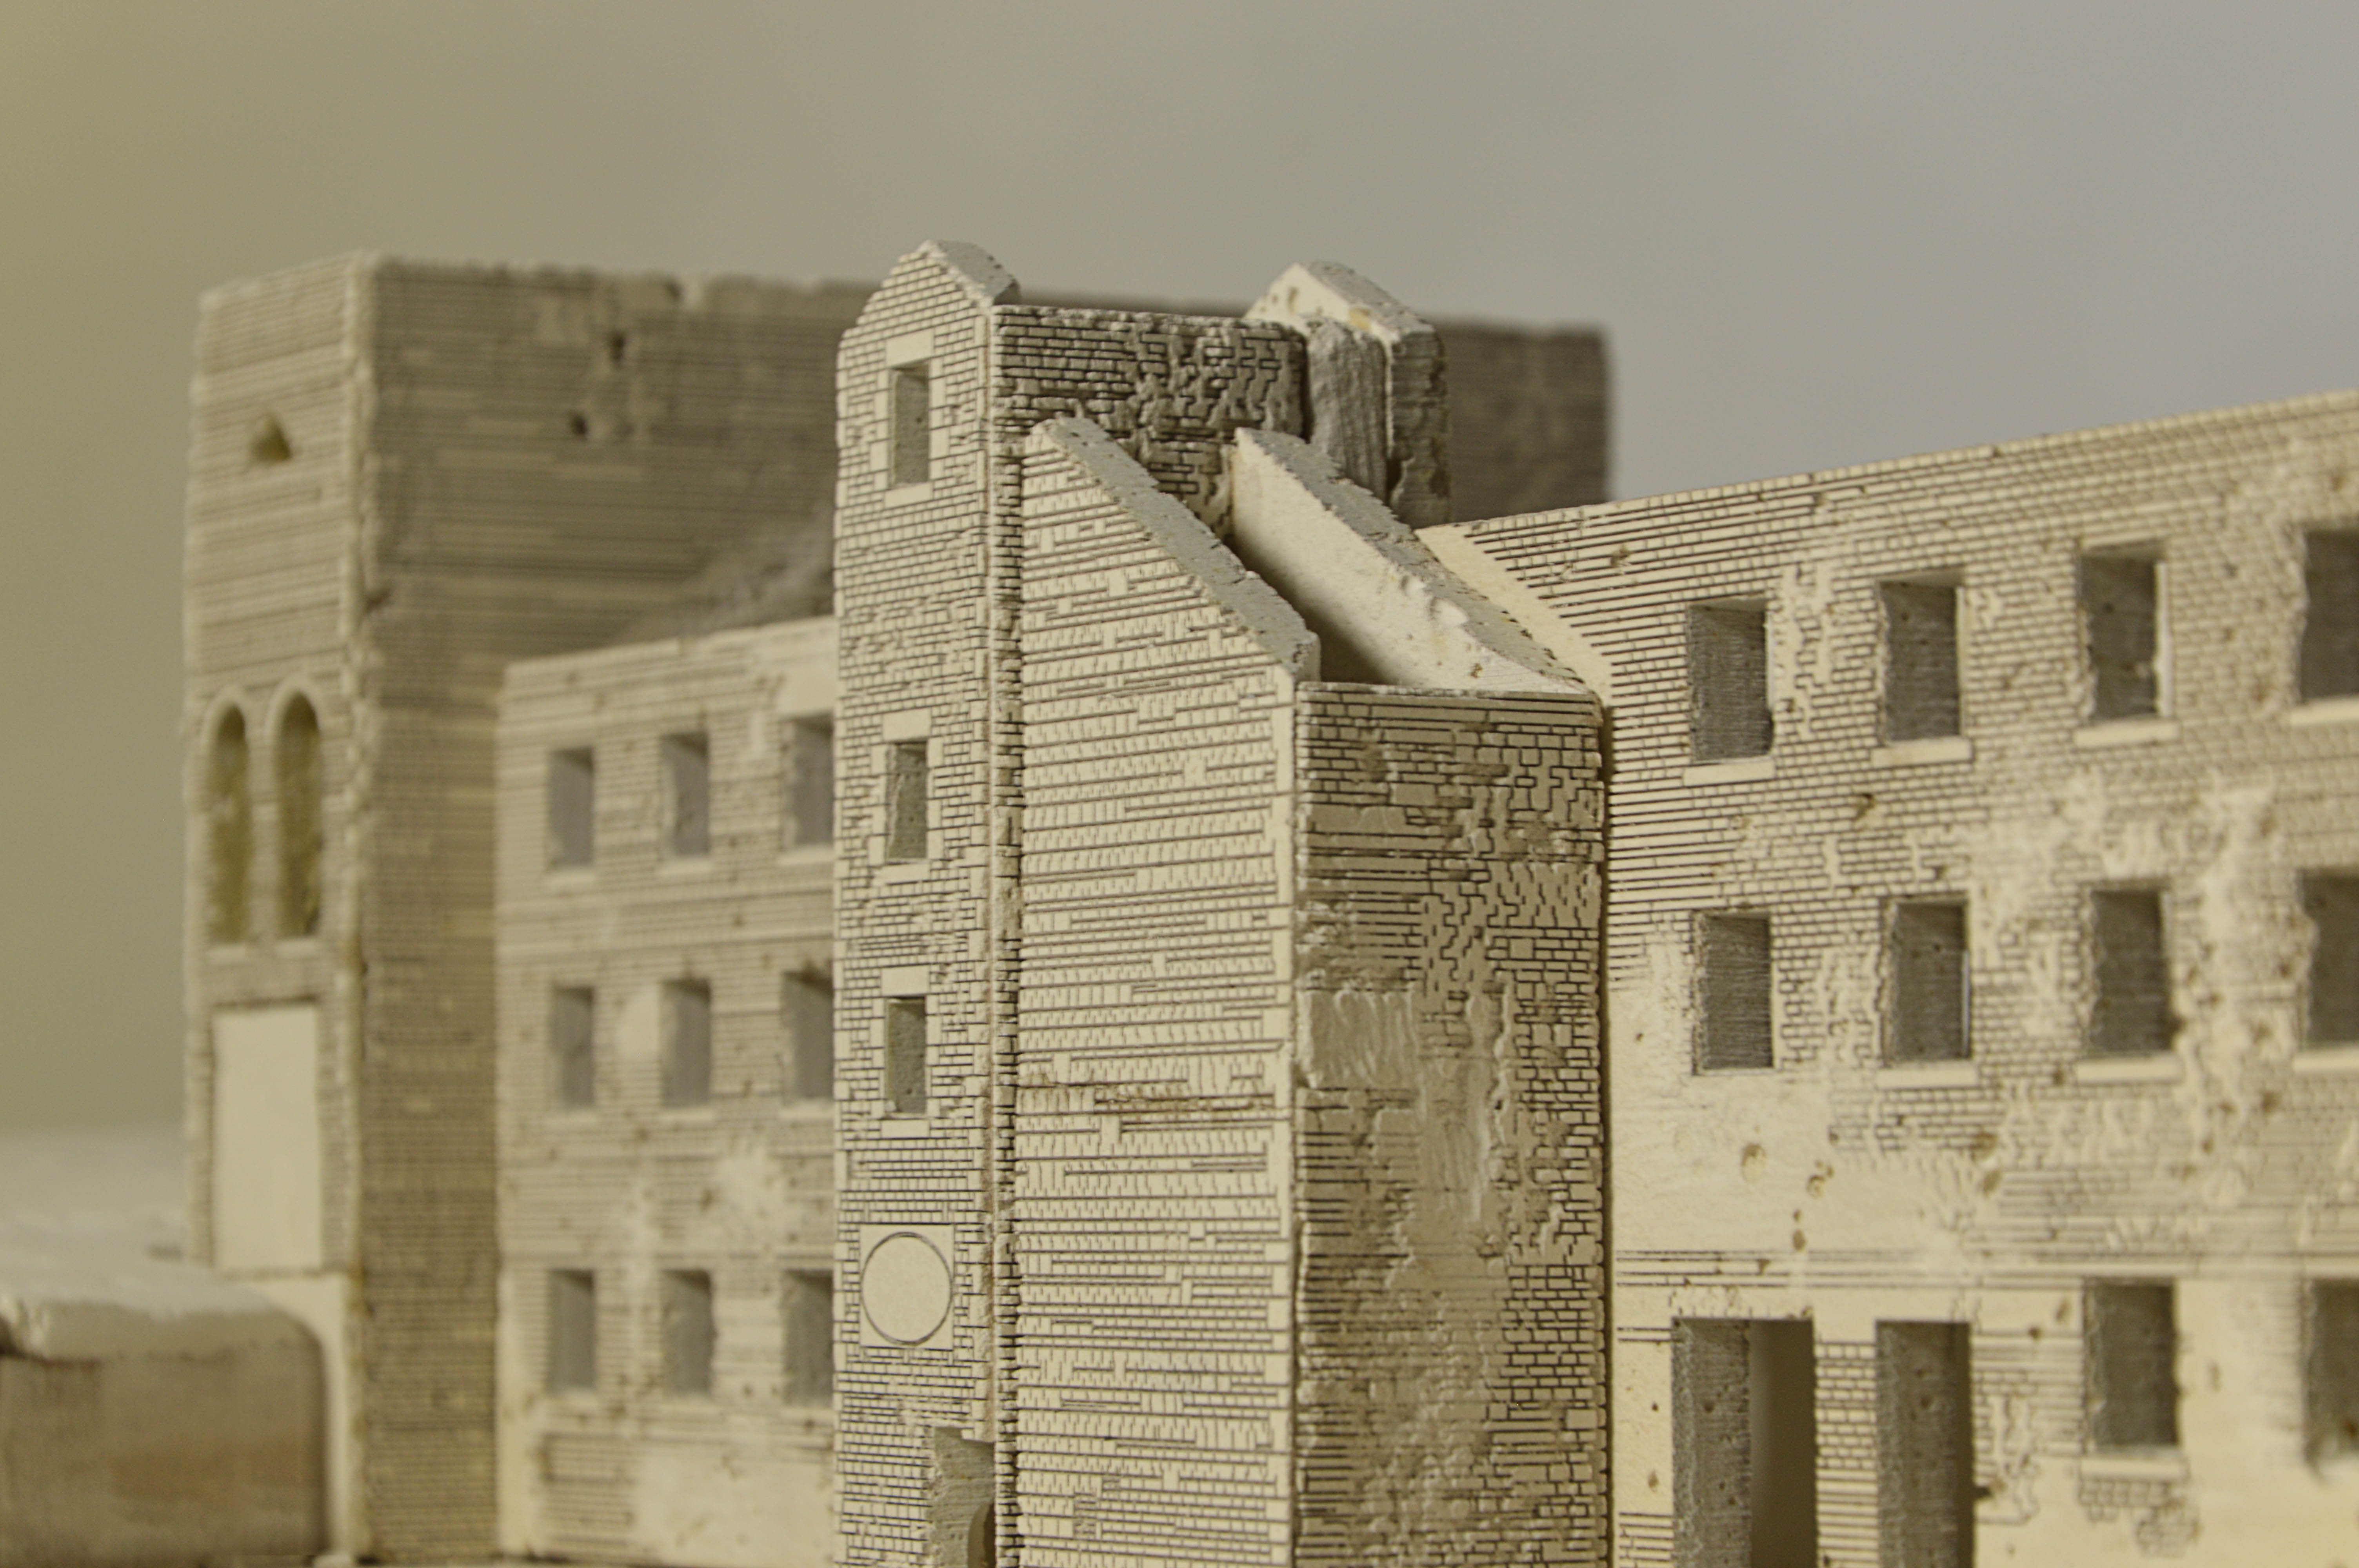
Our initial research into Bollington exposed the town’s rich industrial heritage and emphasised the hugely influential role cotton manufacture has played in defining physical environment and local history and culture. However, many mill structures – the powerful emblems of a rich, multi-faceted past – have been lost. As a consequence, the physical townscape seems disconnected from its socio-historical context. The installation proposes a recognition of the lost forms of Ingersley Vale Mill, one such site at risk of being demolished and forming a further void in Bollington’s continual identity. By artificially lighting the ‘ghost’ structure we aim to draw attention back to a lost icon, re-stitching the building into the wider industrial fabric of Bollington. Continuity in Architecture 5th years were running a competition for a live installation on our site. This project is one of the short-listed 6 and basically proposed artificially lighting the ghost forms of a derelict mill using electroluminescent wire. We chose to try laser etched plasterboard because we wanted a model which could appear highly textured and lends itself to the decaying qualities of a ruin. A combination of CAD and hand scratching / editing were used to get a varied result.”

In addition to the laser engraved plasterboards the group used polly-filla to marry the land mass of the site with the walls of the building.

5th year Bollington Mill (7) 5th year Bollington Mill (8)5th year Bollington Mill (9)

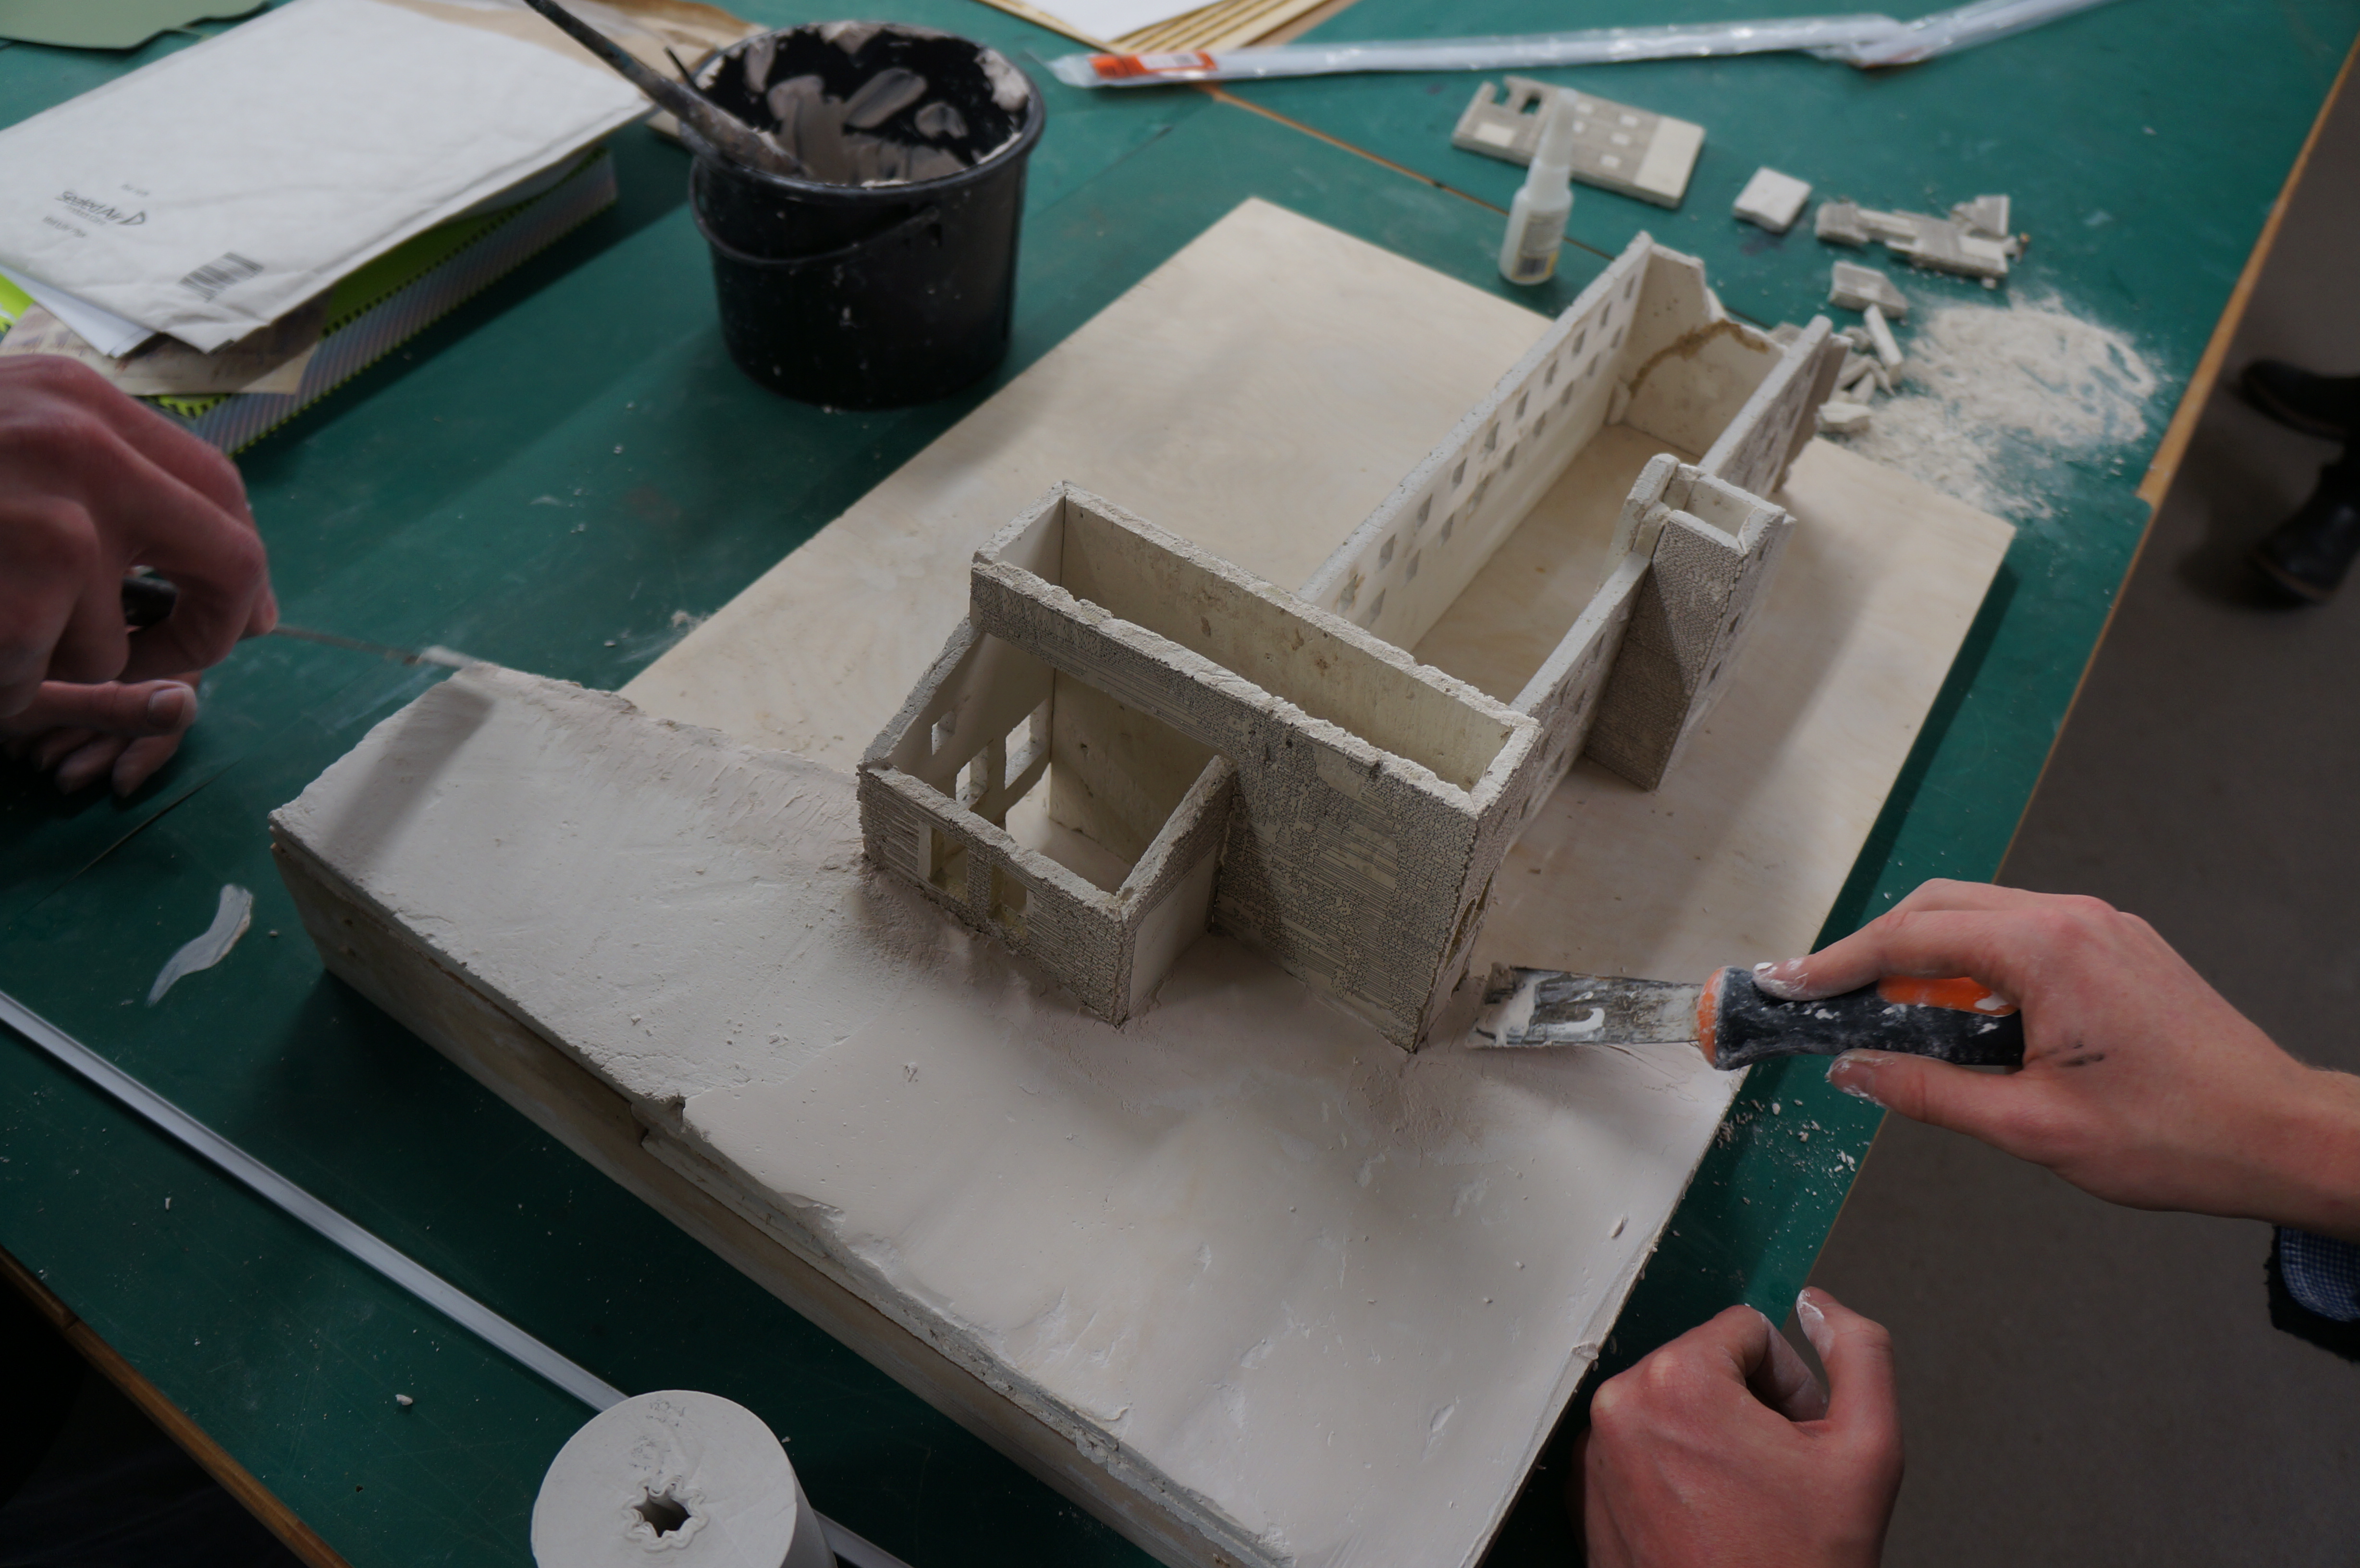
The finished effect, as with the Nine Elmes Cold Cold Store Project is fantastic at capturing the rustic look of the building. It worth noting that this technique can be time consuming and the resulting pieces are very fragile so certainly don’t suit anything intended to be handled. North close up presentation photo south agled perspective

In the style of Piranesi – Experimenting with Metal Powders in Resin

“Designed in the 18th century by the artist Giovanni Battista Piranesi (1720-1778), Caffè degli Inglesi in Rome, just moments away from the Spanish Steps, is a prime example of a lost ‘cultural cafè’. Renowned for its eccentric Egyptian style, it was a main hub for British artists visiting the Eternal City. Although it was a key centre for culture and artistry, the café’s design divided opinion. Caffè Degli Inglesi only survived for circa 20 years. 

Only two plates etched by Piranesi himself have survived that depict one long and one short internal wall. Because of this, our main challenge was re-imagining the space. As the cafè is long gone and we have no information in regards to the materials, colours, techniques employed, it therefore seems clear that the physical architecture of this space shouldn’t be our main focus, but capturing the lost atmosphere by trying to create a ‘shadow’ of the lost physical space.

Image


When creating a three-dimensional model, it was obvious we needed to depict the two undocumented walls in a way that does not mimic nor assume, but can capture the spirit needed for the café’s re-interpretation. We are therefore suggesting the use of mirrored walls, providing an immersive experience, without compromising the integrity of Piranesi’s unknown original design.

 
The material choice for the rest of the model was intended to hint towards Piranesi himself’s original metallic plates. The time and expense required in producing real metal plates was soon deemed too unrealistic, therefore an innovative solution was found in aluminium powder mixed with resin to create a metallic, durable cast acrylic sheet. From these they were able to be handled by machines such as the laser cutter in creating the etchings on both sides. 
 
A challenge came in the creation of the vaulted roof, where the material was heated following the etching process and formed around a pre-made mould. The 4 sheets were then filed so that the edges could align as best as possible. Assembly of the model involved super-glue, epoxy resin (made metallic in the same way as the cast sheets to match) and finishing using 3mm self-adhesive lead strips.
 
We were asked to display the model on a 400x400mm plinth. This was created with a number of feature to help enhance the model, for instance the plinth was created to be 1500mm high in order for the model to be viewed from eye level and allowed the viewer to experience the mirroring of the materials within. The rectangular shape of the model was then rationalised by creating a series of steps at the top of the square plinth, the final step incorporating a step down to fit the model so that the floor plate runs smoothly from outside to inside. The plinth was then painted in a matt white, with a shadow gap creating a neat finish between plinth and floor.” – Vanessa Torri & Daniel Kirkby 2015

Istituto Nazionale per la GraficaCOLLEZIONE2Opere12-00392853-49Media24210.jpg

 Making the Model

For this project it was decided to make the wall thickness 3mm for ease of construction as well as keeping the material use to a minimum. Simple tray moulds were made up using strips of 3mm MDF that were double sided taped down to a base. This aids an easier removal from the mould once the cast has cured.

Note – if it is clear that a lot of the same component are require (in this case resin slabs) that it may be worth making the mould using a silicone to allow repeat casts and easy cast removal. As this project was very much ‘try it and see’ the required moulds were made as needed. 

Once the basic mould was complete the surfaces were coated with a barrier coat of Vaseline to prevent the resin penetrating the surface of the MDF when poured.

Metal powders

The use of metal powders in casting allows us to create a lightweight and, when compared to full metal casting, low cost but effective substitute material. The process uses very fine metal powder to coat the surface of a desired cast that can then be polished as if it were cast in the metal in use. In this case Aluminium powder was chosen to emulate lead. 

DSC05234In order to guarantee a good coat of metal powder on the surface of casts the mould should be dusted with the desired powder. The excess powder can be poured from the mould and reused. 

Mixing/Pouring Resin

For ease and speed of casting fast-cast- polyurethane resin was used as the stock material for the cast slabs. The resin is usually mixed at a 50/50 ratio but always check the instructions as some brands do vary their instructions on ratio mixing. As we were going for a metallic finish overall metal powder was also mixed into the resin to back up the surface coat already ducted into the mould. As the resin is poured the metal powder particles naturally want to sink to the lowest point so having them in the resin only increases or chances of a successful finish on the face of the cast.

DSC05240

DSC05242


DSC05243


Surface Finishing and Laser Engraving

Once the slabs have poured they can be carefully removed from the mould and all being well will have a dull but flat finish on the down face. Using wire wool the surface can be polished up to the desired shine.

DSC05251

5th Year Lost Spaces (8)

Next up for this project was the engraving of the Piranesi drawings onto the plates. Using the laser cutters Daniel and Vanessa were able to engrave into the polished surface of the plates as well as the back face which would end up being inside the model.

5th Year Lost Spaces (13)

DSC05247DSC05268

The roof components required heat forming to create its vaulted shape. This shaping occurred after being engraved and cut to shape which required significant time to figure out correctly.

DSC05278 The final detail to be added to the model was lead finishing strip as used on leaded windows. As well as finishing the panel gaps this strip. lent itself to the model design and matched the metallic finish perfectly.

DSC05279

Pitanesi model (2) Pitanesi model (4) Pitanesi model (5)The model will be on display as part of the 5th year ‘Lost Spaces’ workshop display at the end of year show in June.