Merry X-Mas and a Happy New Year!

Hi All,

Just a quick post to say Merry Christmas for myself and Jim in the B.15 workshop!

It’s been a great year for us and we look forward to continue to expand and create with you all in 2014.

We will be re-opening for business on Monday 13th January. See you then!

Scott and Jim!

Do Your Bit to Reduce Workshop Waste

One of the inevitable by-products of a creative environment such as ours is a large amount of material waste. Whilst a certain amount of this is unavoidable we endeavour to reduce as much unnecessary disposal as possible.


As individuals we all need to be more considerate to make a difference to this and every little change can help.

Here’s a few things to think about for this cause and your own and everybody eleses benefit:

Materials Consideration

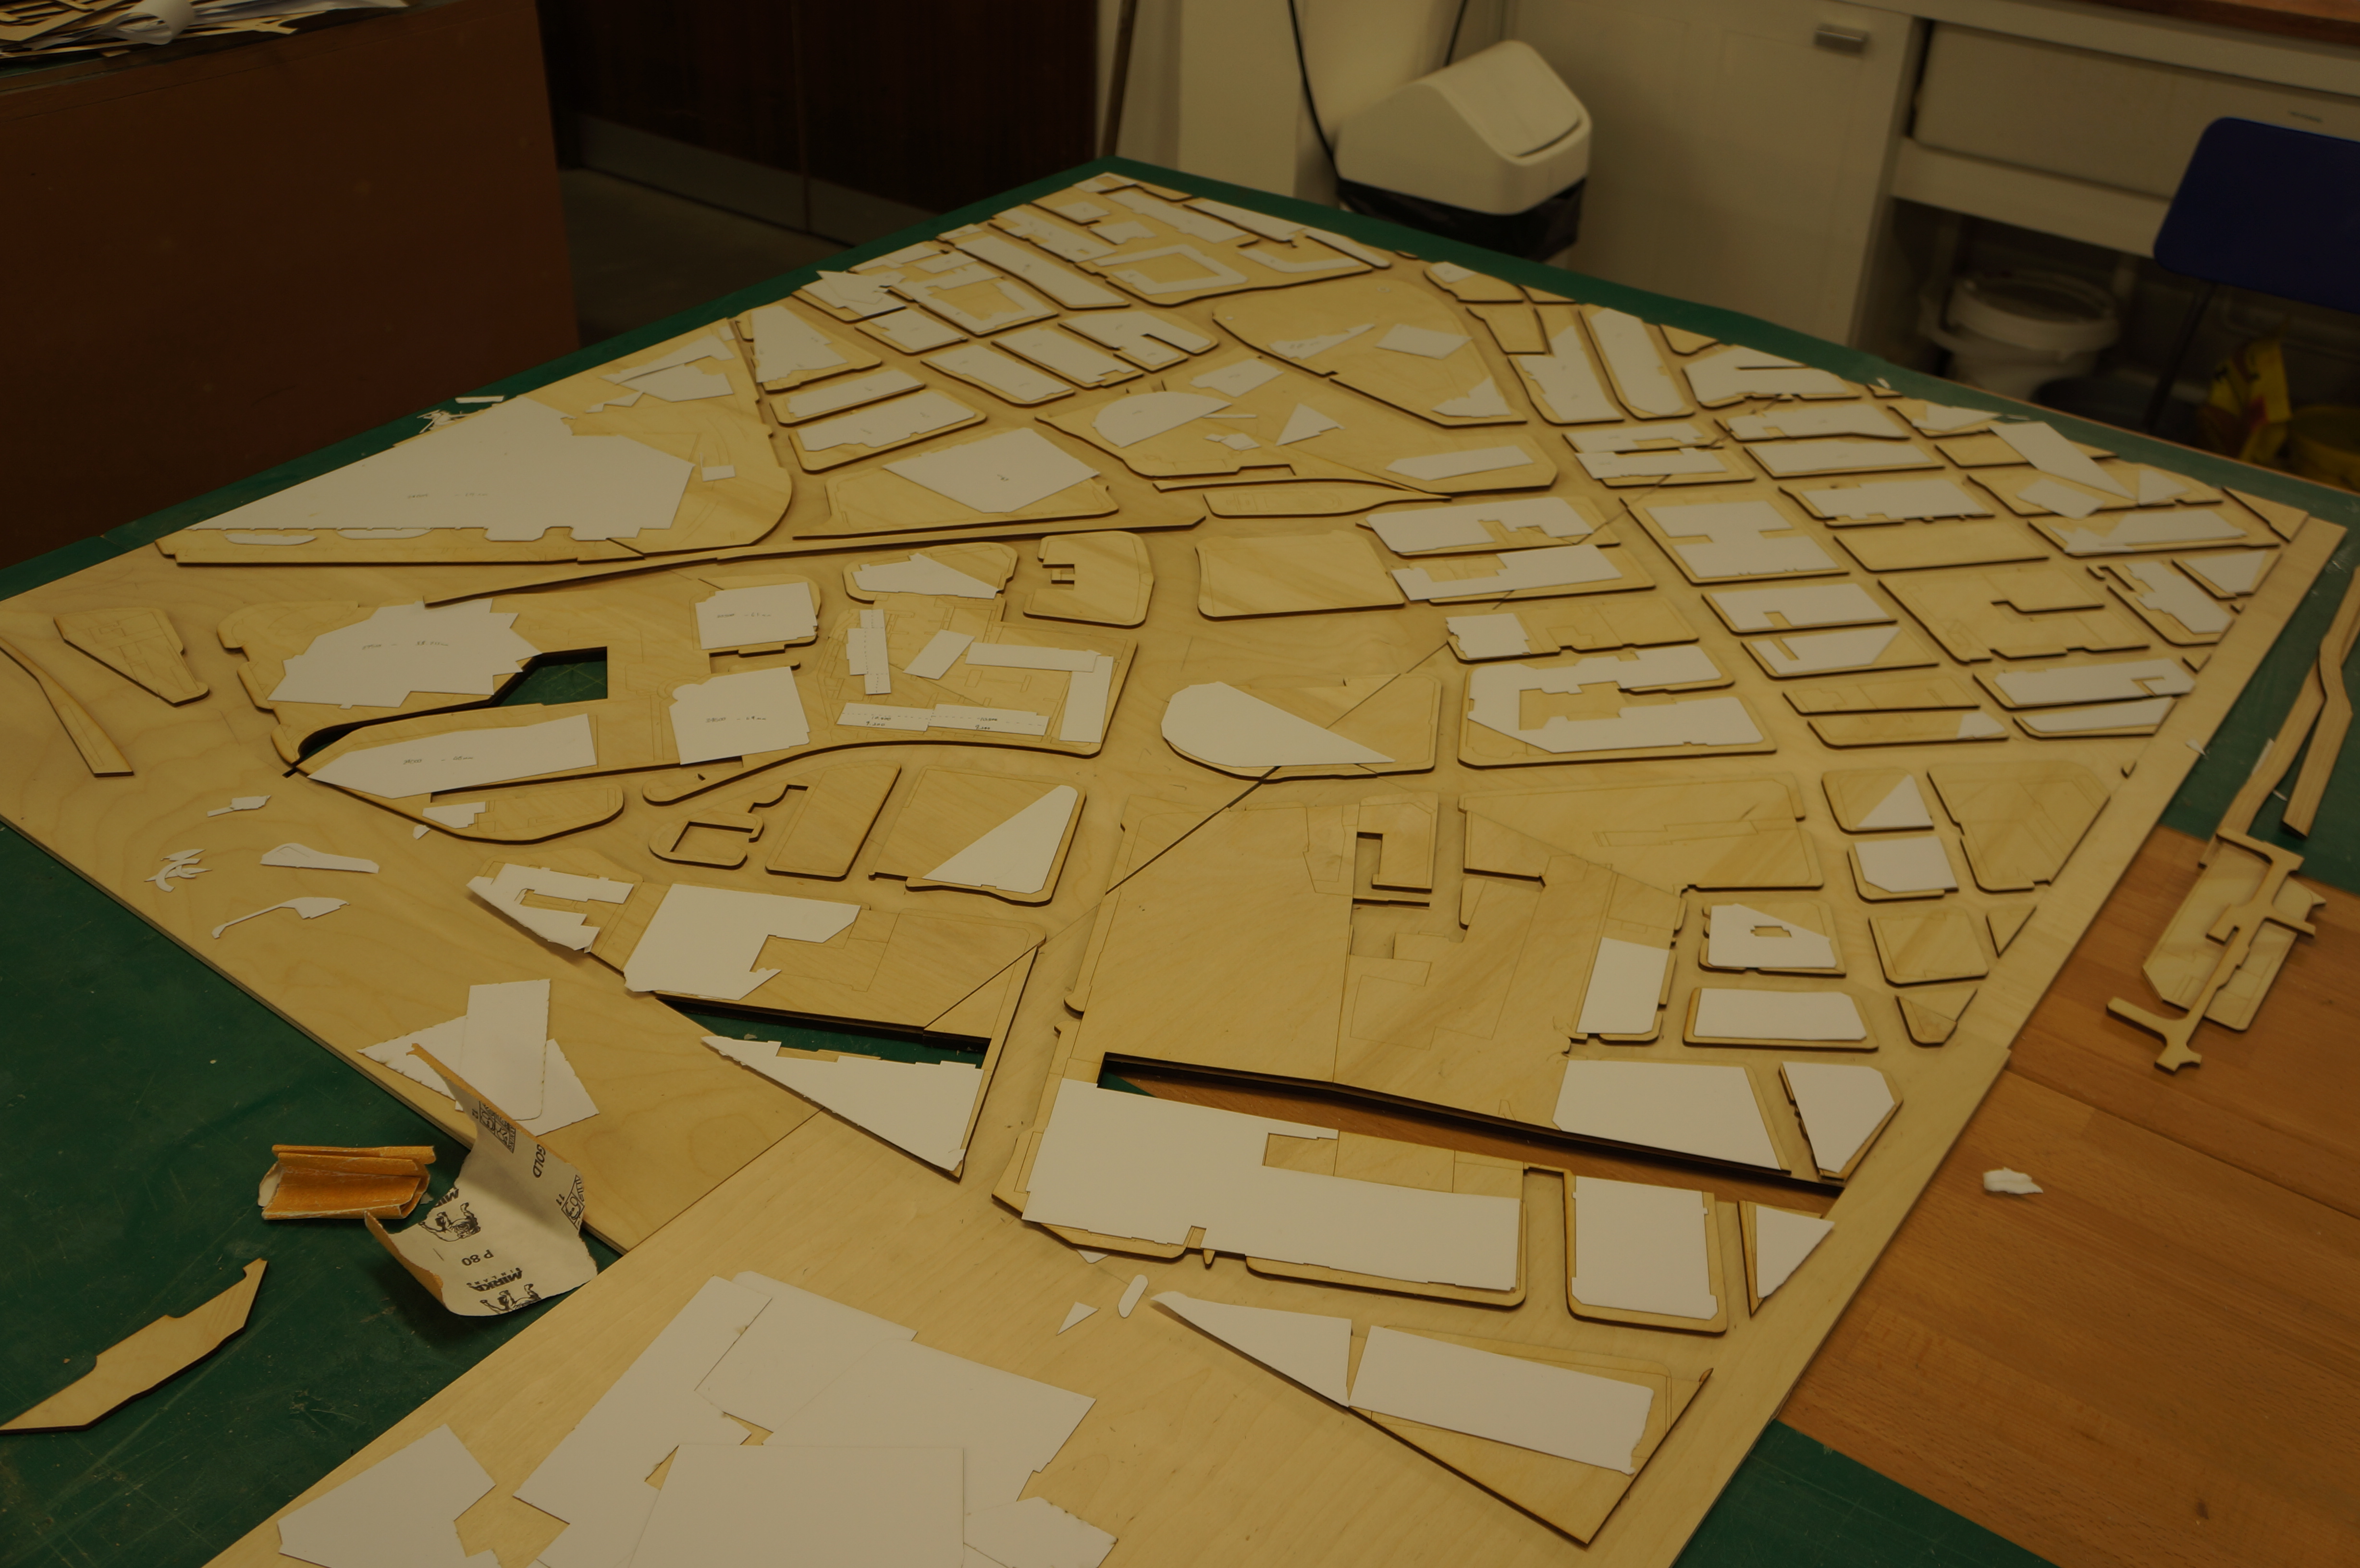
This is a huge part of your project and should be thought about in great depth in terms of what you are trying to achieve and the potential waste produced from it. For example, When making a contour model consider the amount of unseen sheet material that could be saved by producing each layer as a step down rather than an entire sheet to form each layer. Could you use grey cardboard which is widely recycled instead of sheets of wood? Always check the free recycled materials before using virgin sheets.

Planning Your Model

Establishing the size and layout of your model can dictate how much material you use. For example if you want to make a laser cut model that measures 900mm x 600mm you will need to use more than a standard laser cut sized sheet (800mm x 450mm) of material to cover the area required. For the sake of using another sheet of material, your money and little visual difference to the end product you should try to work to existing sizes.

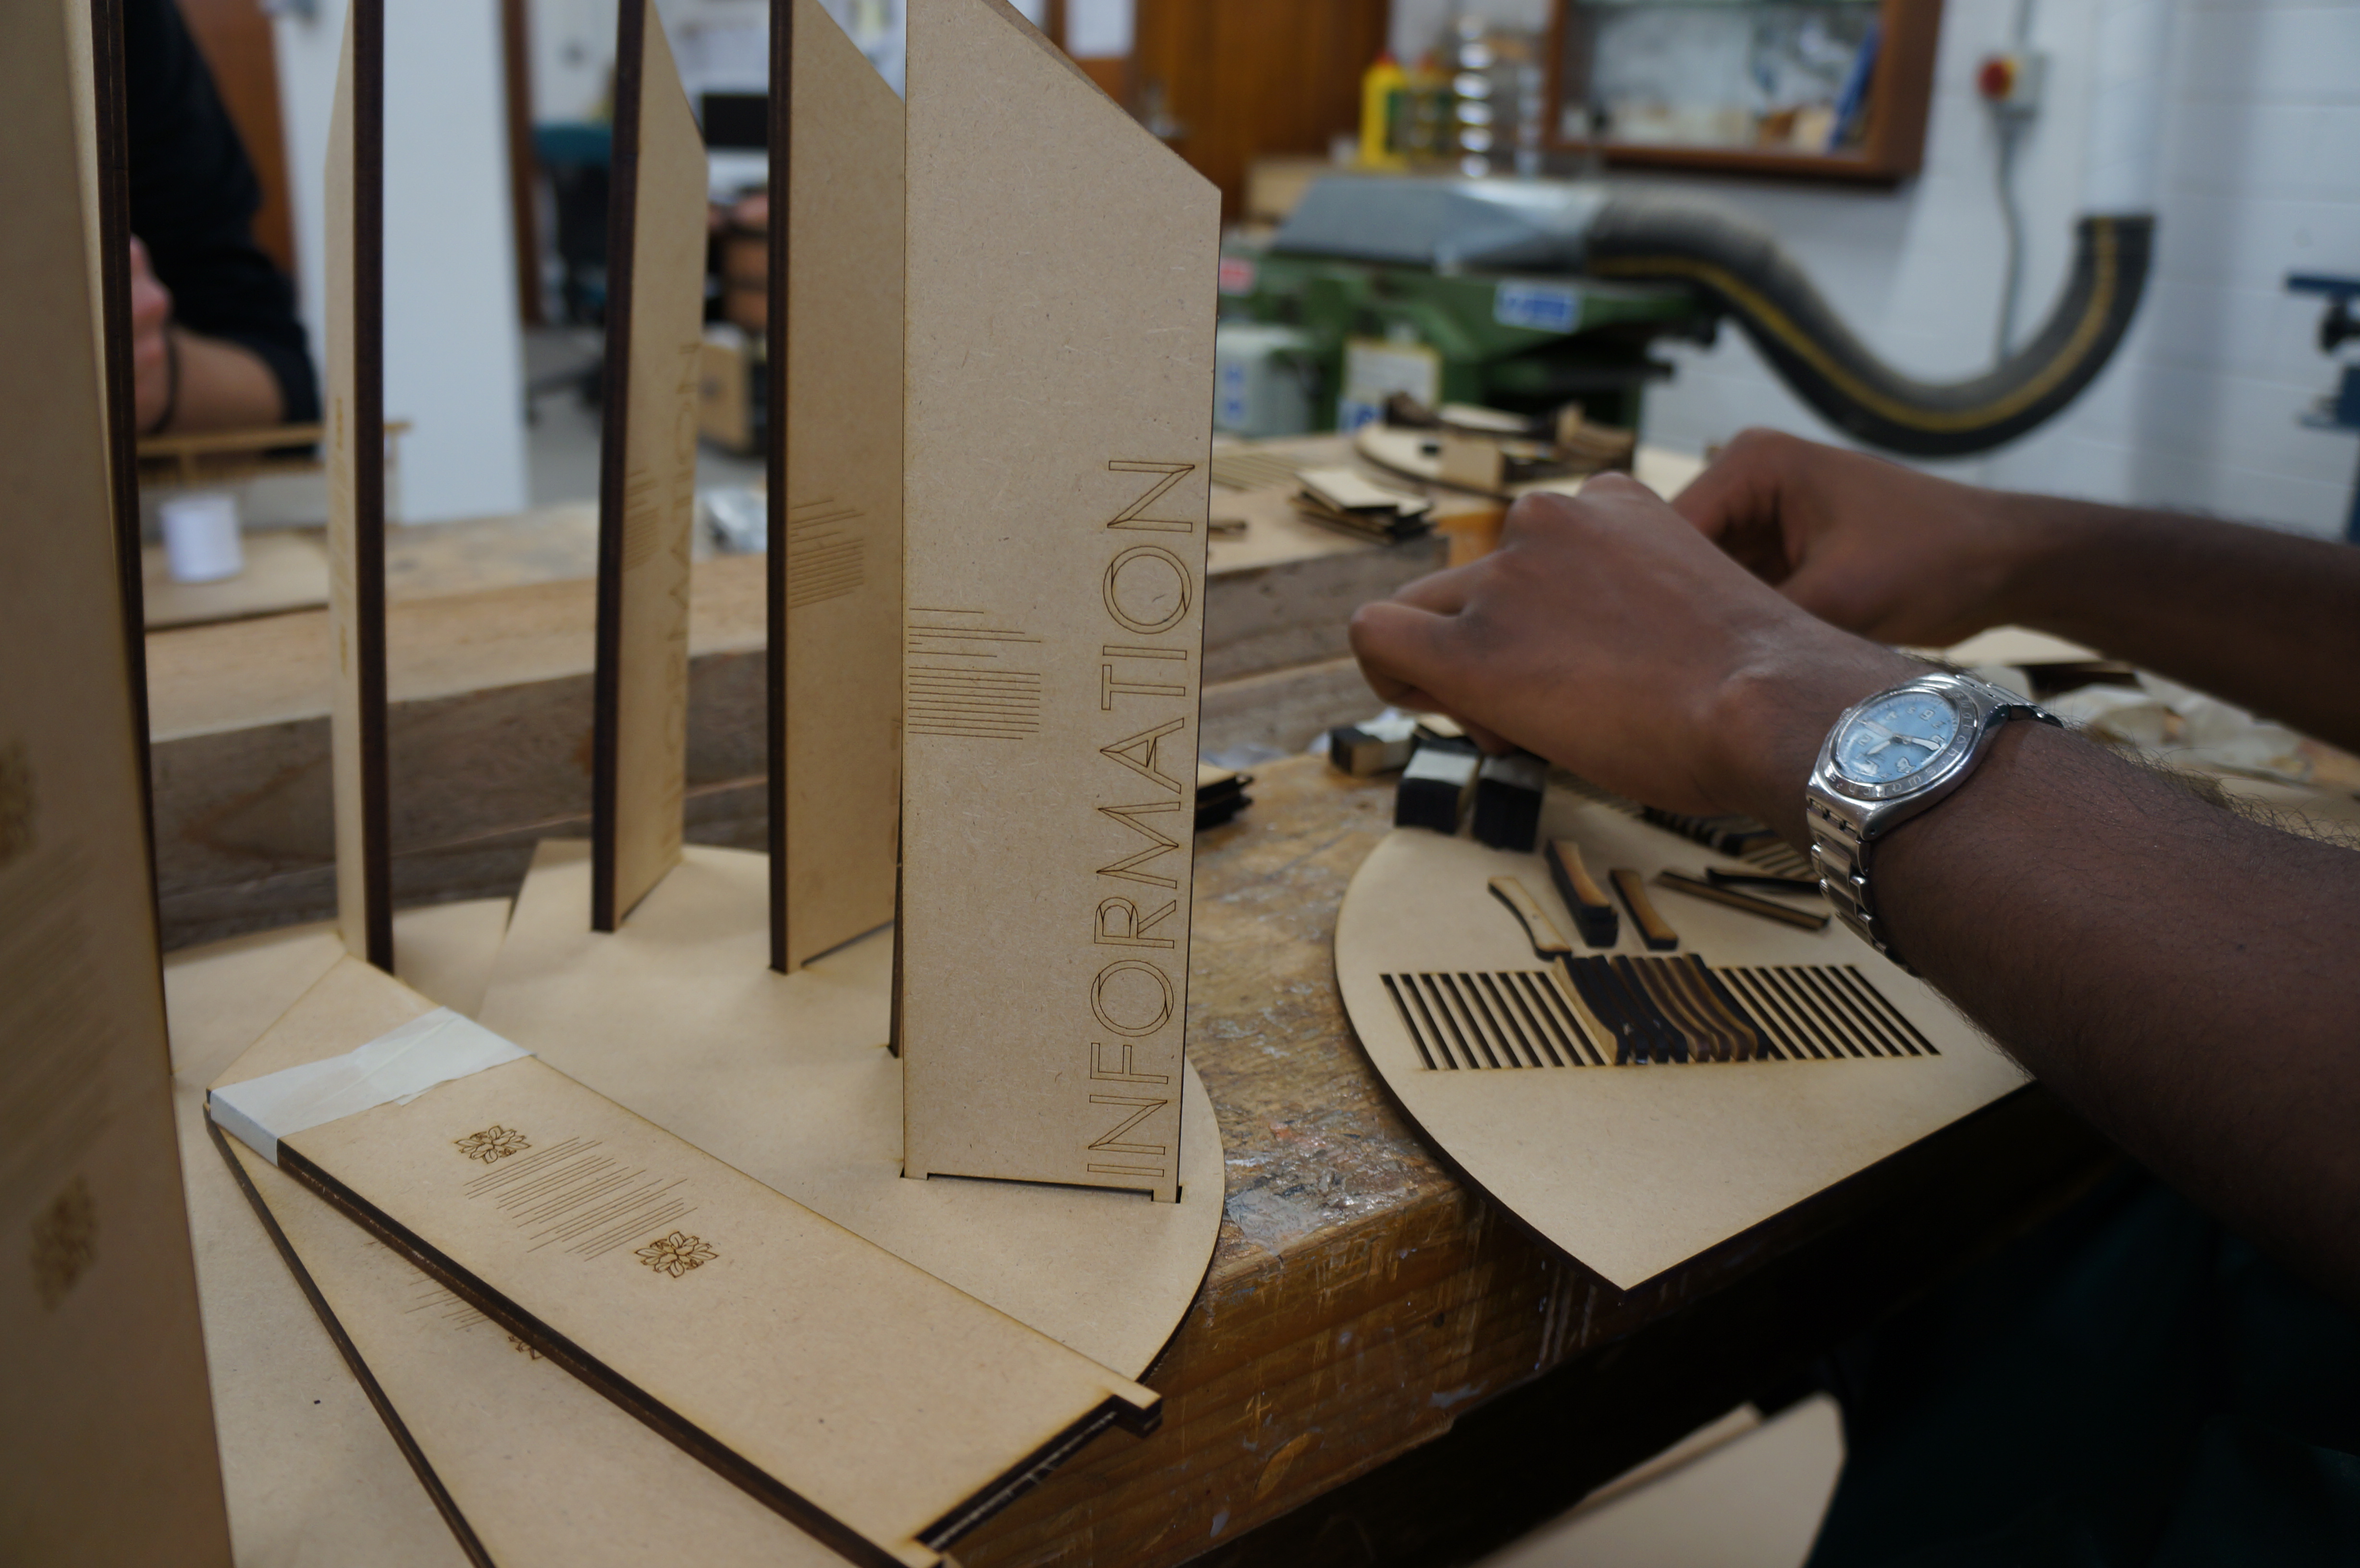
Using Machines Appropriately 

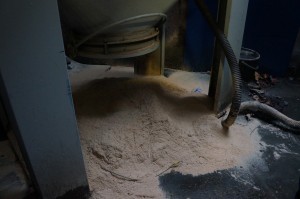
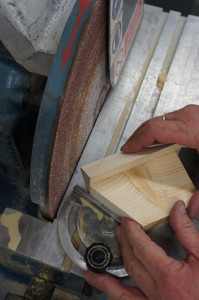
This is always a sticking point for students using our workshop as experience of machine use is varied. By thinking about each component you are trying to produce beforehand it is possible to produce the desired shape without unnecessary waste.

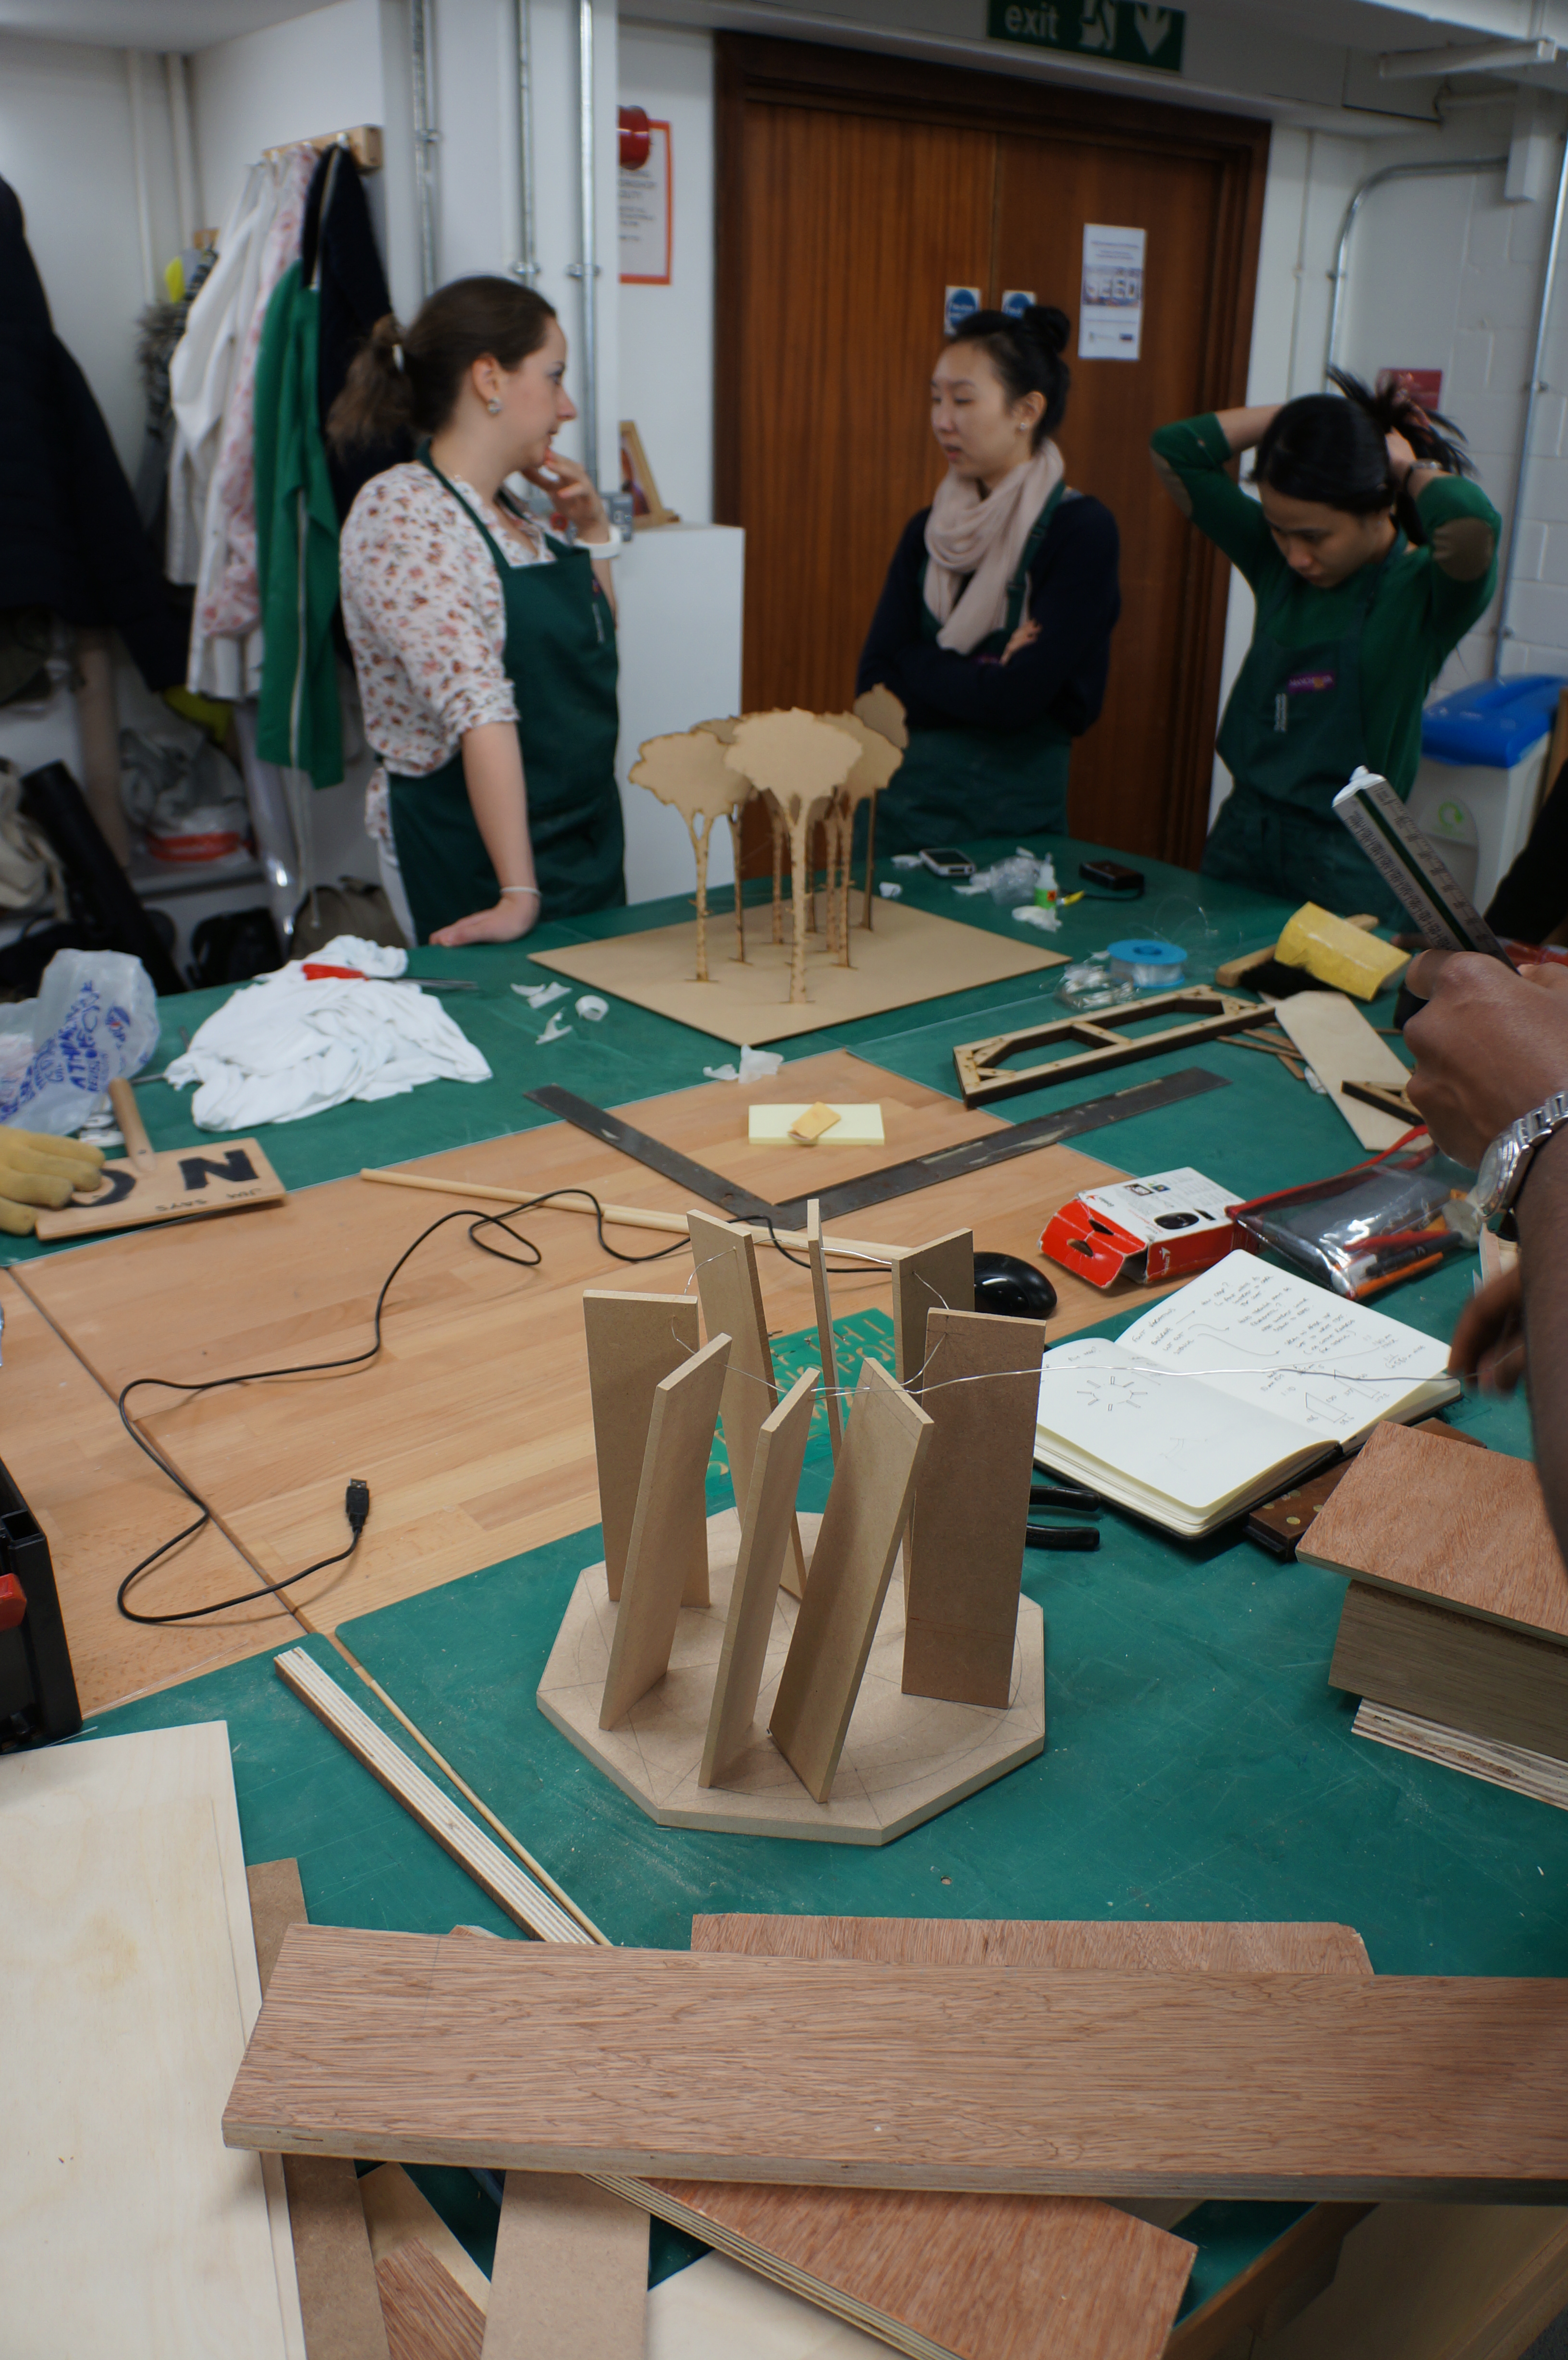
For example when using the disk sanders to create a roof pitch we can think about the size of the piece we are working with. If the piece requires taking large volumes of material away then it would be more appropriate to cut the majority of the material away using a band saw before moving to the disk sander to accurately finish the cut. By doing this we are reducing the amount of wear to the disk sanders and the levels of dust in the atmosphere around the workshop.
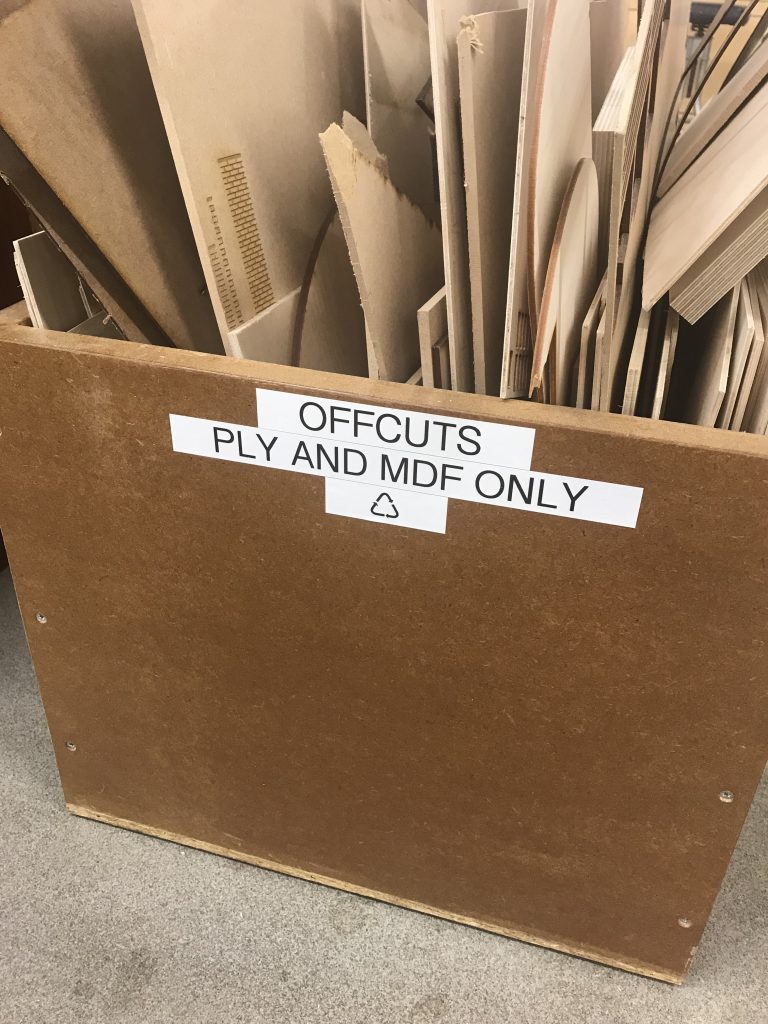
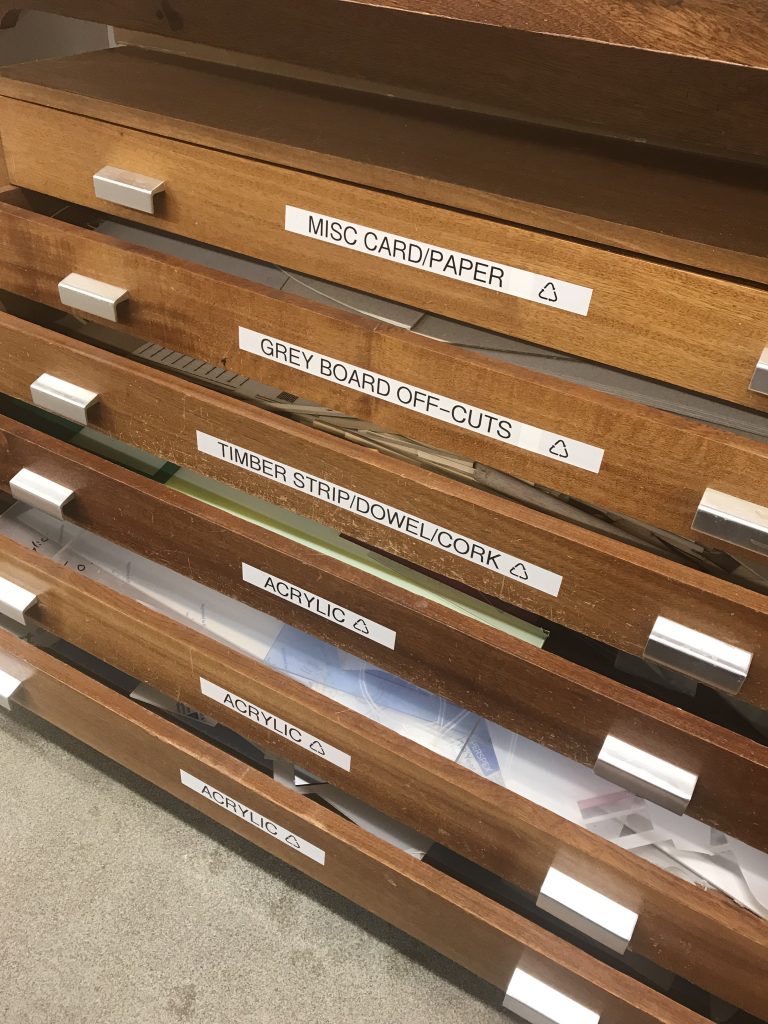
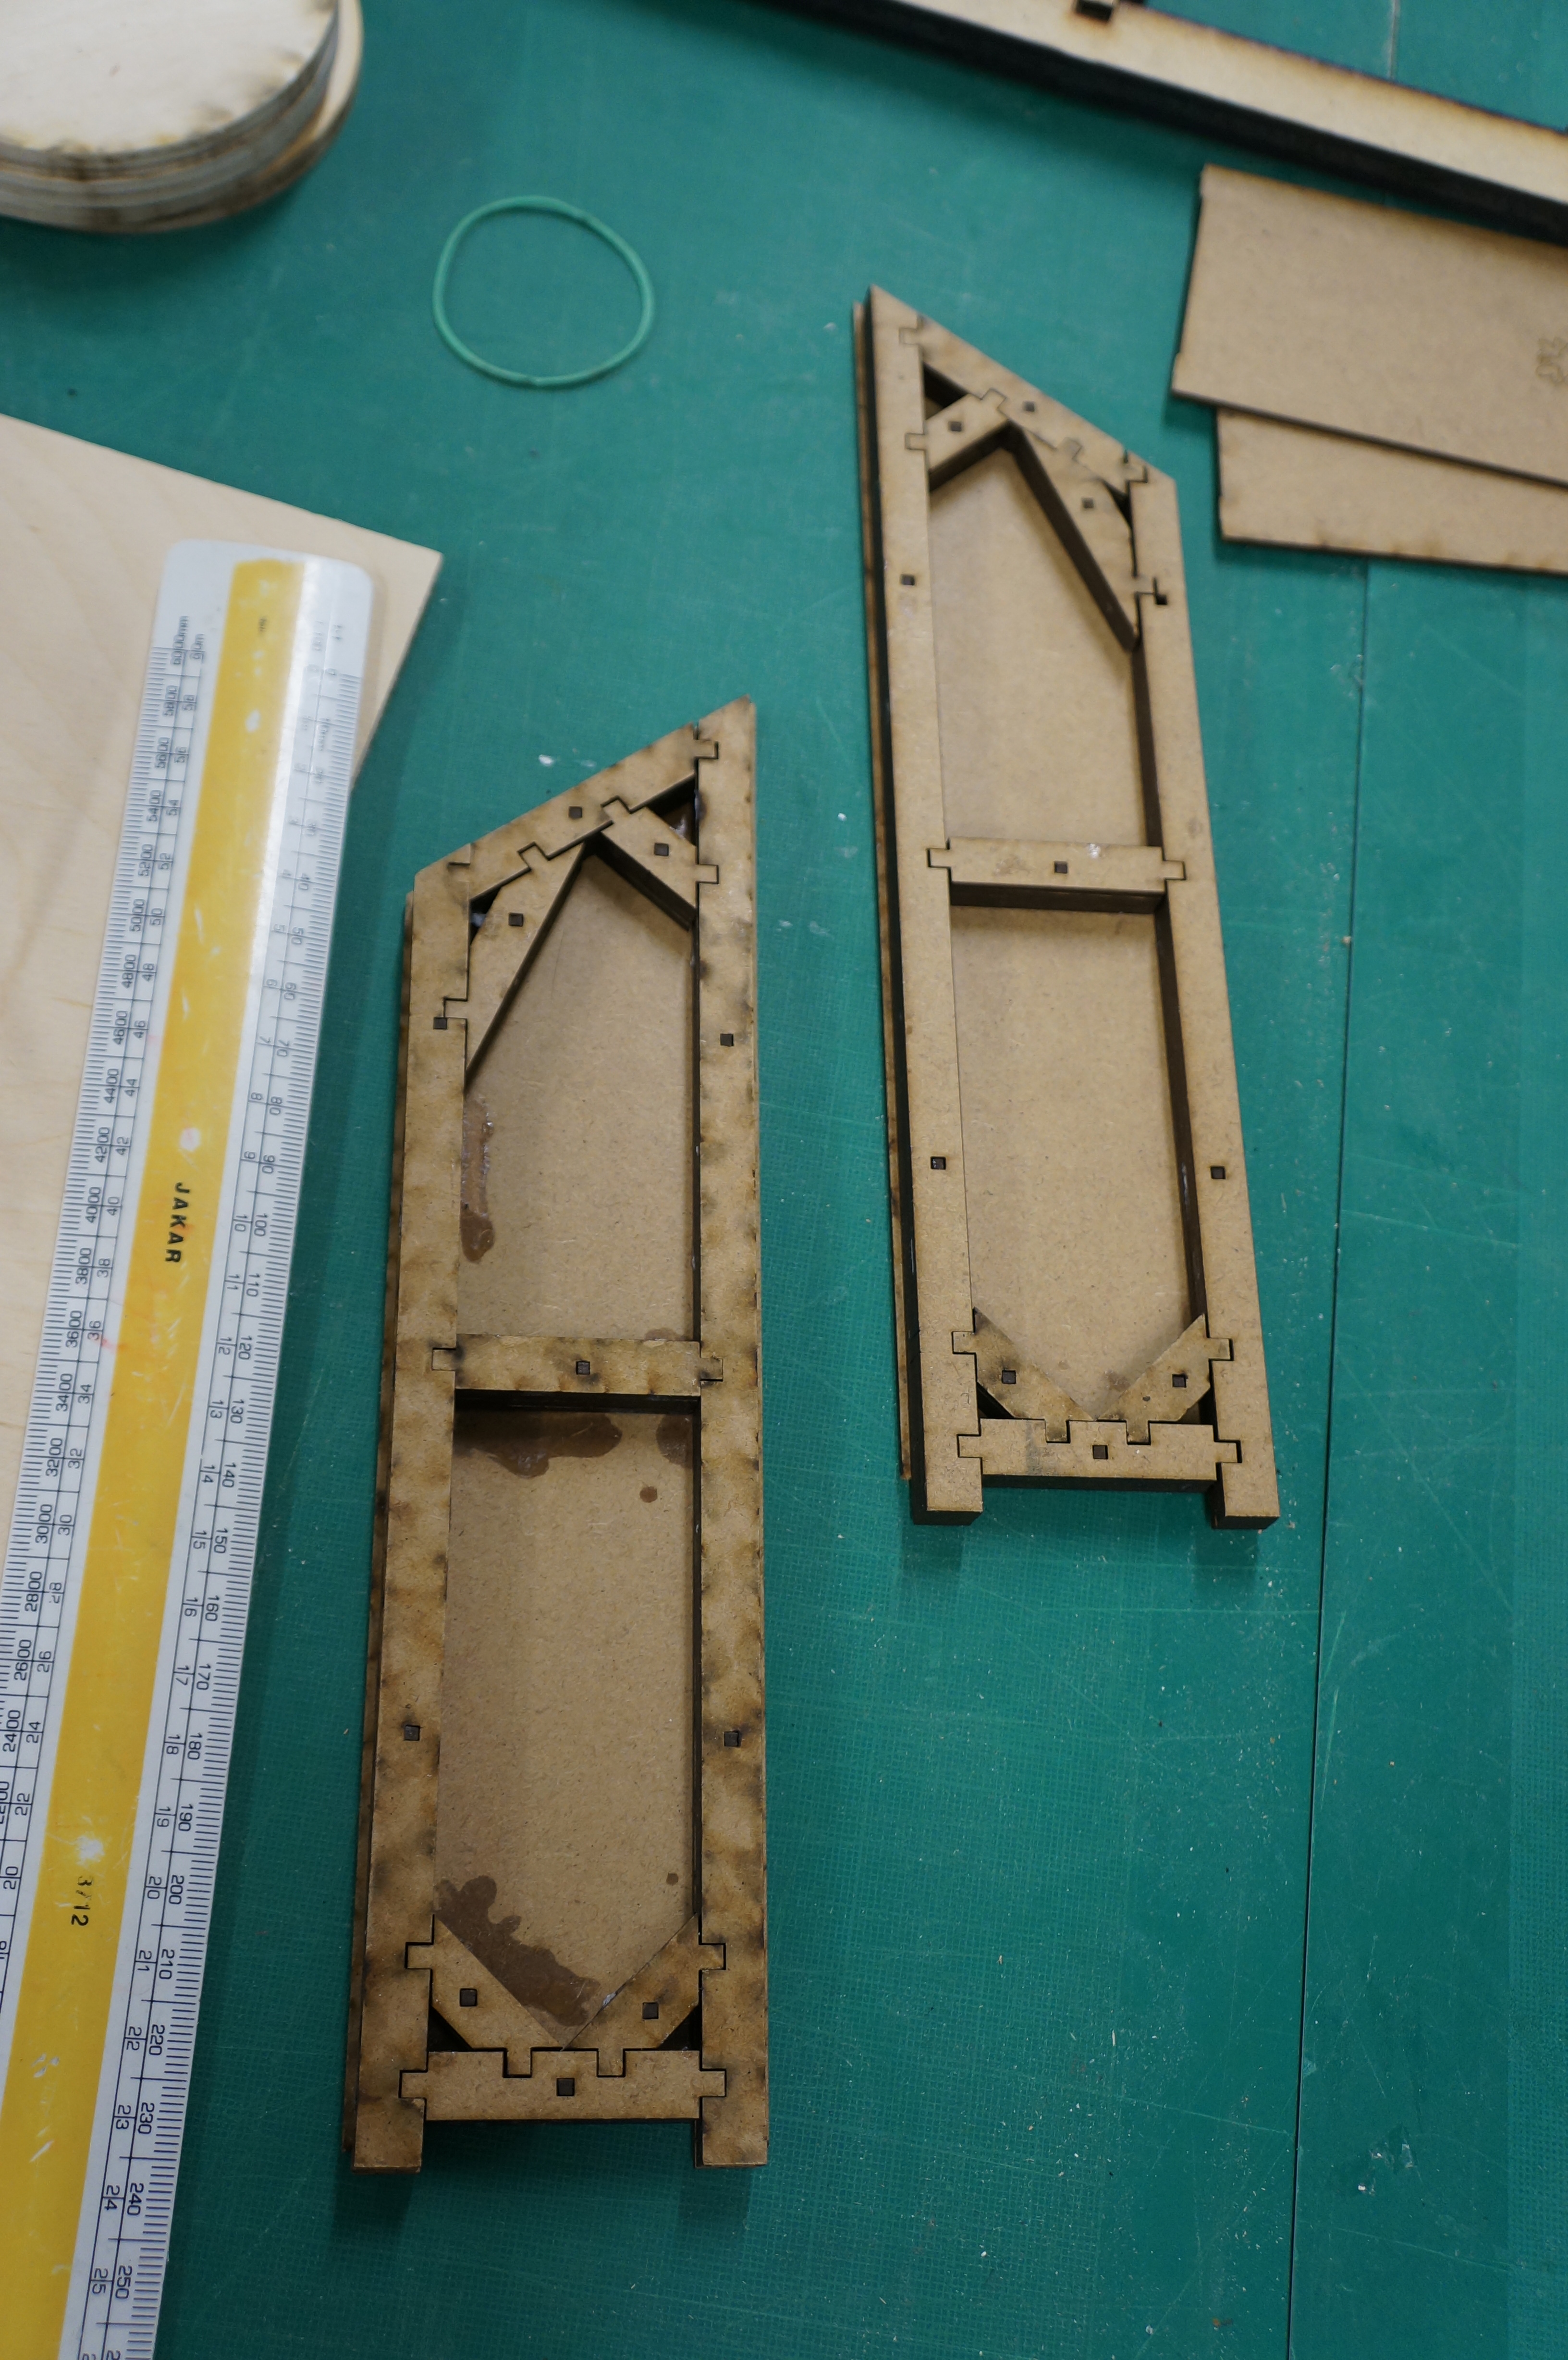
Using Offcuts

With a bit of fore thought it is possible to make virtually anything for next to no cost by utilising off-cuts and unwanted material for others projects. Here in the workshop we have off-cut bins for wood and drawers for cardboard and acrylic of varying sizes and thickness. It is always worth looking at what is available for free to reduce using material and in turn your costs.

Thanks for taking the time to read.

Scott

City Master Plan Models

Making continues this week in the workshop with most students focussed on creating city master plan models.It can be helpful when making master plans to lay out scaled plans to place components in place and ensure everything has been cut. If you want accuracy it is essential to have well scaled plans printed to understand the size of your project on a bench in front of you.
When dealing with master plan models more often than not you will find an abundance of components littering your desk space. The best was to keep track of these to is to order them and separate them into districts. This may suit a group project as individuals can be given responsibility over separate areas of the model. This group used plastic bags to distribute components as they were cut to avoid mixing them up.

Here Jim is using the band saw table on an angle to create roof pitches on a block model. It is likely that when producing block models there will come a point when a machines limits will not be sufficient to get the angle you require.

Overcoming these aspects of modelmaking can be time consuming but is of course necessary to ensure consistent accuracy of your models. Should you feel you’re unsure about how to achieve a particular angle don’t hesitate to ask our advice.


Xmas Opening Hours

Festive greetings to you all!

The workshop will be closed on the afternoon of Thursday 12th.

Officially the workshop will remain open to students as normal until this coming Friday 13th.

We will however be remaining open over the following week until Thursday 19th. Details below:

Monday 9/12 Open as Normal

Tuesday 10/12 Open as Normal

Wednesday 11/12 Open as Normal

Thursday 12/12 Open Until 13.00

Friday 13/12 Open as Normal

Monday 16/12 Open as Normal

Tuesday 17/12 Open as Normal

Wednesday 18/12 Closed

Thursday 19/12 Open as Normal

Friday 20/12 Closed


Urban Food Flow Model, Sophie Smith

To demonstrate her ideas for rebalancing food slow or supplies in the city Sophie used an unorthodox approach to demonstrate her proposal. Using wire to convey possible food output areas of the site are highlighted using coloured acrylic and linked. The main focus is around an existing supermarket with the intention being to show how redistribution of suppliers could be increased locally.Living water cress troff’s are used in places of significant produce making this a living model – fairly unusual but interesting approach!

The Peak Pavilion Project

This project consists of 8 ‘peaks’ which each point toward a significant battle of the first world war. Each peak will feature poetry written by patients at who stayed at Dunham Massey during its use as a hospital for wounded soldiers coming back from the front.  As with the other ongoing pavilion projects, this concept began in physical form as a sketch model.  Structural details were designed and refined through a series of test models. This example shows the internal frame construction to support each pillar in the circle.

After test models were made at small scale the group went on to make some details at 1:1 to test assembly and strength in reality. This section below shows how the framework inside each panel would be fixed. These kind of 1:1 details are great design theory tests and offer as close an insight as possible to the finished look without building the full structure.

Making components for this project, much like the concrete mould construction on one of the other pavilions required the mass production of specifically angled cuts using our circular saw.Due to the acute angle required for the top ends of each piece we were unable to cut the required angle using machines. In order to achieve the correct angle the group used a custom made mitre jig and hand saw to cut the correct angle at the end of each component. This proved to be a hand saw learning curve for most of the group after falling into the common misconception about using a hand saw – small fast movements will reduce the effectiveness of your cutting. Taking time to get used to using the main length of the saws teeth and allowing the saw to do the hard work always proves much more effective and less exhausting! 
The panels for each peak will be assembled using screws into pre-drilled holes (below) which will be plugged to make them less obvious. The main panels of each peak will be cut using a large CNC bed at FAB LAB Manchester. As with the other pavilion project developments, we will keep you up to date as things progress.

Campo San Martino, Venice Site 1:200 Master Plan Model

This year 6 Group project uses Jelutong block to create the busy built up area of Venice, Italy where the focus site of their brief is located. Once complete individual site study models will be placed in context to demonstrate their relationship to the existing constructions and canals in the area.

Dividing up time consuming tasks like mass producing bespoke block model shapes can be sped up by involving all team members as long as everyone has a clear understanding of what is trying to be achieved overall.

Pavilions…..

Danielle Foster and Patrick Gorman have begun making their moulds for concrete casting which will take place at the Sheds over the coming weeks. The actual concrete casting process will be time consuming and potentially costly so spending time to get the moulds right is essential.  Myself and Jim spent almost two days cutting components on our circular saw to make the moulds for the blocks. each mould will produce a positive and a negative indent to allow each brick to fit together. Each brick will also be numbered using the rubber number profiles the group tested at the previous stage of development. Cutting this material takes a little practice before going ahead to cut hundreds of components. The rubber had a tendency to melt and blacken as it was cut meaning that cleaning was required post cutting.

Hopefully we’ll start to see some of the finished components coming in the next few weeks. We’ll post an update when we do.

Further testing was required in Alexander Valakh and Lorena Chan’s design following some material and assembly issues.  Once the main structural form was complete Alex and Lorena were able to test the ‘skin’ components that started life being inspired by poppies. At this stage they are still unsure about the exact material that will be used to create this component. This project has been given the green light along with the concrete blocks so we can expect more posts from both of these projects in the next weeks/months.