Our first student in this year was an unexpected one. For some time now planning tutors have been encouraging their students to branch out into modelmaking as a tool to explain their proposals. Rachel Kerr decided to jump in and, having prepared her initial drawings for the model over the break, had no problem doing so.
Rachel Described the project for us:
The brief was to identify a disused corner site with a total area of less than 1 hectare for which we had to produce a redevelopment proposal. The site I worked on is to the west of Salford Central Station and is currently used for car parking (although it has been identified within the Salford Central Regeneration Strategy). The assignment requested that we assess the characteristics of the site and the surrounding area and use this analysis to produce a detailed brief for proposed redevelopment. Due consideration was given to urban design principles such as frontage, scale and public space. It was my intention to ensure that the site sits comfortably in within the surrounding area, whilst utilising the corner location to create a landmark for passing traffic.


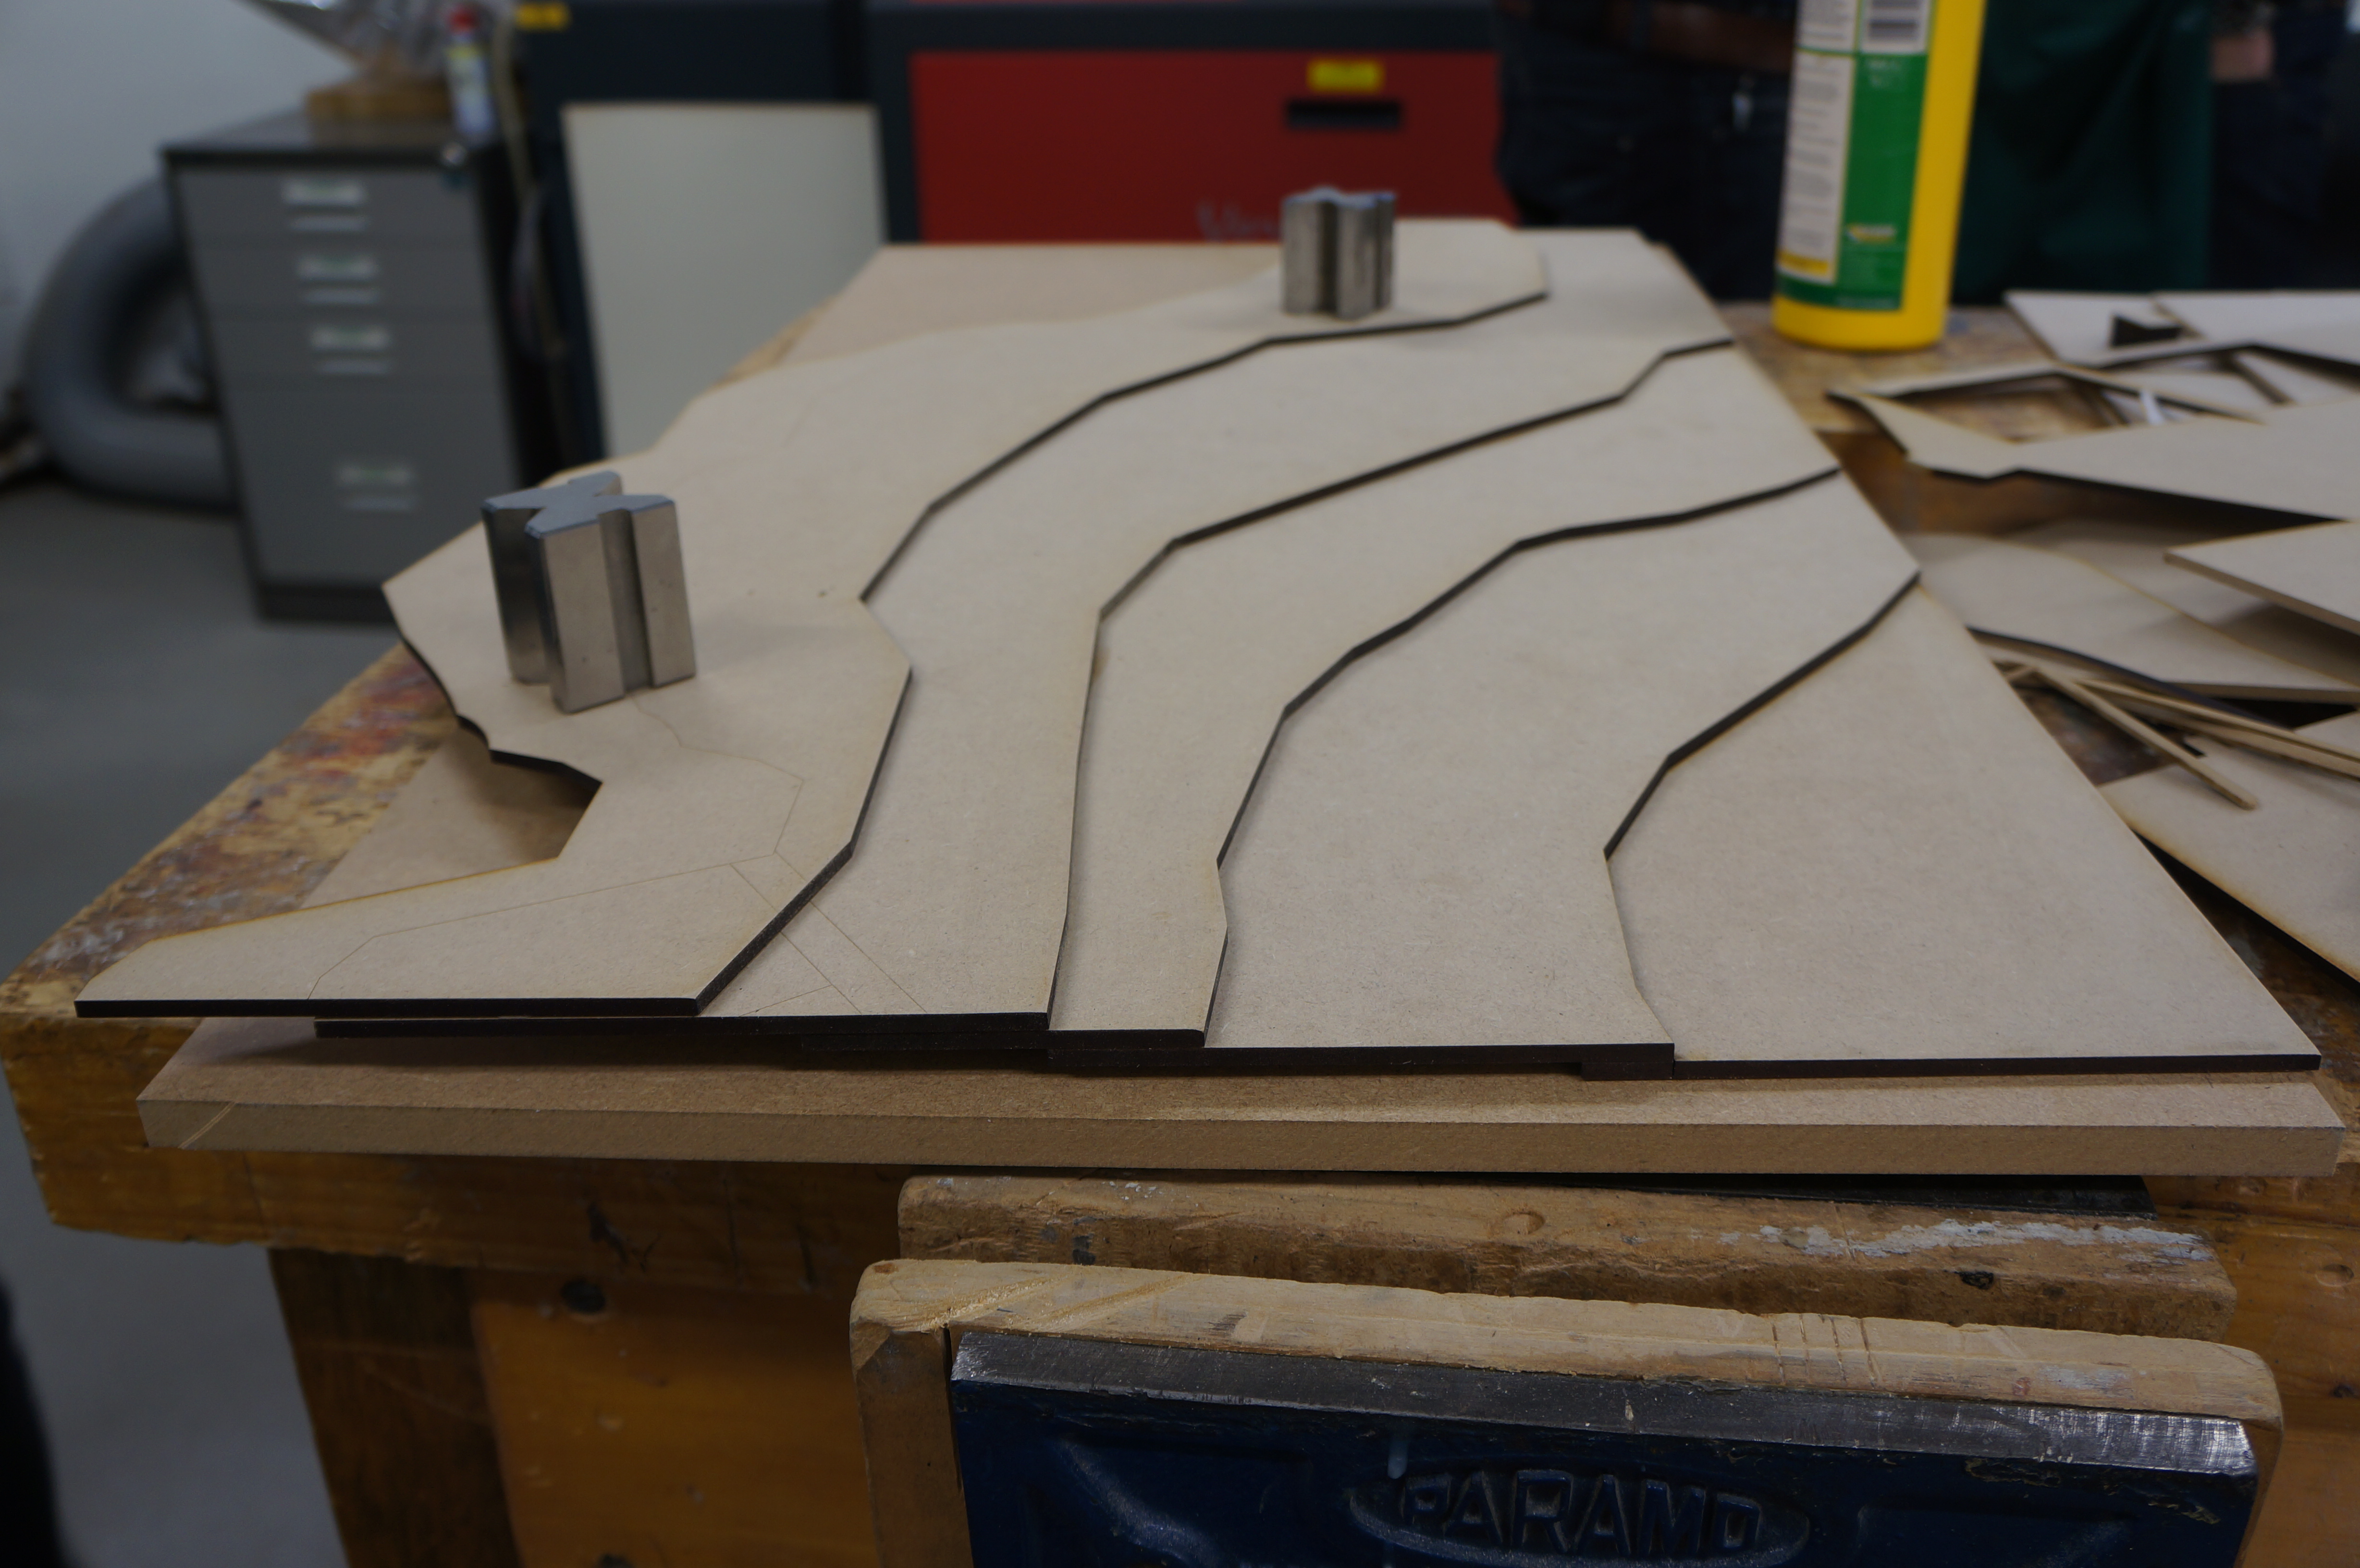
The project uses simple material differences to divide the elements of the site. Because the model was made from laser cut ply there was the unavoidable scorching of the material edge. Rather that removing this, Rachel decided to capitalise on the burnt colour and stained the top surface of her site context buildings to match given them a dark colour in contrast to the sanded and clean look of her site in question.
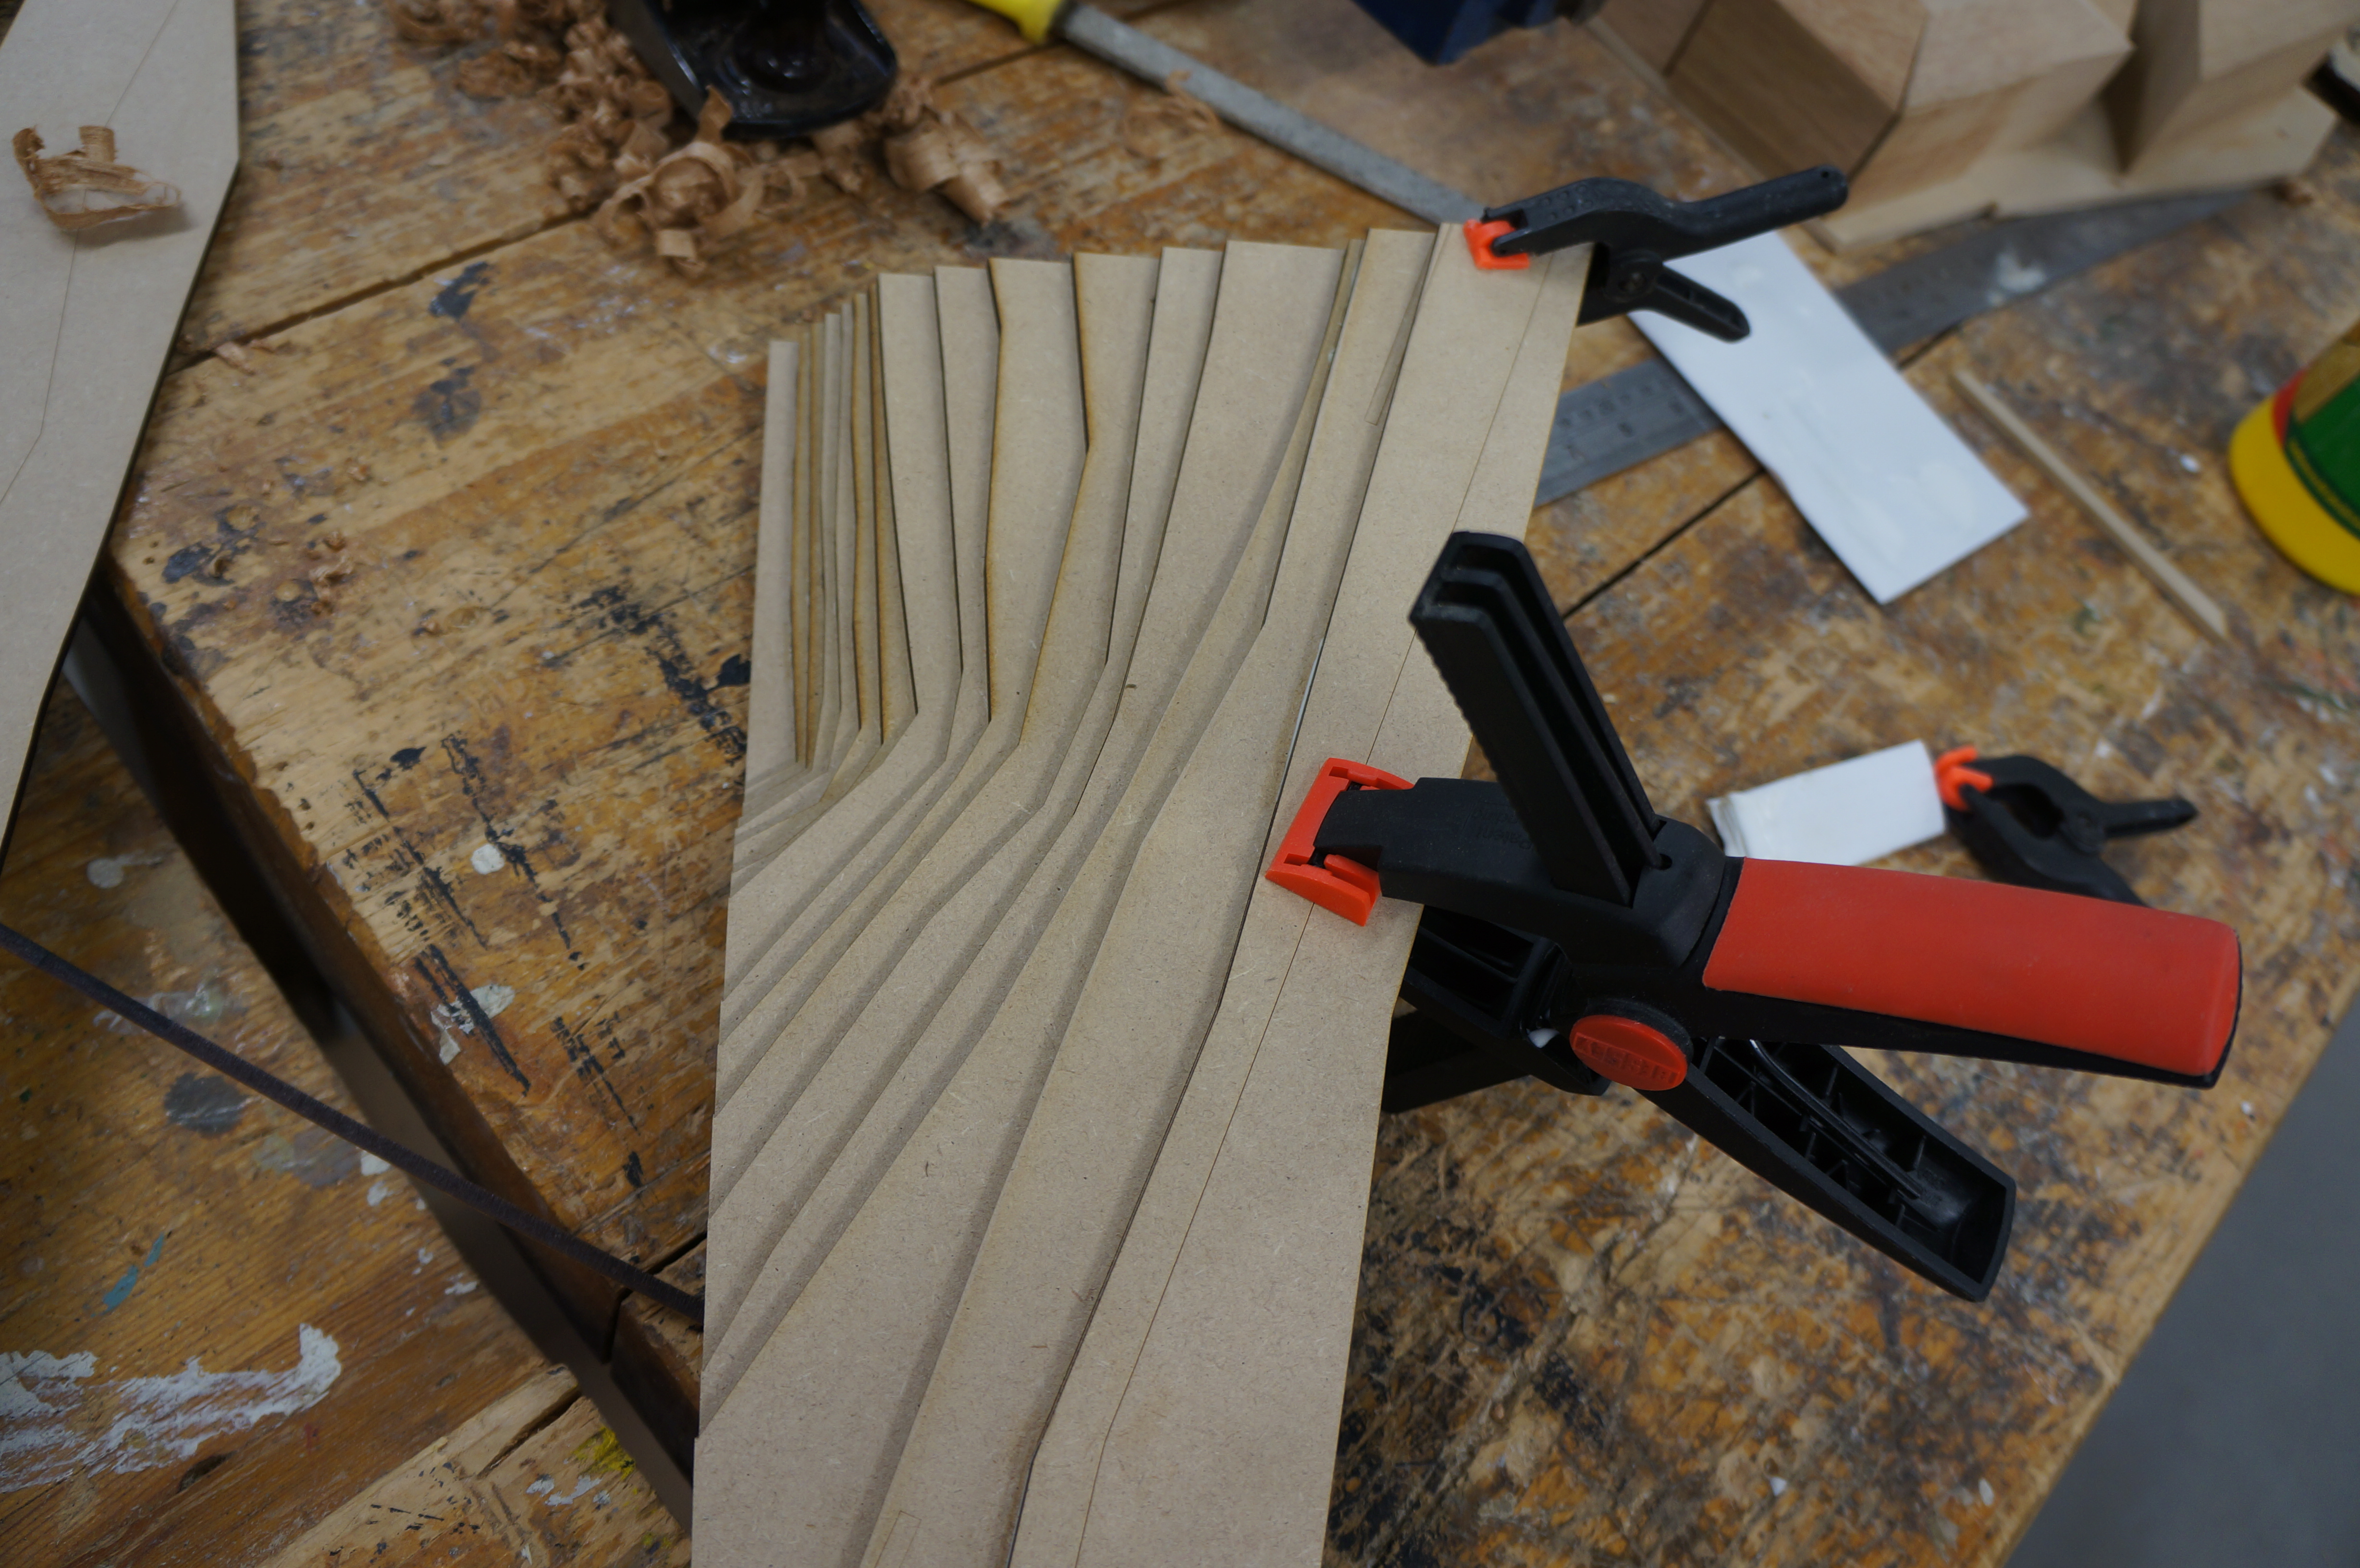
Due to the small scale (1:500) of the model the site and road details we represented as engrave lines as any more definition was deemed of little importance to the overall representation required.

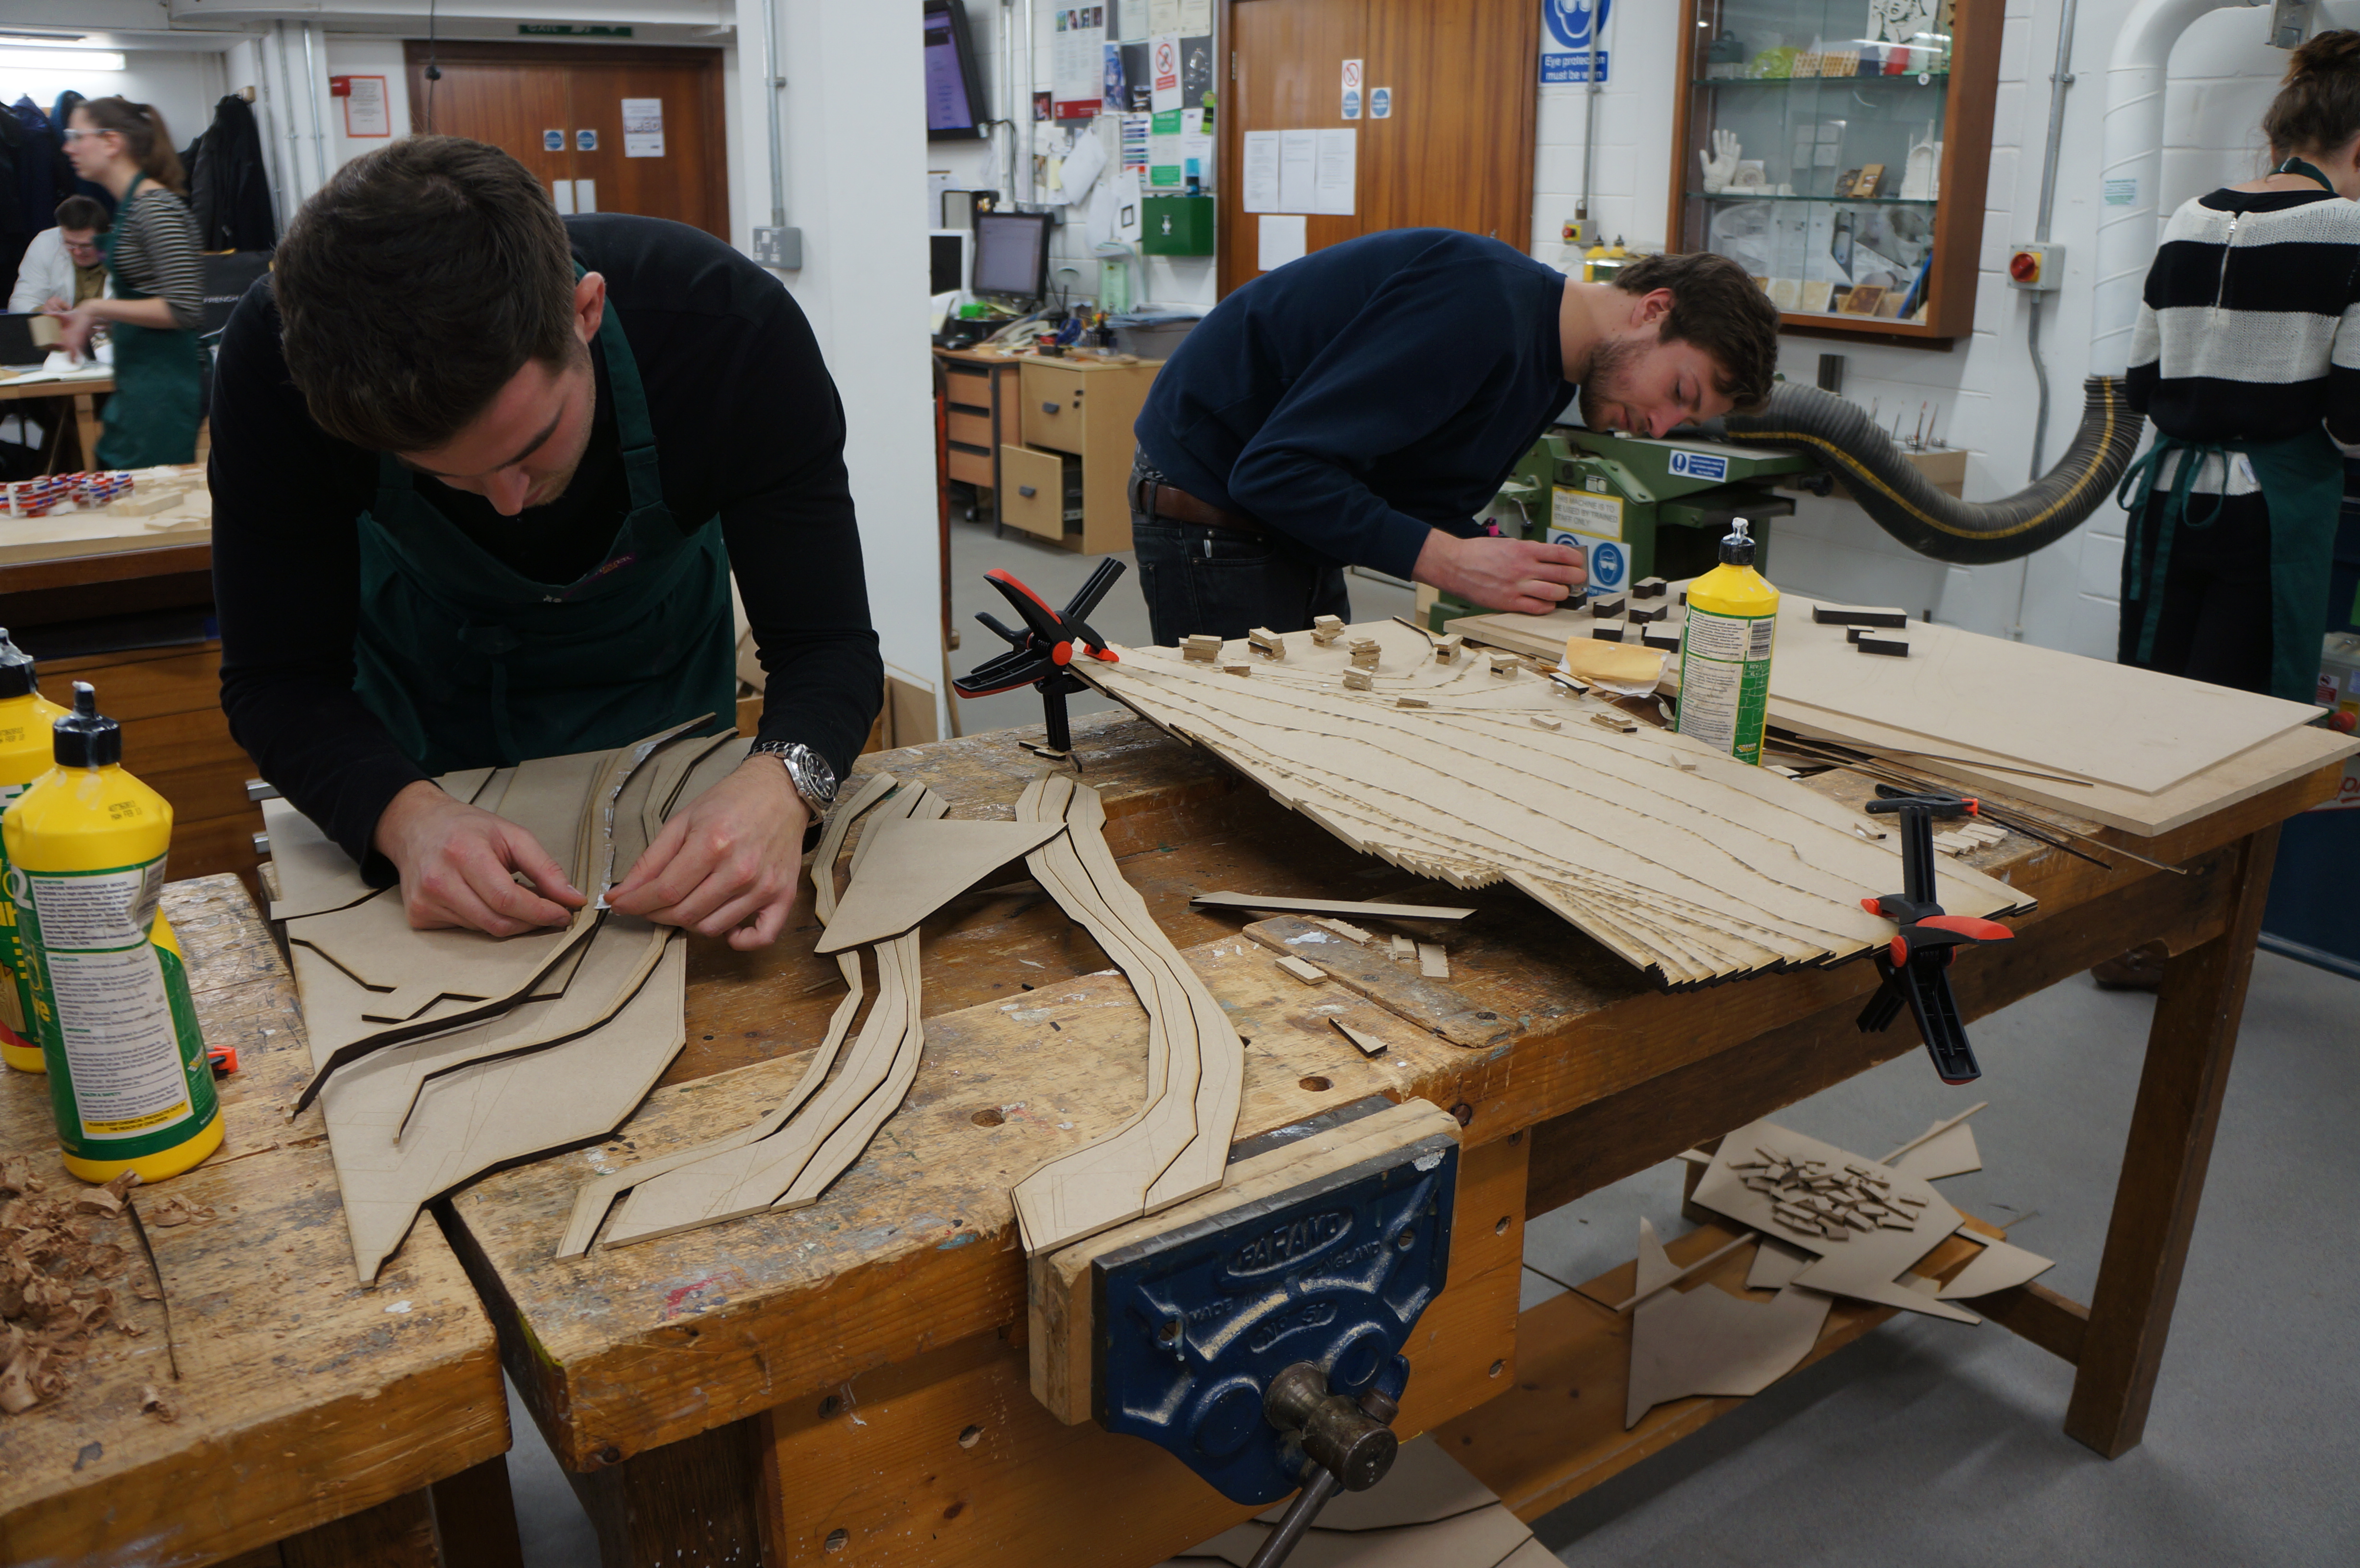
Once again the locally harvested ‘trees’ from our own model tree plant, as used on other projects, came in very useful and provided a natural and great finishing scale accompaniment along with a small number of 1:500 cars. Grassed or ‘Green’ areas are represented with a mottled green paper that gives a subtle contrast to the birch ply base.
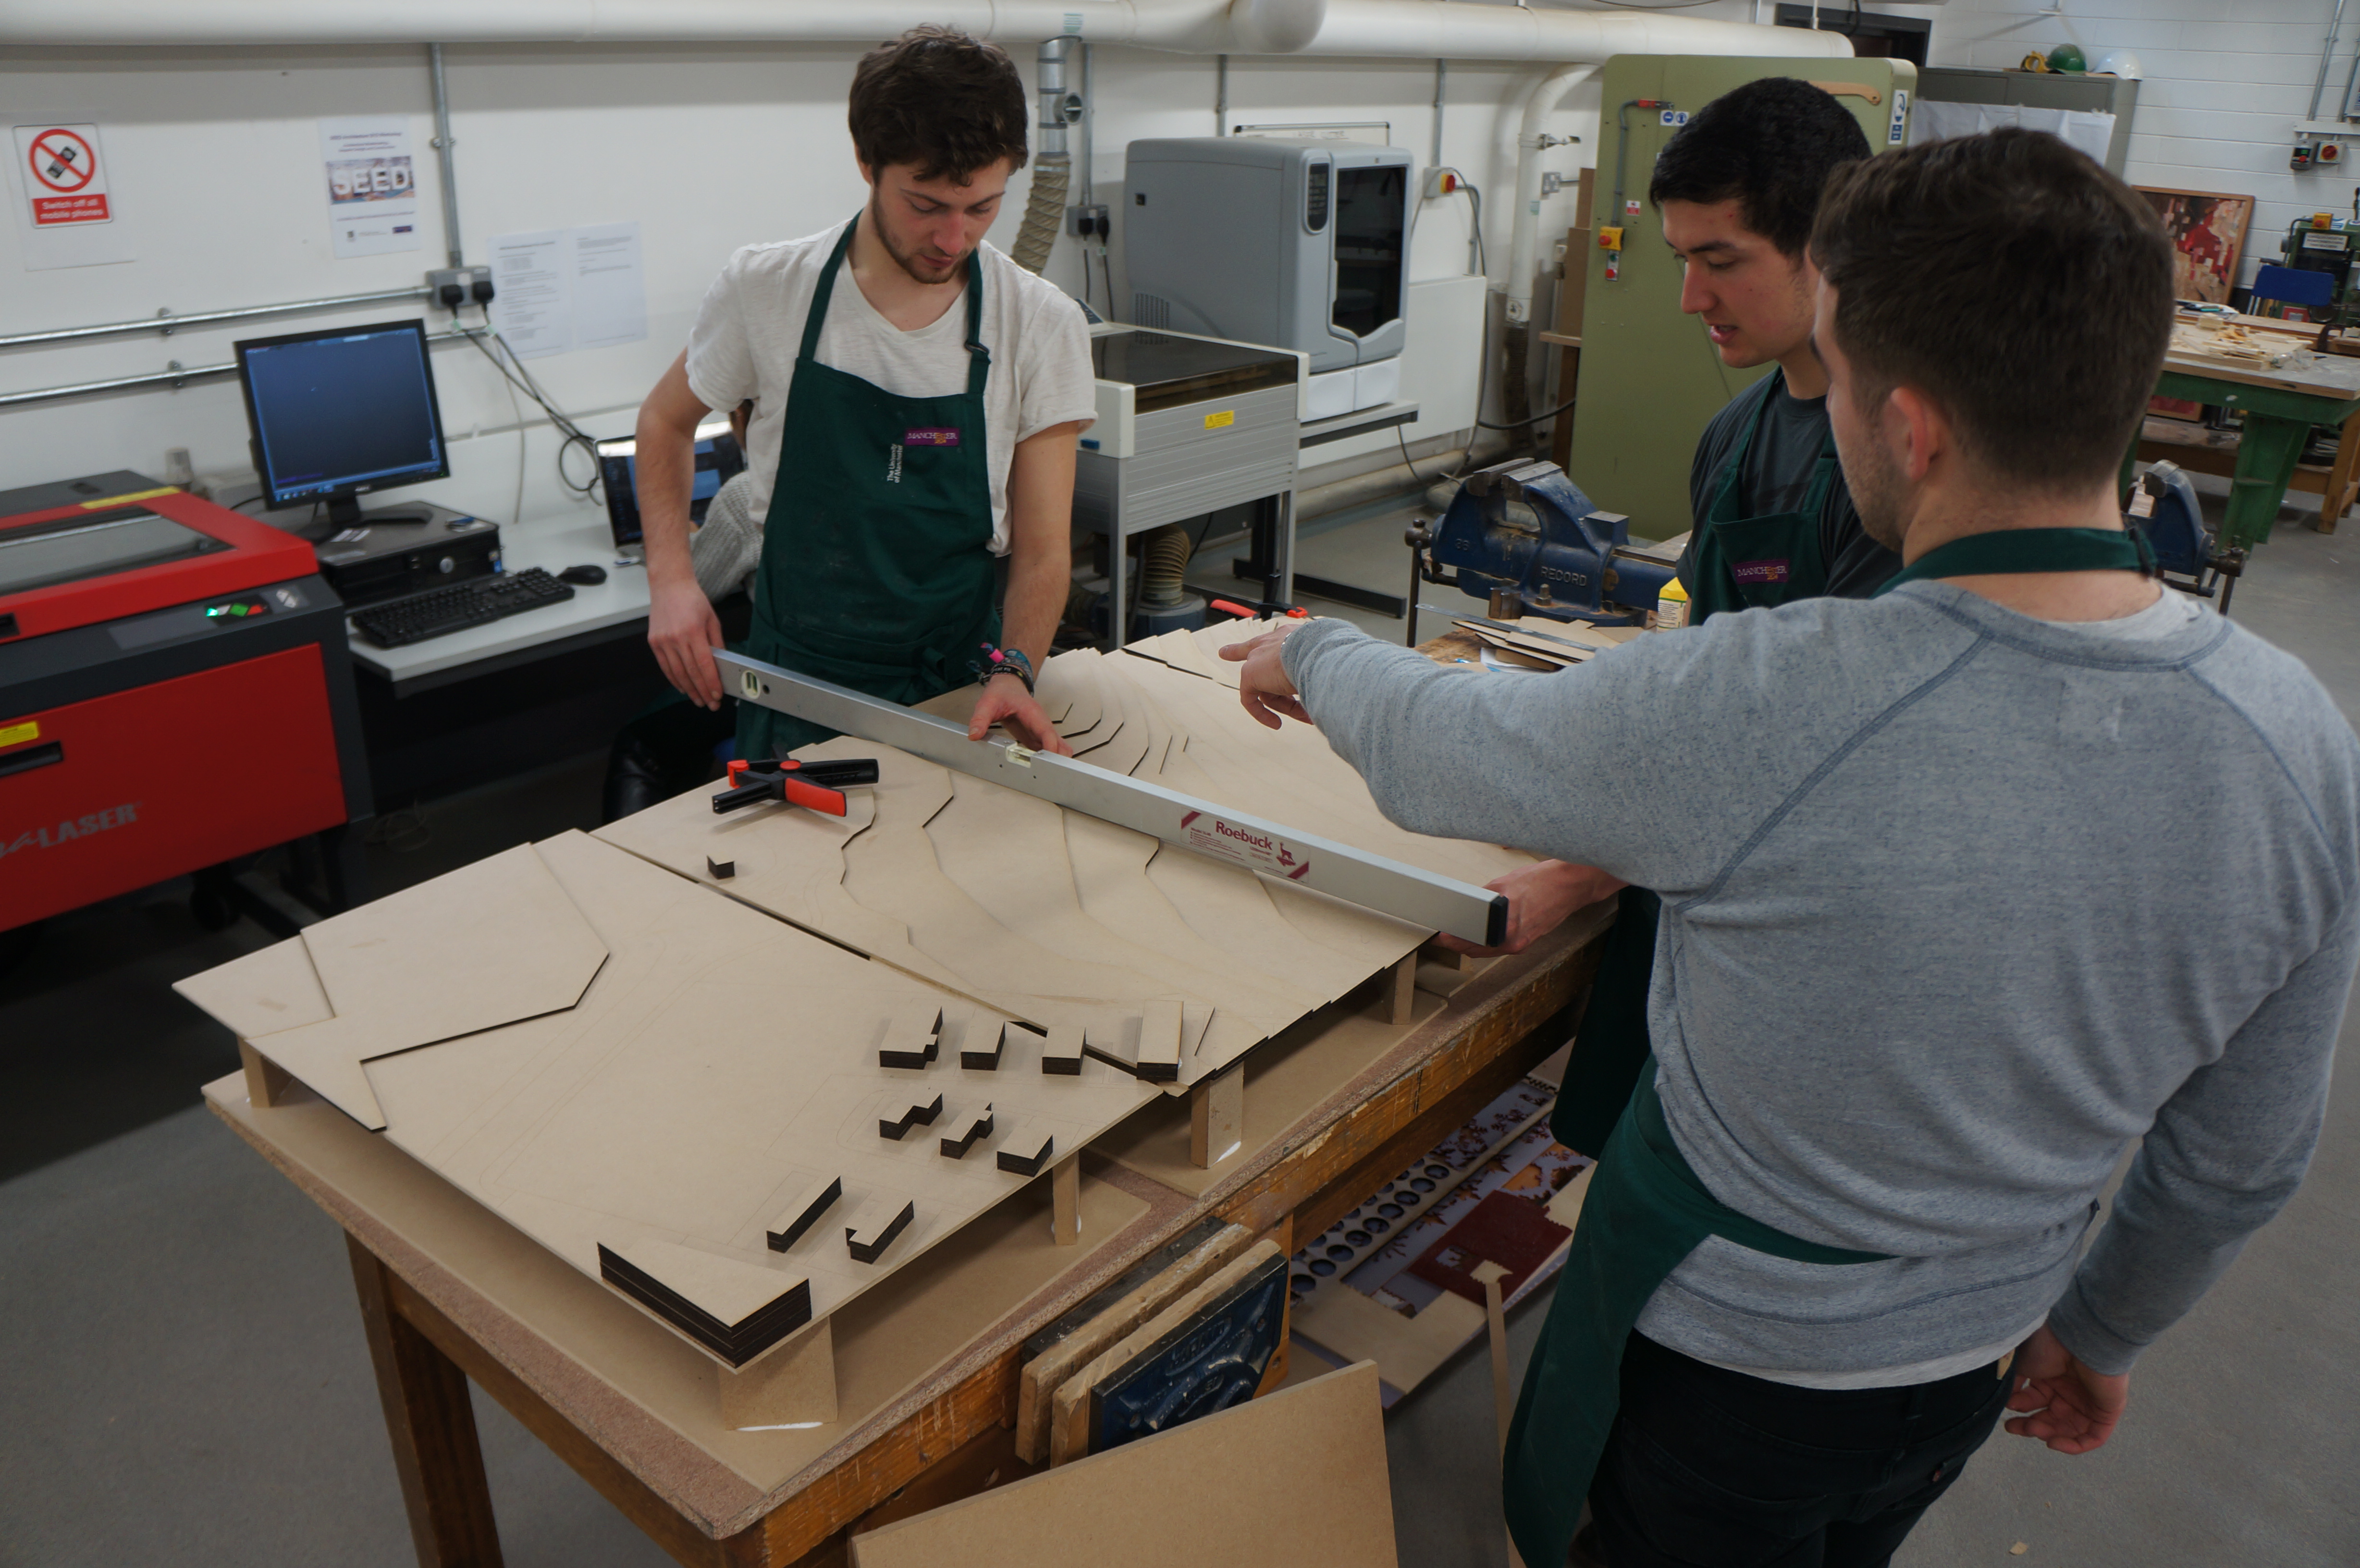
The model was completed over approximately 3 days and is a good example of how to simply but effectively show the context of a site.