Materials Recycling, Saving the World! (and yourself some money!)

One of the most important habits we can pick up as designers and makers is to make the most efficient use of anything that is freely available to us. It is essential that we consider the conservation of materials and the reduction of waste from our projects in order to play our part in maintaining a broader sustainability for the future. The least we can do is to efficiently plan how best to use the material we are working with.

This can be seen as a hindrance to quickly starting a project but in reality, effective planning can help reveal more appropriate materials for a particular task as well as best use of those at hand. This saves money and expands our understanding of material qualities.

Before planning based on an infinite amount of material it’s good practice to break down your projects into components as a list or drawing which can be referred to when assigning materials. With this reference at hand we can decide on the most appropriate materials for each component or group of components.

An example of this might be all ‘green’ or natural areas of a site could be represented using timber against a coloured acrylic as the man made roadways. Knowing this we could separate those components and begin collecting materials that suit the required sizes.

Material Saving 2

Looking through off-cuts left from past projects it is likely you can produce much, if not all of your model for free by using these.

Using Sheet Material for Component Layouts

By working out what you need from a particular piece of material before you begin to cut you can get the most from each piece you use – off cut or new.

Material Saving

This applies to both hand drawn and CAD drawn components. Rather than placing components scattered around a sheet, tessellate and arrange them in a manner that gets the most out of each piece (See Screen Shot above for a good example).

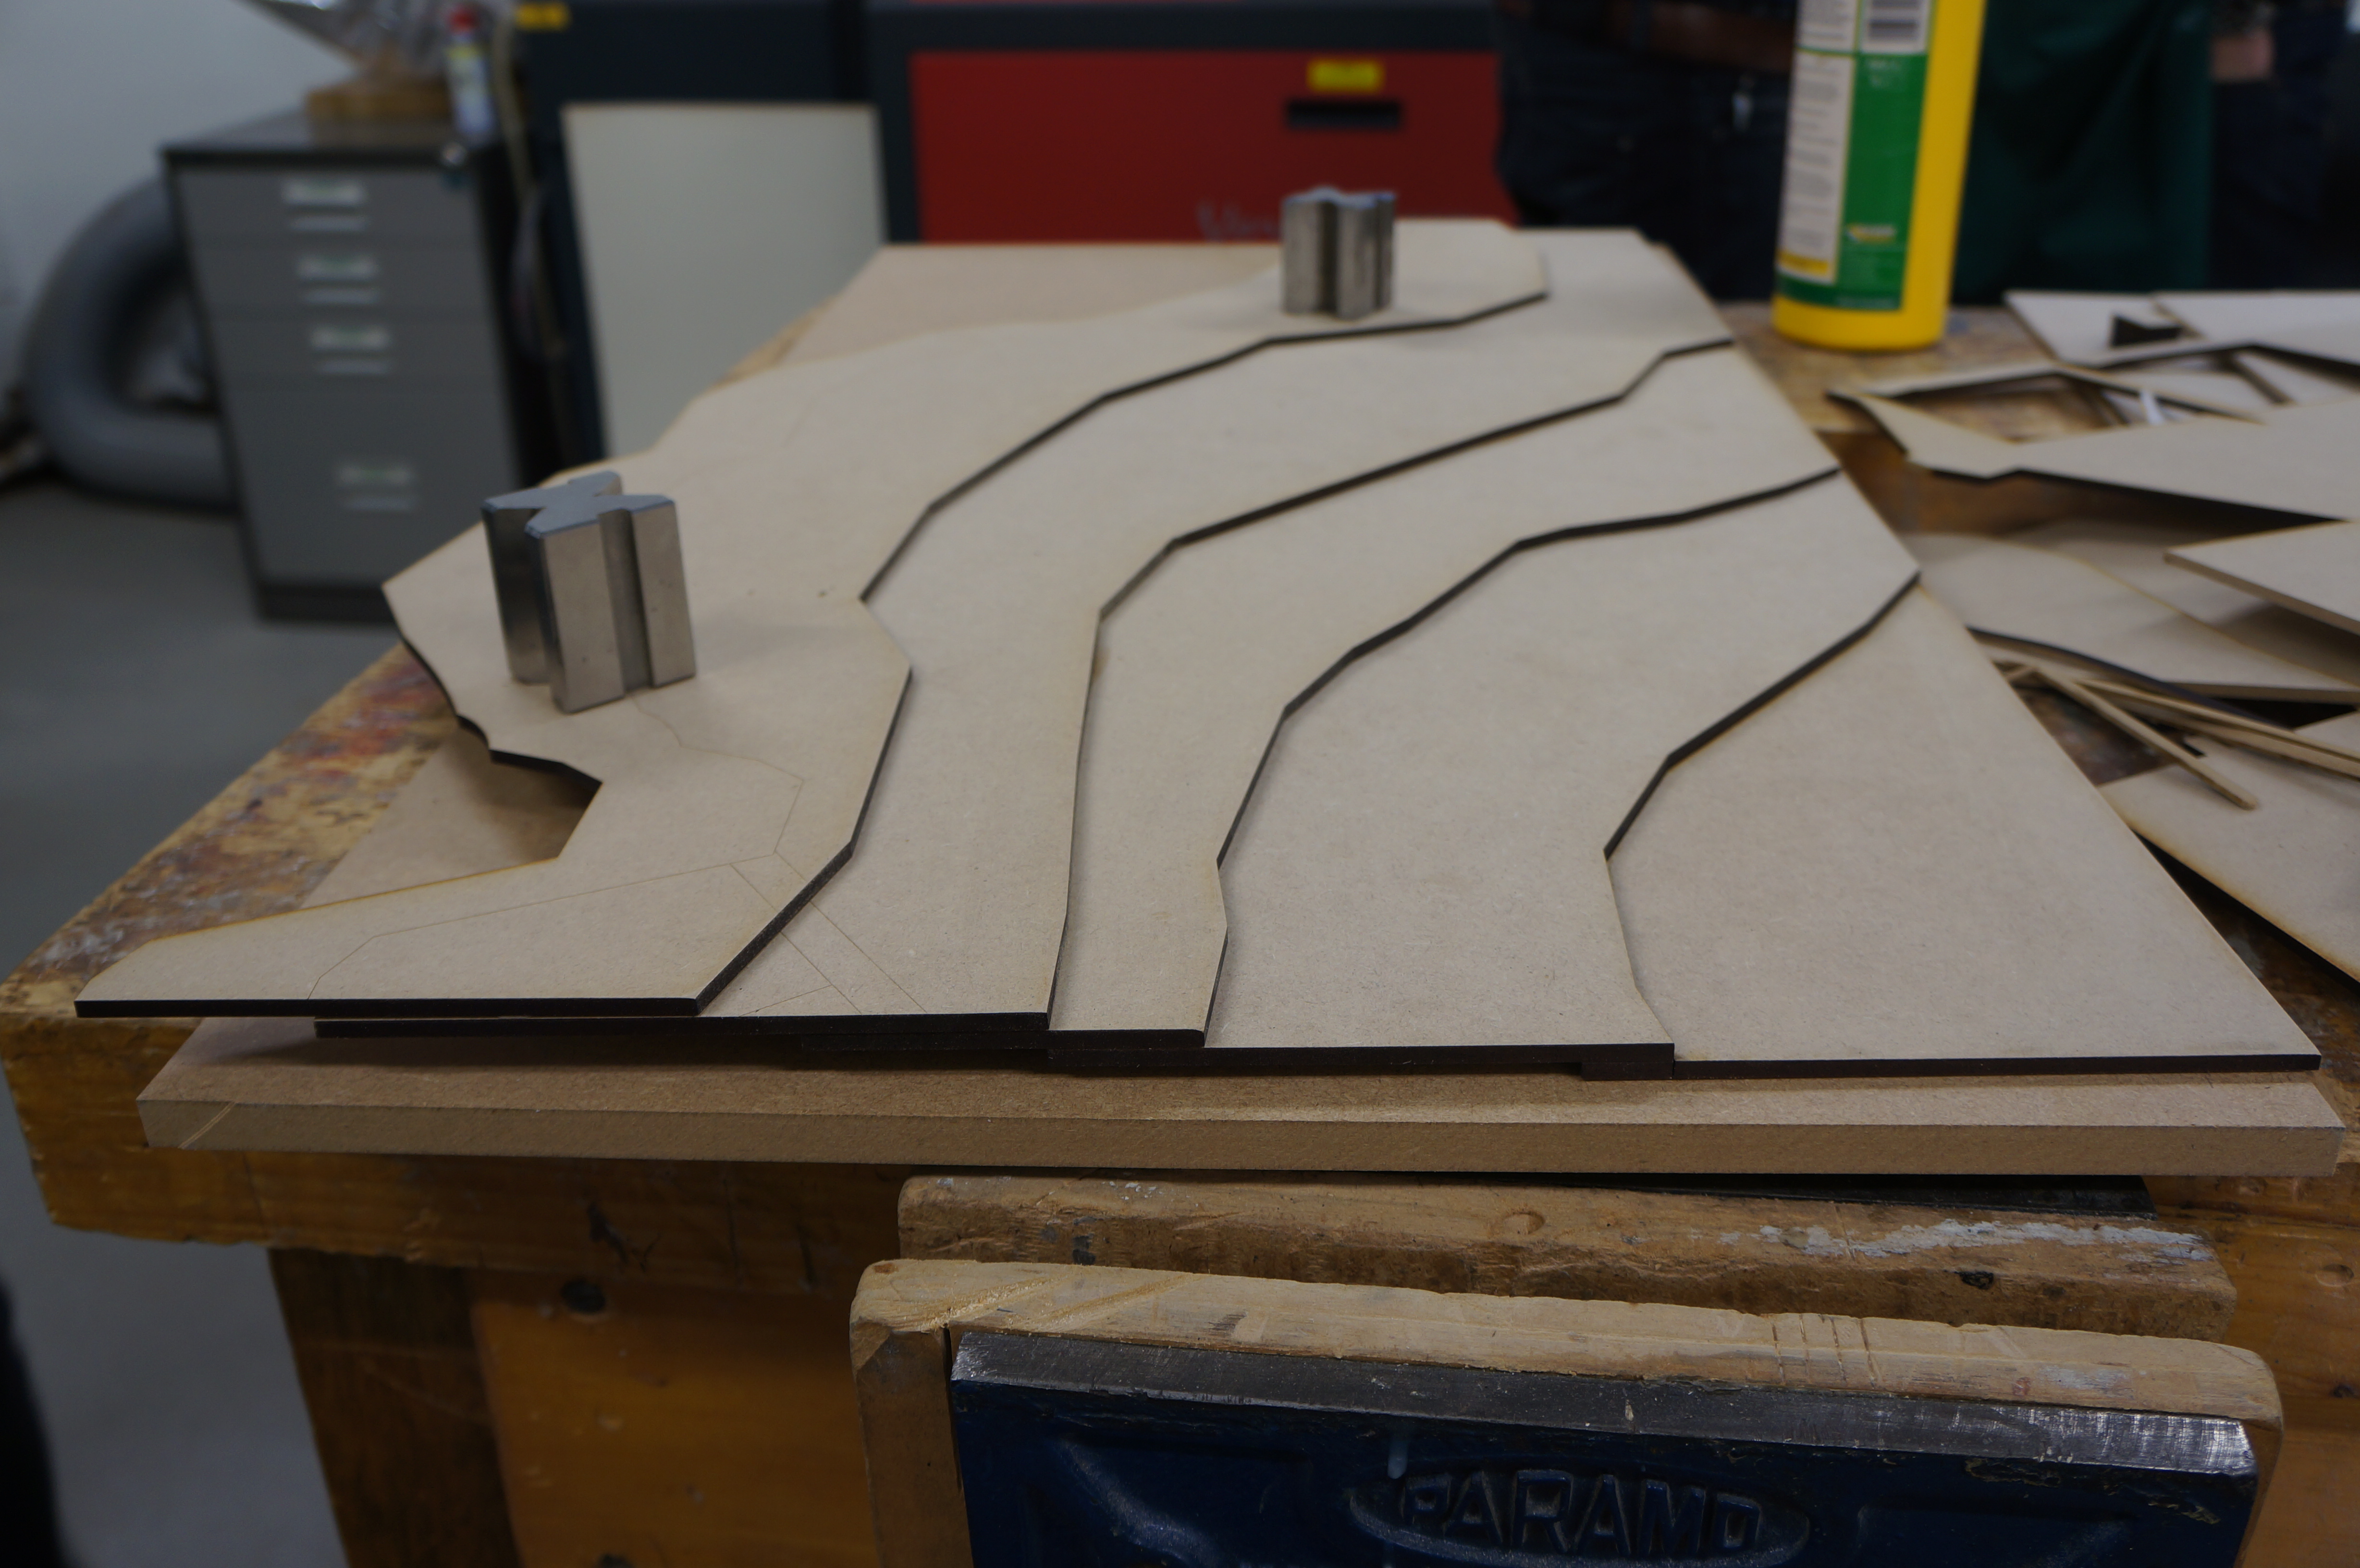
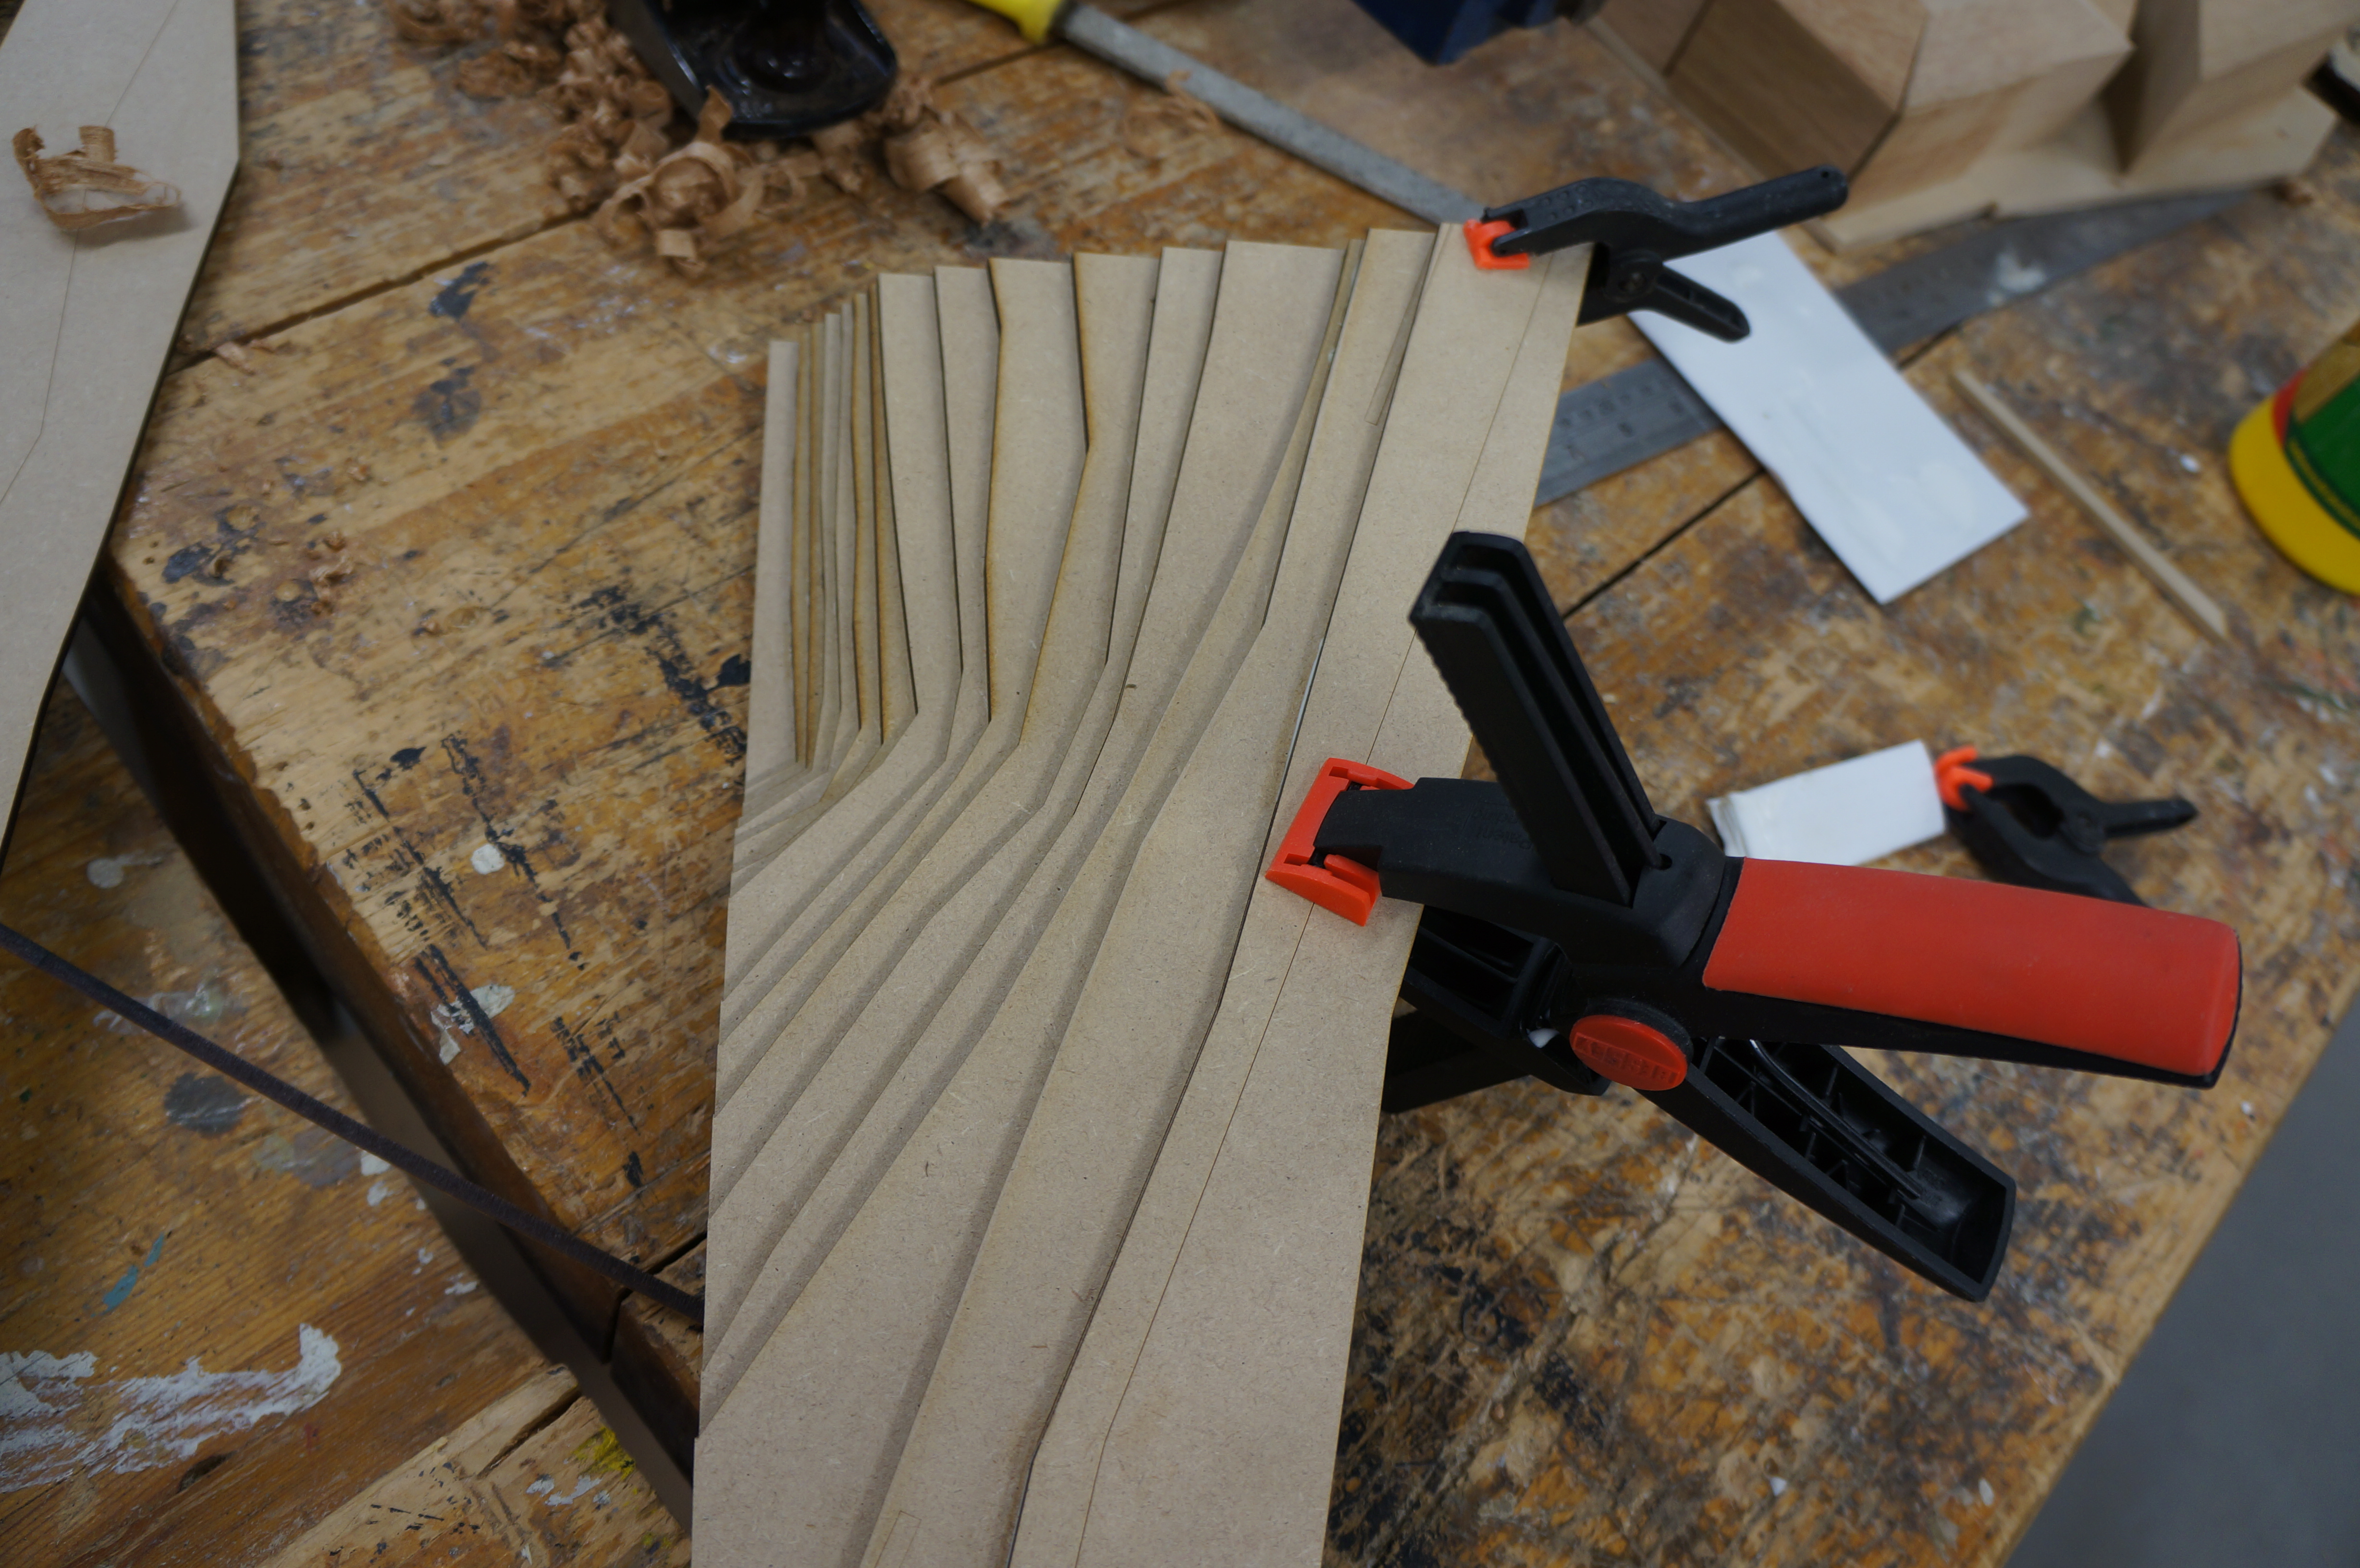
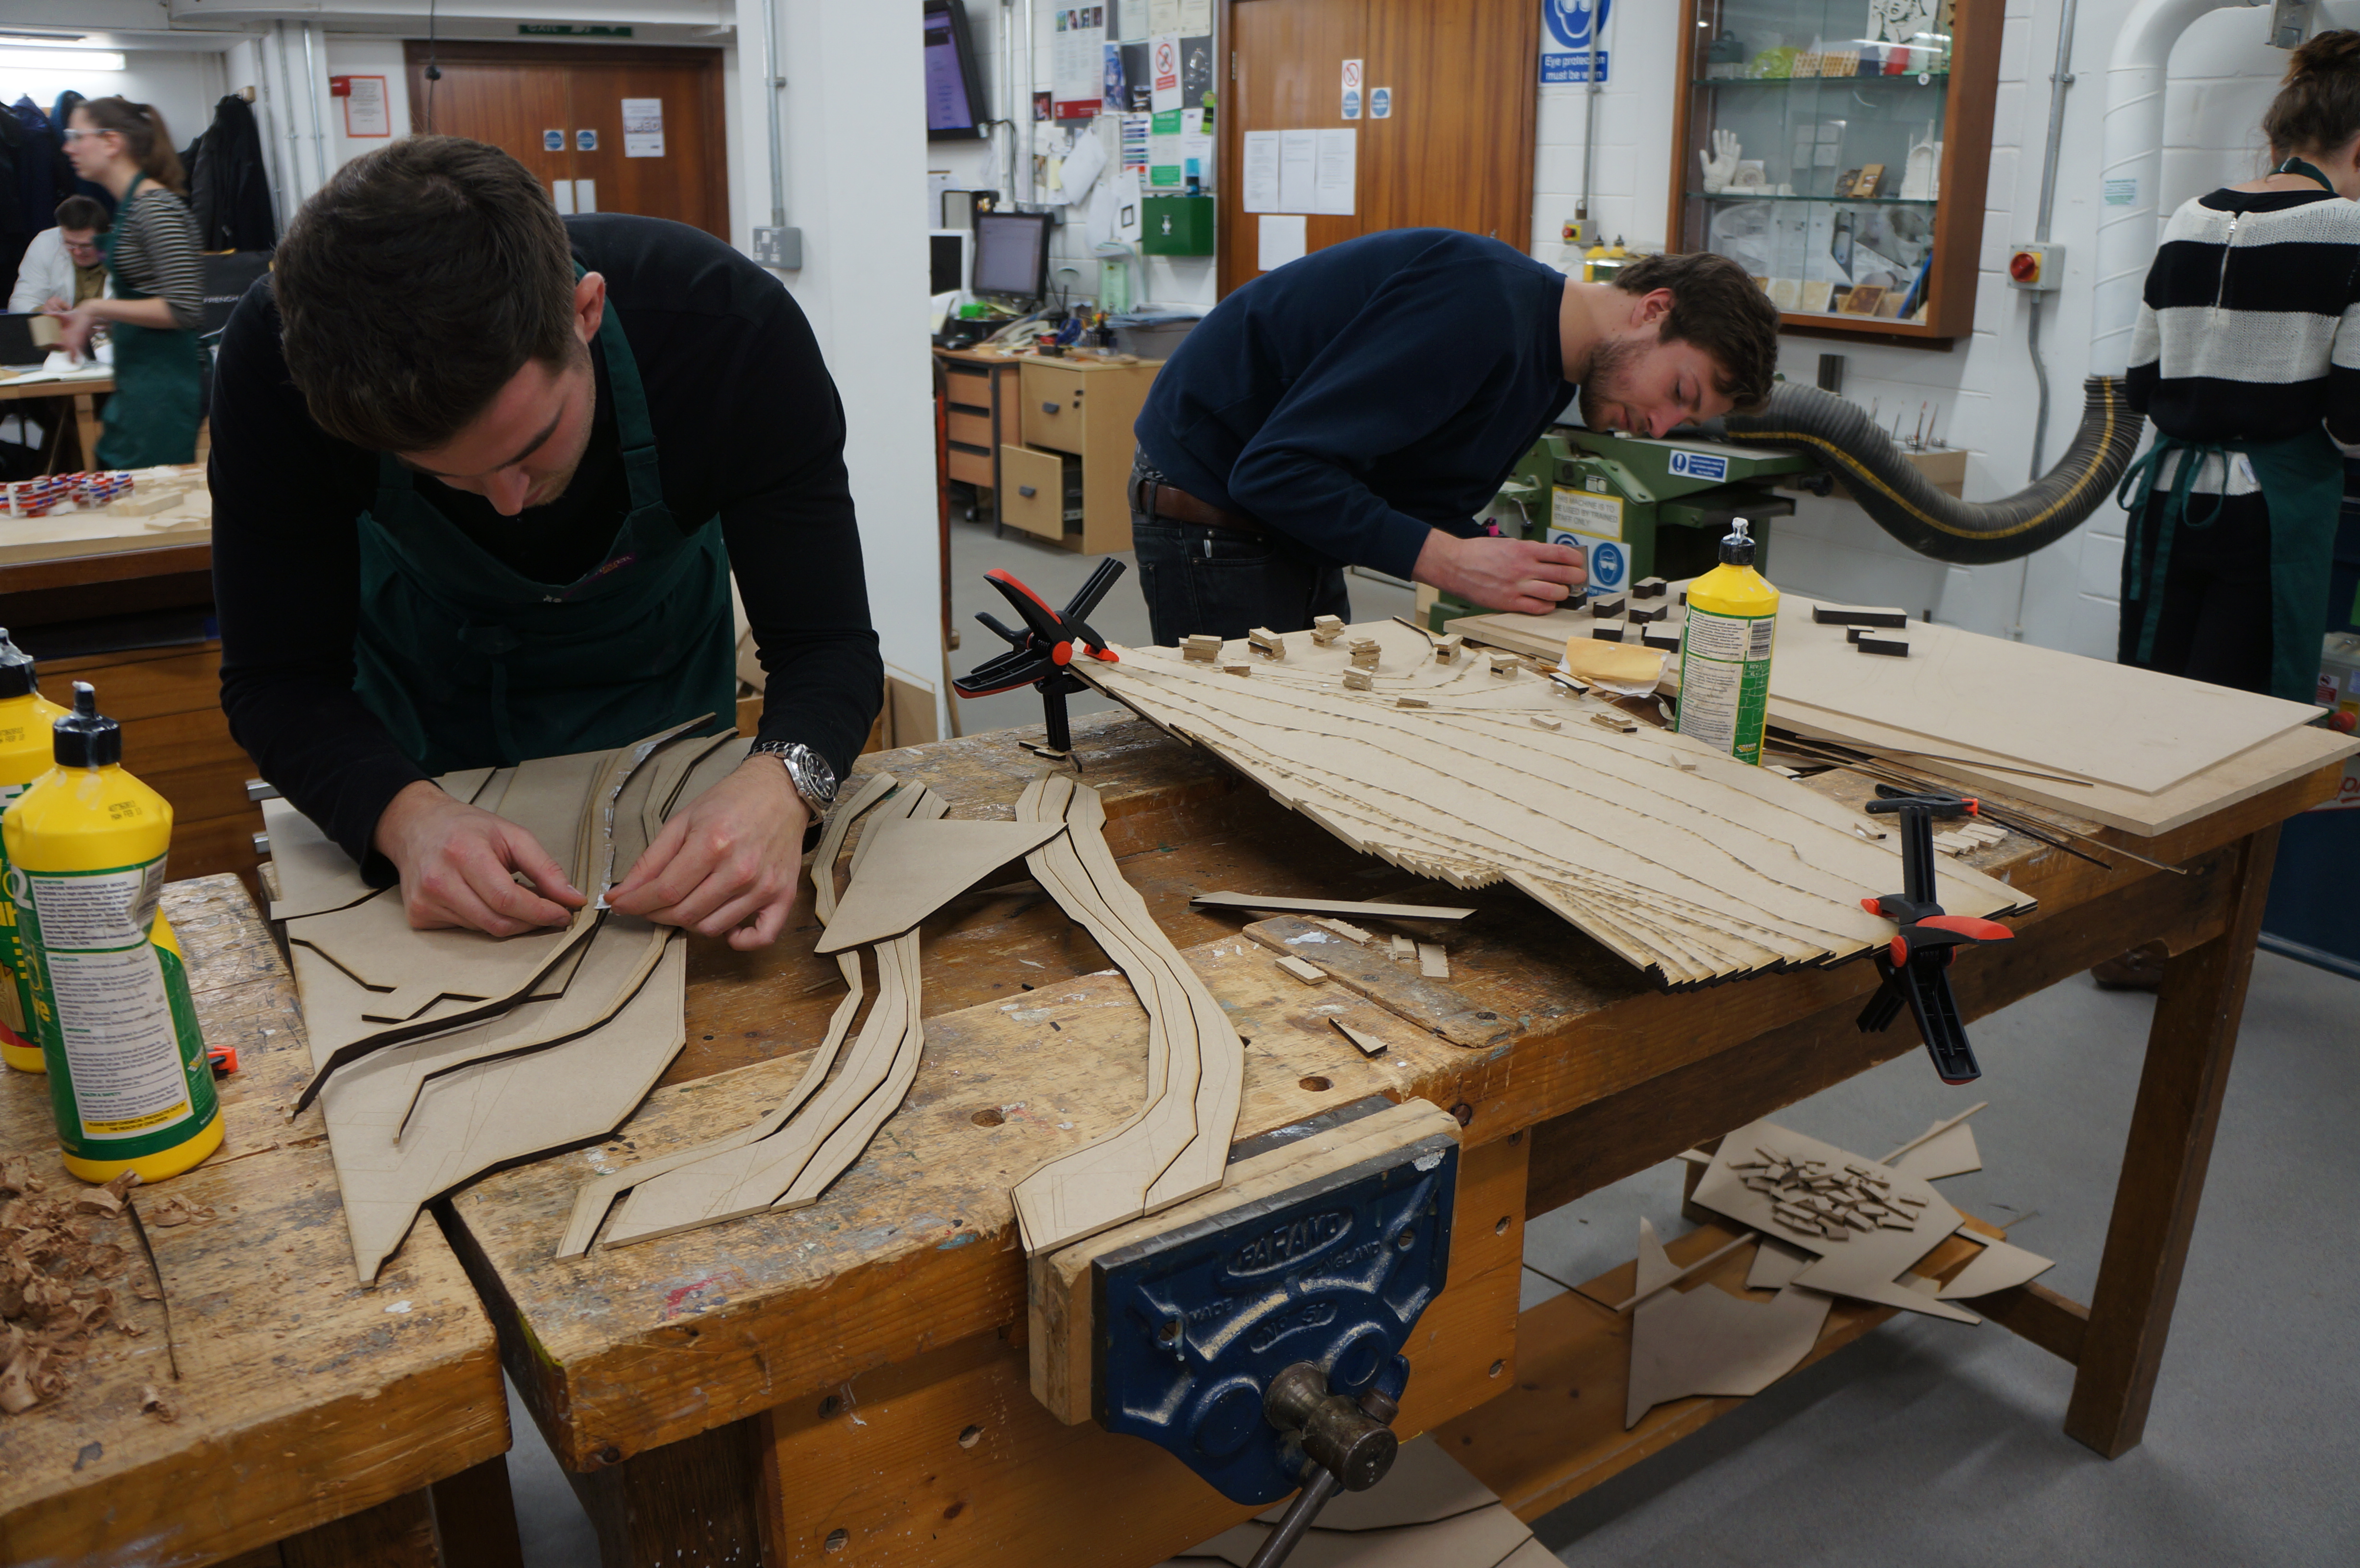
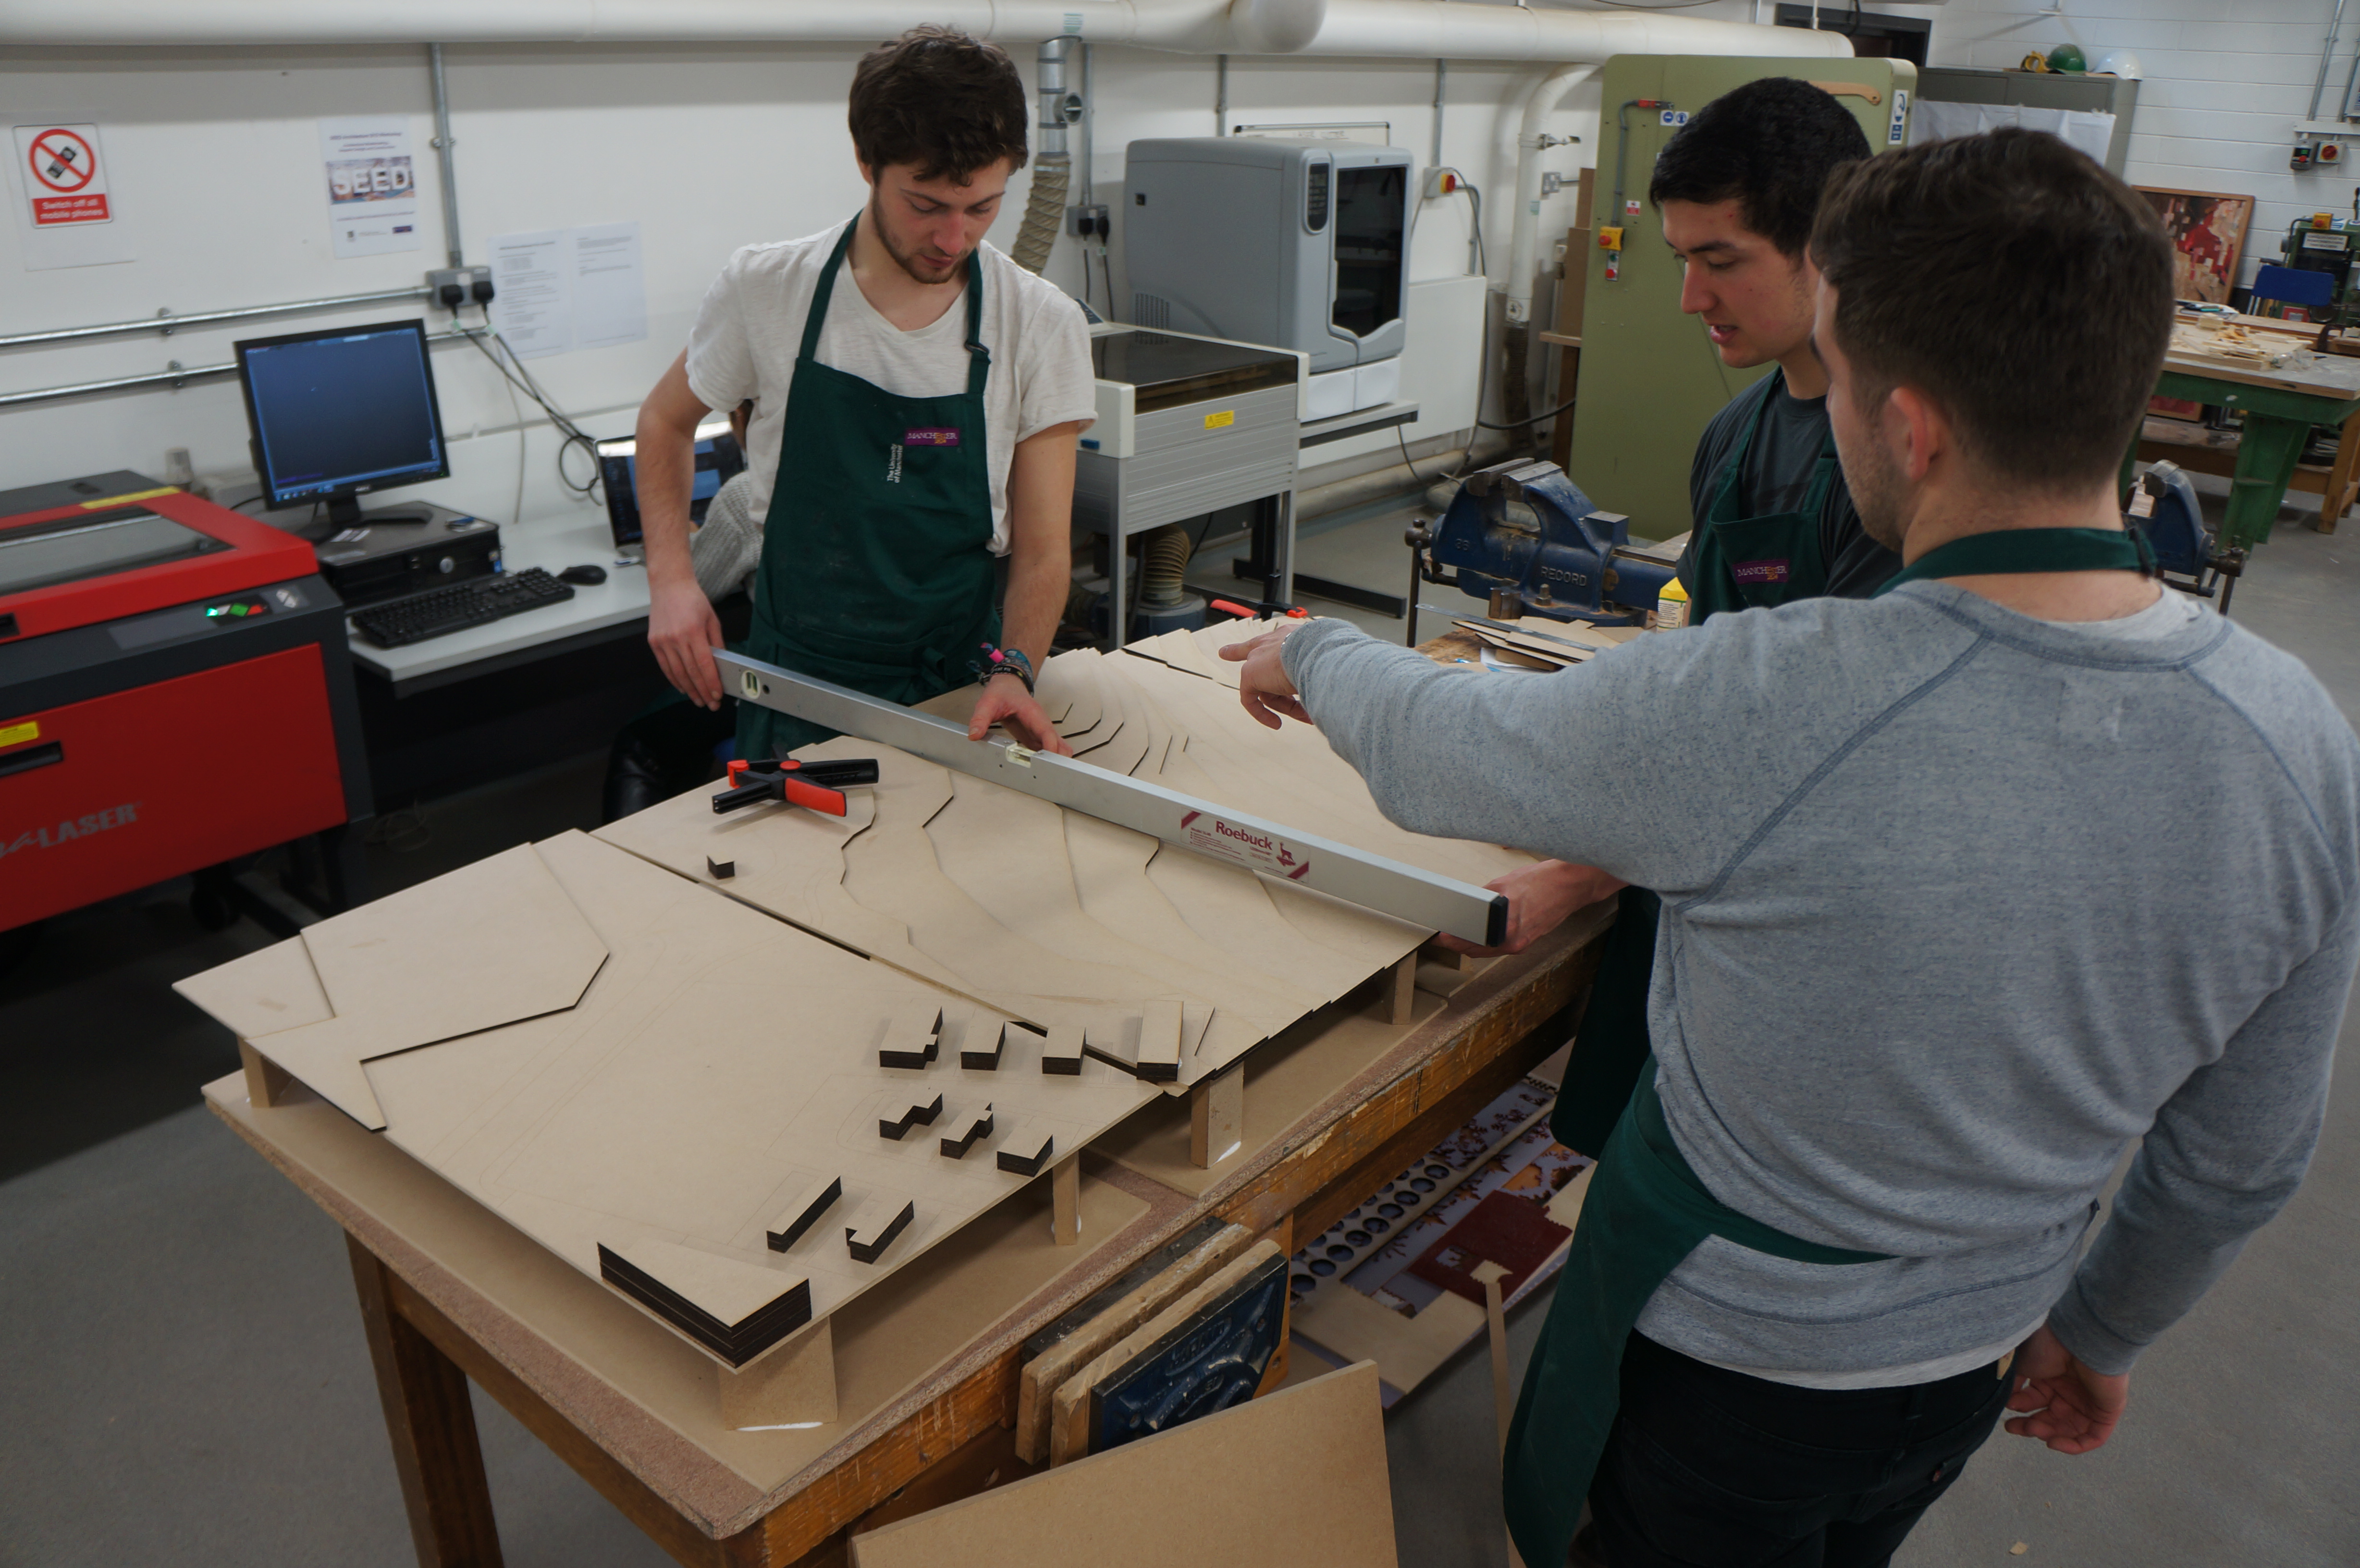
This example from Abhi Chauhan’s project below demonstrates how a piece of laser cut MDF with effective component arrangement can get the most out of a sheet of material.

DSC03077

Re-Use of materials and model components


Before you decide to use new materials you can also look at the role of your existing works and rework them into new ideas as demonstrated in this student video made by Signe Perkone and Sigita Zigure who graduated BA Architecture last year. Whilst we are keen to record all work produced it is impossible for us to keep everything so by re-using models this way we are helping to do our bit to reduce waste.

Scott

How to Save Money and Materials when Making Contour Models

Just before the Christmas break I made a post about the benefits and importance of concious planning and material consideration when thinking about your models. Here is a great example carried out by a group of 3rd year students over the last few days.

This group set out to produce a contour model of a site they have been given to focus on for redevelopment. They took the time to approach us before starting to plan their model which resulted in a huge saving for them in cost and in the materials saved.

Rather than using entire sheets of MDF to build up contour layers We suggested they amend their drawing to construct the contours using the ‘step’ method. This means reducing each contour piece to a fraction of the full sheet size with the only non visible area being a small step to which the piece above can be fixed.

Out of the original materials estimate of 25 full 4mm x 800mm x 450mm sheets for the main contour section of the model the amended drawings helped to decrease this number to just 6.

At the current cost of £2.50 per sheet, the original cost of material for this part of the model would equate to £62.50. After redrawing the file and planning each cut sheet the 6 sheets required cost just £15. A huge saving of £47.50 and 19 full sheets of 4mm Medite MDF.

As you can see it is well worth taking the time to evaluate what it is you are producing and the necessary material required. A good place to start is with your tutors, Jim and myself who are dealing with this subject matter everyday.

Scott


Do Your Bit to Reduce Workshop Waste

One of the inevitable by-products of a creative environment such as ours is a large amount of material waste. Whilst a certain amount of this is unavoidable we endeavour to reduce as much unnecessary disposal as possible.


As individuals we all need to be more considerate to make a difference to this and every little change can help.

Here’s a few things to think about for this cause and your own and everybody eleses benefit:

Materials Consideration

This is a huge part of your project and should be thought about in great depth in terms of what you are trying to achieve and the potential waste produced from it. For example, When making a contour model consider the amount of unseen sheet material that could be saved by producing each layer as a step down rather than an entire sheet to form each layer. Could you use grey cardboard which is widely recycled instead of sheets of wood? Always check the free recycled materials before using virgin sheets.

Planning Your Model

Establishing the size and layout of your model can dictate how much material you use. For example if you want to make a laser cut model that measures 900mm x 600mm you will need to use more than a standard laser cut sized sheet (800mm x 450mm) of material to cover the area required. For the sake of using another sheet of material, your money and little visual difference to the end product you should try to work to existing sizes.

Using Machines Appropriately 

This is always a sticking point for students using our workshop as experience of machine use is varied. By thinking about each component you are trying to produce beforehand it is possible to produce the desired shape without unnecessary waste.

For example when using the disk sanders to create a roof pitch we can think about the size of the piece we are working with. If the piece requires taking large volumes of material away then it would be more appropriate to cut the majority of the material away using a band saw before moving to the disk sander to accurately finish the cut. By doing this we are reducing the amount of wear to the disk sanders and the levels of dust in the atmosphere around the workshop.

Using Offcuts

With a bit of fore thought it is possible to make virtually anything for next to no cost by utilising off-cuts and unwanted material for others projects. Here in the workshop we have off-cut bins for wood and drawers for cardboard and acrylic of varying sizes and thickness. It is always worth looking at what is available for free to reduce using material and in turn your costs.

Thanks for taking the time to read.

Scott