Jana explained her project for us:
The 1:10 detail fabrication was my first-ever casting exercise and definitely one of the most exciting tasks I have been involved in throughout my architecture course. It required a lot of preparation and careful planning of each step, but I was extremely happy with the outcome and I would repeat it if I had a chance. The key to success was to understand the casting process and plan the whole procedure beforehand.
Firstly, I modelled the hinge in SketchUp and tweaked it several times to make sure it was water-tight for 3D printing. After it was printed, I added an additional layer of acrylic to increase its thickness in certain areas, which was necessary for creating the mould. This step could have been avoided, had I known better how the mould was to be created. As I learned, it is definitely worth carefully checking your 3D model with the staff before printing. You do not want to 3D print repeatedly due to the relatively high cost of the process and unavailability of the printers during busy deadline times.
Next step was a fabrication of the mould, which was to be as tight as possible in order to save the material (silicone). When pouring the silicone, I did not mix it well enough with the activating agent, which caused it not to dry properly overnight. Luckily, it was still possible to save the mould by additionally mixing more activating agent into, and the whole mould came out really well in the end.
The putrid pouring was probably the simplest step of the whole process, however, there were still lessons to be learned. The mould has to be fixed together very tightly with clamps, as the hot metal is unexpectedly expansive and it will push your two halves of the mould apart. I repeated the casting itself twice, as the first piece was not perfect. This did not require any additional material as the first cast was simply melted.
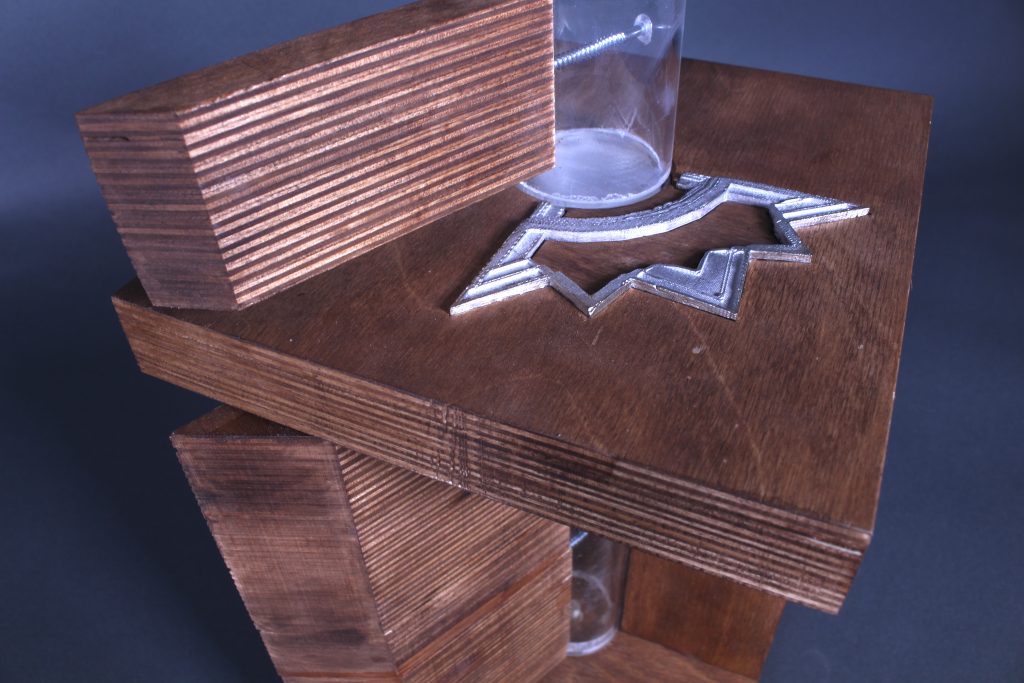
The metal hinge was then integrated into a sectional model of a timber door to show its function. This was another part of the model-making task, which took almost as much time as the casting itself. One of the unique aspects of this exercise was that apart from the putrid and silicone, I only used scrap material from the workshop: acrylic, timber, plywood and MDF. This significantly reduced the price and proved that almost every piece of material that a student disposes in the workshop can be used further by someone else.
Working with metal left me being amazed by its strength and heaviness combined with plasticity and the ability to be shaped into very fine details. It might seem like a challenging material to handle, but it is in fact incredibly fun and fascinating one. I would recommend casting to anyone who wishes to add something bold and unique to their project.
– Jana Kefurtova 2016
Designing the Mould
When it comes to successful casting the work is all in the design of the mould. There are many considerations to have that require some reverse engineering in your mind before being able to pour the first cast correctly. In this case as Jana was creating her cast detail from scratch she had to first make the detail the the correct scale in order to have the mould be created around it. This was done using a combination of an ABS 3D print and some laser cut elements.
Due to the final cast being in metal a suitable silicone for high temperature casting is essential.
Here are some key considerations when designing a mould:
- The mould should always be designed to use a minimum of casting material (in this case the expensive heat-resistant silicone) to ensure you are getting the most from it without having to overspend.
- How are you going to pour material into the mould?
- The mould must also consider the cast removal – Will the cast piece come out in one? Does the mould have to consist of multiple parts? If so how can we effectively locate these parts to ensure an accurate cast?
 In Jana’s case it was decided that the mould could be created in two parts. In order to do this the master model had to be suspended in the middle of the mould casing to allow the first half to be poured. The support piece that was used to suspend the piece would also serve as the pour hole once the mould was ready to be used. In addition to the overall shape of the mould casing Jana also added two location ‘lugs’ which would allow the mould to fit together exactly. These lugs were in place until the first half of the mould had cured before being removed to allow the second half to create the positive part of the lug.
Before pouring the second half of the mould it is important to add a release barrier to prevent the two halves sticking together. In this case a spray wax coating was used but there are several products available for the job. 
 After the second half is cured the mould can be taken from the casing and any overlaps in the pour can be hand trimmed and removed ready for casting.
 Low Melt Metal Casting
Once the mould has been trimmed and cleaned of any foreign matter you are ready to cast. To ensure the cast is easily removed from the mould it is necessary to lightly dust the mould halves with talc.
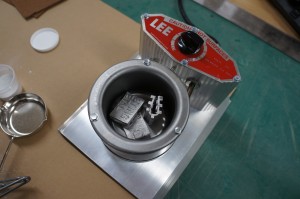
 Suitable casting metal can then be broken up and melted using a melting pot. All equipment and elements used are specifically for casting purposes and you should always be sure the products are suitable for the job you are attempting.
ALWAYS WEAR HEAT RESISTANT GLOVES WHEN WORKING WITH HOT METAL AND EQUIPMENT!
Once the metal is completely molten in the melting pot it is then time to fill the mould using a suitable ladle. In this case it was necessary to have an extra pair of hands to support the mould whilst pouring.
Pouring in one smooth action will help to get the best quality cast. In this case it was necessary to pour three times to fill the mould. This is not idea but due to the working time with the molten metal the cast was crisp and consistent after a second attempt. (A key benefit of this material is that any failed attempts to cast can simply be broken up and re-melted to be recast meaning little waste material)  Allowing around 15 minutes to cool is important so as not to distort the metal when trying to remove it from the mould in a soft state.
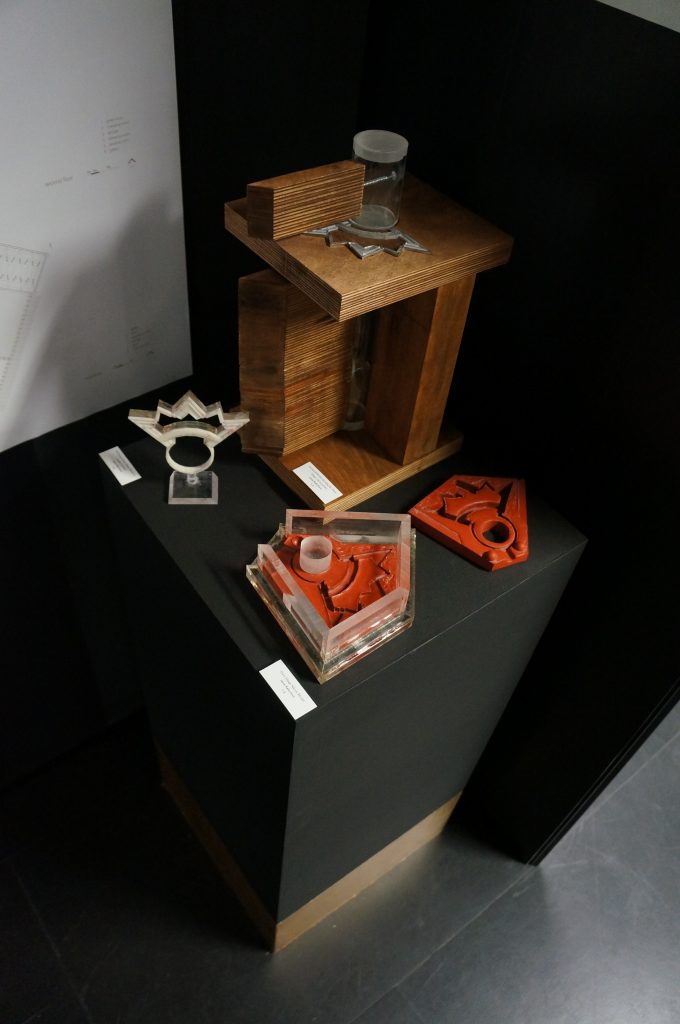
  The competed cast piece was then hand finished before being added to Jana’s functioning detail model. The moulds made for this project and the resulting detail model are currently on display as part of B.15:ARCHITYPES on the first floor of our building.

 All equipment and material used here is available from 4D with your student discounts.


